8 Tips to Use a Shovel for Artistic Preparation
The smell of damp earth is the scent of geosmin, a byproduct of Actinobacteria activity within the rhizosphere. When you compress a handful of friable loam, the turgor pressure within the plant cells depends entirely on the structural integrity of the soil profile you create. Using a shovel for artistic landscaping is not merely about moving mass; it is about surgical precision in the top 12 inches of the A-horizon. A sharp spade blade must slice through fibrous root mats without tearing, preserving the delicate balance of the fungal networks below.
Professional site preparation requires an understanding of soil physics and the mechanical leverage of the tool. Most gardeners fail because they treat the shovel as a blunt instrument. In reality, it is a scalpel for the earth. By mastering the entry angle and the fulcrum point of the handle, you can sculpt berms, define crisp edges, and prepare planting pockets that optimize water infiltration. The goal is to manipulate the physical environment to favor specific botanical outcomes, ensuring that the transition from dormant soil to a productive landscape is mathematically sound and biologically viable.
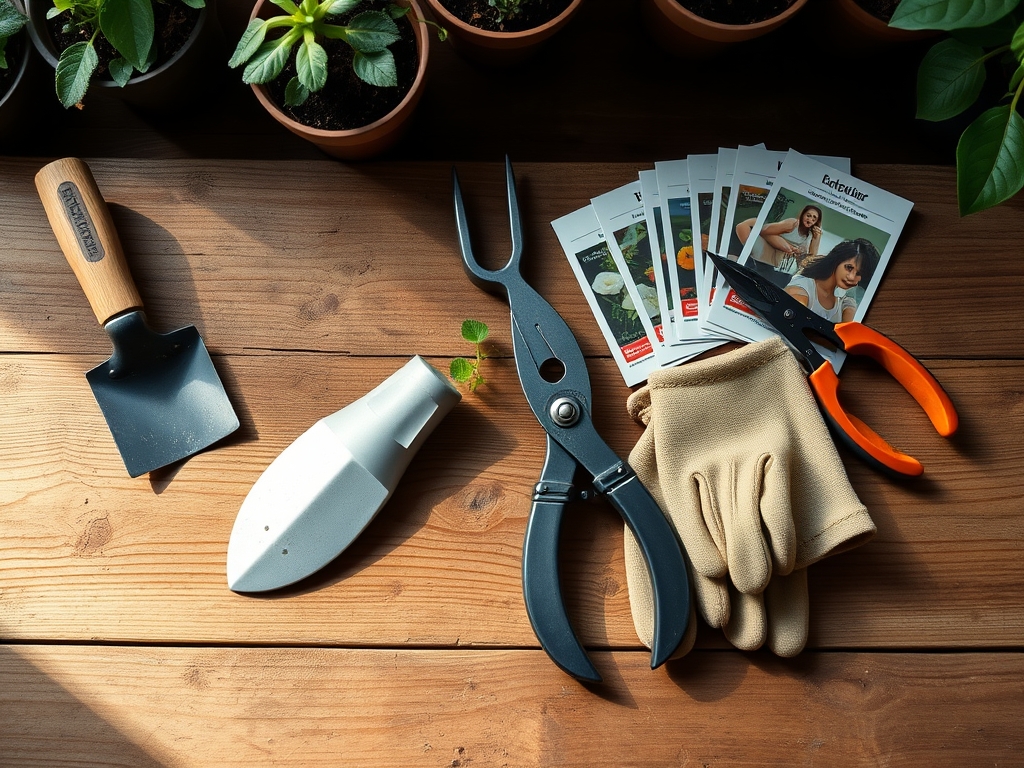
Materials:
Artistic landscaping begins with the substrate. The ideal medium is a **friable loam** consisting of 40 percent sand, 40 percent silt, and 20 percent clay. This balance ensures a high **Cation Exchange Capacity (CEC)**, allowing the soil to hold onto essential nutrients like ammonium and potassium.
For vegetative growth, the soil must be amended to reach a pH of 6.2 to 6.8, which is the sweet spot for nutrient bioavailability. If the pH drops below 5.5, aluminum toxicity becomes a risk. Use the following NPK ratios based on your specific goals:
- Establishment Phase: Use a 10-20-10 starter fertilizer. High phosphorus levels encourage rapid root elongation and ATP production.
- Maintenance Phase: Transition to a 10-10-10 balanced fertilizer to support steady metabolic rates.
- Bloom Phase: Shift to a 5-10-15 ratio. Increased potassium regulates stomatal conductance and strengthens cellular walls.
Timing:
Timing is governed by the Hardiness Zones and the local frost-free window. In Zones 5 through 7, the primary window for using a shovel for artistic landscaping opens when the soil temperature reaches a consistent 50 degrees Fahrenheit. Use a soil thermometer to verify this; planting in cold, anaerobic mud will lead to root rot and pathogen colonization.
The "Biological Clock" of the plant dictates that major earthmoving and transplanting should occur during the dormant phase or the very early vegetative stage. For most perennials, this means late winter or early spring before the "bud break." This timing ensures that the plant can establish a robust root system before the high transpiration demands of summer. Avoid disturbing the soil during the reproductive stage, as the plant diverts its energy toward flowering and seed production rather than root recovery.
Phases:
Sowing and Site Preparation
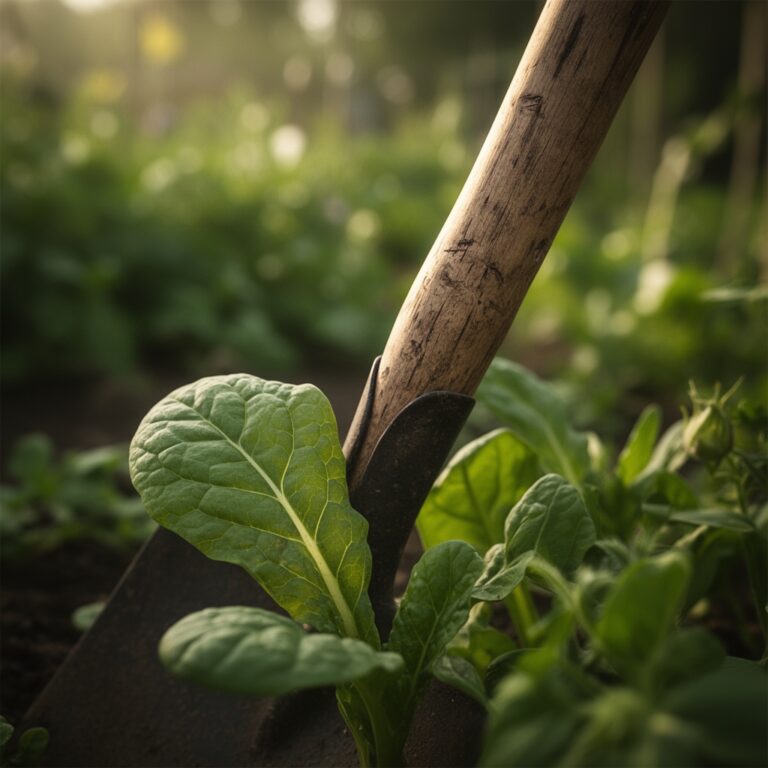
The first phase involves clearing the O-horizon (organic litter) and exposing the mineral soil. Use a square-point shovel to skim off the top two inches of sod. This prevents competition from turfgrass and exposes the seedbed. Pro-Tip: Maintain the soil's aggregate structure by avoiding over-tilling. Biological Why: Over-working the soil collapses the macropores required for oxygen diffusion, which is essential for aerobic respiration in root cells.
Transplanting with Precision
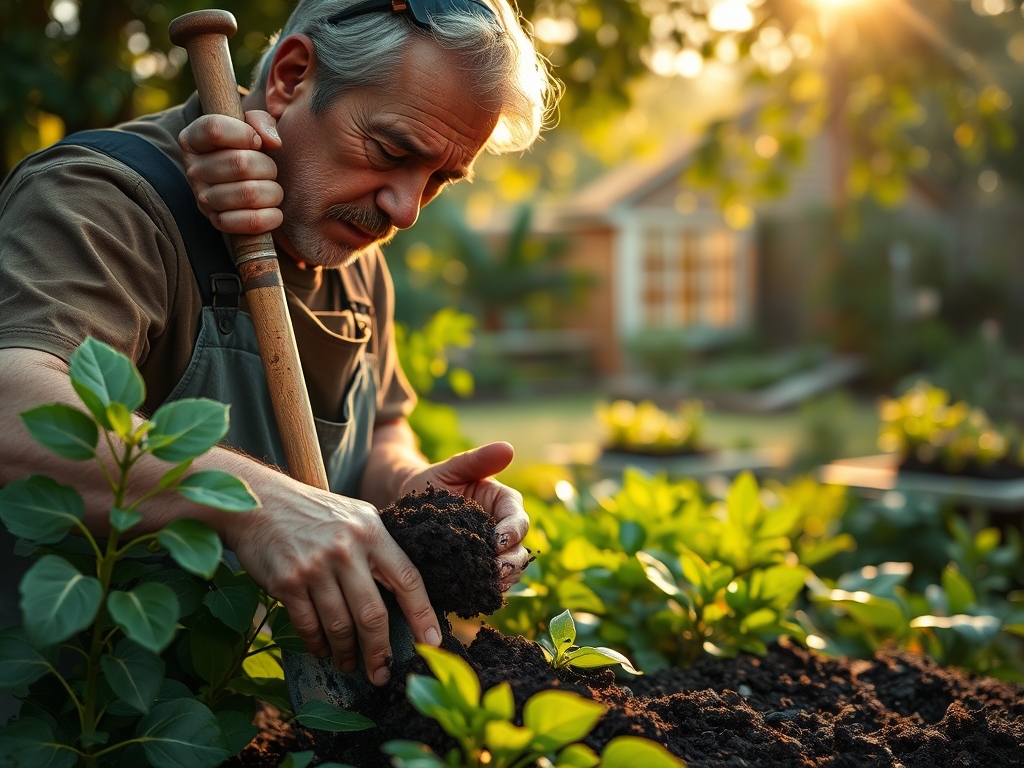
When moving a specimen, the root ball should be twice the width of the shovel head. Dig a "bowl" rather than a "well" to encourage lateral root spread. The sides of the hole should be roughened with a hori-hori knife to prevent "glazing," where roots circle the hole like they are in a plastic pot. Pro-Tip: Set the plant so the root flare is exactly at the soil surface. Biological Why: Burying the stem too deep causes hypoxia and promotes the growth of adventitious roots that can eventually girdle and kill the main trunk.
Establishing the Landscape
Once the plant is in the ground, use the back of the shovel to lightly tamp the soil. This removes large air pockets without causing excessive compaction. Immediate irrigation is required to settle the particles around the root hairs. Pro-Tip: Apply a three-inch layer of organic mulch, keeping it two inches away from the plant base. Biological Why: This encourages mycorrhizal symbiosis, a mutualistic relationship where fungi extend the reach of the root system in exchange for carbohydrates.
The Clinic:
Physiological disorders often manifest as visual cues on the foliage. Identifying these early prevents permanent damage to the landscape.
- Symptom: Interveinal chlorosis (yellowing between green veins) on new growth.
- Solution: This indicates Iron deficiency, often caused by high soil pH. Apply chelated iron and lower the pH with elemental sulfur.
- Symptom: Purpling of the lower leaves and stunted growth.
- Solution: This is a classic sign of Phosphorus deficiency. Incorporate bone meal or a high-phosphate fertilizer into the root zone.
- Symptom: Marginal leaf burn (browning of leaf edges) on older leaves.
- Solution: This suggests Potassium deficiency or salt accumulation. Flush the soil with 2 inches of water and adjust the fertilization schedule.
- Fix-It for Nitrogen Chlorosis: If the entire plant is pale green, apply a quick-release urea-based fertilizer (46-0-0) at a rate of 0.5 lbs per 1,000 square feet to rapidly boost chlorophyll production.
Maintenance:
Precision maintenance requires data. Use a soil moisture meter to ensure the root zone stays between 20 and 40 percent volumetric water content. Most established landscapes require 1.5 inches of water per week delivered at the drip line, which is the outermost circumference of the plant canopy.
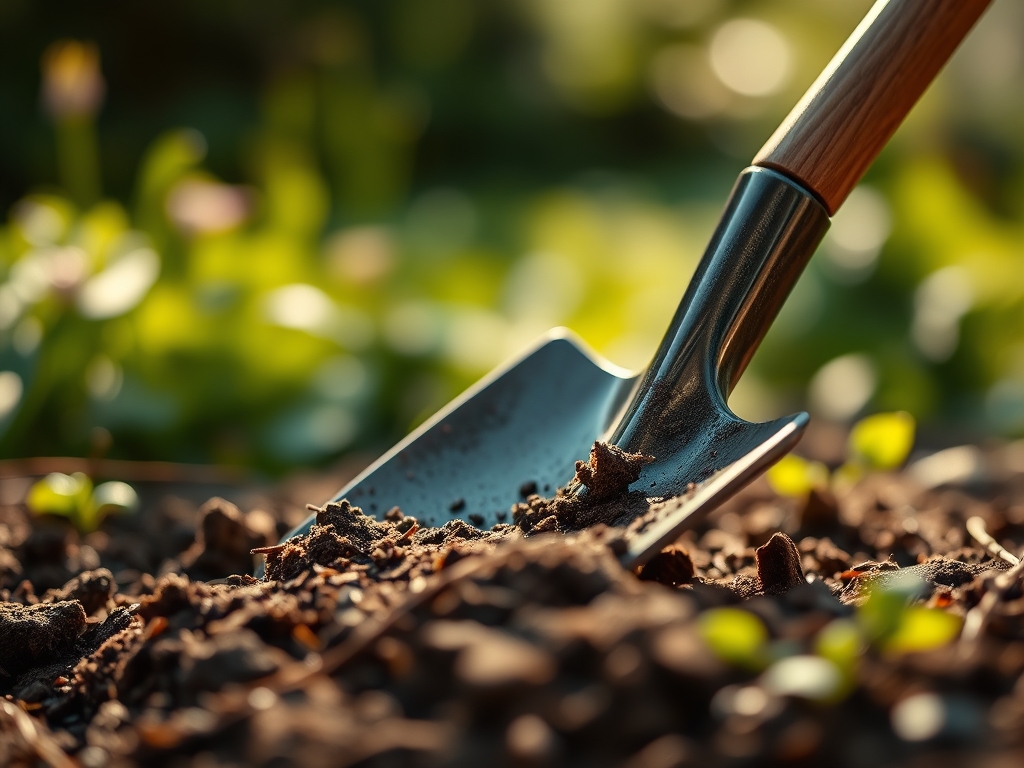
Maintain your tools with the same rigor as your soil. Use bypass pruners for clean cuts on woody tissue to prevent jagged wounds that invite pathogens. Sharpen your shovel blade with a mill file at a 45-degree angle. A sharp tool requires less force, reducing the risk of soil compaction caused by the gardener's own weight. Check the soil pH annually every autumn to allow time for amendments to react before the spring growing season.
The Yield:
When harvesting flowers or herbs from an artistically prepared landscape, timing is everything. Harvest in the early morning when turgor pressure is at its peak. This is when the plant cells are fully hydrated and the essential oil concentration is highest.
Use a sharp blade to make a clean, diagonal cut. For woody stems, immediately submerge the cut end in 110-degree Fahrenheit water to prevent air embolisms in the xylem. This "hardening off" process ensures day-one freshness and extends the post-harvest life of the specimen. For edible yields, monitor the Brix level (sugar content) using a refractometer to ensure you are harvesting at the peak of nutritional density.
FAQ:
How do I prevent my shovel from sticking in clay?
Apply a thin layer of silicone spray or vegetable oil to the blade. This reduces surface tension and friction. Maintaining a sharp edge also allows the tool to shear through heavy clay particles rather than pushing against them.
What is the best shovel for edging a garden bed?
A half-moon edger or a flat-headed spade is ideal. These tools provide a straight vertical cut, which is essential for creating a clean break between the turf and the mulch bed. This prevents rhizomatous grass from encroaching.
How deep should I dig for a new flower bed?
Aim for a depth of 8 to 12 inches. This encompasses the primary root zone for most annuals and perennials. Digging deeper is rarely necessary unless you are correcting severe subsoil compaction or installing large woody shrubs.
Can I use a shovel to aerate my lawn?
While not as efficient as a core aerator, you can use a garden fork or the tip of a spade to create holes. This allows oxygen to reach the root zone. However, for large areas, mechanical core aeration is superior.
How do I clean a shovel after working in diseased soil?
Scrub the tool with a stiff brush to remove all soil. Submerge the blade in a solution of 10 percent bleach or 70 percent isopropyl alcohol for ten minutes. Dry the tool completely to prevent oxidation and rust.