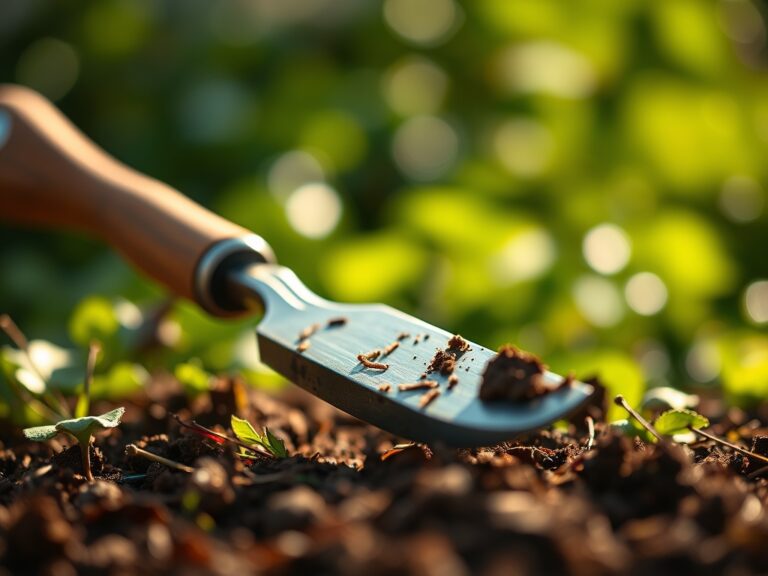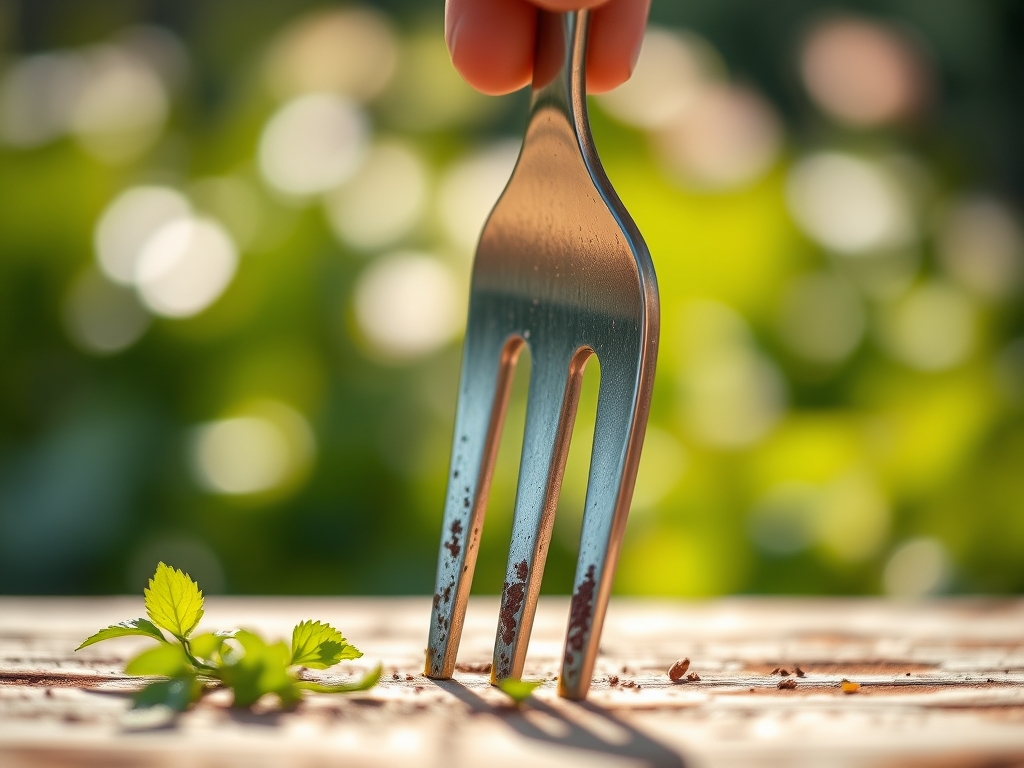
8 Simple Steps to Clean a Heavy-Duty Garden Fork
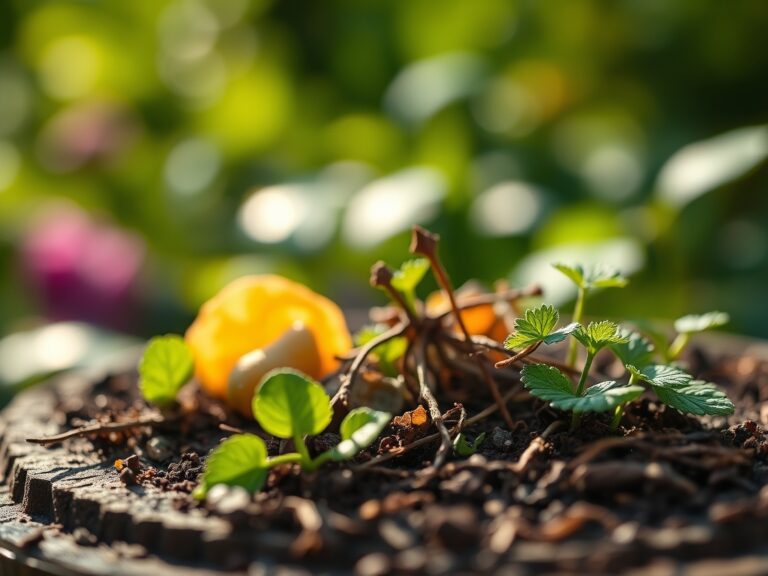
The smell of damp earth after a rain is more than a scent; it is the olfactory signature of geosmin produced by Actinomycetes in the soil. When you plunge a forged steel tool into a dense clay loam, the metal encounters abrasive silicates and corrosive organic acids. Neglecting your equipment leads to oxidation and the unintended transfer of soil-borne pathogens like Fusarium or Phytophthora between beds. Following professional steps for cleaning a garden fork after use ensures the tool maintains its structural integrity and prevents the degradation of the rhizosphere in subsequent plantings. A clean tine penetrates the soil with less resistance; this preserves the turgor pressure of the operator and the health of the soil structure.
Materials:
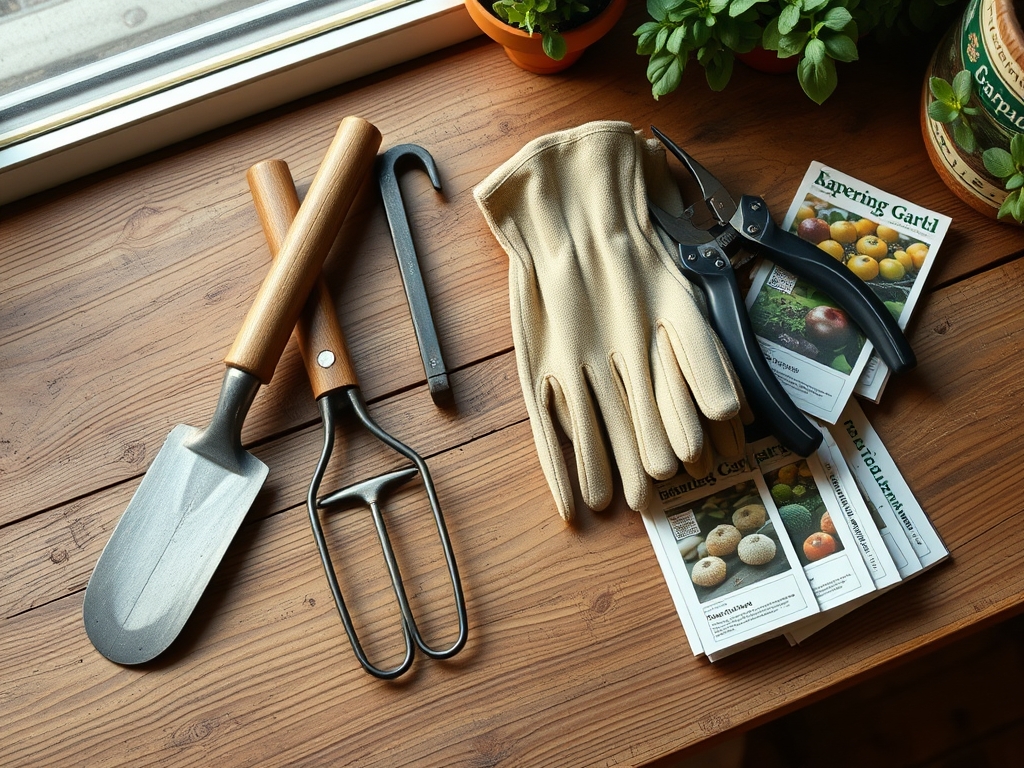
To maintain a heavy duty fork, you must understand the substrate it penetrates. Ideal gardening occurs in a friable loam with a **pH range of 6.2 to 6.8**. This acidity level optimizes the Cation Exchange Capacity (CEC), allowing plants to access a balanced NPK ratio of **10-10-10** for general maintenance or **5-10-10** for root development. You will need a stiff-bristled wire brush, a bucket of coarse builder’s sand mixed with **1 quart of vegetable-based lubricant**, and a 10 percent bleach solution or 70 percent isopropyl alcohol for sterilization. The sand provides mechanical friction to remove particulates, while the oil creates a hydrophobic barrier against moisture.
Timing:
Maintenance schedules must align with your regional climate. In Hardiness Zones 4 through 7, the primary window for heavy fork use is the transition from the first thaw to the final spring frost date. As plants move from their winter dormancy to the vegetative stage, the biological clock triggers rapid root expansion. You must clean your tools immediately after use during this window to prevent the spread of dormant fungal spores. In warmer Zones 8 through 10, where the growing season is nearly continuous, tools require monthly deep-cleaning to combat the higher rate of metallic oxidation caused by humidity and active soil microbes.
Phases:
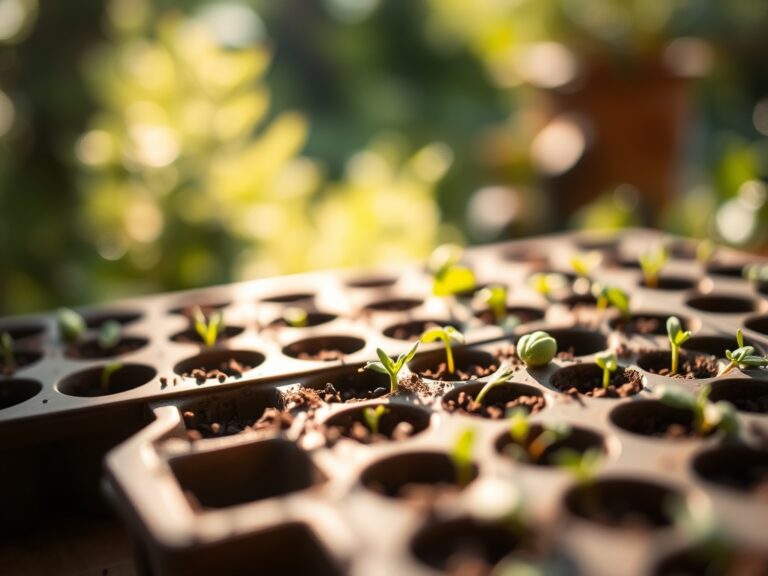
Sowing and Soil Preparation
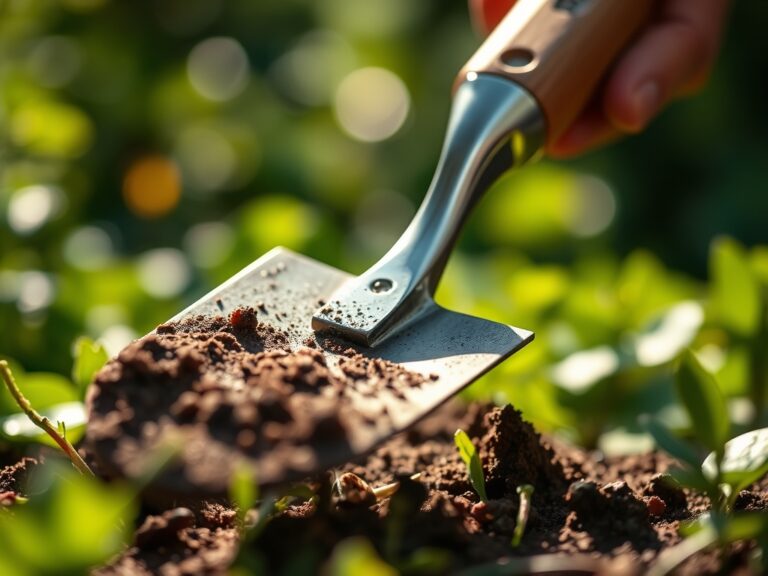
Before the first seed hits the furrow, the fork must be free of rust. Use a hori-hori knife to scrape away large clods of dried clay. If the soil is heavy in clay, the friction can heat the metal; ensure the tool is cool before applying any cleaning agents.
Pro-Tip: Cleaning tools prevents the compaction of the rhizosphere. When metal is smooth, it glides between soil aggregates without crushing the macropores necessary for mycorrhizal symbiosis, which allows fungi to transport phosphorus to the plant roots.
Transplanting and Aeration
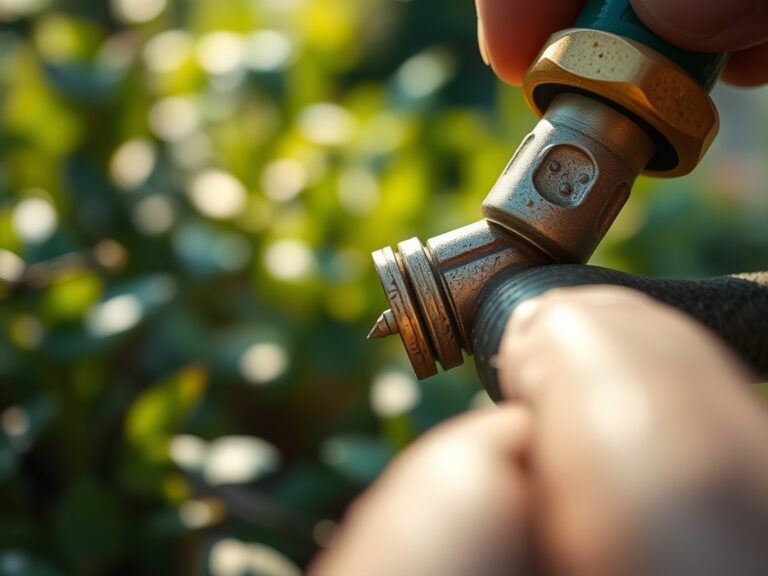
During the transplanting phase, the fork is used to loosen the soil at the drip line. After each use, rinse the tines with a high-pressure hose to remove fine silt. Silt particles are smaller than 0.05 mm and can lodge in the microscopic pits of the metal, accelerating corrosion.
Pro-Tip: Sterilizing the fork between different plant varieties prevents the transfer of viruses. This is critical for preventing auxin suppression, where a pathogen interferes with the plant's hormonal ability to direct growth toward light sources (phototropism).
Establishing and Long-Term Care
Once the garden is established, the fork is used less frequently. This is when "flash rust" occurs. After the final use of the season, submerge the tines in the oiled sand bucket five to ten times. This coats the steel in a protective layer that lasts through the winter dormancy period.
Pro-Tip: Maintaining a sharp, clean edge on the tines reduces mechanical damage to perennial root systems. Clean cuts trigger a faster wound-response in the plant, preventing senescence (biological aging) caused by excessive stress or tissue rot.
The Clinic:
Even the best tools cannot fix a physiological disorder in the soil. Observe your plants for these symptoms:
- Symptom: Interveinal chlorosis (yellowing leaves with green veins).
Solution: This indicates Nitrogen chlorosis or iron deficiency. Test soil pH; if it is above 7.0, iron becomes insoluble. - Symptom: Purpling of lower leaves.
Solution: This is a classic sign of Phosphorus deficiency. Ensure soil temperatures are above 55 degrees Fahrenheit for optimal uptake. - Symptom: Blossom end rot in Solanaceous crops.
Solution: This is a Calcium transport issue. Maintain consistent soil moisture at 1.5 inches per week to ensure calcium moves through the xylem. - Symptom: Stunted growth and "burnt" leaf edges.
Solution: Potassium deficiency. Apply a high-potash fertilizer with an NPK of 0-0-50 to regulate osmotic pressure within the plant cells.
Maintenance:
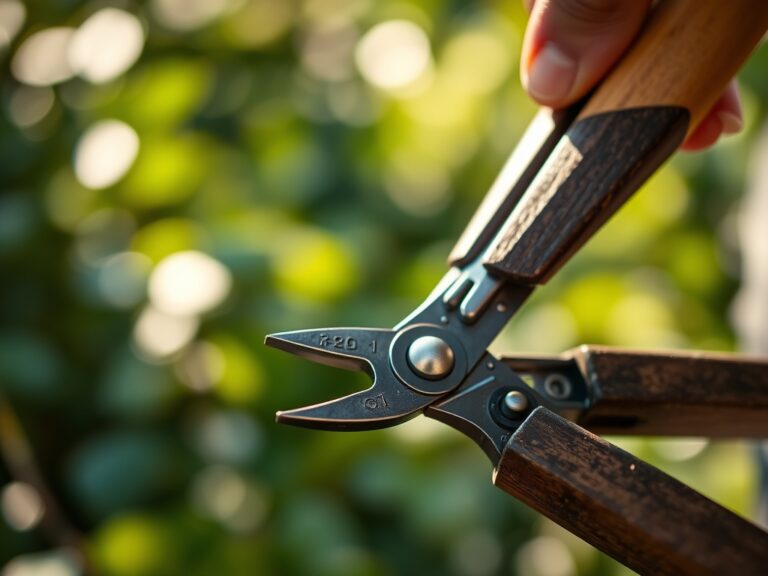
Precision is the hallmark of a master horticulturist. Use a soil moisture meter to ensure you are not working the ground when it is over-saturated; working wet soil at 80 percent field capacity leads to permanent compaction. Provide exactly 1.5 inches of water per week at the drip line using a soaker hose to minimize evaporation. When pruning or harvesting, use bypass pruners for clean vascular cuts. Every six months, inspect the wooden handle of your fork for cracks. Sand the wood with 120-grit sandpaper and apply a coat of boiled linseed oil to prevent splintering and moisture absorption.
The Yield:
When harvesting root crops like carrots or potatoes, the garden fork is your primary extraction tool. Insert the fork 6 inches away from the base of the plant to avoid piercing the tubers. Lift vertically to minimize shear force on the root hairs. To maintain "day-one" freshness for edibles, harvest in the early morning when turgor pressure is at its peak. Immediately move the harvest to a cool, shaded area to reduce the rate of respiration and preserve the sugar content within the plant tissues.
FAQ:
How do I remove heavy rust from my garden fork?
Scrub the tines with a wire brush or medium-grade steel wool. For stubborn oxidation, soak the metal in white vinegar for 12 to 24 hours, then neutralize the acid with a baking soda and water solution before oiling.
Can I use motor oil to protect my garden tools?
Avoid petroleum-based motor oils because they introduce hydrocarbons into the rhizosphere. Use food-grade mineral oil or vegetable oil to ensure you do not contaminate the soil or disrupt the delicate microbial balance of your garden beds.
Why is it important to dry the fork after washing?
Water trapped in the socket where the handle meets the metal head promotes fungal decay in wood and oxidation in steel. Always wipe the tool dry with a clean rag before storing it in a low-humidity environment.
How often should I sterilize my garden fork?
Sterilize the tines with a 10 percent bleach solution or isopropyl alcohol whenever you move from a diseased area of the garden to a healthy one. This prevents the mechanical transmission of soil-borne pathogens like verticillium wilt.