9 Detailed Steps to Prepare a Tool Care Guide
The scent of damp earth and the crisp turgor of a healthy leaf define a successful growing season. When the soil reaches a consistent temperature of 55 degrees Fahrenheit, the biological activity within the rhizosphere accelerates. Proper maintenance of the cultivation environment is essential to prevent pathogen spread and mechanical failure. Learning how to prepare a garden for a tool care guide requires a rigorous approach to sanitation and soil mechanics. This process ensures that every cut made by a blade is clean; this prevents the tearing of vascular tissue and maintains the plant's structural integrity.
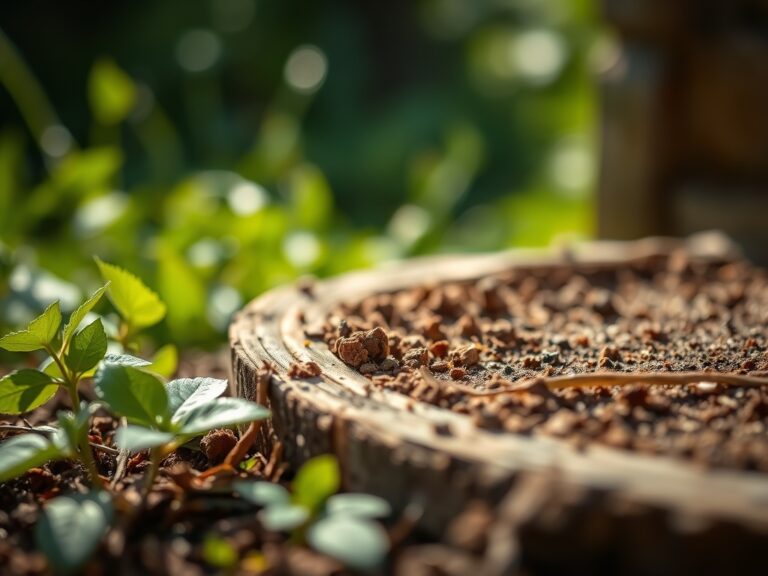
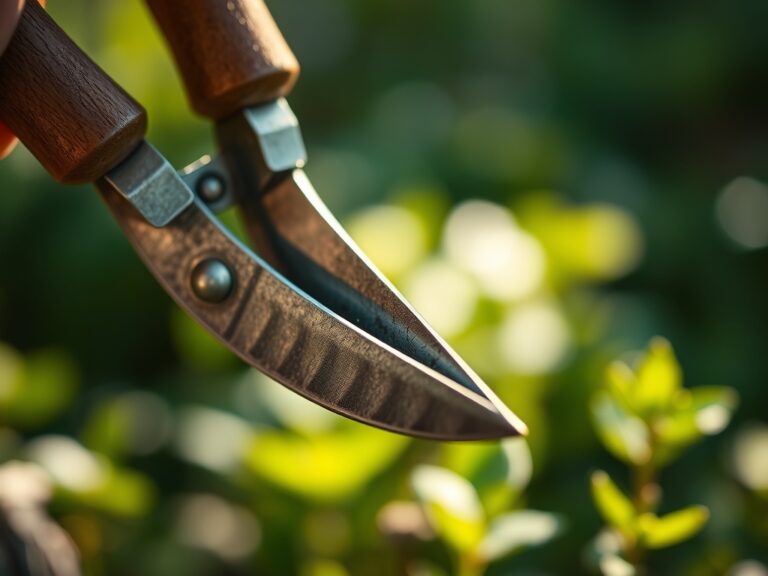
Precision in the garden begins with the physical state of the substrate. A friable loam with a Cation Exchange Capacity (CEC) above 15 provides the ideal foundation for root development. Without a sterilized and organized workspace, even the sharpest bypass pruners will introduce fungal spores into fresh wounds. Systematic preparation involves auditing the physical space to ensure that tool storage and maintenance zones are free from excessive moisture. High humidity levels in tool sheds lead to oxidation; this compromises the tempered steel of high carbon blades. By establishing a dedicated zone for tool hygiene, the gardener protects the investment of both equipment and plant health.
Materials:
Successful garden preparation requires specific chemical and physical inputs to maintain the substrate. The ideal soil profile is a friable loam consisting of approximately 40 percent sand, 40 percent silt, and 20 percent clay. This balance ensures optimal pore space for oxygen diffusion.
- Soil pH: Target a range of 6.2 to 6.8 for most temperate crops to maximize nutrient availability.
- NPK Ratios: Utilize a 10-10-10 balanced fertilizer for general preparation; switch to a 5-10-10 ratio for root development or a 15-5-10 ratio for heavy vegetative growth.
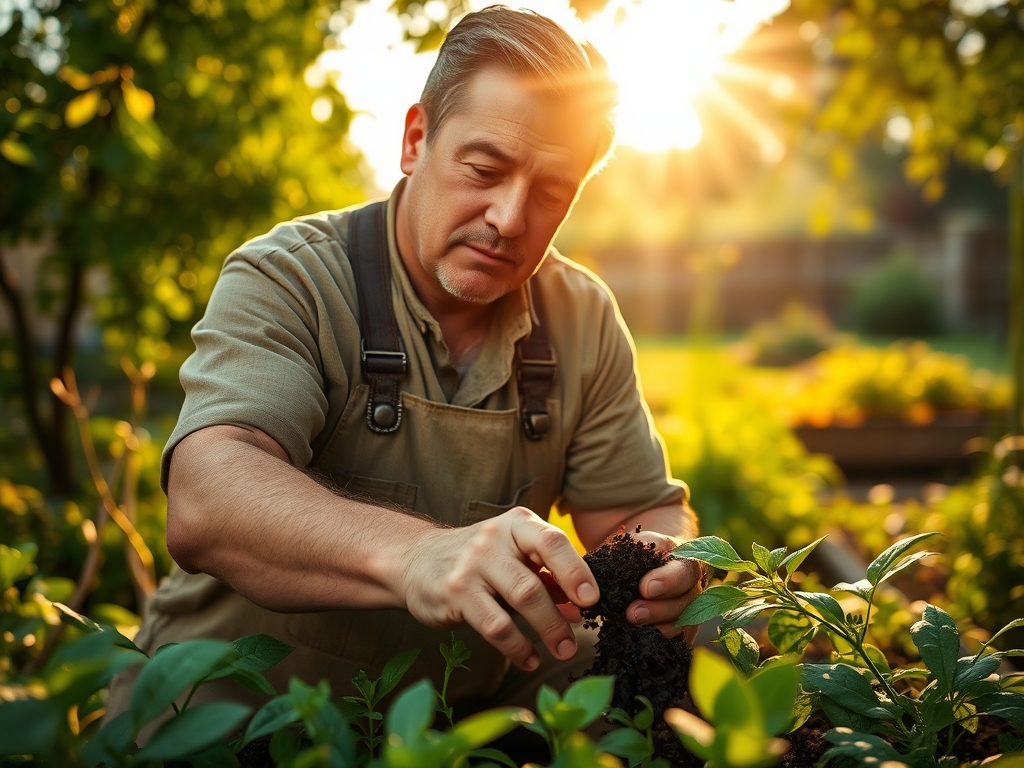
- Sanitation: 70 percent isopropyl alcohol or a 10 percent bleach solution is required for disinfecting blades between every plant.
- Lubrication: Use mineral oil or linseed oil for wooden handles and metal pivot points to prevent desiccation and rust.
- Abrasives: 300-grit and 600-grit diamond whetstones are necessary for maintaining the bevel on cutting edges.
Timing:
Garden preparation must align with the USDA Hardiness Zones and the local frost-free window. In Zones 5 through 7, the primary preparation window occurs between March and May. The biological clock of the plant dictates the timing of tool use. Pruning should occur during dormancy (late winter) to minimize sap loss and prevent the attraction of boring insects.
As the photoperiod increases, plants transition from the vegetative stage to the reproductive stage. This shift is triggered by phytochrome pigments sensing the length of darkness. Preparation for a tool care guide must happen before the spring flush, as the sudden increase in turgor pressure makes stems more susceptible to bruising from dull or dirty equipment. Monitor the Growing Degree Days (GDD) to predict the exact moment when the soil becomes workable.
Phases:
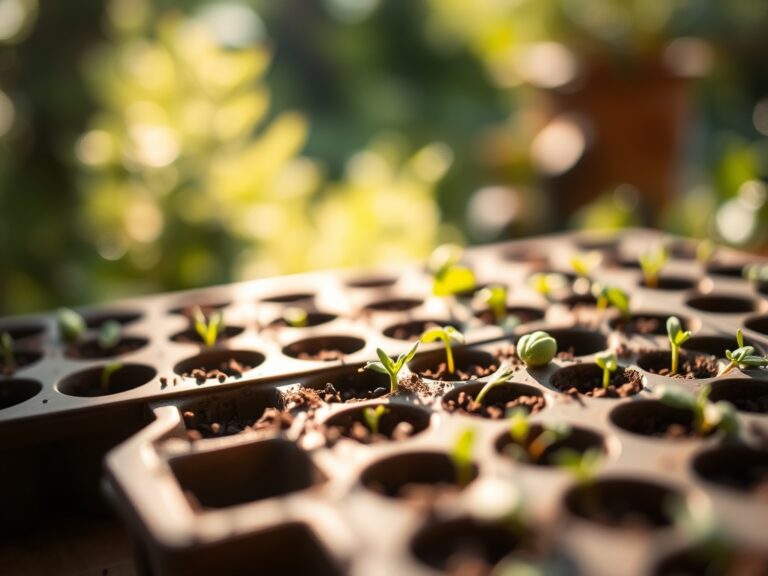
Sowing and Soil Preparation
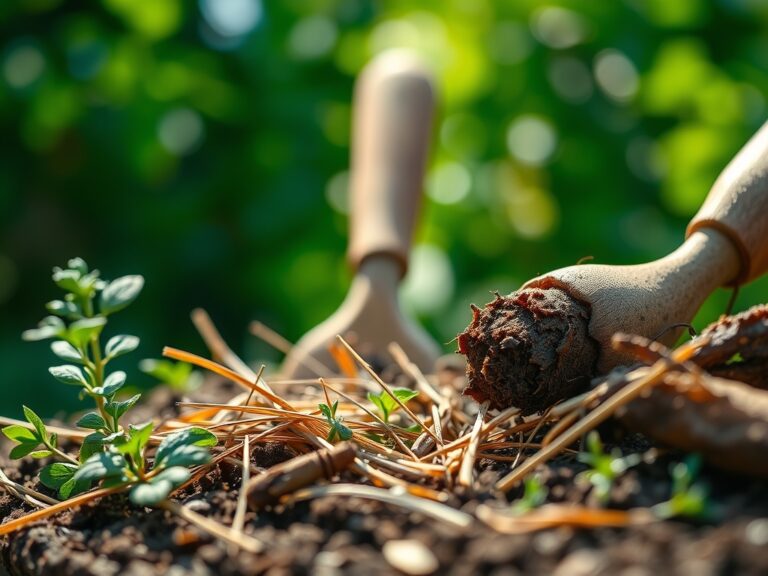
Before seeds hit the soil, the ground must be cleared of debris using a stiff-tine rake. This prevents the overwintering of pathogens like Botrytis. Ensure the soil is not overly saturated; compressing wet soil destroys the macropores essential for gas exchange.
Pro-Tip: Maintaining a loose soil structure encourages mycorrhizal symbiosis. These fungi extend the root system's reach, increasing phosphorus uptake by up to 300 percent.
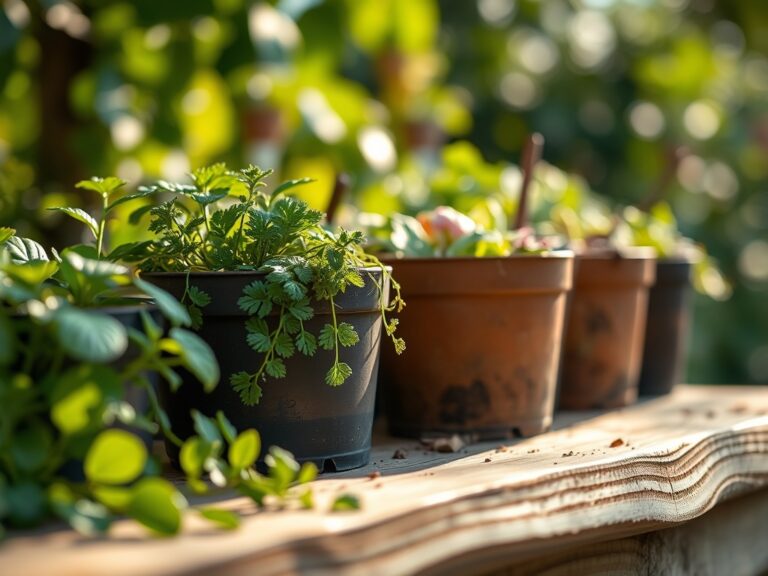
Transplanting and Root Management
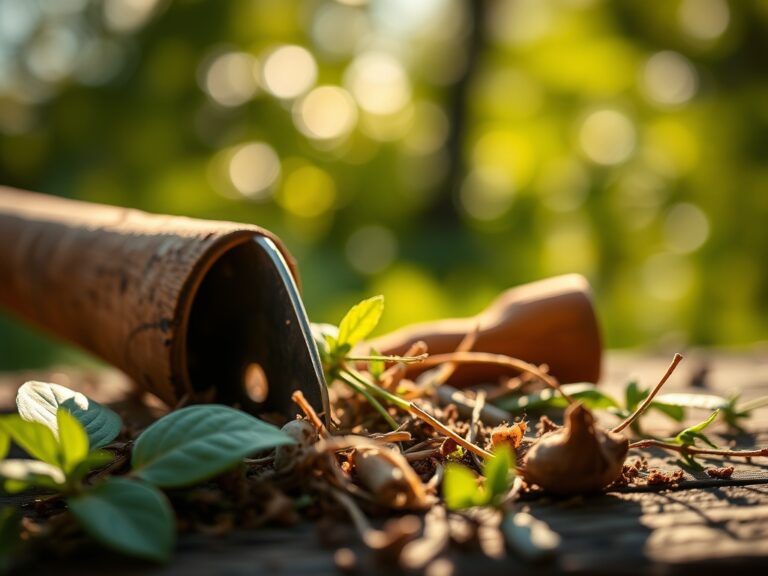
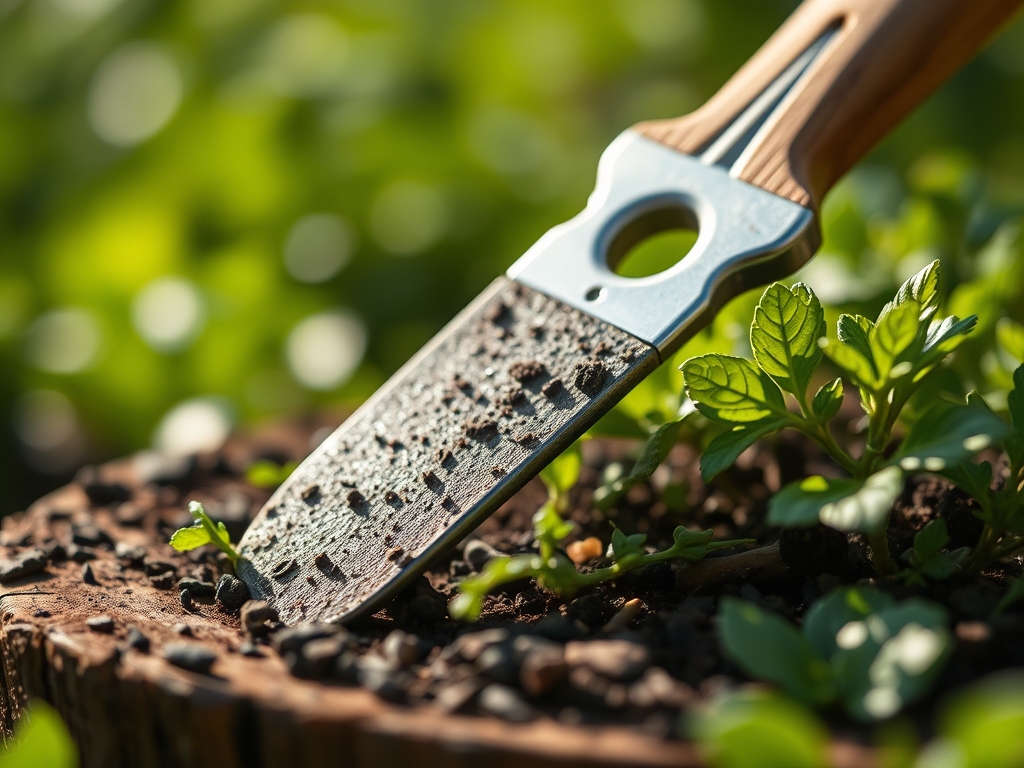
When moving seedlings, use a hori-hori knife to cut clean circles around the root ball. This minimizes damage to the fine root hairs. If a plant is root-bound, use a sterilized blade to make three vertical scores.
Pro-Tip: Clean cuts trigger auxin suppression at the wound site, which redirects the plant's energy to lateral root branching rather than vertical stem elongation.
Establishing and Structural Pruning
As the garden grows, use bypass pruners to remove non-productive suckers. Always cut at a 45-degree angle approximately 1/4 inch above a lateral bud. This ensures water runs off the wound, preventing rot.
Pro-Tip: Proper pruning angles utilize phototropism, directing new growth toward optimal light sources and improving the canopy's photosynthetic efficiency.
The Clinic:
Physiological disorders often mimic infectious diseases. Identifying the root cause requires a systematic check of environmental factors.
- Symptom: Interveinal chlorosis on young leaves.
- Solution: This indicates an Iron (Fe) deficiency, often caused by a pH above 7.2. Lower the pH using elemental sulfur.
- Symptom: Blossom end rot in Solanaceae.
- Solution: This is a Calcium (Ca) transport issue. Ensure consistent irrigation; Calcium cannot move through the plant without steady transpiration.
- Symptom: Marginal leaf scorch.
- Solution: Often a Potassium (K) deficiency or high salinity. Flush the soil with 2 inches of fresh water to leach excess salts.
- Fix-It: For general Nitrogen (N) chlorosis (yellowing of older leaves), apply a quick-release high-nitrogen foliar spray at a rate of 1 tablespoon per gallon.
Maintenance:
Hydration and mechanical upkeep are the twin pillars of garden longevity. Deliver 1.5 inches of water per week at the drip line of the plants. Use a soil moisture meter to verify that the water is penetrating at least 6 inches deep. Surface watering encourages shallow root systems that fail during heat spikes.
Mechanical maintenance involves the daily cleaning of your hori-hori knife and bypass pruners. After every use, scrub the metal with a stiff brush to remove sap and resin. Sap contains sugars that harbor bacteria. Once clean, wipe the metal with a thin layer of oil. Check the tension of the center bolt on pruners; a loose bolt allows the blades to "cross," resulting in crushed tissue rather than a clean shear.
The Yield:
Harvesting is the final mechanical interaction with the plant. For leafy greens, harvest in the early morning when turgor pressure is at its peak. This ensures the cells are fully hydrated, extending the shelf life. Use a serrated harvest knife for thick-stemmed crops to avoid jarring the root system.
Post-harvest, "field heat" must be removed immediately. Submerge produce in 40-degree Fahrenheit water to slow the rate of respiration. For flowers, cut the stems underwater at a steep angle to prevent air embolisms in the xylem. This technique ensures the vascular system remains open for water uptake, maintaining "day-one" freshness for a longer duration.
FAQ:
How do I clean rusted garden tools?
Use a wire brush or 80-grit sandpaper to remove surface oxidation. Soak the metal parts in white vinegar for 24 hours to dissolve deep rust. Rinse, dry thoroughly, and apply a protective layer of mineral oil.
What is the best way to sharpen pruners?
Follow the existing factory bevel with a medium-grit diamond file. Move the file in a single direction away from your body. Finish with a fine-grit stone to remove the burr from the flat side of the blade.
Why does soil pH matter for tool care?
High acidity (pH below 5.0) or high alkalinity can accelerate the corrosion of metal tools left in contact with the soil. Maintaining a neutral pH of 6.5 protects both your plants and your equipment's longevity.
How often should I disinfect my garden tools?
Disinfect tools between every individual plant if disease is suspected. For routine maintenance, a thorough cleaning at the end of each session with 70 percent isopropyl alcohol prevents the cross-contamination of soil-borne pathogens and fungi.