6 Steps to Install an Artistic Garden Screen
Crushing a handful of friable loam reveals the metallic scent of geosmin; it is the olfactory signal that your substrate is ready for structural intervention. Successful vertical integration in a landscape requires more than aesthetic placement. It demands an understanding of soil mechanics and plant physiology. Following the correct steps for installing a garden screen ensures that your living or structural partition withstands wind load and supports the rhizosphere of adjacent plantings. When the turgor pressure in your surrounding flora is high, the garden feels cohesive and structurally sound. This guide provides the technical framework to execute a professional installation that balances engineering with horticultural health.
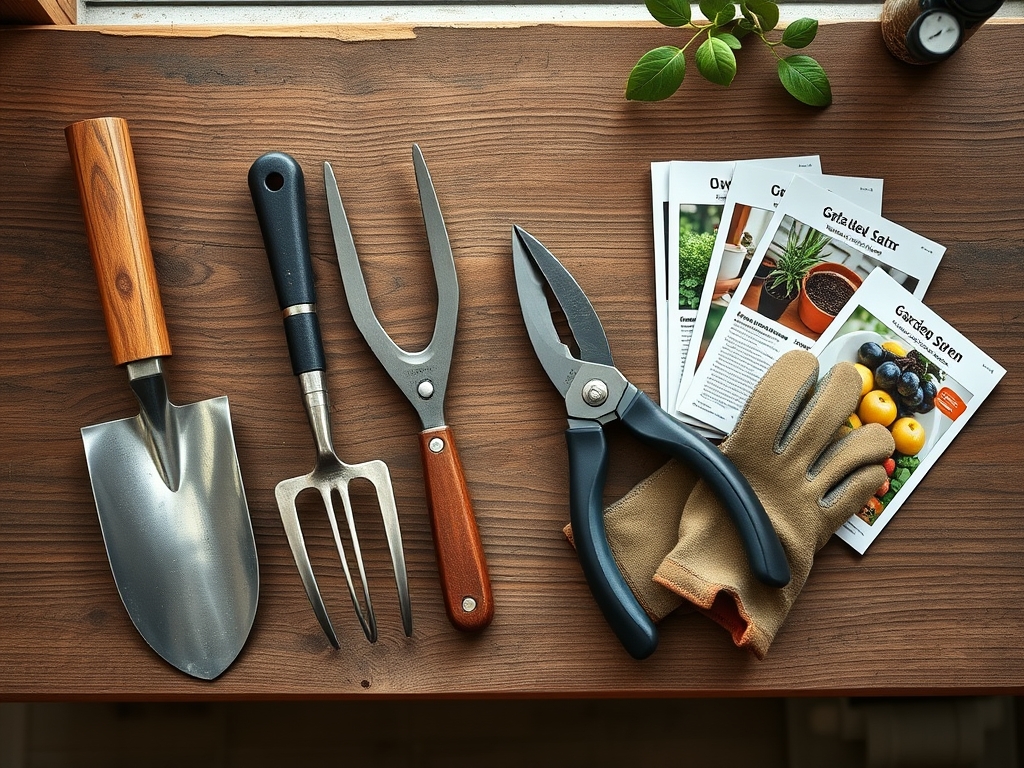
Materials:
The foundation of any vertical installation is the soil chemistry and physical structure of the site. For a garden screen that incorporates climbing species or heavy structural posts, the soil must possess a **Cation Exchange Capacity (CEC) between 15 and 25 milliequivalents per 100g**. This ensures the soil can hold onto essential nutrients like Potassium and Magnesium.
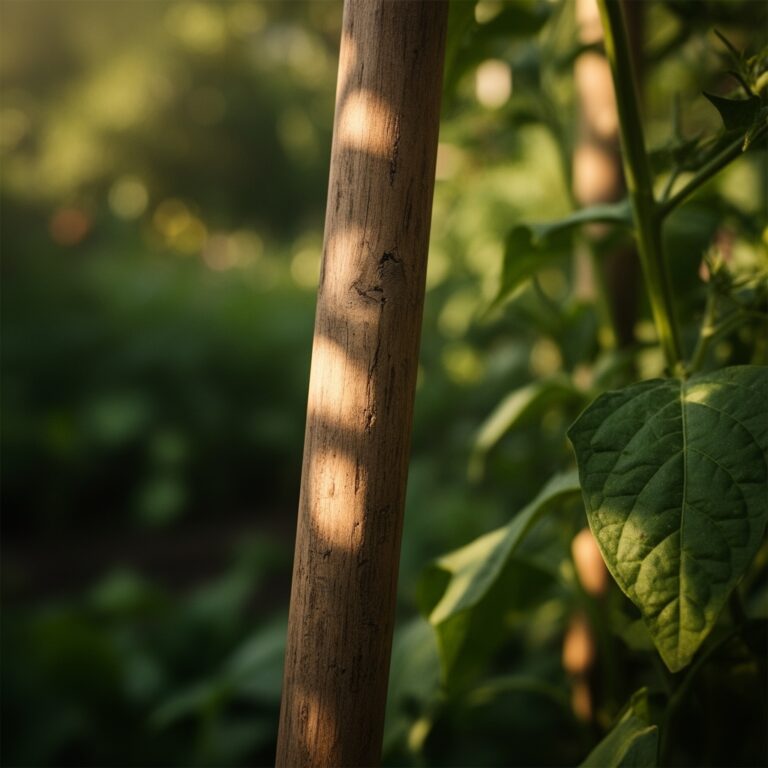
The ideal substrate is a friable sandy loam with a pH between 6.2 and 6.8. If the soil is too acidic, add pelletized lime; if too alkaline, incorporate elemental sulfur. For the biological components of the screen, you must prepare the planting holes with a specific nutrient profile. Use a slow-release 10-10-10 NPK fertilizer to provide a baseline of Nitrogen for leaf development, Phosphorus for root establishment, and Potassium for cellular wall strength. Avoid high-nitrogen blends (e.g., 30-0-0) as they cause succulent, weak growth that is susceptible to wind damage and pathogens. Ensure you have Grade 3 pressure-treated timber or powder-coated steel posts to prevent leaching of heavy metals into the root zone.
Timing:
Installation should align with the dormant season or early spring to minimize stress on the local ecosystem. In Hardiness Zones 5 through 7, the window for installation opens as soon as the frost depth recedes, typically when soil temperatures reach a consistent 45 degrees Fahrenheit. In warmer Zones 8 through 10, late autumn is preferable to allow for root development before the high-evapotranspiration rates of summer.
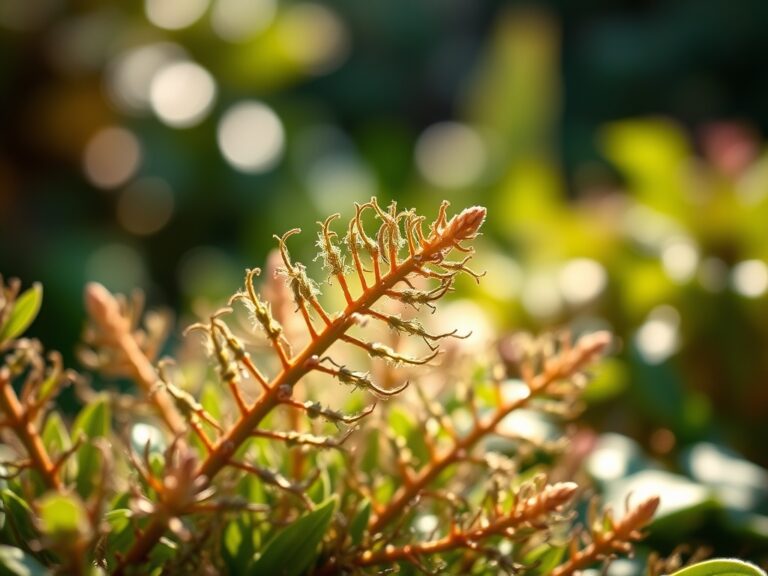
Understanding the biological clock of your screen plants is vital. Most climbers and screening shrubs transition from vegetative to reproductive stages based on the photoperiod. Installing the screen before the spring equinox allows plants to establish their root systems during the vegetative phase. This ensures that when the photoperiod increases, the plant has the hydraulic capacity to support rapid upward growth and eventual flowering without experiencing wilting or stunted development.
Phases:

Sowing and Site Preparation
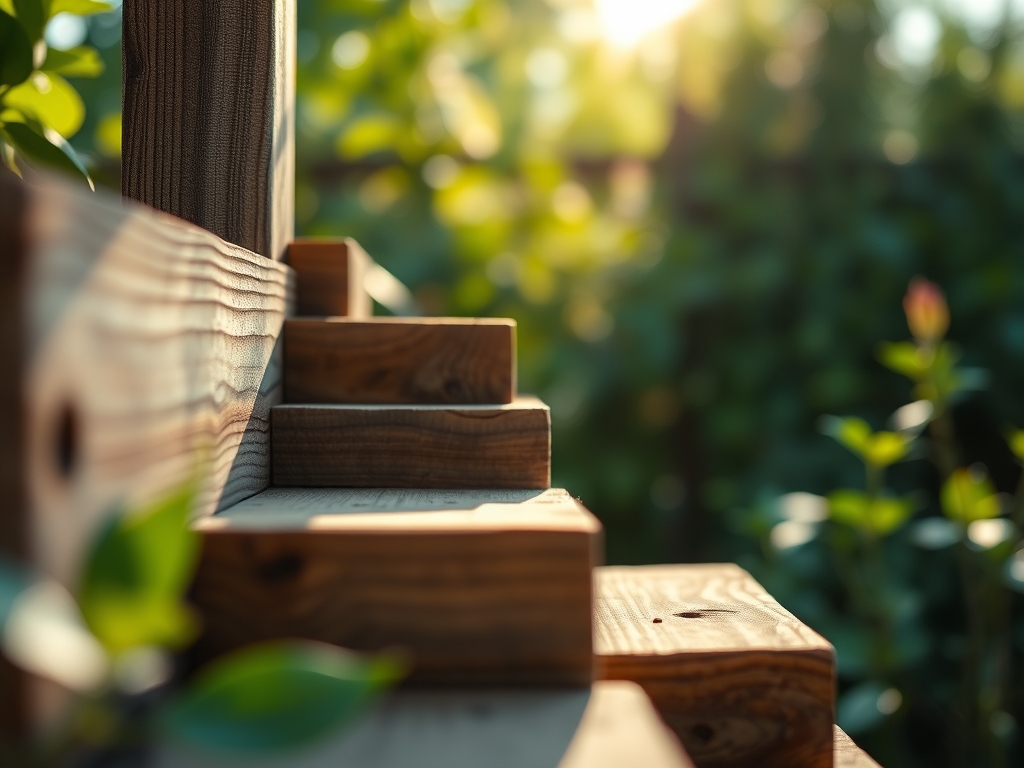
Begin by excavating post holes to a depth of at least one-third the total height of the screen. For a six-foot screen, dig 24 inches deep. If you are sowing seeds for a seasonal screen, such as Ipomoea purpurea, ensure the soil is tilled to a depth of 6 inches to allow for easy radical penetration.
Pro-Tip: Utilize mycorrhizal inoculants during soil preparation. This fosters a symbiotic relationship where fungi extend the reach of the root system, increasing the plant's ability to uptake Phosphorus and water in tight urban soils.
Transplanting and Anchoring
When placing structural posts, use a gravel base for drainage to prevent anaerobic conditions at the post base. For living screens, ensure the root ball is level with the soil surface. Planting too deep leads to stem rot; planting too shallow causes desiccation. Backfill with the amended loam and tamp down to remove air pockets that can dry out fine root hairs.
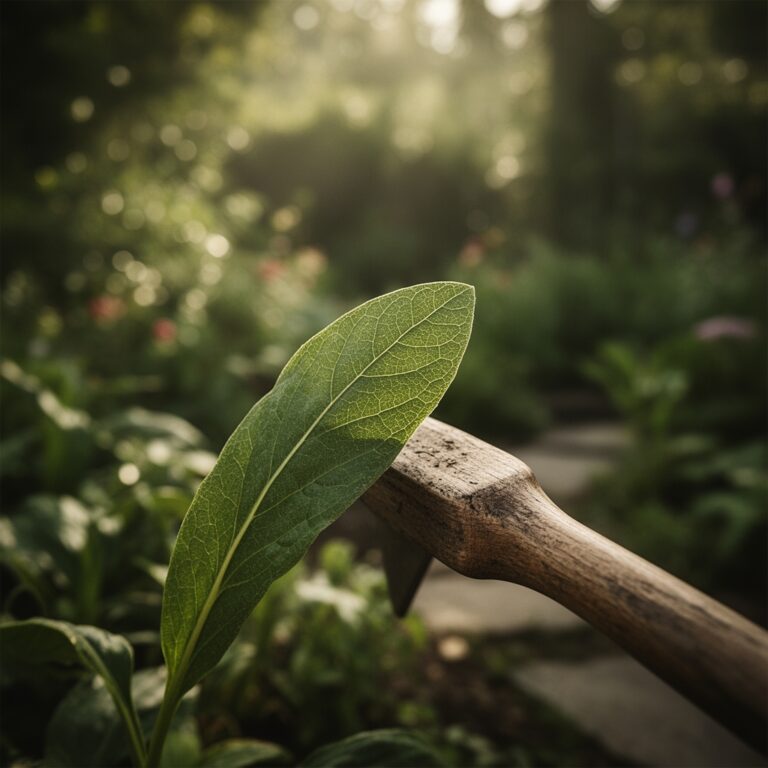
Pro-Tip: When training vines to the screen, avoid tight bindings. This prevents girdling, where the physical tie restricts the phloem's ability to transport sugars from the leaves to the roots, eventually killing the limb.
Establishing the Screen
During the first 45 days, the focus is on root establishment over top-growth. Prune the apical meristems of your plants to encourage lateral branching. This creates a denser screen. Monitor the soil moisture daily using a soil moisture meter to ensure the root zone stays within the 40 to 60 percent saturation range.
Pro-Tip: Pruning the lead shoot triggers auxin suppression. When the dominant tip is removed, the plant redirects growth hormones to lateral buds, resulting in a bushier, more opaque screen rather than a single leggy vine.
The Clinic:
Physiological disorders can compromise the integrity of your garden screen. Identifying these early is the difference between a thriving partition and a failing one.
- Symptom: Interveinal Chlorosis. Yellowing between leaf veins while the veins remain green.
- Solution: This indicates a Manganese or Iron deficiency, often caused by high pH. Lower the pH to 6.5 to increase micronutrient bioavailability.
- Symptom: Leaf Scorch. Browning of the leaf margins.
- Solution: This is typically a sign of Potassium deficiency or salt accumulation. Flush the soil with 2 inches of water and apply a 0-0-50 sulfate of potash.
- Symptom: Epinasty. Downward curling or twisting of leaves.
- Solution: Check for structural compaction near the screen base. This often results from poor gas exchange in the rhizosphere, leading to ethylene buildup.
- Fix-It for Nitrogen Chlorosis: If the entire leaf turns pale green or yellow, apply a liquid kelp or fish emulsion for immediate Nitrogen uptake. Follow with a granular 10-5-5 fertilizer to provide a sustained release.
Maintenance:
A garden screen requires precise mechanical and biological upkeep. Provide 1.5 inches of water per week delivered at the drip line via drip irrigation to minimize foliar diseases. Avoid overhead watering, which increases the risk of fungal spores germinating on the leaf surface.
Use a hori-hori knife to remove deep-rooted weeds that compete for nutrients within a 2-foot radius of the screen base. For woody screens, use bypass pruners to make clean, 45-degree cuts just above a node. This promotes rapid callusing and prevents pathogen entry. Every spring, top-dress the area with 2 inches of organic compost to maintain the soil's organic matter content and CEC levels. Use a soil moisture meter weekly to calibrate your irrigation schedule against natural rainfall.
The Yield:
If your screen consists of flowering species like Lonicera or edible climbers like Vitis, harvest timing is critical. For flowers, harvest in the early morning when turgor pressure is at its peak; this ensures the blooms last longer once cut. Use sharp snips to avoid crushing the xylem vessels. For grapes or hops, monitor the Brix levels or resin development. Post-harvest, immediately plunge stems into cool water to maintain the "day-one" freshness and prevent rapid senescence.
FAQ:
How deep should post holes be for a garden screen?
Post holes must be at least one-third the height of the screen. For a standard 6-foot screen, dig 24 inches deep. This depth provides the necessary leverage to resist wind shear and prevents the structure from leaning over time.
What is the best NPK ratio for a new living screen?
A balanced 10-10-10 NPK ratio is ideal for establishment. It provides Nitrogen for foliage, Phosphorus for strong root architecture, and Potassium for cellular integrity and disease resistance. Avoid high-nitrogen fertilizers which produce weak, spindly growth prone to pests.
How do I prevent my wooden screen from rotting?
Use Grade 3 pressure-treated timber or cedar, which has natural rot-resistant tannins. Ensure the base of the post is set on 3 inches of gravel to facilitate drainage and prevent water from pooling around the wood in the rhizosphere.
When is the best time to prune a flowering screen?
Prune immediately after the flowering cycle is complete. This prevents you from cutting off next year's buds. Use bypass pruners to make clean cuts, which allows the plant to seal the wound quickly through natural compartmentalization.
Can I install a garden screen in heavy clay soil?
Yes, but you must amend the site with organic matter to improve drainage. Incorporate expanded shale or compost to increase pore space. This prevents the "bathtub effect" where water traps around the roots, causing anaerobic rot and plant death.