9 Steps to Prepare an Artistic Water Feature Site
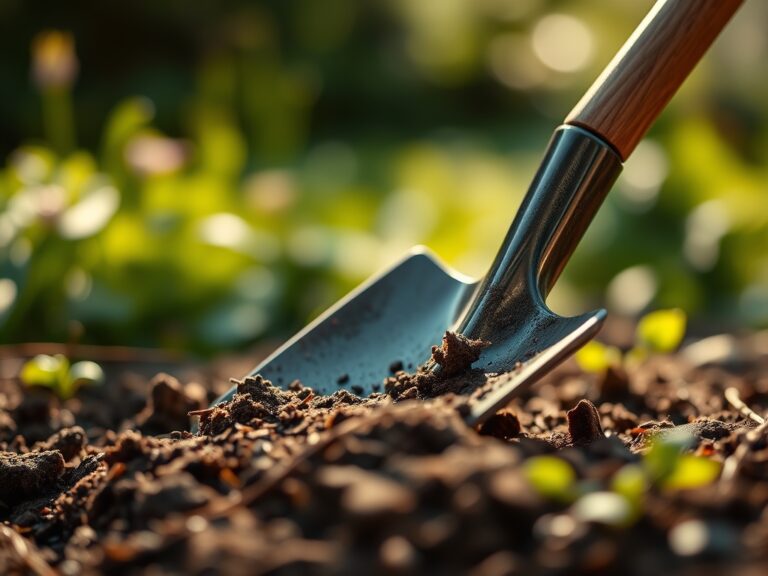
The scent of geosmin rises from the damp earth as the spade breaks the surface; it is the olfactory signal of a healthy soil microbiome. To understand how to prepare a garden for a pond, one must first respect the hydraulic and biological pressure a water feature exerts on the surrounding landscape. Successful installation requires managing the turgor pressure of adjacent flora while ensuring the rhizosphere remains undisturbed by heavy machinery. Soil compaction is the primary enemy of site preparation. A cubic foot of saturated clay can weigh over 110 pounds, making structural integrity and drainage the foundational pillars of your project. You are not merely digging a hole; you are re-engineering a localized ecosystem to support both aquatic life and terrestrial margins. This process demands precision in grading and a deep understanding of the Cation Exchange Capacity (CEC) of your native soil to prevent nutrient leaching into the new water column.
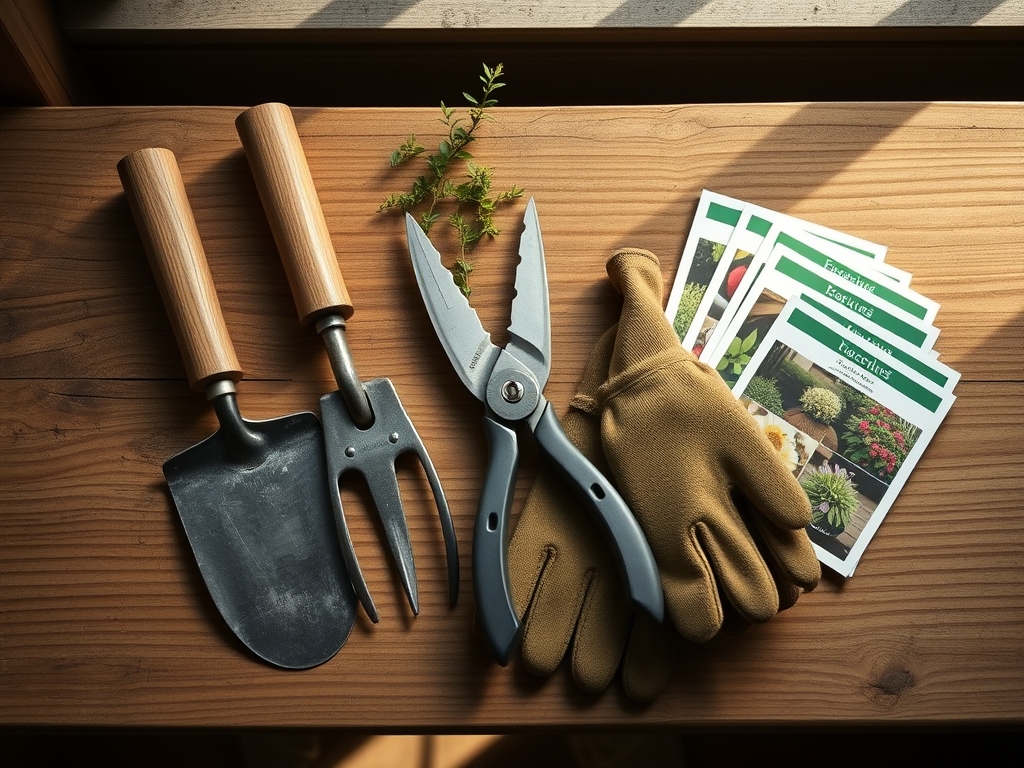
Materials:
Site preparation requires a substrate that facilitates drainage while supporting heavy marginal plantings. The ideal soil for the surrounding perimeter is a **friable loam** with a composition of **40% sand, 40% silt, and 20% clay**. This balance ensures a **CEC of 15 to 25 milliequivalents per 100 grams**, allowing the soil to retain essential nutrients without becoming anaerobic.
For the terrestrial buffer zone, target a pH of 6.5 to 7.0. Incorporate organic matter to achieve a 5% organic carbon content. If the soil is depleted, use a slow-release fertilizer with an NPK ratio of 5-10-5. The lower nitrogen content prevents excessive vegetative "flush" which can lead to weak cell walls, while the higher phosphorus levels encourage the robust root architecture necessary to stabilize the pond banks. Avoid high-nitrogen blends like 20-10-10 near the water edge; excess nitrates will leach into the pond, triggering massive algal blooms and depleting dissolved oxygen levels.
Timing:
The biological clock for pond installation is dictated by your USDA Hardiness Zone. In Zones 4 through 6, site preparation must commence at least six weeks before the first hard frost or immediately after the spring thaw once the soil temperature reaches a consistent 50 degrees Fahrenheit. Working frozen or saturated soil destroys soil structure through "puddling," where clay particles align and create an impermeable layer.
Observe the photoperiod of your specific region. Transitioning from the vegetative to the reproductive stage in surrounding perennials requires stable soil moisture. Aim to complete heavy excavation during the dormant season for local deciduous trees to minimize root shock. This timing prevents the disruption of auxin flow from the apical meristems, which is critical for the plant to signal root growth during the subsequent spring emergence.
Phases:
Sowing the Perimeter
When establishing ground cover to prevent erosion during excavation, sow seeds of native grasses at a rate of 5 pounds per 1,000 square feet. Use a seed drill to ensure a planting depth of 0.25 inches for optimal seed-to-soil contact.
Pro-Tip: Monitor for phototropism in new seedlings. If the site is heavily shaded by overhanging canopies, seedlings will elongate their hypocotyls, leading to "leggy" growth and poor bank stabilization.
Transplanting Marginal Species
Move established perennials using a hori-hori knife to preserve the integrity of the root ball. Dig the new hole twice as wide as the root system but no deeper than the original grade to prevent crown rot.
Pro-Tip: Inoculate the root zone with mycorrhizal fungi. This mycorrhizal symbiosis expands the effective root surface area by up to 1,000%, significantly increasing the plant's ability to uptake phosphorus and water during the stress of relocation.
Establishing the Bio-Filter Zone
The area immediately adjacent to the water must be stabilized with deep-rooted species. Maintain a soil moisture level of 25% to 30% during the first 21 days of establishment.
Pro-Tip: Practice auxin suppression by pinching back the terminal buds of new plantings. This redirects the plant's energy from vertical growth to lateral branching and root development, creating a denser biological carpet that filters runoff before it enters the pond.
The Clinic:
Physiological disorders often manifest during the transition from a dry garden to a water-influenced landscape.
- Symptom: Interveinal chlorosis on new leaves (yellowing with green veins).
Solution: This indicates Iron deficiency, often caused by a pH above 7.5. Lower the pH by adding elemental sulfur at a rate of 1 pound per 100 square feet. - Symptom: Marginal leaf scorch and necrotic spots.
Solution: This suggests Potassium deficiency. Apply Sulfate of Potash (0-0-50) to improve the plant's osmoregulation and drought resistance. - Symptom: General yellowing of older leaves (Nitrogen chlorosis).
Fix-It: Apply a liquid kelp emulsion or a blood meal supplement. Nitrogen is mobile within the plant; the organism scavenges it from old growth to support new meristematic activity. - Symptom: Stunted growth and purplish tint on stems.
Solution: Phosphorus deficiency. This is common in cold soils below 55 degrees Fahrenheit. Apply bone meal or triple superphosphate to the rhizosphere.
Maintenance:
Precision maintenance prevents the site from reverting to a chaotic state. Utilize a soil moisture meter daily to ensure the transition zone maintains a consistent centibar reading of 20 to 40. Most marginal plants require 1.5 inches of water per week delivered at the drip line.
Use bypass pruners for clean vascular cuts; anvil pruners crush the xylem and phloem, inviting fungal pathogens. Every autumn, remove senescent foliage from the pond perimeter to prevent organic matter buildup in the water. Use a hori-hori knife to sever any invasive runners that attempt to breach the pond liner. Monitor the Cation Exchange Capacity annually; if the soil becomes overly sandy due to erosion, top-dress with 0.5 inches of high-quality compost to restore nutrient-holding sites.
The Yield:
If your pond preparation includes aquatic edibles like Nasturtium officinale (watercress), harvest timing is critical. Harvest before the plant reaches the reproductive stage (flowering) to ensure the highest concentration of essential oils and the lowest bitterness. Use sharp shears to cut the top 3 inches of growth. For "day-one" freshness, immediately submerge the stems in 40-degree Fahrenheit water to maintain turgor pressure and slow the rate of senescence. Store in a dark, humid environment to prevent the degradation of chlorophyll.
FAQ:
How deep should I dig the pond perimeter?
Excavate the shelf to a depth of 12 to 18 inches. This allows for the placement of aquatic baskets while ensuring the root crowns of marginal plants remain above the permanent water line to prevent anaerobic rot.
What is the best soil for pond-side plants?
Use a friable loam with a pH of 6.5. Ensure the soil has a high Cation Exchange Capacity to retain nutrients. Avoid heavy clays that compact easily or pure sand that leaches nutrients into the water.
How do I prevent the pond from leaking into the garden?
Install a 45-mil EPDM rubber liner. Extend the liner at least 12 inches beyond the water's edge, burying it under a layer of stone or soil to create a capillary break that prevents water from wicking into the surrounding landscape.
When is the best time to plant around a new pond?
Plant during the dormant season or early spring when soil temperatures reach 50 degrees Fahrenheit. This allows the root systems to establish via mycorrhizal symbiosis before the high evapotranspiration demands of the summer heat begin.