7 Steps to Build a Winding Artistic Stone Path
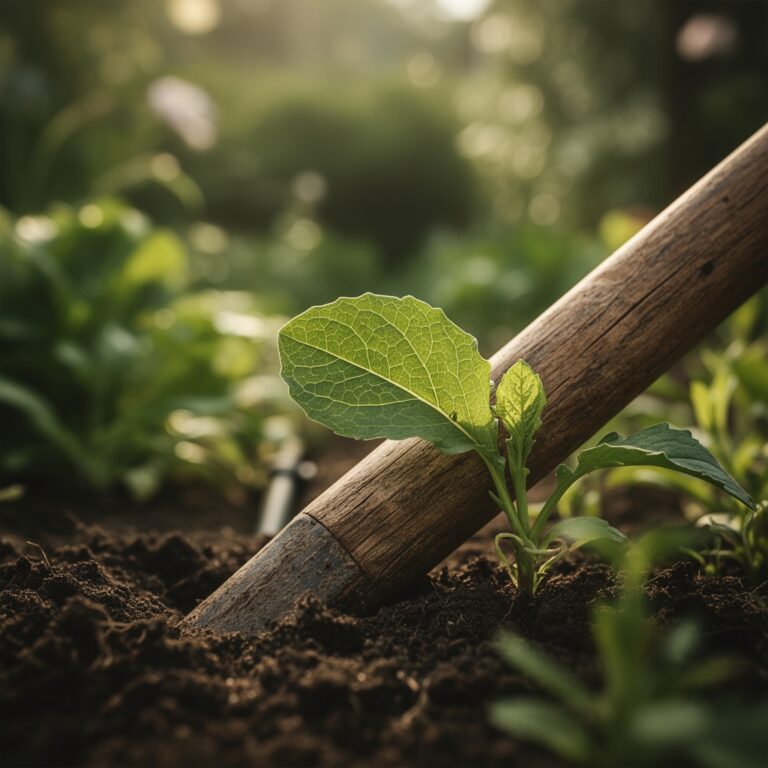
Damp earth releases geosmin as the spade cuts through the root zone; the smell signals a high concentration of actinomycetes bacteria essential for soil health. A garden path is more than a walkway. It is a structural intervention that manages foot traffic to prevent soil compaction and preserve the bulk density of the surrounding rhizosphere. When considering the steps for building a garden path, you must prioritize the integrity of the soil structure. If you compress the pore space, you limit the oxygen available to aerobic microbes and stunt the turgor pressure of your ornamental specimens. A winding path follows the natural topography of the land; it mimics the organic flow of water and root expansion. By integrating stone into the landscape, you create a thermal mass that regulates local ground temperatures. This guide provides the technical framework for installing a durable, artistic stone path while maintaining the biological health of your garden ecosystem. We will focus on the engineering of the substrate and the physiological needs of the surrounding flora to ensure long term success.
Materials:

The foundation of a stone path requires a **friable loam** environment in the adjacent planting beds to ensure proper drainage. For the path itself, you need a sub-base of **crushed limestone or 3/4-inch minus gravel**. This material provides high structural stability and a high **Cation Exchange Capacity (CEC)** if fine particles leach into the soil. The ideal soil pH for most peripheral path plants is **6.2 to 6.8**. If your soil is too acidic, incorporate pelletized lime at a rate of **5 pounds per 100 square feet**.
For the surrounding vegetation, maintain a nutrient profile with an NPK ratio of 10-10-10 for general establishment or 5-10-15 for woody perennials that require potassium for winter hardiness. You will also need polymeric sand for the stone joints. This material prevents weed seed germination by creating a semi-rigid barrier that resists erosion while remaining flexible during freeze-thaw cycles.
Timing:
The installation window is critical. You must work during the dormant season or early spring before the Biological Clock of your garden triggers the transition from vegetative to reproductive stages. In Hardiness Zones 4 through 7, the ideal window is between the last hard freeze and the first surge of auxin-driven spring growth. Aim for a soil temperature of at least 45 degrees Fahrenheit to ensure the ground is workable and not anaerobic from excess meltwater.
Avoid construction during the peak of summer. High temperatures increase the transpiration rate of nearby plants; any root disturbance during this period can lead to permanent wilting point. Monitoring the photoperiod is also essential. Shorter days in late autumn provide a stable environment for "setting" the path without the stress of high UV radiation on newly exposed soil microbes.
Phases:

Sowing the Foundation
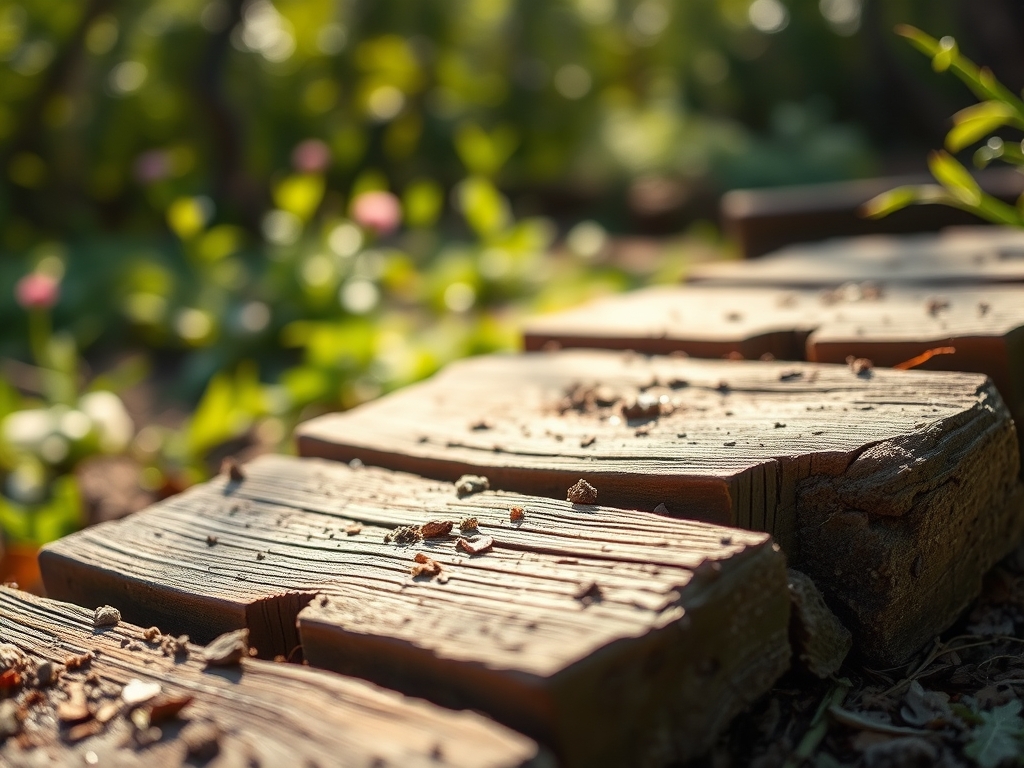
Excavate the path to a depth of 6 inches. This depth allows for a 4-inch base of compacted aggregate and a 2-inch layer of bedding sand or stone. Use a plate compactor to ensure the base reaches a 95 percent Proctor density. This prevents the stones from shifting and crushing the roots of adjacent trees.
Pro-Tip: Maintaining soil porosity near the path edge is vital. Mycorrhizal symbiosis depends on the exchange of carbohydrates for phosphorus; if you over-compact the edges, you kill the fungal networks that support plant immunity.
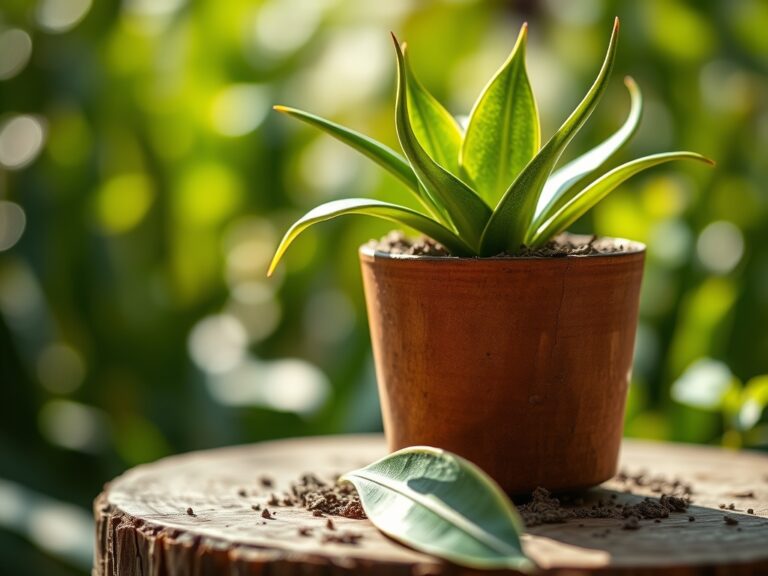
Transplanting and Edging
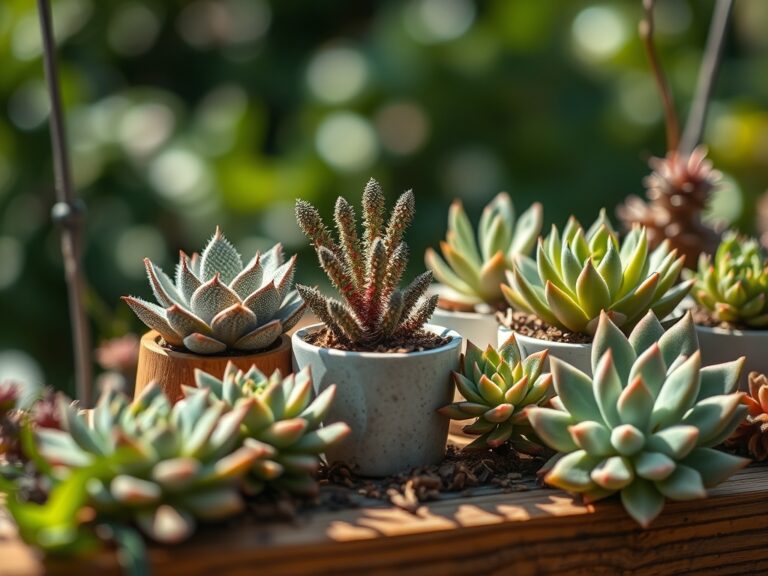
Once the stones are set, install low-profile groundcovers like Thymus praecox in the crevices. Ensure the root balls are teased out to prevent girdling. Use a hori-hori knife to cut precise pockets into the surrounding soil for these transplants.
Pro-Tip: When planting near stone, be aware of phototropism. Plants will lean toward the light reflecting off light-colored stones. Space your plants 8 to 12 inches apart to allow for lateral expansion without overcrowding the path.
Establishing the Microclimate
Backfill the edges with a mix of 70 percent native soil and 30 percent organic compost. Water the area immediately to settle the air pockets around the roots. This ensures immediate capillary action between the root hairs and the soil moisture.
Pro-Tip: Applying a thin layer of organic mulch helps suppress auxin production in weed seeds by blocking light. This reduces competition for nutrients while the primary path plants establish their root systems.
The Clinic:
Physiological disorders often manifest at the interface of hardscapes and softscapes. Monitor for these specific symptoms:
- Symptom: Interveinal chlorosis (yellowing leaves with green veins).
Solution: This indicates Iron deficiency, often caused by high alkalinity leaching from concrete or certain stones. Apply chelated iron to lower the local pH. - Symptom: Leaf scorch or marginal necrosis.
Solution: This is often a result of thermal stress from stone heat. Increase irrigation frequency to maintain turgor pressure during heat waves. - Symptom: Stunted growth and purplish stems.
Solution: Phosphorus deficiency occurs in cold, compacted soils. Use a soil moisture meter to ensure the area isn't waterlogged, which prevents phosphorus uptake.
Fix-It for Nitrogen Chlorosis: If the entire leaf turns pale yellow, apply a high-nitrogen liquid fertilizer (e.g., 20-0-0) to provide an immediate boost to chlorophyll production.
Maintenance:
Precision is the hallmark of a professional horticulturist. Provide 1.5 inches of water per week at the drip line of the path-side plants. Use a soil moisture meter to verify that moisture is reaching a depth of 6 inches. During the growing season, use bypass pruners to remove any senescent (dead or aging) foliage that hangs over the stones; this prevents the buildup of pathogenic fungi.
Every two years, inspect the joints. If the polymeric sand has eroded, sweep in new material to maintain the structural integrity. Use a hori-hori knife to remove any deep-rooted weeds that manage to penetrate the base. Do not use non-selective herbicides near the path, as the runoff can damage the delicate rhizosphere of your ornamental borders.
The Yield:
If your path winds through a cutting garden or an edible landscape, timing the harvest is essential for cellular integrity. Harvest flowers and herbs in the early morning when turgor pressure is at its peak. This ensures the stems are rigid and the essential oils are concentrated.
For "day-one" freshness, immediately plunge cut stems into water chilled to 40 degrees Fahrenheit. This rapid cooling slows the rate of respiration and senescence, extending the shelf life of the harvest. Use sharp bypass pruners to make clean, slanted cuts; this increases the surface area for water uptake through the xylem.
FAQ:
How deep should I dig for a stone path?
Excavate to a depth of 6 inches. This allows for a 4-inch compacted gravel base and 2 inches for bedding sand and stone thickness. Proper depth prevents frost heaving and ensures long-term structural stability in most soil types.
What is the best stone for a garden path?
Flagstone or slate with a thickness of 1.5 to 2 inches is ideal. These stones provide a flat, stable surface and have enough mass to resist shifting. Ensure the stone is non-porous to prevent cracking during freeze-thaw cycles.
How do I prevent weeds between the stones?
Use polymeric sand in the joints. When misted with water, it hardens to create a durable bond that inhibits weed seed germination and prevents ants from excavating the substrate. Maintain a clean path surface to prevent organic matter buildup.
Can I build a path over tree roots?
Avoid cutting roots larger than 2 inches in diameter. Instead, bridge over them using a layer of geotextile fabric and a shallow gravel base. This protects the tree's vascular system while allowing for a level walking surface.