8 Essential Steps for Repotting a Snake Plant
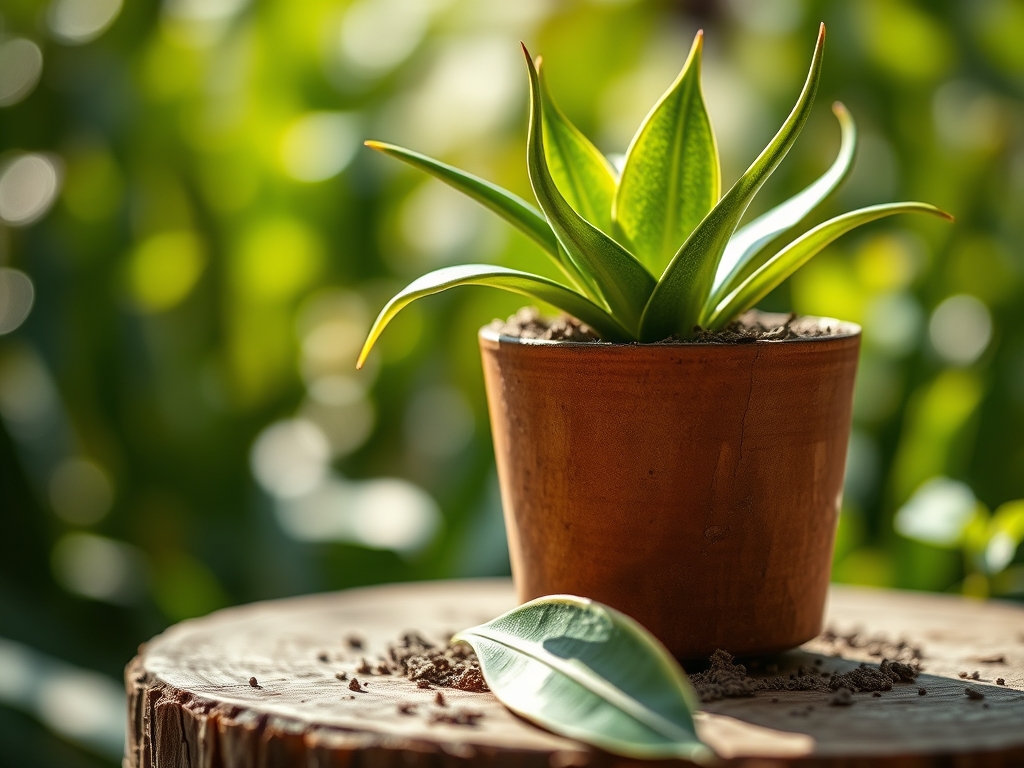
The smell of damp peat and the metallic tang of a clean blade signal the start of a necessary intervention. A healthy Sansevieria trifasciata maintains high turgor pressure; its leaves stand rigid and vertical due to internal water storage. When the rhizomes press against the terracotta wall or the substrate depletes its mineral reserve; you must execute the steps for repotting a snake plant. This is not merely a cosmetic change; it is a critical recalibration of the rhizosphere to prevent root senescence.
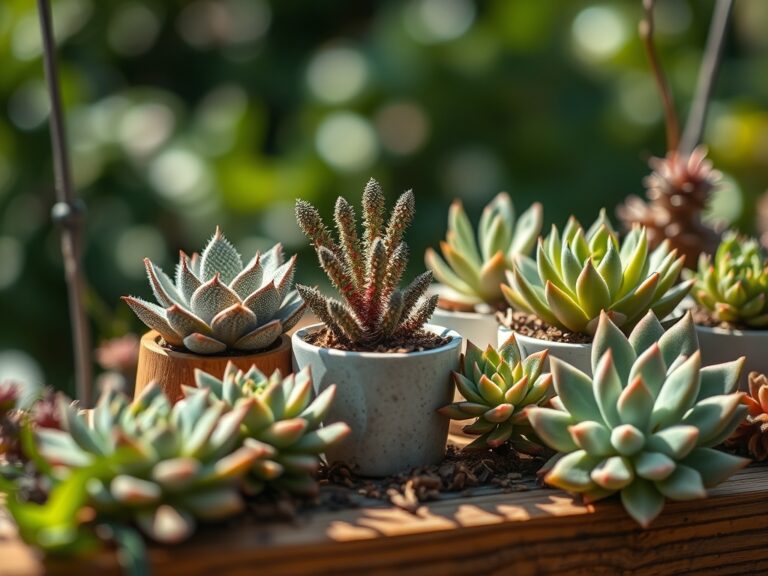
A successful transplant requires understanding the plant's physiological limits. These succulents thrive on neglect but suffer under improper drainage. Most failures occur because the gardener ignores the soil's Cation Exchange Capacity (CEC) or the physical structure of the medium. You are managing a living system that utilizes Crassulacean Acid Metabolism (CAM) to survive arid conditions. The goal is to provide a substrate that allows for rapid gas exchange while maintaining enough moisture to trigger root hair development. Expect to find a dense network of orange-hued rhizomes. If the roots appear mushy or black; the plant has already entered a state of anaerobic decay. You must act with surgical precision to restore the balance between the root mass and the available soil volume.
Materials:
The substrate is the most critical component of this operation. You require a friable loam with a high sand and perlite content to ensure a drainage rate of at least 1 inch per hour. Aim for a soil pH between 5.5 and 7.0. The nutrient profile should focus on a low-nitrogen, high-potassium ratio; specifically an NPK of 3-1-2 or 10-10-10 at half strength. High nitrogen levels can lead to weak, floppy growth that compromises the plant's structural integrity.
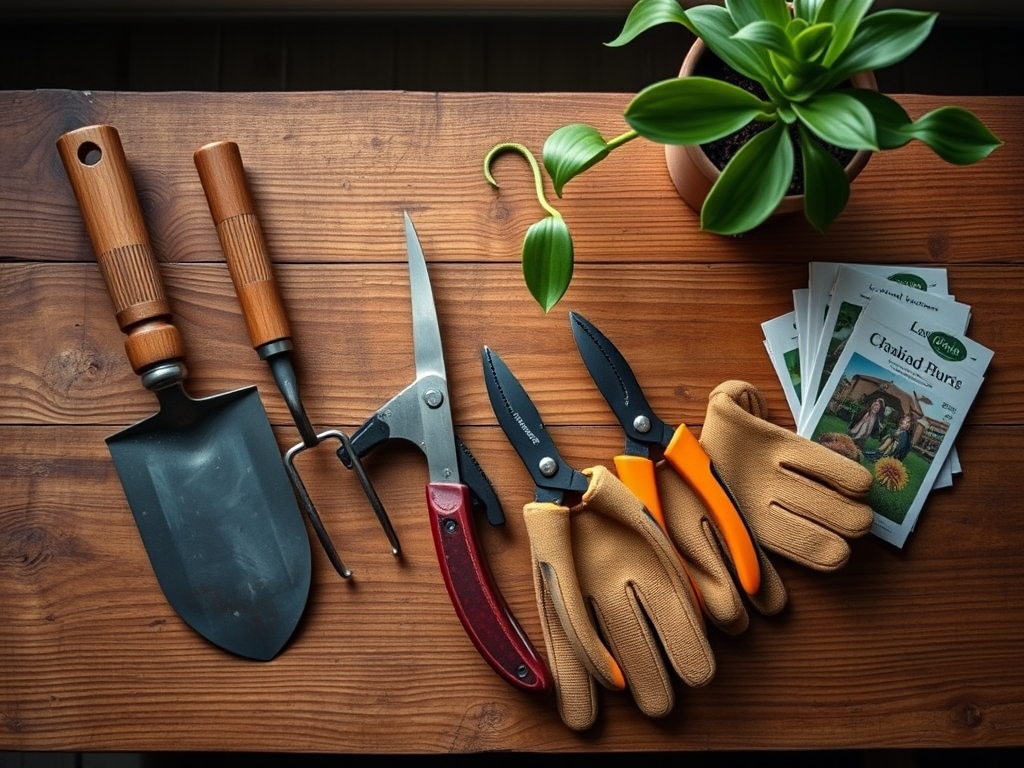
Select a pot that is only 1 to 2 inches wider than the current root ball. Excessive soil volume leads to "perched water tables" where moisture sits at the bottom of the pot, suffocating the roots. Use a sterilized hori-hori knife for separating the root mass and bypass pruners for removing necrotic tissue. Ensure all tools are wiped with 70 percent isopropyl alcohol to prevent the spread of fungal pathogens like Fusarium.
Timing:
The biological clock of the Sansevieria is dictated by light intensity and temperature. In Hardiness Zones 9 through 11, these plants can remain outdoors year-round. However; for most indoor growers, the ideal window for repotting is during the active vegetative stage in late spring or early summer. This coincides with the increase in photoperiod, providing the plant with the metabolic energy required to repair damaged root tissues.
Avoid repotting during the winter dormancy period when the plant's metabolic rate drops. In these months, the plant enters a state of semi-dormancy where cellular division slows significantly. If you disturb the roots when the soil temperature is below 65 degrees Fahrenheit, the plant may fail to establish new root hairs, leading to transplant shock. Monitor the local frost-date windows; ensure the ambient temperature remains consistently above 70 degrees Fahrenheit during the two weeks following the procedure to facilitate rapid recovery.
Phases:

Sowing and Preparation
Before removing the plant, withhold water for 5 to 7 days. Dry soil shrinks away from the pot walls, making extraction easier and reducing the risk of mechanical damage to the rhizomes. Gently tilt the pot and use your hori-hori knife to circle the inner perimeter. If the plant is stuck, do not pull by the leaves; this can cause tissue tearing at the base. Instead, tap the sides of the container to break the surface tension.
Pro-Tip: Maintaining dry conditions during extraction prevents the rupture of turgid cells. This is a form of controlled desiccation that makes the rhizomes more flexible and less prone to snapping during handling.
Transplanting
Examine the root system once it is exposed. Healthy roots are firm and often bright orange. Use your bypass pruners to remove any roots that are soft or shriveled. Position the plant in the new container so that the soil line remains at the same level as it was previously. Burying the crown too deep leads to moisture entrapment and crown rot. Fill the gaps with your prepared substrate, tamping down lightly to eliminate large air pockets without compacting the soil.
Pro-Tip: When you trim the roots, you stimulate the production of auxins. These hormones migrate to the site of the cut to initiate new lateral root growth, effectively rejuvenating the plant's uptake capacity through a process called apical dominance suppression.
Establishing
Place the repotted plant in a location with bright, indirect light. Do not water immediately. Wait 2 to 3 days before the first irrigation. This allows any micro-tears in the root system to callus over, preventing soil-borne pathogens from entering the vascular system. After the waiting period, water until liquid exits the drainage holes, then discard the excess from the saucer.
Pro-Tip: Delaying irrigation encourages the plant to seek out moisture, triggering the development of fine root hairs. This symbiotic search for water increases the surface area of the root system and improves the Cation Exchange Capacity of the immediate rhizosphere.
The Clinic:
Physiological disorders in Sansevieria are often the result of environmental stressors rather than pests.
- Symptom: Yellowing of leaf margins (Nitrogen Chlorosis).
- Solution: Apply a balanced liquid fertilizer with a 10-10-10 NPK ratio. Ensure the soil pH is not above 7.5, as high alkalinity can lock out essential micronutrients.
- Symptom: Soft, mushy base (Root Rot).
- Solution: Remove the plant from the soil immediately. Cut away all necrotic tissue. Treat the remaining healthy rhizome with a copper-based fungicide and repot in fresh, dry substrate.
- Symptom: Wrinkled, leaning leaves (Low Turgor Pressure).
- Solution: This indicates chronic underwatering or a completely dead root system. Check the soil moisture; if dry, increase irrigation frequency. If the soil is wet but the plant is wilting, the roots have failed and can no longer transport water.
Maintenance:
Post-repotting care requires discipline. Use a soil moisture meter to ensure the substrate is dry at least 3 inches deep before watering. In a typical indoor environment, this equates to roughly 0.5 to 1.0 inch of water every 2 to 3 weeks. During the peak growing season, you may increase this slightly, but never allow the plant to sit in standing water.
Clean the leaves monthly with a damp cloth to remove dust. Dust buildup reduces the efficiency of the stomata, hindering gas exchange and photosynthesis. Use your bypass pruners to remove any old, scarred leaves at the soil line to redirect energy to new pup production.
The Yield:
While Sansevieria is not an edible crop, the "yield" is measured in pup production and leaf height. To maximize growth, maintain a consistent temperature of 75 degrees Fahrenheit. If the plant produces a flower stalk; which is rare; it will emit a strong, jasmine-like scent at night. These flowers produce sticky nectar; harvest the stalk with pruners once the blooms fade to prevent the plant from diverting energy into seed production.
FAQ:
How do I know when to repot my snake plant?
Repot when rhizomes deform the plastic pot or grow through drainage holes. If water runs straight through without soaking in, the plant is likely root-bound and the soil has lost its Cation Exchange Capacity.
What is the best soil for a snake plant?
Use a well-draining succulent mix with a pH of 5.5 to 7.0. Combine two parts inorganic material like perlite or coarse sand with one part organic potting soil to ensure rapid drainage and aeration.
Can I use a pot without drainage holes?
No. Lack of drainage leads to anaerobic conditions and root rot. Always use a container with at least one large drainage hole to allow excess salts and water to exit the rhizosphere.
Why are my snake plant leaves falling over after repotting?
This usually indicates the plant was buried too shallowly or the soil is too loose. It can also signify a loss of turgor pressure due to damaged roots. Stake the plant temporarily until new roots establish.