9 Steps to Repair a Leaking Hose with a Mender
The spray pattern falters mid-row. Water beads form where none should. You notice the soil darkening in irregular patches beneath your feet, and the pressure drops until the nozzle barely mists. These signs demand immediate attention, not because aesthetics matter, but because water waste compounds daily and irrigation inconsistency stresses root development during critical establishment phases. The steps for repairing a leaking garden hose begin with accurate leak identification and end with a pressure test that matches your system's baseline PSI.
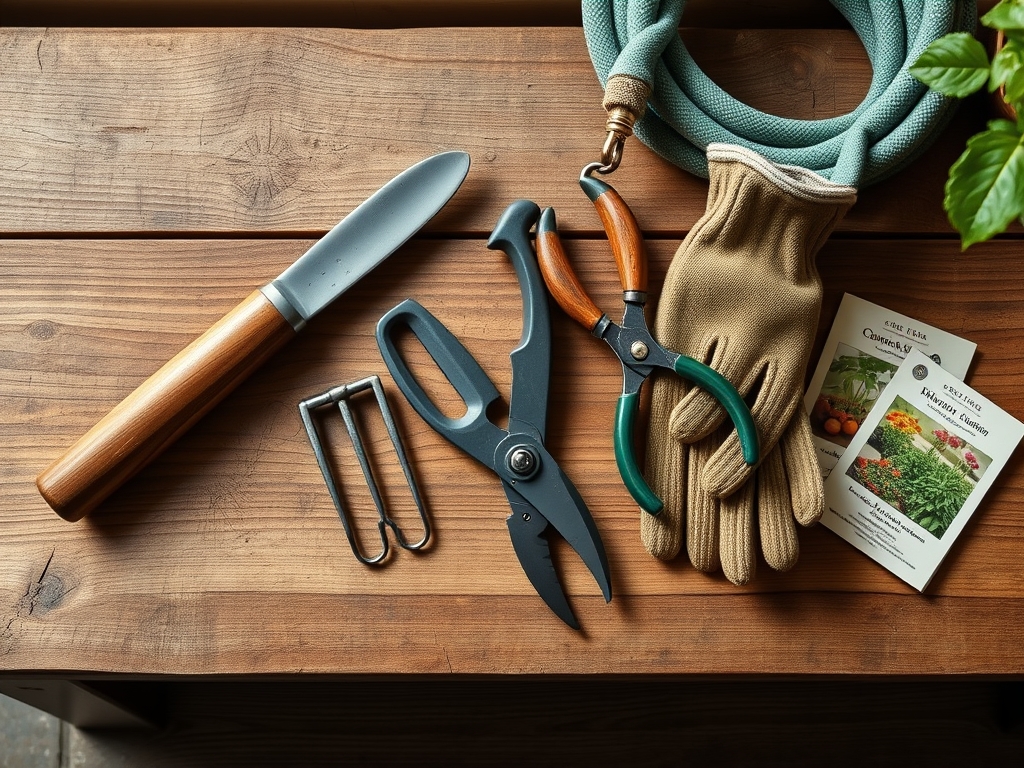
Materials
Gather a hose mender kit compatible with your hose diameter (5/8-inch or 3/4-inch standard). The kit should include two stainless steel clamps rated for 60 PSI minimum, one barbed coupling insert, and a utility knife with a fresh blade. You will need 70% isopropyl alcohol for surface preparation and a measuring tape calibrated in sixteenths of an inch.
Pair your repair with maintenance-grade fertilizer if you irrigate edible gardens. A 4-4-4 organic meal (blood meal, bone meal, kelp) applied at 2 pounds per 100 square feet maintains balanced nitrogen for foliar growth, phosphorus for root colonization by mycorrhizal fungi, and potassium for cellular water regulation. Synthetic 10-10-10 formulations work for ornamental beds where cation exchange capacity exceeds 15 meq/100g. Avoid ammonia-based blends near hose storage areas. The pH of runoff water should remain between 6.0 and 7.0 for optimal nutrient chelation.
Timing
Execute repairs between USDA Hardiness Zones 3 through 9 when ambient temperatures range from 50°F to 85°F. Rubber and vinyl compounds retain flexibility within this window, ensuring secure clamp compression. In Zone 7, schedule repairs between April 15 and October 10. Zone 5 gardeners should complete work by September 20, before nighttime lows threaten hose material integrity. Frost-date windows matter because frozen water expands at 9% volume increase, splitting repaired sections that lack proper curing time.
Phases
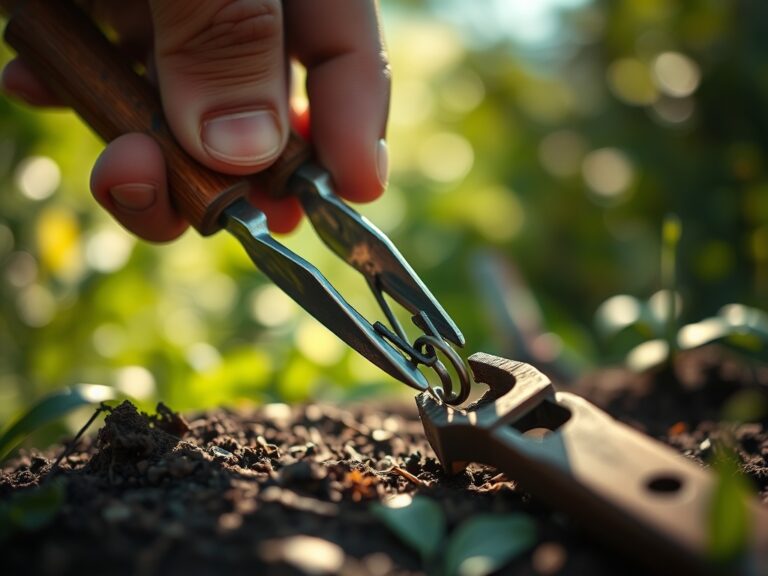
Step 1: Locate the Leak
Run water at half pressure. Mark each damaged section with a wax pencil. Pinhole leaks appear as fine mist. Split seams spray directionally. Check areas near couplings first, where stress concentrates during coiling.
Step 2: Shut Off Water and Drain Completely
Disconnect from the spigot. Elevate one end 3 feet above ground level. Gravity assists drainage in 90 seconds for a 50-foot hose.

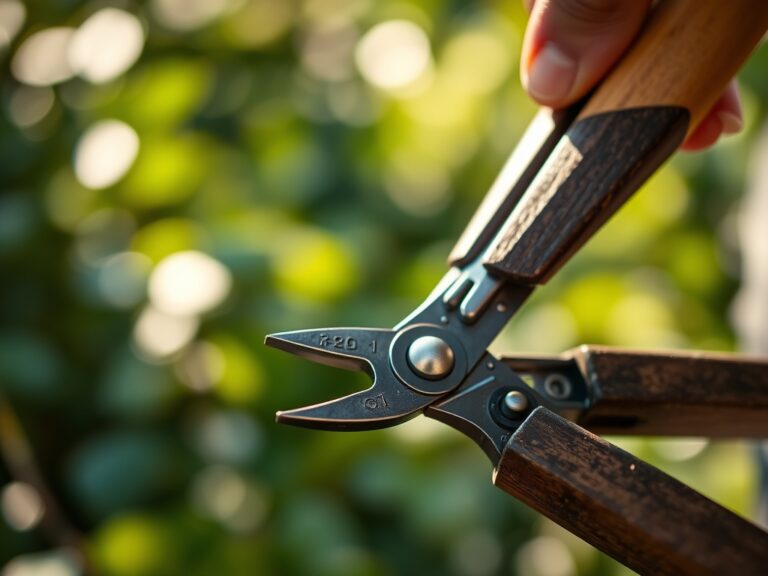
Step 3: Cut Out the Damaged Section
Position the blade perpendicular to the hose axis. Remove 1 inch beyond visible damage on each side to eliminate microtears caused by stress propagation. Clean cuts prevent insertion resistance.
Pro-Tip: Store cut sections in direct sunlight for 20 minutes. UV exposure reveals hairline cracks invisible under shade conditions.
Step 4: Prepare Cut Ends
Wipe interior and exterior surfaces with isopropyl alcohol-soaked cloth. This removes algae biofilm and mineral deposits that reduce friction fit. Dry for 60 seconds.
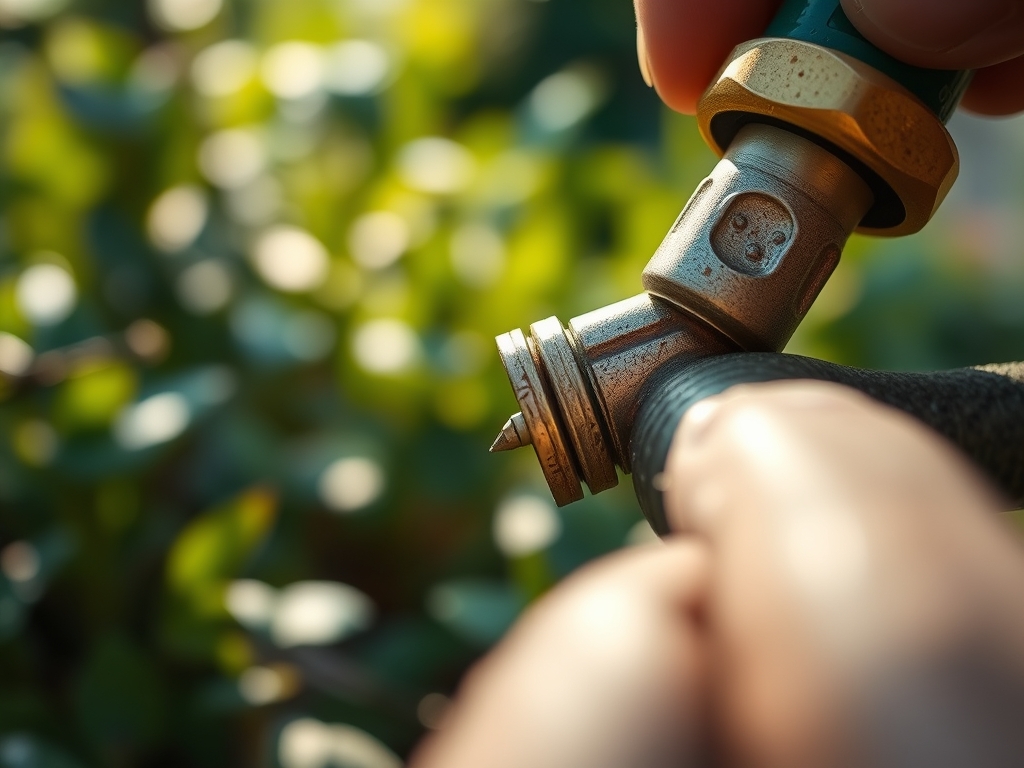
Step 5: Insert the Barbed Coupling
Push the mender into the first cut end. Apply rotational force while advancing. Barbs should seat 1.5 inches deep, with the coupling's center ridge aligning with the gap between hose sections.
Pro-Tip: Dip the barbed end in vegetable glycerin to reduce insertion force by 40% without compromising long-term seal integrity.
Step 6: Attach the Second Hose Section
Slide onto the remaining mender barbs using the same rotational technique. Ensure both sections meet at the coupling's midpoint ridge with zero gap.
Step 7: Position Stainless Steel Clamps
Place one clamp 0.5 inches from each cut end. Center over the barbed ridges. The screw housing should face upward for future access.
Step 8: Tighten Clamps
Use a flathead screwdriver. Apply 12 inch-pounds of torque (finger-tight plus one-quarter turn). Over-tightening deforms hose walls and creates new leak paths through auxin distribution disruption in the rubber matrix.
Pro-Tip: Test clamp tension by attempting to rotate the hose around the coupling. Properly secured sections resist rotation beyond 15 degrees.
Step 9: Pressure Test
Reconnect to the spigot. Open the valve fully. Observe the repair for 5 minutes at operating pressure. Check for mist, drips, or bulging. A successful repair shows zero moisture migration.
Troubleshooting
Symptom: Misting Around Clamps
Solution: Drain and retighten clamps in 15-degree increments. If misting persists, the barbs did not penetrate fully. Remove and re-insert the coupling 0.25 inches deeper.
Symptom: Coupling Pulls Free Under Pressure
Solution: Hose diameter mismatch. Verify mender specifications match hose exterior measurements. Replace with correct size.
Symptom: Cracking at New Cut Edges Within 48 Hours
Solution: Age-related polymer degradation. The entire hose requires replacement when rubber durometer drops below Shore A 60.
Symptom: Bulging Between Clamp and Coupling
Solution: Excessive internal pressure or UV damage. Install a pressure regulator at the spigot (40 PSI for drip systems, 60 PSI for spray nozzles).
Maintenance
Inspect repaired sections monthly during active irrigation season. Apply 1 inch of water per week to established gardens, delivering 0.62 gallons per square foot. Store hoses coiled in 18-inch diameter loops to prevent kinking at repair sites. Drain completely before first frost. UV protectant spray (applied at 2-week intervals) extends rubber lifespan by 30% in Zones 8 through 10.
FAQ
How long does a mender repair last?
Properly installed menders function for 3 to 5 seasons under normal use (500 hours annual operation). Replace when clamp corrosion becomes visible.
Can I repair near an existing coupling?
Maintain 6 inches minimum distance between menders and factory couplings to preserve structural integrity during pressure fluctuations.
Do repairs weaken the entire hose?
No. Localized repairs do not affect sections beyond 3 inches from the coupling insertion point.
Should I use hose tape instead?
Tape provides temporary fixes lasting 2 to 4 weeks. Barbed menders create permanent mechanical bonds resistant to 80 PSI.
What causes repeated failures at the same spot?
Uneven ground creates pressure points during dragging. Reroute the hose path or install protective sleeves over high-wear areas.