8 Essential Steps for Applying Organic Mulch to Vegetable Beds for Moisture Retention
The morning you press your palm into freshly watered soil and it crumbles dry two inches down, you realize your vegetable bed is bleeding moisture faster than your watering can replace it. That’s when understanding the steps for applying organic mulch to vegetable beds becomes not just helpful but essential for any serious grower. Mulch acts as the skin your soil never had, regulating temperature swings, suppressing weeds that compete for water, and creating a microclimate where mycorrhizal fungi and earthworms thrive. Without this protective layer, you’re fighting an uphill battle against evaporation, compaction, and nutrient leaching every single day of the growing season.
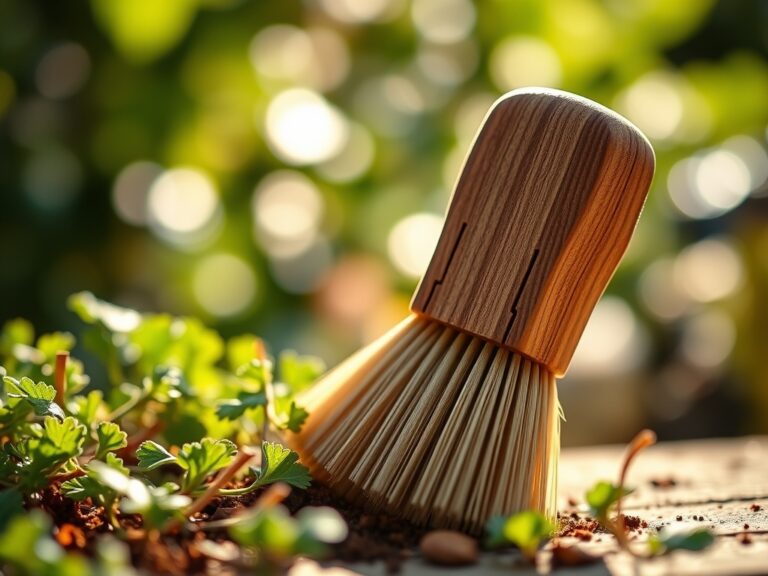
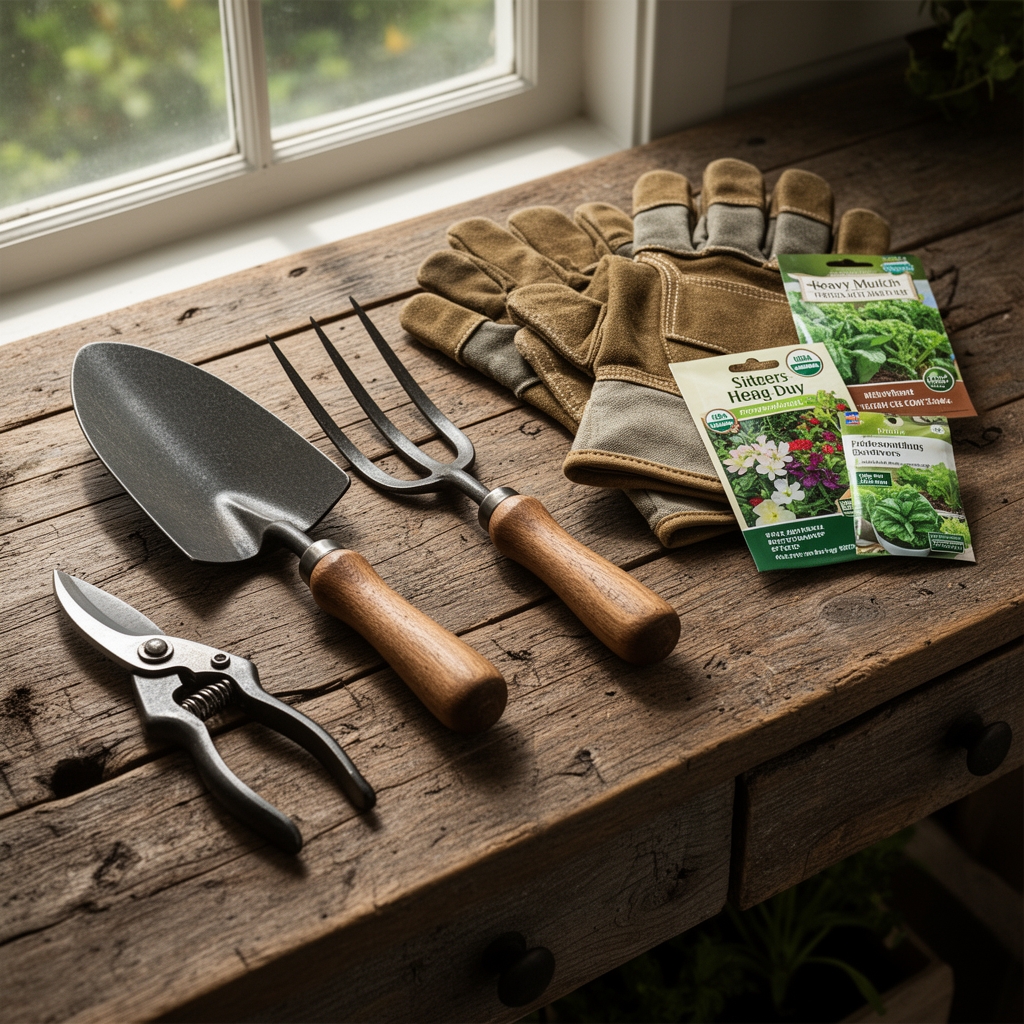
Materials & Supplies
Organic Mulch Materials (select one primary type):
Shredded Hardwood Bark: Carbon-rich (500:1 C:N ratio), pH-neutral (6.5-7.0), slow decomposition over 24-36 months. Best for perennial vegetable beds with asparagus or rhubarb.
Straw (not hay): Low nitrogen tie-up, breaks down in 4-6 months, pH 6.8-7.2. Wheat straw contains minimal weed seeds compared to oat varieties.
Compost (fully finished): NPK approximately 1-1-1, pH 6.0-7.0, provides immediate nutrient availability while mulching. Use only material aged 6+ months to avoid nitrogen robbery.
Grass Clippings (herbicide-free only): High nitrogen (3-0.5-2 NPK when fresh), rapid decomposition in 2-3 weeks. Must be applied in thin layers (0.5 inch maximum) to prevent anaerobic matting.
Shredded Leaves: C:N ratio 40-80:1 depending on species (oak higher, maple lower), pH 5.5-6.5. Shred before application to prevent water-shedding mats.
Pine Needles: Slow decomposition (18-24 months), pH 3.5-4.0 initially but neutralizes to 6.0 after breakdown. Excellent for acid-loving crops like potatoes.
Tools & Amendments:
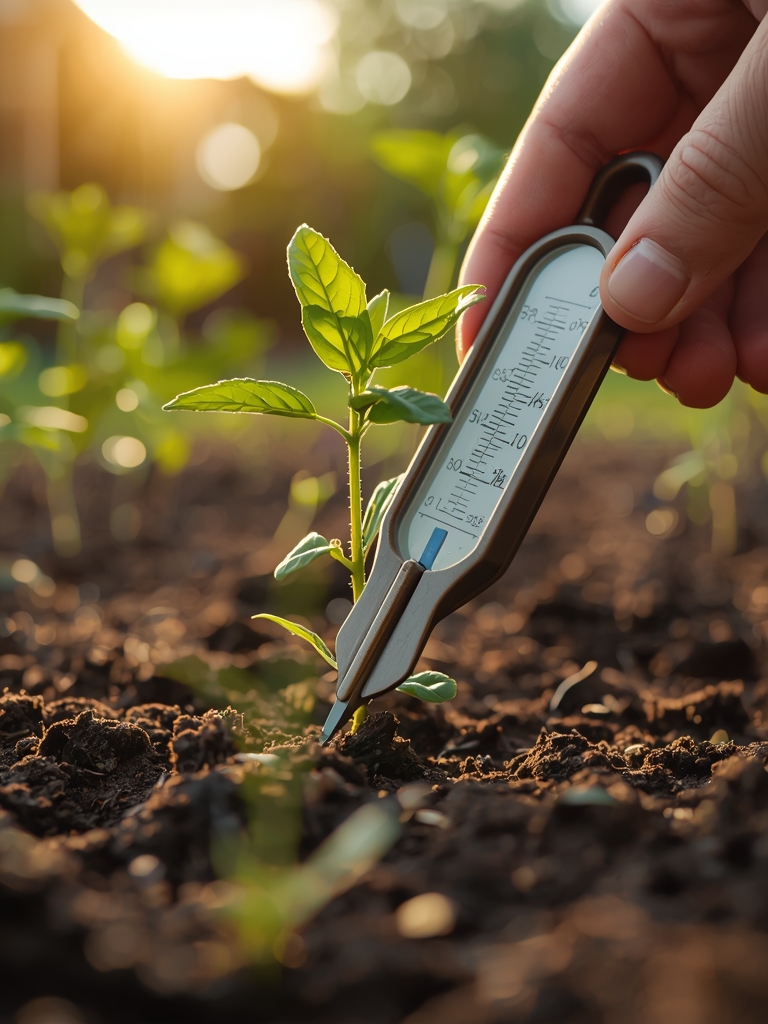
Wheelbarrow (6 cubic foot capacity minimum), garden fork for spreading, soil pH meter (accurate to 0.1), soil thermometer (critical for timing), rake, garden fabric (for weed barrier under paths only, never under mulch), mycorrhizal inoculant powder (Glomus intraradices species), and granular organic fertilizer at 5-10-10 NPK ratio for pre-mulch soil feeding.
Timing & Growing Schedule
Apply organic mulch after soil temperatures stabilize above 60°F at 4-inch depth in spring, typically late April through May in Zones 5-7, mid-March through April in Zones 8-9. Soil below 60°F under heavy mulch delays germination and root development in warmth-loving crops like tomatoes (80-90 days to maturity), peppers (70-85 days), and squash (50-70 days).
For cool-season crops (lettuce, spinach, peas), apply mulch immediately after transplanting or when seedlings reach 3-4 inches tall, usually 14-21 days after germination. These crops tolerate soil temperatures of 45-65°F and benefit from early moisture retention.
Fall mulching occurs after first light frost in Zones 4-6 (late September through October), protecting overwintering crops like garlic, shallots, and parsnips. Apply 4-6 inches of straw or shredded leaves after ground freezes to prevent heaving cycles.
In Zone 3 and colder, mulch application timing shifts to June 1-15 for warm-season crops due to persistent frost risk. Days to maturity must account for shorter growing windows (90-110 frost-free days average).
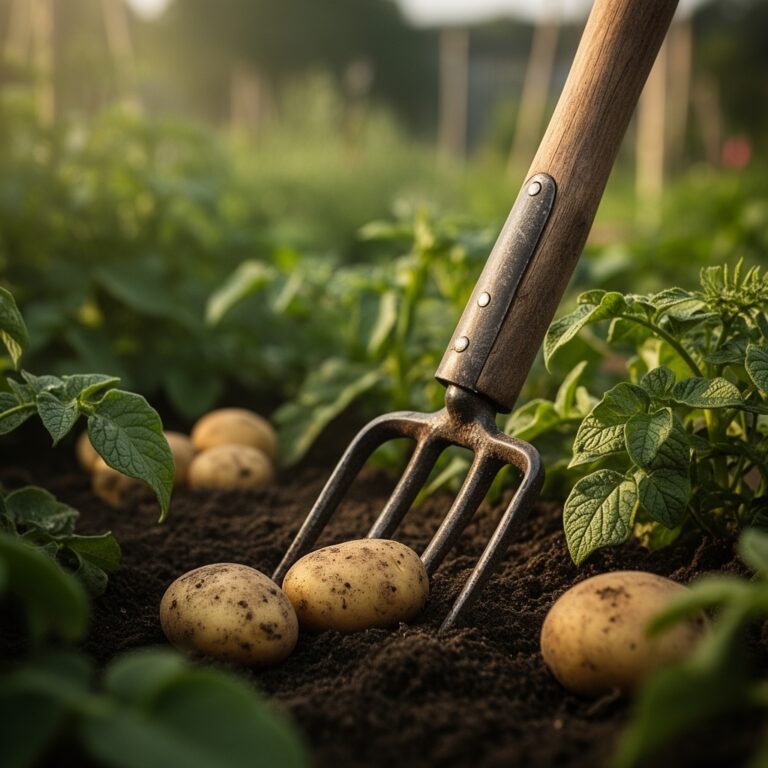
Step-by-Step Instructions

Step 1: Pre-Mulch Soil Preparation
Remove all visible weeds including roots. Water bed thoroughly (1.5-2 inches) 24 hours before mulching to establish baseline moisture. Test soil pH; adjust if below 6.0 (for most vegetables) using dolomitic lime at 5 pounds per 100 square feet, or lower pH above 7.5 using elemental sulfur at 1 pound per 100 square feet.
Pro-Tip: Spread mycorrhizal inoculant directly on exposed root zones before mulching. The fungi colonize roots within 48-72 hours when soil contact is immediate, but mulch layers delay this critical connection by weeks.
Step 2: Apply Base Fertilizer Layer
Broadcast 5-10-10 organic fertilizer at 2 pounds per 100 square feet (or per package instructions). Rake lightly to incorporate top 1 inch. This feeding occurs before mulch application because surface-applied nutrients struggle to penetrate thick organic layers, especially with water-repellent materials like dry leaves.
Pro-Tip: In high-rainfall regions (40+ inches annually), increase phosphorus ratio to 5-15-10 to compensate for leaching that accelerates under mulch during heavy downpours.
Step 3: Measure Correct Mulch Depth
Calculate 2-4 inches for most vegetable beds. Fine-textured mulch (compost, grass clippings) requires 2-3 inches maximum to prevent compaction and anaerobic conditions. Coarse mulch (straw, wood chips) needs 3-4 inches because larger particles create air pockets that accelerate breakdown.
Pro-Tip: Use a ruler, not your eye. Most gardeners apply only 1-1.5 inches when estimating, reducing effectiveness by 60% according to university extension trials.
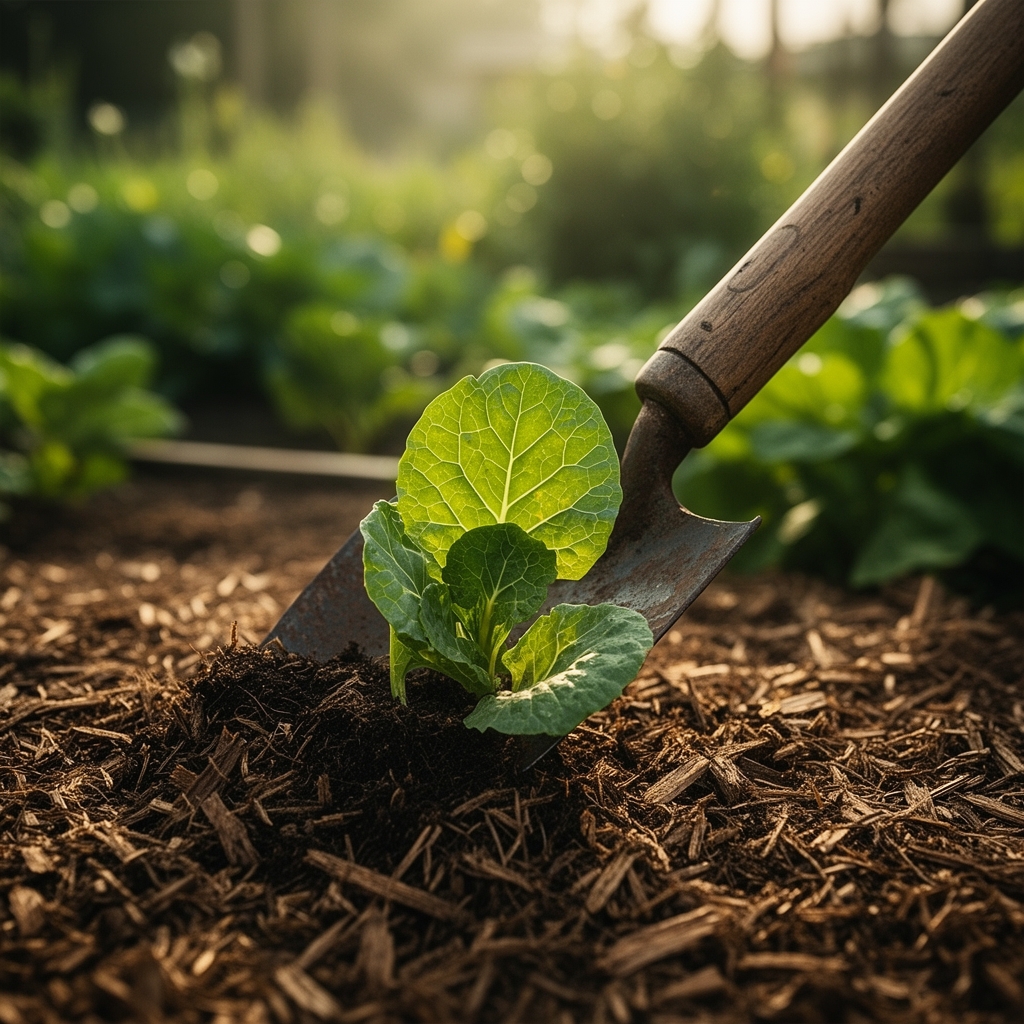
Step 4: Create Plant Clearance Zones
Pull mulch 2-3 inches away from seedling stems and 4-6 inches from mature plant crowns (tomatoes, peppers, brassicas). Direct contact invites damping-off fungi (Pythium, Rhizoctonia), slug habitat, and crown rot in humid conditions.
Pro-Tip: Form a shallow donut-shaped depression around each plant rather than a flat cleared circle. This channels water toward roots instead of away, increasing moisture retention by 15-20% in drip-irrigation systems.
Step 5: Mulch Application Pattern
Start at bed perimeter and work inward, dumping wheelbarrow loads in small piles every 4-5 feet. Spread with garden fork using lifting and dropping motions rather than raking, which compacts material and destroys beneficial air channels.
Pro-Tip: Apply mulch when material is slightly damp (40-50% moisture content), not bone-dry or soaking wet. Dry mulch blows away in wind and repels initial watering; saturated mulch mats immediately and promotes anaerobic breakdown producing phytotoxic compounds.
Step 6: Edge Definition and Pathways
Define bed edges by creating a 6-inch mulch-free border along permanent paths. This barrier reduces slug migration from surrounding areas and prevents mulch from spilling into walkways during rain events.
Pro-Tip: Mulch pathways separately with 4-6 inches of wood chips (not bark). Chips in paths suppress weeds for 24+ months while slowly decomposing; when they break down, shovel this nutrient-rich material onto beds as compost.
Step 7: Initial Watering Post-Mulch
Water thoroughly with 1-1.5 inches to settle mulch layers and initiate decomposition. Use overhead sprinklers for this first watering regardless of your normal irrigation method; this saturates the entire mulch profile and begins microbial colonization.
Pro-Tip: Add soluble kelp extract (0-0-1 NPK plus 60+ trace minerals) to this first watering at 2 tablespoons per gallon. Kelp accelerates microbial activity, speeding mulch integration with soil and reducing nitrogen tie-up duration by 30-40%.
Step 8: Mulch Monitoring and Refreshing
Check mulch depth monthly by inserting fingers through layers to bare soil. Refresh when depth drops below 2 inches, typically every 6-8 weeks with fast-decomposing materials (grass, compost) or every 4-6 months with slow materials (wood chips, bark). Document decomposition rates in a garden journal to predict future needs.
Pro-Tip: Refresh mulch during early morning or evening when dew or cooler temperatures keep material from dust-clouds. Disturb existing layers minimally to preserve established soil organism networks, particularly springtail and predatory mite populations that control pest larvae.
Nutritional & Environmental Benefits
Organic mulch decomposition releases phosphorus, potassium, calcium, magnesium, and sulfur gradually over 4-18 months depending on material type. Compost mulch provides immediate micronutrient availability including boron (0.5-2 ppm), zinc (2-10 ppm), and manganese (5-25 ppm) critical for fruiting crops.
Nitrogen fixation increases 40-60% in mulched beds because free-living Azotobacter bacteria thrive in the moist, carbon-rich interface between mulch and soil. These bacteria convert atmospheric nitrogen into plant-available forms without legume hosts.
Mulched beds maintain soil temperatures 8-12°F cooler during summer peaks (reducing heat stress in lettuce, spinach, and brassicas) and 3-5°F warmer during early spring (accelerating root growth in newly transplanted seedlings).
Mason bees (Osmia lignaria) and other native pollinators utilize coarse mulch like straw for nesting material. A 100-square-foot mulched bed provides nesting resources for 15-25 individual mason bees, each pollinating 2,000+ blossoms during spring.
Ground beetles (Carabidae family), which consume cutworms, slug eggs, and root maggots, increase populations 300-400% in mulched environments compared to bare soil. These beetles require moisture-stable habitat with hiding spaces, conditions only mulch layers provide consistently.
Mulch reduces irrigation needs by 30-50% across growing seasons, translating to 15-25 gallons saved per 100 square feet weekly during peak summer in Zones 6-8. This moisture retention directly prevents blossom end rot in tomatoes and peppers by stabilizing calcium uptake, which depends on consistent water availability.
Advanced Methods
Small Space & Container Adaptation
In raised beds under 32 square feet, reduce mulch depth to 1.5-2.5 inches to prevent excessive moisture retention in confined soil volumes. Use fine-grade composted pine bark (0.25-0.5 inch particle size) which decomposes slowly but allows superior air exchange in compact growing areas.
For containers 5 gallons or larger, apply 1-inch mulch layer of coco coir chips or rice hulls. These materials provide equivalent moisture retention to traditional mulch while weighing 60-70% less, critical for balcony or rooftop gardens where load limits matter.
Permaculture Integration
Implement chop-and-drop mulching by growing nitrogen-fixing cover crops (crimson clover, hairy vetch) directly in paths between vegetable beds. Cut these covers at soil level when 40-50% flowering (maximum nitrogen content), allowing material to fall as instant mulch. This technique provides 40-60 pounds of nitrogen per 1,000 square feet annually without external inputs.
Create mulch transition zones where coarse wood chips (path mulch) gradually blend into finer straw or compost (bed mulch) over 12-18 inches. This gradient supports diverse soil organisms adapted to different decomposition rates, boosting overall ecosystem resilience.
Season Extension Techniques
Apply reflective mulch (aluminum foil-faced paper or white plastic) in early spring around cool-season transplants. This increases ambient temperature 4-7°F and light exposure 30-40%, accelerating growth by 10-15 days in lettuce, broccoli, and cauliflower.
For winter crop protection in Zones 6-7, apply 8-12 inches of loose straw over cold-hardy vegetables (kale, carrots, leeks) after Thanksgiving. This insulation maintains root-zone temperatures above 28°F even when air drops to 10°F, extending harvest through January.
Use living mulch of low-growing plants like white clover between widely spaced crops (tomatoes, peppers, squash). Clover fixes 100-150 pounds nitrogen per acre annually, suppresses weeds, and provides continuous ground cover while primary crops mature overhead.
Troubleshooting
Symptom: Seedlings yellowing with stunted growth 7-14 days after mulching
Solution: Nitrogen immobilization from high-carbon mulch (wood chips, sawdust). Remove mulch 6 inches from plants, apply blood meal (12-0-0) at 1 pound per 100 square feet, water thoroughly. Avoid raw wood products near young plants; use aged materials (12+ months decomposition) instead.
Symptom: Gray-white fungal threads (mycelium) throughout mulch layers
Solution: Beneficial saprophytic fungi decomposing organic matter, not disease. These fungi (including artillery fungi with black spore structures) are essential decomposers. No action needed unless fruiting bodies appear directly on plant stems, indicating possible stem rot.
Symptom: Sour, ammonia smell emanating from mulch within 3-7 days
Solution: Anaerobic decomposition from excessive moisture or grass clipping layers exceeding 0.5 inch. Remove affected mulch, spread in thin layer in sunny area to dry for 48 hours, then reapply at proper depth. Improve drainage if pooling water is visible after irrigation.
Symptom: Mulch layer pulling away from soil surface, creating air gaps
Solution: Hydrophobic conditions in overly dry mulch. Water isn’t penetrating; instead, it runs off surface. Apply wetting agent (1 teaspoon dish soap per gallon water) or physically mix top 2 inches of mulch with underlying soil to break water resistance. Prevent by maintaining consistent moisture during application.
Symptom: Increased slug or pill bug damage after mulching
Solution: Excessive moisture combined with direct mulch-stem contact. Pull mulch back 3-4 inches from all plants. Reduce irrigation frequency by 20-30%; water deeply but less often. Introduce rove beetles (Staphylinidae) by creating permanent mulched paths where these predators establish before moving into beds.
Storage & Maintenance
Store unused mulch materials in covered bins or tarped piles that allow airflow from bottom. Completely sealed storage creates anaerobic conditions producing phytotoxic compounds; ensure 2-3 inch air gap at pile base using pallets or lumber.
Water mulched beds with 1 inch per week through growing season, delivered in single deep soaking rather than frequent shallow applications. Insert soil moisture probe 6 inches deep through mulch to verify soil dampness, not just mulch surface conditions.
Feed established plants every 4-6 weeks by gently pulling back mulch in 6-inch diameter circles, applying granular fertilizer per crop requirements, then replacing mulch. This technique delivers nutrients to root zones without constant mulch disturbance.
Post-harvest mulch management depends on crop health. If disease-free, incorporate spent mulch into soil during fall bed preparation using broadfork or garden fork, working to 6-8 inch depth. This adds organic matter (increasing soil carbon 0.5-1.5% annually) and feeds overwintering soil organisms.
For beds with late blight, bacterial wilt, or clubroot, remove and hot-compost all mulch at 140-160°F for 14 days minimum. Do not incorporate diseased mulch into soil; pathogens survive winter in organic debris and reinfect subsequent crops.
Refresh mulch each spring before planting and mid-summer (July in most zones) when decomposition accelerates. Budget 2-3 cubic yards of mulch material per 500 square feet of vegetable bed annually for continuous coverage.
Success Blueprint
The steps for applying organic mulch to vegetable beds transform gardening from constant crisis management into predictable, abundant production by creating self-regulating moisture and fertility systems. Your soil organisms, from bacteria to earthworms, will handle decomposition and nutrient cycling while you focus on harvesting rather than troubleshooting. Measure carefully, time correctly, and maintain consistently for results that compound year after year as soil structure and water-holding capacity improve exponentially.
Join your local cooperative extension’s master gardener program to share mulching techniques and swap locally appropriate materials. Document your results with photos and soil tests, then present findings at community garden meetings where new growers need experienced guidance most.
Expert FAQs
What is the best organic mulch for moisture retention in hot climates?
Shredded hardwood bark (3-4 inch depth) retains moisture longest in Zones 8-10, lasting 18-24 months before requiring replacement. Its dense particle structure reduces evaporation 40-50% more than straw while resisting wind displacement during dry periods. Supplement with drip irrigation 2 inches below mulch surface for maximum efficiency.
Can I apply mulch directly to newly planted seeds?
No. Wait until seedlings reach 3-4 inches tall (true leaves visible) before applying any mulch within 12 inches of stems. Heavy mulch over seeds blocks emergence, creates slug habitat, and promotes damping-off disease. Apply mulch to pathways and outer bed areas immediately, then expand inward as plants establish.
How do I prevent nitrogen deficiency when using wood chip mulch?
Pre-treat beds with high-nitrogen fertilizer (blood meal 12-0-0 or feather meal 13-0-0) at 2-3 pounds per 100 square feet before applying wood chips. Alternatively, compost wood chips for 6-12 months before use, or apply only in pathways where nitrogen tie-up doesn’t affect crops. Monitor leaf color; yellowing indicates nitrogen deficiency requiring immediate side-dressing.
Does mulch attract termites to garden areas near homes?
Wood-based mulches (chips, bark) can harbor termites if placed against building foundations or within 18 inches of structures. Maintain 24-inch minimum clearance between mulched garden beds and home perimeters. Use straw, compost, or grass clippings in beds adjacent to buildings; these materials decompose rapidly (4-8 weeks) before termites establish colonies.
When should I remove old mulch versus adding new layers on top?
Remove mulch only if disease occurred in previous crops or depth exceeds 6 inches (which prevents oxygen reaching soil). Otherwise, add new mulch directly atop partially decomposed layers; this preserves established fungal networks and soil organism habitats. The interface between old and new mulch becomes the most biologically active zone, accelerating nutrient cycling and disease suppression naturally.