7 Simple Steps to Sharpen a Knife with Stone
The scent of damp earth and crushed xylem fills the air when a clean cut is made through a healthy stem. High turgor pressure in a plant allows for crisp cellular separation; however, a dull blade crushes the vascular tissue instead of slicing it. This creates a jagged wound that invites pathogens into the rhizosphere. Mastering the steps for sharpening a garden knife with a stone ensures clean incisions that facilitate rapid callous formation and minimize the risk of systemic infection.
Materials:
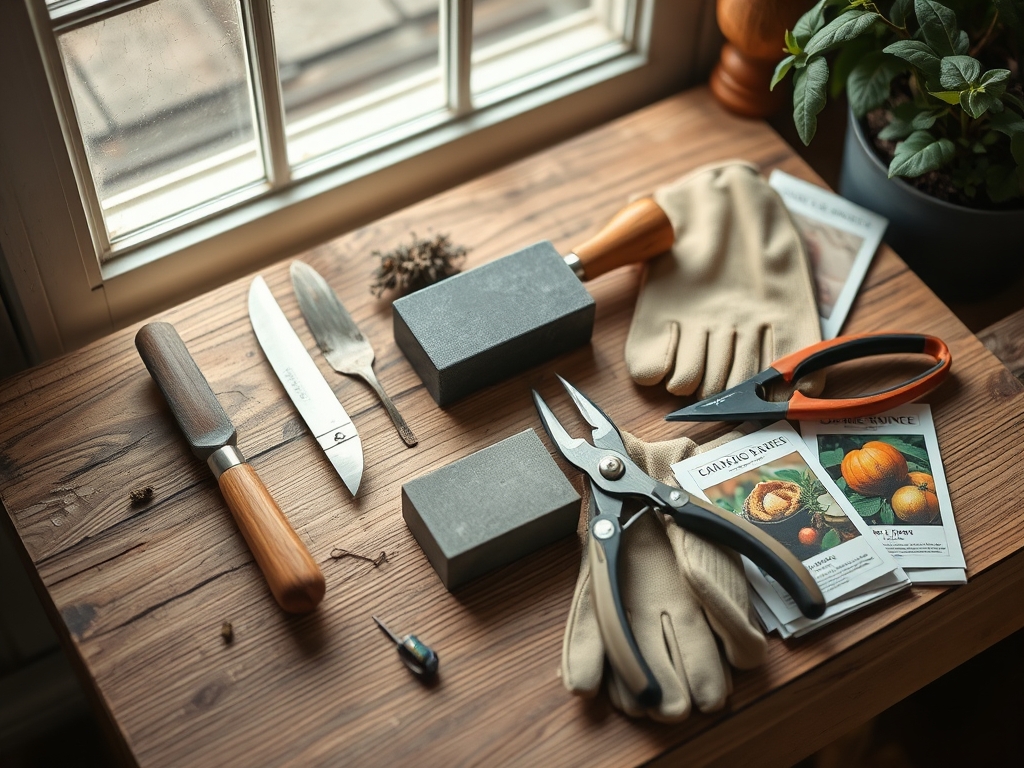
Proper maintenance begins with the substrate used for the blade. Just as a plant requires a **friable loam** with a **pH between 6.0 and 7.0** to optimize nutrient uptake, a sharpening stone requires specific density. Use a dual-grit whetstone; the coarse side should be **400 to 1000 grit** for reshaping, while the fine side should be **3000 to 6000 grit** for honing the edge. Lubricate the stone with water or honing oil to prevent “clogging” with steel particulates. If you are working in a greenhouse environment, ensure your workspace is free of high-nitrogen fertilizers like **20-10-10 NPK**, as chemical salts can corrode high-carbon steel over time.
Timing:
Sharpening should occur before the heavy pruning windows in Hardiness Zones 5 through 8, typically during the dormant season before the first spring flush. The "Biological Clock" of the plant dictates this timing. As a plant moves from its dormant state to the vegetative stage, its sap flow increases. A sharp blade is critical during this transition to prevent the tearing of the cambium layer. Perform your primary sharpening in late winter, roughly four weeks before the local last frost date, to ensure tools are ready for the high-growth phase.
Phases:
Sowing the Edge
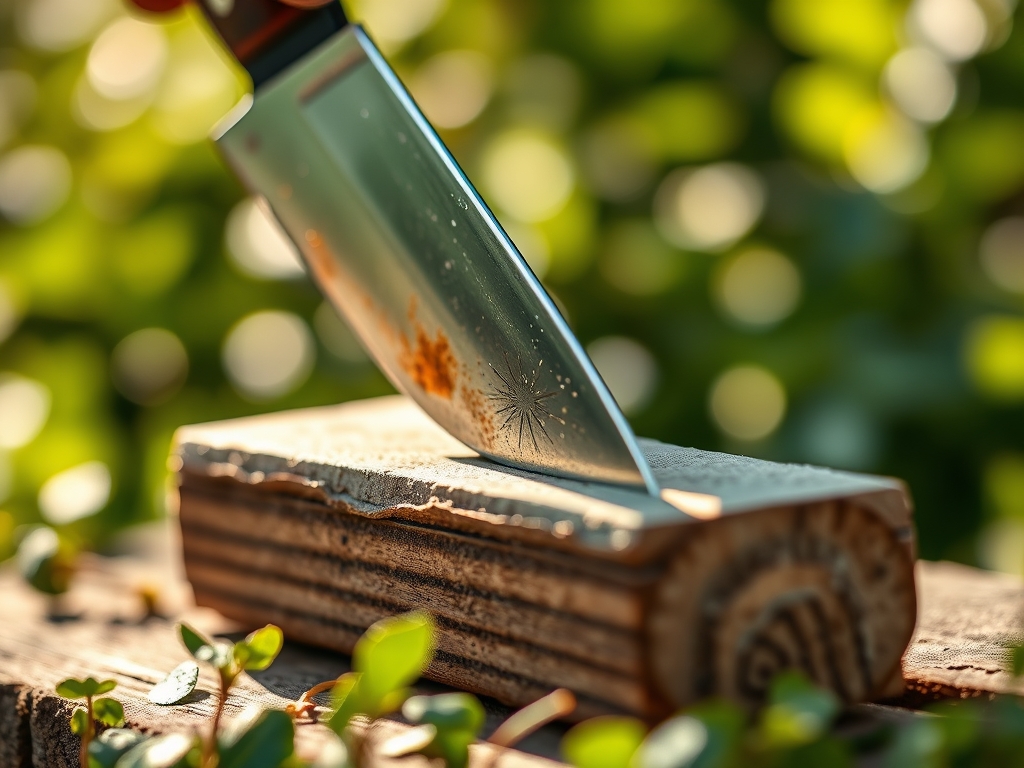
Begin by soaking your whetstone for 10 to 15 minutes until air bubbles cease to rise. Place the stone on a non-slip surface. Hold the knife at a consistent 20-degree angle. This angle provides the best balance between edge retention and sharpness for cutting through fibrous stalks.
Pro-Tip: Maintaining a consistent angle prevents "rounding" the edge. This is vital because a precise bevel allows for a clean cut that respects the plant's phototropism; a clean, angled cut allows the plant to direct its energy toward new growth rather than repairing shredded tissue.
Transplanting the Motion
Push the blade across the stone in a sweeping motion, moving from the heel to the tip. Apply moderate pressure on the forward stroke and release it on the return. Repeat this 15 to 20 times per side. You are looking for the formation of a "burr," a microscopic curl of metal on the opposite side of the edge.
Pro-Tip: The burr indicates you have removed enough metal to reach the apex. In botanical terms, this is similar to auxin suppression; by removing the "top" layer of dull metal, you allow the "lateral" strength of the steel to form a new, dominant edge.
Establishing the Finish
Flip the stone to the fine-grit side. Use lighter strokes to polish the edge and remove the burr. This creates a mirror-like finish that reduces friction during the cut. A smooth blade passes through the epidermis and cortex with minimal resistance, preserving the integrity of the mycorrhizal symbiosis in the soil by preventing the plant from being jerked or uprooted during pruning.
Pro-Tip: A polished edge prevents the "wicking" of pathogens. Just as turgor pressure keeps a plant upright, a smooth blade surface keeps the plant's internal fluids contained, preventing the entry of airborne fungal spores.
The Clinic:
When a blade is dull, the plant exhibits specific physiological symptoms.
- Symptom: Jagged, white "fuzz" on cut stems.
Solution: This is crushed parenchyma tissue. Re-sharpen the blade to a 15-degree angle for softer herbaceous plants.
- Symptom: Dieback starting from the pruning cut.
Solution: The dull blade has caused "compression failure" in the stem. Sterilize the knife with 70 percent isopropyl alcohol after sharpening to kill lingering bacteria.
- Symptom: Leaf yellowing (Nitrogen chlorosis) after pruning.
Solution: While often a nutrient issue, localized yellowing at a cut site indicates the plant is struggling to seal the wound. Use a hori-hori knife with a freshly honed edge to ensure the vascular bundles remain open and functional.
Fix-It: If you notice Nitrogen chlorosis (yellowing of older leaves), supplement with a blood meal or 10-0-0 fertilizer to boost chlorophyll production while the plant heals from its pruning wounds.
Maintenance:
A garden knife requires the same precision as irrigation. For most perennials, provide 1.5 inches of water per week at the drip line to maintain cellular health. After every use, wipe your hori-hori knife or bypass pruners with a dry cloth. Use a soil moisture meter to ensure the plant is not under drought stress before you prune; a dehydrated plant has low turgor and is harder to cut cleanly, even with a sharp stone-honed blade. Apply a thin layer of mineral oil to the steel to prevent oxidation.
The Yield:
When harvesting edibles like kale or basil, timing is everything. Harvest in the early morning when turgor pressure is at its peak and temperatures are below 65 degrees Fahrenheit. Use your sharpened knife to make a single, swift cut. This preserves the "day-one" freshness by keeping the cell walls intact. For flowers, immediately plunge the cut stems into water adjusted to a pH of 3.5 to 4.5 to maximize water uptake and extend vase life.
FAQ:
How often should I sharpen my garden knife?
Sharpen your knife every 10 to 15 hours of heavy use. If the blade fails to slice through a tomato skin or a soft green stem without crushing, it requires immediate honing on a 1000-grit stone.
Do I need oil or water for my sharpening stone?
Check the stone type. Water stones require a 10-minute soak, while oil stones require a few drops of honing oil. Never mix the two, as oil will clog the pores of a dedicated water stone.
What angle is best for a garden knife?
A 20-degree angle is the standard for general garden work. This provides enough steel thickness to withstand contact with soil and woody stems while remaining sharp enough for precise vegetative propagation and harvesting.
How do I know if my knife is sharp enough?
The blade should cleanly shave a small patch of hair on your arm or slice through a vertically held piece of paper. In the garden, it should cut through a 1/4-inch stem with zero crushing of the outer bark.