7 Visual Steps to Prepare a Tool Organization Guide
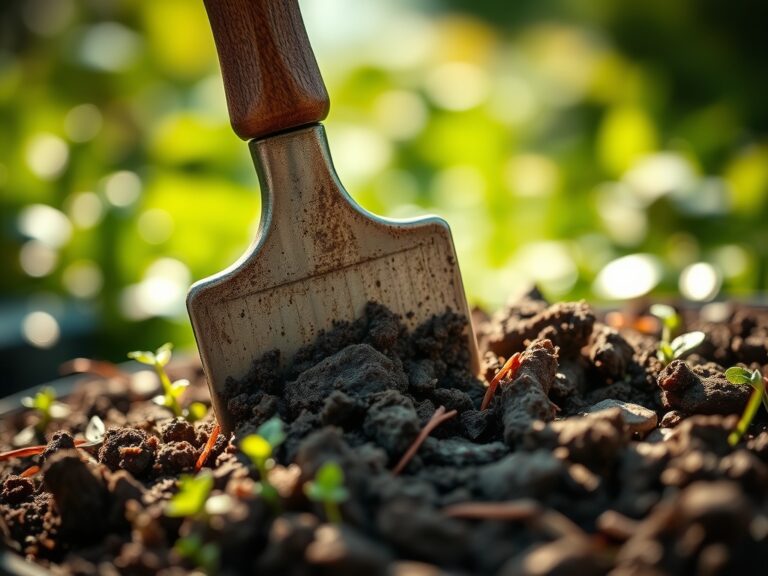
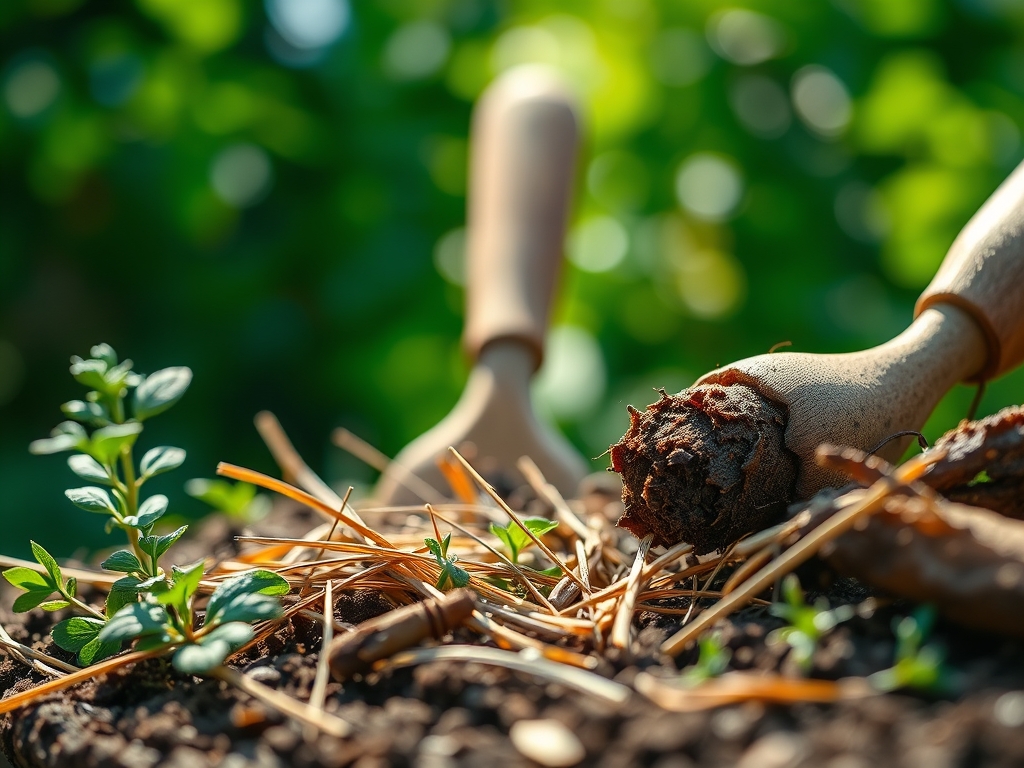
Crushed shale crunches under heavy boots while the sharp scent of damp humus rises from the rhizosphere. Successful cultivation depends on the turgor pressure within the plant cells and the precise management of the workspace. Efficiency in the field begins with spatial logistics. Learning how to prepare a garden for a tool organization guide requires an understanding of workflow ergonomics and soil physics. You must clear the debris of the previous season to expose the true grade of the land. A clean slate allows for the systematic placement of irrigation lines and support structures. This preparation ensures that every movement is intentional and every tool is within reach when the biological clock of the plant demands immediate intervention.
Materials:
The foundation of a productive site is a friable loam with a high Cation Exchange Capacity (CEC). This substrate must possess a balance of sand, silt, and clay to facilitate gas exchange at the root zone. Aim for a soil pH between 6.2 and 6.8 to maximize nutrient bioavailability.
Required amendments include:
- Nitrogen (N): High-blood meal or urea for vegetative growth (NPK 12-0-0).
- Phosphorus (P): Bone meal to stimulate root architecture (NPK 0-10-0).
- Potassium (K): Sulfate of potash for cellular strength (NPK 0-0-50).
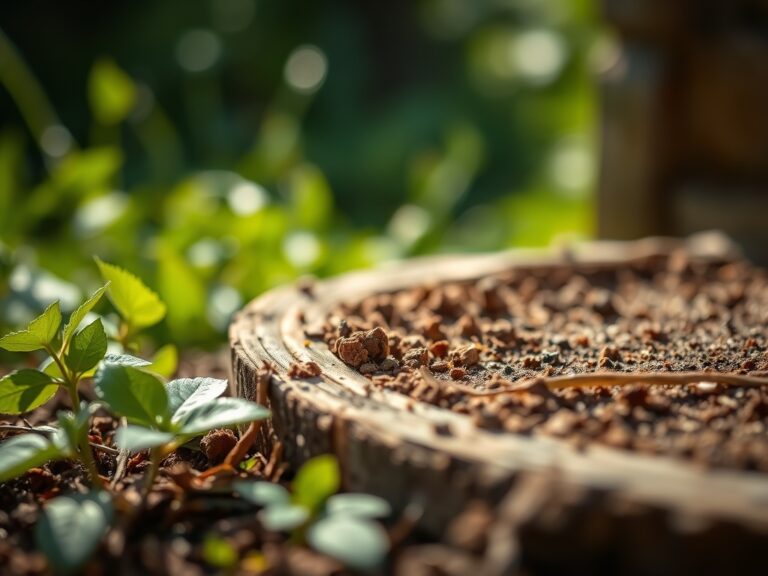
- Organic Matter: Well-aged compost with a Carbon-to-Nitrogen ratio of 30:1.
Timing:
Timing is dictated by USDA Hardiness Zones and the specific photoperiod requirements of your cultivars. In Zones 5 through 7, the primary preparation window opens 14 to 21 days before the last predicted frost date. Monitoring soil temperature is critical; do not begin heavy cultivation until the soil consistently registers above 50 degrees Fahrenheit at a four-inch depth. This prevents the compaction of wet soil, which destroys pore space and leads to anaerobic conditions. The transition from the vegetative stage to the reproductive stage is governed by the biological clock. Understanding this shift allows you to organize your tools based on the upcoming needs of the plant, moving from digging implements to pruning and harvesting gear as the season progresses.
Phases:

Sowing
Direct seeding requires a finely raked seedbed. Use a line level to ensure rows are straight, which facilitates mechanical cultivation later. Seeds should be planted at a depth three times their diameter. Maintain consistent moisture to ensure the seed coat softens and the radicle emerges.
Pro-Tip: Proper seed-to-soil contact is essential for imbibition. This is the physical process where the seed absorbs water to trigger metabolic activities and break dormancy.
Transplanting
When moving seedlings from the greenhouse to the field, minimize root disturbance. Dig a hole twice the width of the root ball. Set the plant so the crown is level with the soil surface. Water immediately with a kelp-based solution to reduce transplant shock.
Pro-Tip: Apply a mycorrhizal inoculant to the root zone. This establishes a mycorrhizal symbiosis, extending the root system's reach and increasing the uptake of immobile nutrients like phosphorus.
Establishing
As the plant enters its rapid growth phase, provide structural support. Stake or trellis indeterminate varieties to improve airflow and reduce the incidence of fungal pathogens. Mulch the base with two inches of clean straw or wood chips to regulate soil temperature.
Pro-Tip: Prune lower axillary buds to encourage apical dominance. This process, driven by the hormone auxin, directs the plant's energy toward upward growth and fruit production rather than excessive lateral branching.
The Clinic:
Physiological disorders often mimic pathogen attacks but result from environmental or nutritional stress.
- Symptom: Interveinal chlorosis on young leaves.
- Solution: This indicates an Iron (Fe) deficiency, often caused by high soil pH. Apply chelated iron to the soil or as a foliar spray.
- Symptom: Blossom end rot on fruit.
- Solution: This is a Calcium (Ca) transport issue, usually linked to inconsistent moisture. Maintain steady irrigation to ensure calcium moves through the xylem.
- Symptom: Purpling of older foliage.
- Solution: A classic sign of Phosphorus (P) deficiency. This often occurs in cold soils where microbial activity is low.
- Fix-It for Nitrogen Chlorosis: If older leaves turn uniform pale yellow, apply a high-nitrogen liquid fertilizer. Nitrogen is mobile within the plant; the organism scavenges it from old growth to support new meristematic development.
Maintenance:
Precision maintenance requires high-quality instrumentation. Use a soil moisture meter daily to ensure the root zone remains in the "moist" range without reaching saturation. Most established crops require 1.5 inches of water per week delivered at the drip line to encourage deep root penetration.
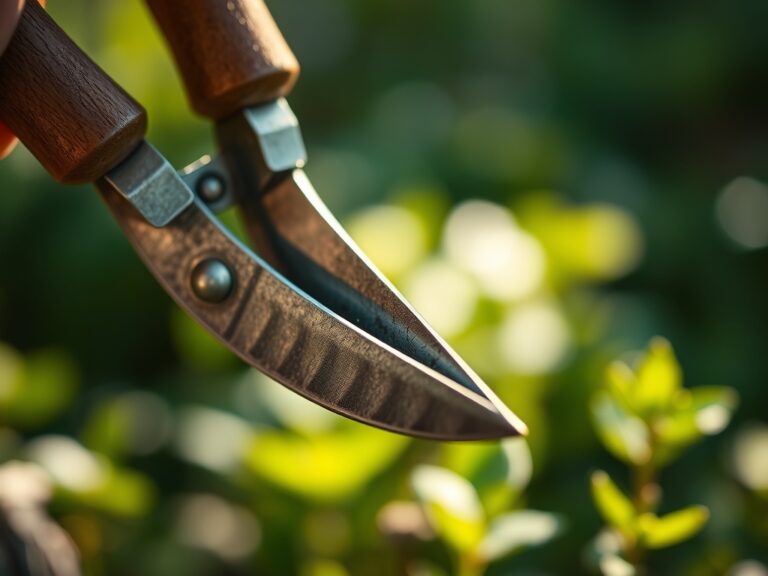
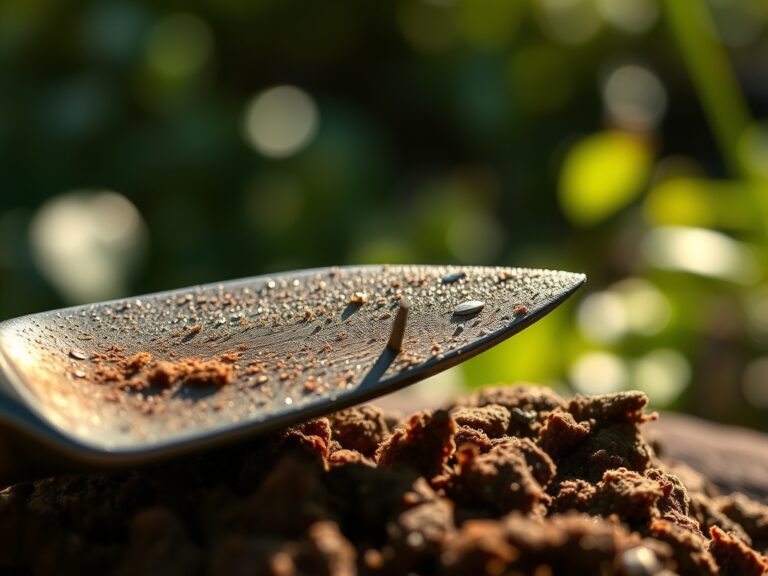
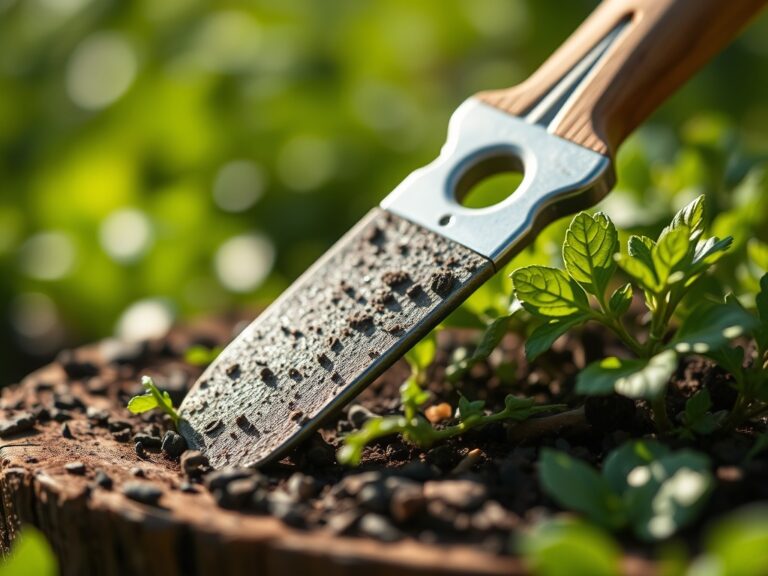
Keep your bypass pruners sharp and sanitized with a 10 percent bleach solution between plants to prevent cross-contamination. For weeding in tight spaces, the hori-hori knife is the superior tool for extracting taproots without disturbing the surrounding rhizosphere. Monitor for senescence in early-season crops; remove yellowing foliage promptly to prevent it from becoming a vector for saprophytic fungi.
The Yield:
Harvesting is the culmination of precise horticultural management. For leafy greens, harvest in the early morning when turgor pressure is at its peak. This ensures the foliage is crisp and prevents wilting. For fruiting bodies, use the "ground spot" color or sugar content (Brix) as your guide.
Use a sharp knife to make clean cuts; ragged tears create entry points for pathogens. Post-harvest, immediately move produce to a shaded, cool environment to remove "field heat." This slows the rate of respiration and preserves the cellular integrity of the harvest. For long-term storage, maintain high humidity and temperatures specific to the crop's requirements to prevent desiccation.
FAQ:
How do I determine my soil's texture?
Perform a ribbon test. Moisten a handful of soil and squeeze it. If it forms a ribbon longer than two inches, it has high clay content. A gritty feel indicates sand. Loam will crumble slightly while holding its shape.
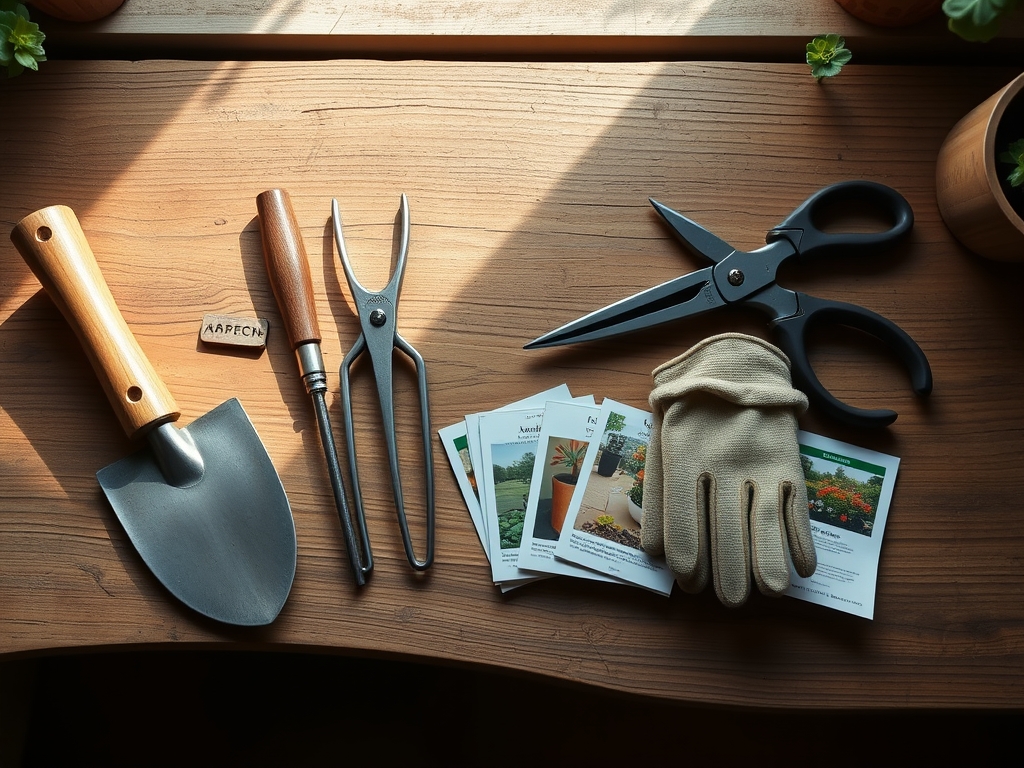
What is the best way to clean garden tools?
Remove all soil with a stiff brush. Use a whetstone to maintain the bevel on cutting edges. Wipe metal surfaces with linseed oil or a silicone-based lubricant to prevent oxidation and ensure smooth mechanical operation during the next use.
Why are my plants wilting despite wet soil?
This is often a sign of root rot or "damping off." Excess water occupies the pore spaces, depriving roots of oxygen. This leads to the death of root hairs, preventing the plant from absorbing water despite the saturated environment.
When should I calibrate my pH meter?
Calibrate your digital pH meter using buffer solutions (pH 4.0 and 7.0) before every major testing session. Accurate readings are vital because soil pH dictates the solubility of minerals and the overall health of the soil microbiome.