7 Steps to Prepare an Artistic Garden Shed Site
The smell of damp earth and the iron tang of wet clay signal a shift in the landscape. When a plant reaches full turgor pressure, its cells are rigid and its metabolic processes are at their peak. This same structural integrity is required for the ground beneath your structures. Learning how to prepare a site for a garden shed requires more than just leveling dirt; it demands an understanding of soil compaction, drainage physics, and the local ecosystem. A poorly prepared site leads to wood rot, shifting foundations, and the disruption of the delicate rhizosphere surrounding your garden beds. By treating the shed foundation as an extension of your horticultural practice, you ensure that the structure integrates with the land rather than fighting against it. This guide focuses on the mechanical and biological necessities of site preparation, ensuring a stable base that respects the Cation Exchange Capacity (CEC) of your soil and the long term health of your woody perennials.
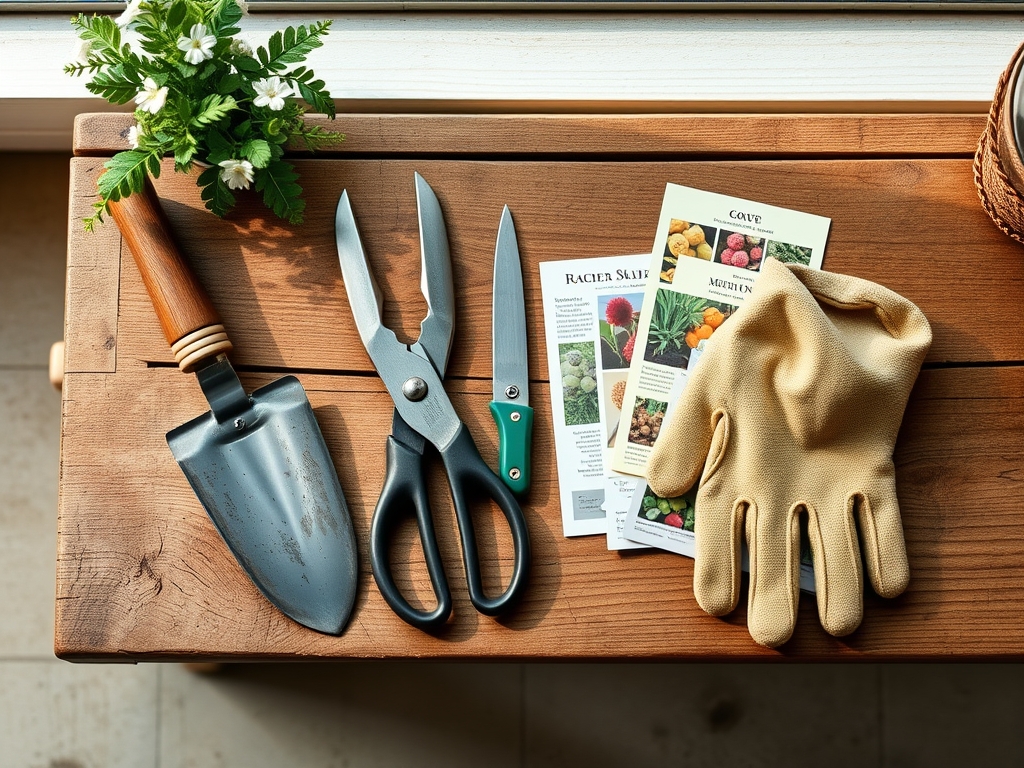
Materials:
Site preparation begins with analyzing the substrate. The ideal soil for surrounding a shed is a **friable loam**, characterized by a balance of 40 percent sand, 40 percent silt, and 20 percent clay. This texture allows for adequate pore space for gas exchange while maintaining structural stability.
Before excavation, test the soil pH. Aim for a pH between 6.0 and 7.0 to prevent the leaching of heavy metals into the shed foundation materials. If you plan to plant around the perimeter, incorporate a slow release fertilizer with an NPK ratio of 5-10-10. The lower nitrogen content prevents excessive vegetative growth that could trap moisture against the shed walls, while the higher phosphorus and potassium levels support root development and cellular strength. You will also need ASTM D448 No. 57 crushed stone for the base. This specific aggregate size provides the necessary void space for drainage, preventing the hydrostatic pressure that causes foundation heaving.
Timing:
The window for site preparation is dictated by your USDA Hardiness Zone. In Zones 3 through 5, excavation must occur after the spring thaw but before the summer heat causes soil crusting. In Zones 6 through 9, late autumn is often superior as the soil moisture levels are more predictable.
Observe the "Biological Clock" of your garden. Avoid major site work during the peak transition from vegetative to reproductive stages of nearby specimen plants. During this time, plants divert energy toward flowering and seed production; their ability to recover from the root pruning or soil compaction associated with construction is significantly diminished. Aim for the period of late dormancy or early senescence when metabolic activity is low. This minimizes the physiological stress on the surrounding flora and ensures that the soil microbial community can stabilize before the next growth flush.
Phases:

Sowing the Perimeter
Once the site is leveled, establish a "splash zone" of low growing groundcovers or gravel. If using plants, sow seeds for deep rooted fescues or clover. These species stabilize the soil and prevent erosion at the drip line of the new roof.
Pro-Tip: Utilize species that encourage mycorrhizal symbiosis. These fungi extend the reach of root systems, improving the uptake of phosphorus and water, which helps the soil remain porous and prevents the "bathtub effect" where water collects in the excavated shed hole.
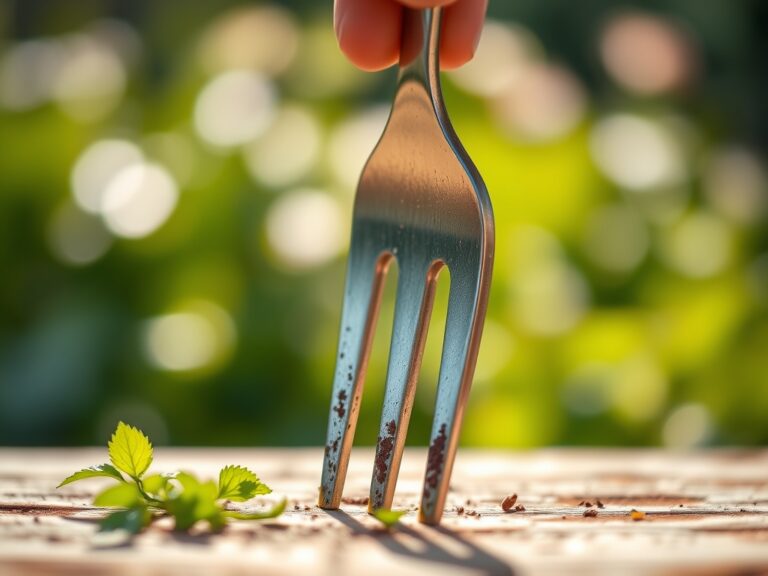
Transplanting Disturbed Flora
If the shed site overlaps with existing perennials, they must be moved with a substantial root ball. Dig a trench 12 to 18 inches deep around the plant to preserve the majority of the lateral roots. Replant them immediately at the same depth to maintain the oxygen gradient they are accustomed to.
Pro-Tip: When transplanting, avoid pruning the canopy. Maintaining the apical meristems ensures auxin suppression of lateral buds. This hormonal balance allows the plant to focus energy on root re-establishment rather than forced, weak top growth.
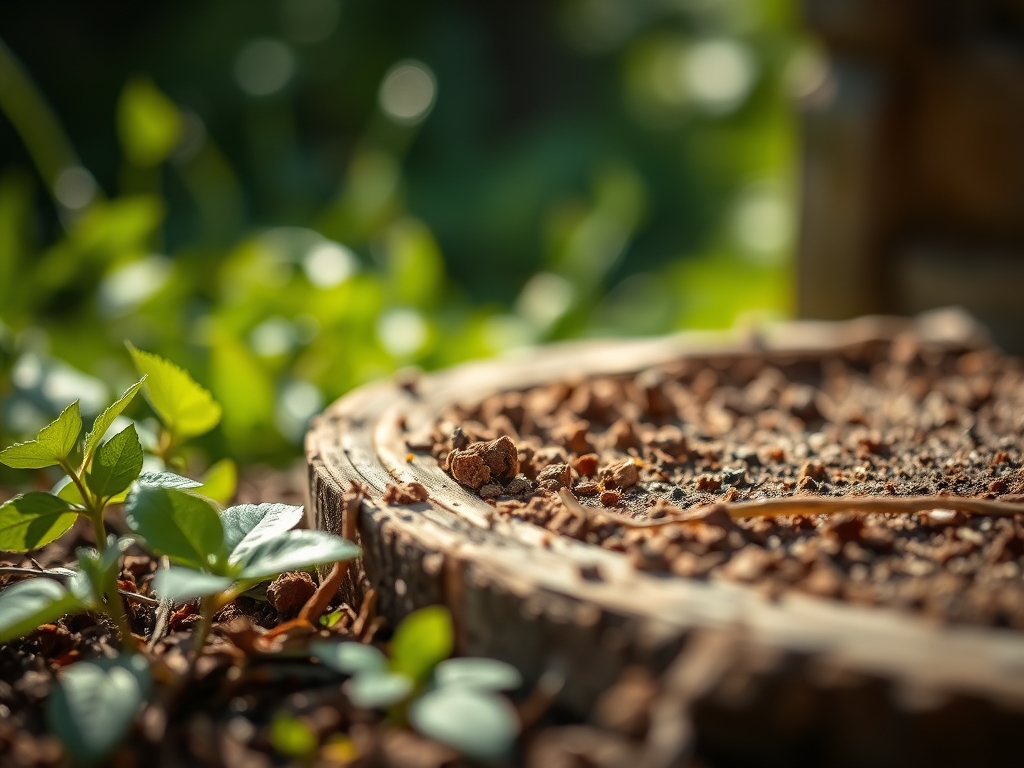
Establishing the Base
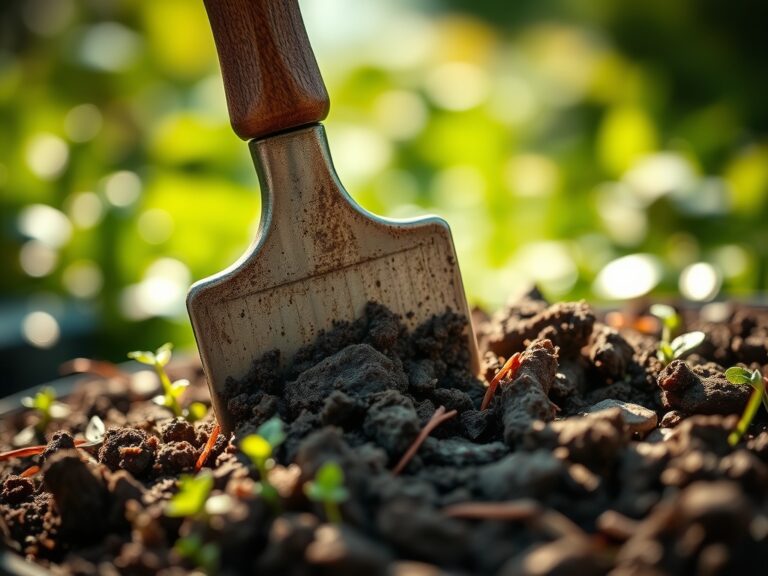
Excavate the area to a depth of 6 inches. Fill the first 4 inches with compacted crushed stone. This creates a capillary break, preventing moisture from wicking up from the water table into the shed floor. The final 2 inches should be leveled with smaller aggregate or stone dust.
Pro-Tip: Ensure the site has a 2 percent slope away from the center. This utilizes gravity to manage surface runoff, preventing the saturation of the rhizosphere in adjacent garden beds, which could otherwise lead to anaerobic conditions and root rot.
The Clinic:
Physiological disorders often appear in plants adjacent to new construction due to soil compaction or pH shifts.
- Symptom: Interveinal Chlorosis. The leaves turn yellow while veins remain green.
- Solution: This is often a sign of Manganese or Iron deficiency caused by high alkalinity from concrete dust or limestone bases.
- Fix-It: Apply elemental sulfur to lower the pH to 6.5 and use a chelated iron foliar spray.
- Symptom: Leaf Scorch. Brown, crispy edges on leaves.
- Solution: This indicates moisture stress or high salt index in the soil.
- Fix-It: Increase deep watering to leach excess salts and apply a 3-inch layer of organic mulch to regulate soil temperature.
- Symptom: Stunted Growth. New internodes are unusually short.
- Solution: Likely Nitrogen chlorosis or severe soil compaction.
- Fix-It: Use a soil moisture meter to check for drainage issues. If drainage is fine, apply a high nitrogen fertilizer (NPK 20-10-10) to stimulate vegetative vigor.
Maintenance:
A shed site requires ongoing horticultural management to prevent the structure from becoming a liability to the garden. Maintain a clear zone of 12 inches between the shed and any foliage. Use bypass pruners for clean cuts that heal quickly; avoid anvil pruners which crush the vascular cambium.
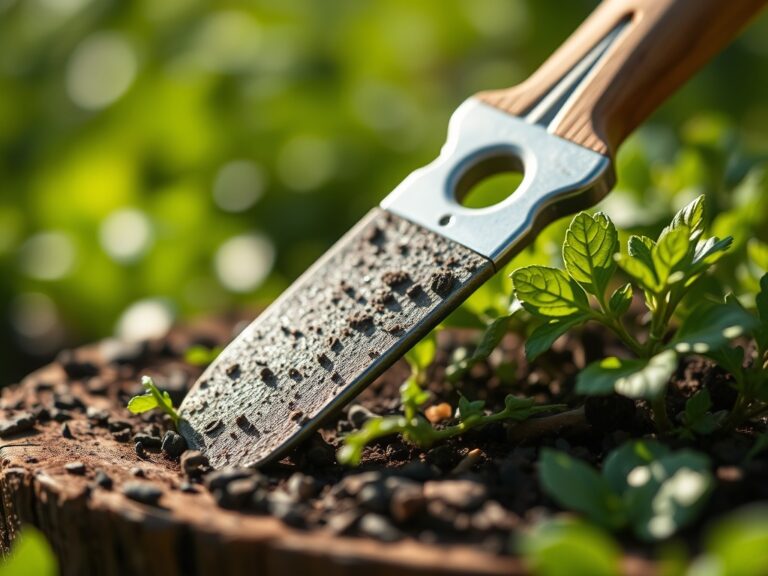
Monitor the soil moisture at the drip line. Plants under the eaves may receive less natural rainfall. Ensure they receive 1.5 inches of water per week at the drip line, verified by a soil probe. Use a hori-hori knife to periodically check for "circling roots" near the foundation. If found, prune them to prevent structural damage and encourage outward growth into the broader soil profile.
The Yield:
If your shed is designed for seed starting or herb drying, the "yield" is the quality of the botanical material produced. For herbs, harvest during the morning when essential oil concentration is highest, but after the dew has evaporated. Use sharp snips to cut just above a node to encourage branching.
For post-harvest freshness, keep herbs in a cool, dark environment with a relative humidity of 60 percent. This slows the rate of respiration and prevents the degradation of volatile compounds. If using the shed for seed storage, maintain a temperature below 50 degrees Fahrenheit and a humidity level below 30 percent to ensure seed viability for the following season.
FAQ:
How deep should I dig the shed base?
Excavate to a depth of 6 to 8 inches. This allows for a 4-inch sub-base of compacted stone and a 2-inch leveling layer, providing adequate drainage and preventing frost heave in most climates.
Can I build a shed over tree roots?
Avoid building within the Drip Line of any major tree. Compacting the soil over more than 20 percent of a tree's root system can lead to slow senescence and eventual death due to lack of oxygen.
What is the best material for a shed foundation?
A crushed stone pad is superior for drainage. It prevents water from pooling, which protects the wood from rot and prevents the growth of anaerobic bacteria that can sour the surrounding garden soil.
How do I stop weeds from growing under the shed?
Lay a heavy duty geotextile fabric beneath the stone base. This creates a physical barrier that prevents weed emergence while still allowing water to permeate through to the subsoil, maintaining the local hydrology.