7 Pro Techniques to Use a Metal File on Shovels
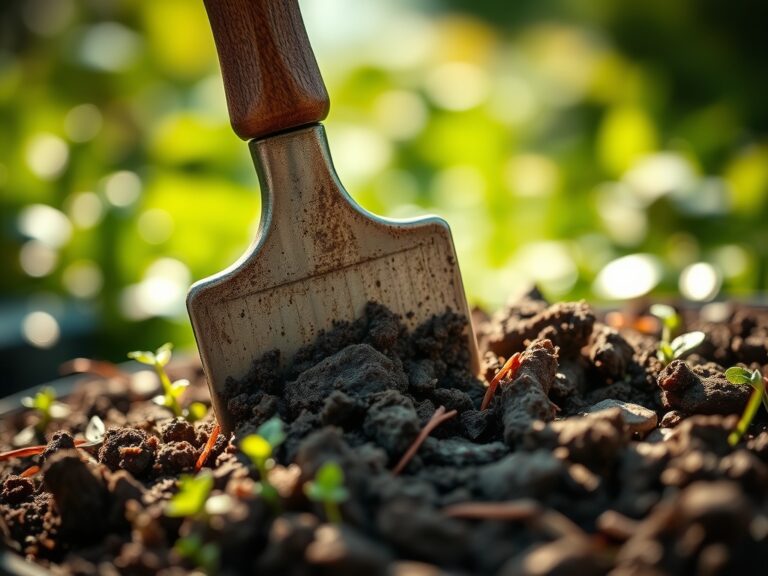
The smell of damp earth and the high turgor pressure of a healthy leaf signify a garden in peak physiological balance. When a spade strikes a hidden rock, the resulting burr destroys the tool's ability to slice through the rhizosphere with minimal resistance. Learning how to use a file to fix nicks in a shovel is a fundamental skill for maintaining mechanical efficiency in the field. A jagged edge increases physical exertion and tears through root systems rather than severing them cleanly; this jagged wounding increases the risk of pathogen entry into the vascular tissue of the plant. Precision sharpening ensures the blade enters the substrate at the correct angle to preserve soil structure and minimize compaction.
Materials:
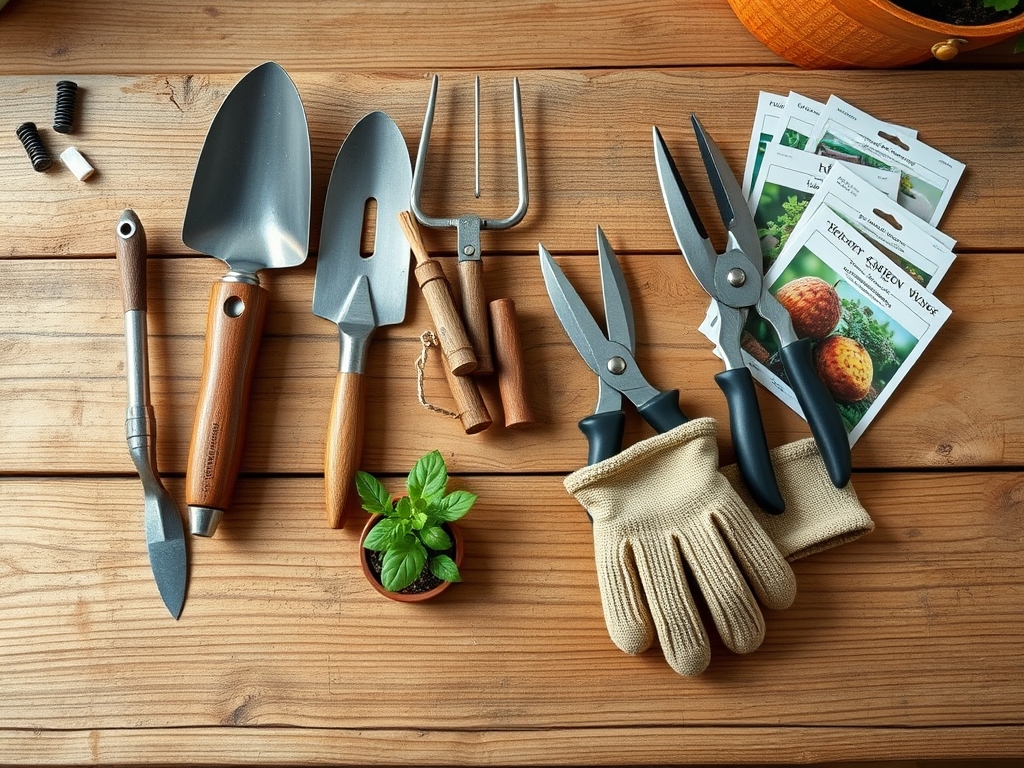
Successful cultivation begins with a **friable loam** substrate characterized by a **pH range of 6.2 to 6.8**. This acidity level optimizes the Cation Exchange Capacity (CEC), allowing for the efficient uptake of essential macronutrients. Before engaging in tool maintenance, ensure your soil profile contains an NPK ratio of **5-10-10** for root establishment or **10-10-10** for general vegetative maintenance. The physical texture of the soil must be granular enough to allow for gas exchange while retaining sufficient moisture to prevent permanent wilting point. You will need a **10-inch mill bastard file**, a bench vise for stabilization, and protective eyewear to manage steel shavings.
Timing:
Tool maintenance should align with the dormant season in Hardiness Zones 4 through 7, typically between the first killing frost and the spring thaw. In warmer Zones 8 through 11, timing follows the "Biological Clock" of the garden, specifically during the transition from the reproductive stage (fruiting) to senescence. Performing maintenance during these windows ensures that tools are ready for the high-demand periods of spring sowing and transplanting. Monitoring the photoperiod is essential; as day length decreases, the plant's metabolic rate slows, providing the horticulturist with a window to repair equipment without interrupting critical irrigation or fertilization schedules.
Phases:

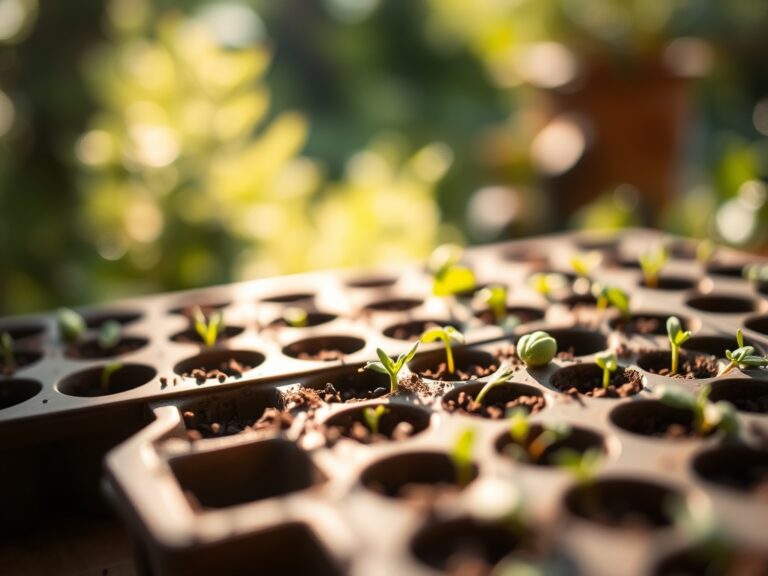
Sowing
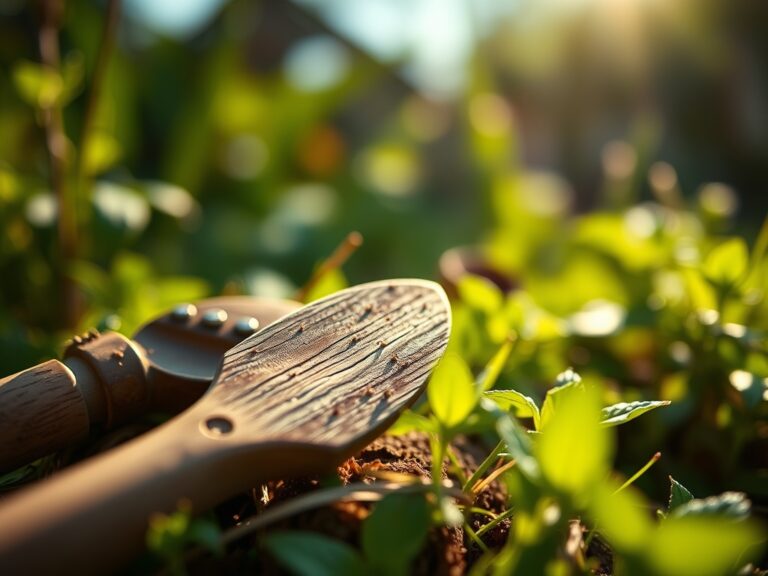
Before the first seed enters the furrow, the shovel must be free of oxidation and nicks. Secure the shovel in a vise with the blade facing upward at a 45-degree angle. Use long, single-direction strokes with the mill file, moving away from your body. Focus on the "sweet spot" of the blade where the metal meets the soil most frequently.
Pro-Tip: Maintaining a sharp edge reduces the force required to break the soil surface, which prevents the destruction of mycorrhizal symbiosis in the upper four inches of the soil profile.
Transplanting
When moving a specimen, a sharp shovel allows for a clean "root ball" cut. If you encounter a nick while transplanting, stop and use a smaller hand file to smooth the edge. This prevents the tool from snagging and tearing the lateral roots.
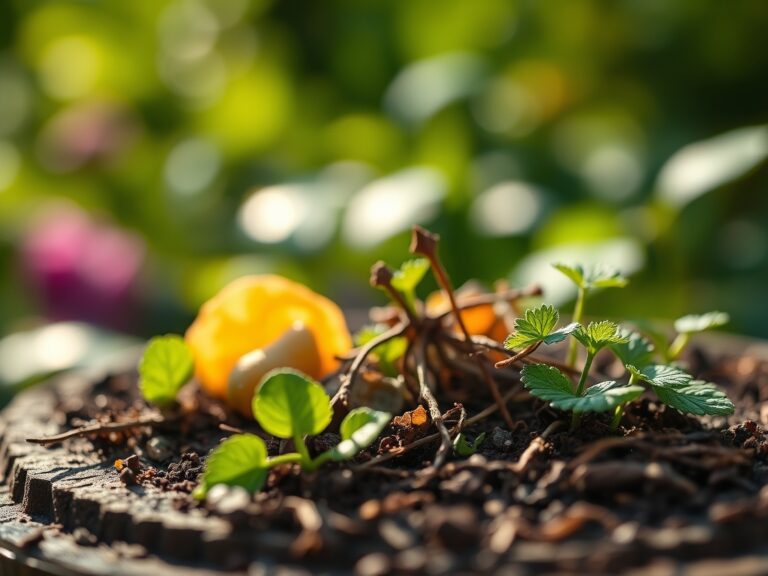
Pro-Tip: Clean cuts facilitate rapid wound periderm formation; this allows the plant to focus energy on auxin suppression and root re-establishment rather than fighting off opportunistic soil-borne fungi.
Establishing
As the plant moves into its active growth phase, the shovel is used for trenching and adding amendments. Ensure the bevel of the shovel remains consistent, typically between 20 and 30 degrees. A consistent bevel ensures the tool deflects off stones rather than sustaining new nicks.
Pro-Tip: Reducing mechanical resistance during digging prevents excessive soil compaction, which preserves the pore space necessary for oxygen to reach the root zone and maintain cellular respiration.
The Clinic:
Physiological disorders in the garden often stem from poor tool hygiene or improper soil chemistry.
- Symptom: Interveinal chlorosis in young leaves. Solution: This indicates a Manganese deficiency or a pH imbalance above 7.0. Apply chelated micronutrients and verify soil acidity.
- Symptom: Marginal leaf burn and stunted growth. Solution: This is a sign of high salinity or "fertilizer burn." Flush the rhizosphere with 2 inches of water to leach excess salts.
- Symptom: Nitrogen chlorosis (yellowing of older leaves). Solution: Incorporate a high-nitrogen amendment with an NPK of 21-0-0 to restore chlorophyll production.
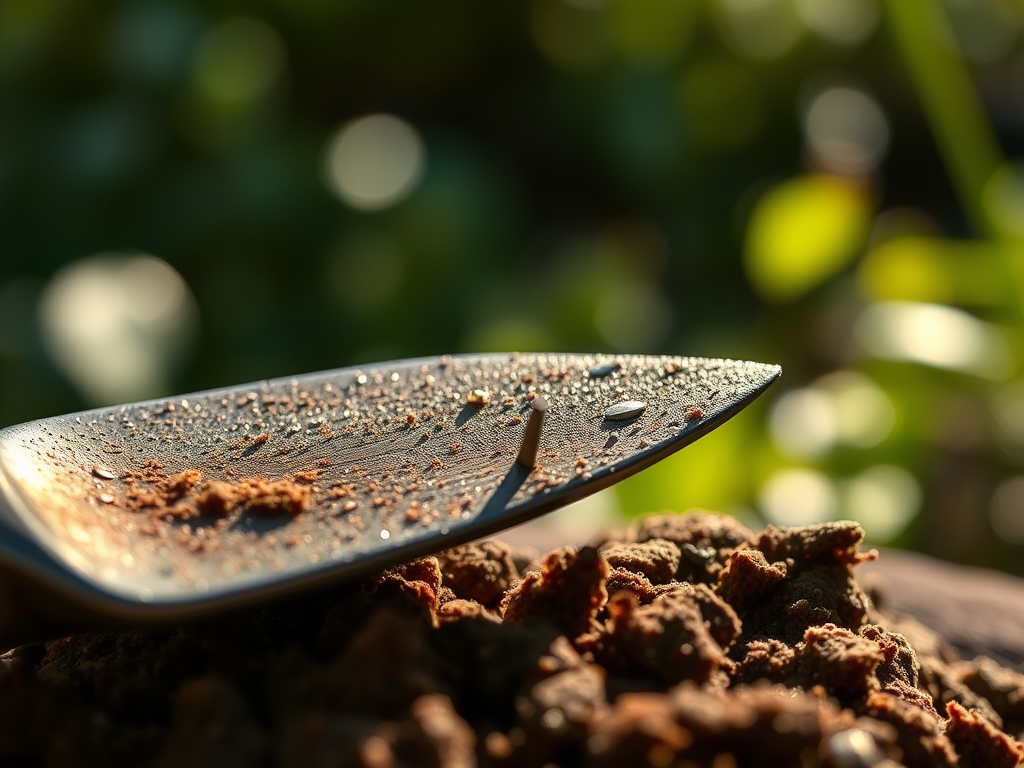
- Fix-It: If the shovel blade shows signs of "pitting," it can harbor pathogens like Fusarium. Sand the metal to a smooth finish and disinfect with a 10 percent bleach solution or isopropyl alcohol.
Maintenance:
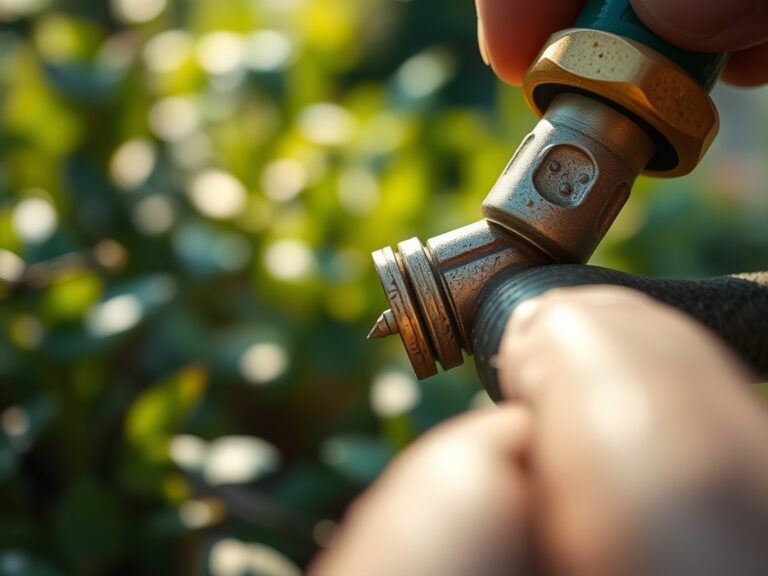
Precision in the garden requires data-driven irrigation and tool care. Apply exactly 1.5 inches of water per week at the drip line of the plant, utilizing a soil moisture meter to verify that the water penetrates 6 to 8 inches deep. Use a hori-hori knife for precise weeding in tight spaces and bypass pruners for any woody stem removal. After every use, wipe the shovel blade with a rag soaked in mineral oil to prevent oxidation. If the file becomes clogged with steel filings, use a wire brush to clear the teeth; this maintains the abrasive quality needed to fix deep nicks effectively.
The Yield:
Harvesting at the peak of physiological maturity ensures maximum nutrient density and shelf life. For leafy greens, harvest before the photoperiod exceeds 14 hours to prevent bolting and bitterness. Use your sharpened spade to lift root crops like carrots or parsnips by inserting the blade 4 inches from the crown to avoid mechanical damage. Post-harvest, submerge produce in 40-degree Fahrenheit water to remove field heat and maintain turgor pressure. This "cold chain" management preserves the sugars and vitamins within the plant tissue for "day-one" freshness.
FAQ:
How do I remove a deep nick from a shovel?
Secure the tool in a vise. Use a 10-inch mill bastard file at a 45-degree angle. Apply firm, one-way strokes across the nick until the metal is flush with the surrounding edge.
What is the best angle for sharpening a garden shovel?
Maintain a bevel between 20 and 30 degrees. A steeper angle provides a more durable edge for rocky soil, while a shallower angle is sharper for cutting through dense sod and root systems.
How often should I file my shovel?
Inspect the edge after every 10 hours of heavy use or whenever you strike a stone. Frequent light maintenance is more effective than waiting for significant dulling or oxidation to occur.
Can I use a power grinder instead of a file?
Files are preferred because they do not generate excessive heat. High temperatures from power grinders can ruin the carbon steel's temper, making the metal brittle and prone to shattering during heavy use.