9 Steps to Prepare a Water Propagation Station
Learning how to prepare a water propagation station transforms clean glass vessels into root-generating environments where cuttings develop transparent adventitious root systems within 14 to 21 days. The method exposes hormone-driven cell differentiation to direct observation, allowing growers to monitor auxin distribution patterns as undifferentiated callus tissue produces primordial root initials. Water propagation eliminates soil-borne pathogens while maintaining precise control over nutrient availability and dissolved oxygen concentration. The station becomes a laboratory for studying root architecture before permanent transplant.
Materials
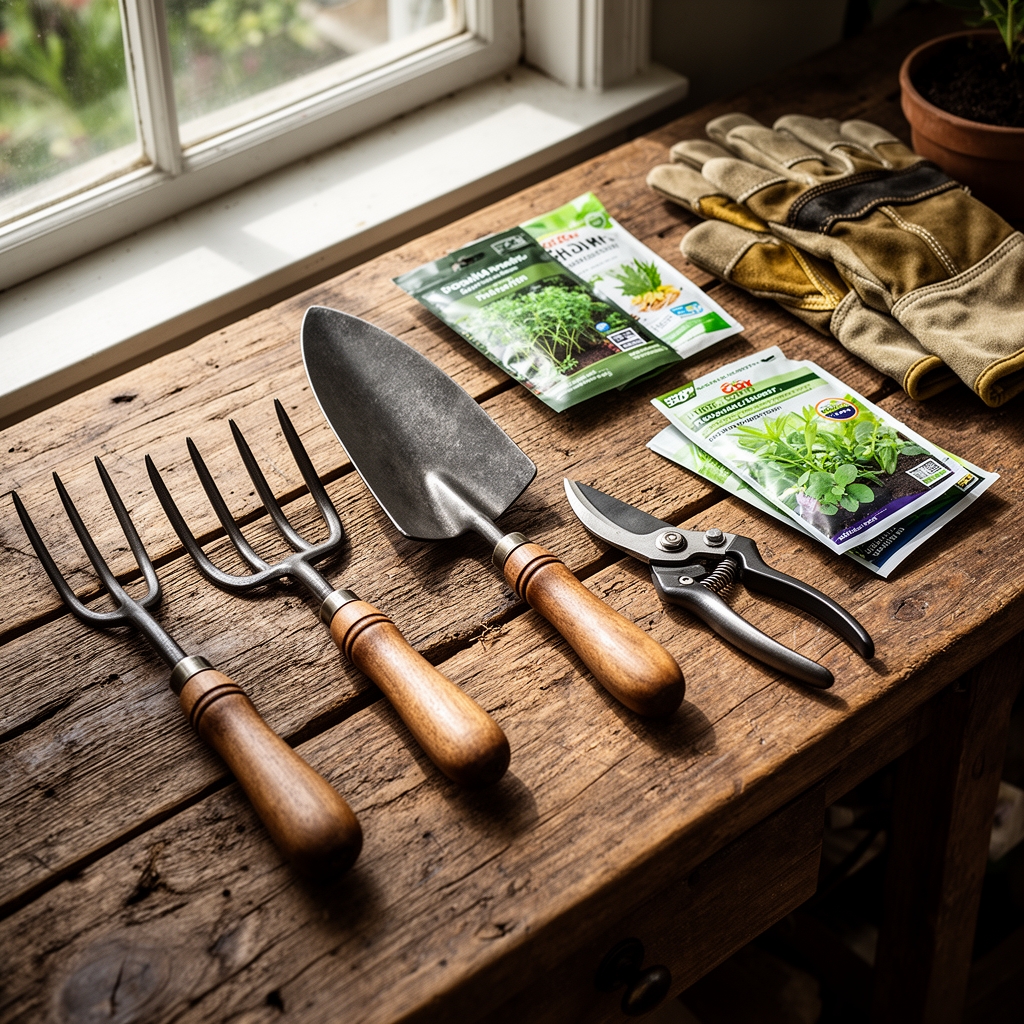
Select glass containers with neck diameters between 1.5 and 3 inches to support cutting nodes above the waterline. Mason jars, laboratory beakers, and recycled wine bottles provide stable platforms. Avoid colored glass; clear vessels allow light penetration to stimulate chlorophyll retention in submerged stem sections.
Distilled or reverse-osmosis water maintains pH between 6.0 and 7.0 without municipal chlorine or chloramine interference. Test pH weekly using liquid reagent kits. Tap water left standing for 48 hours dissipates chlorine but retains chloramine, which inhibits root emergence.
Rooting hormone powder containing 0.1% to 0.3% indole-3-butyric acid (IBA) accelerates callus formation by 40%. Apply sparingly to cut ends before water immersion. Willow bark tea provides natural salicylic acid as an organic alternative, steeped at a ratio of 2 tablespoons dried bark per quart of water.
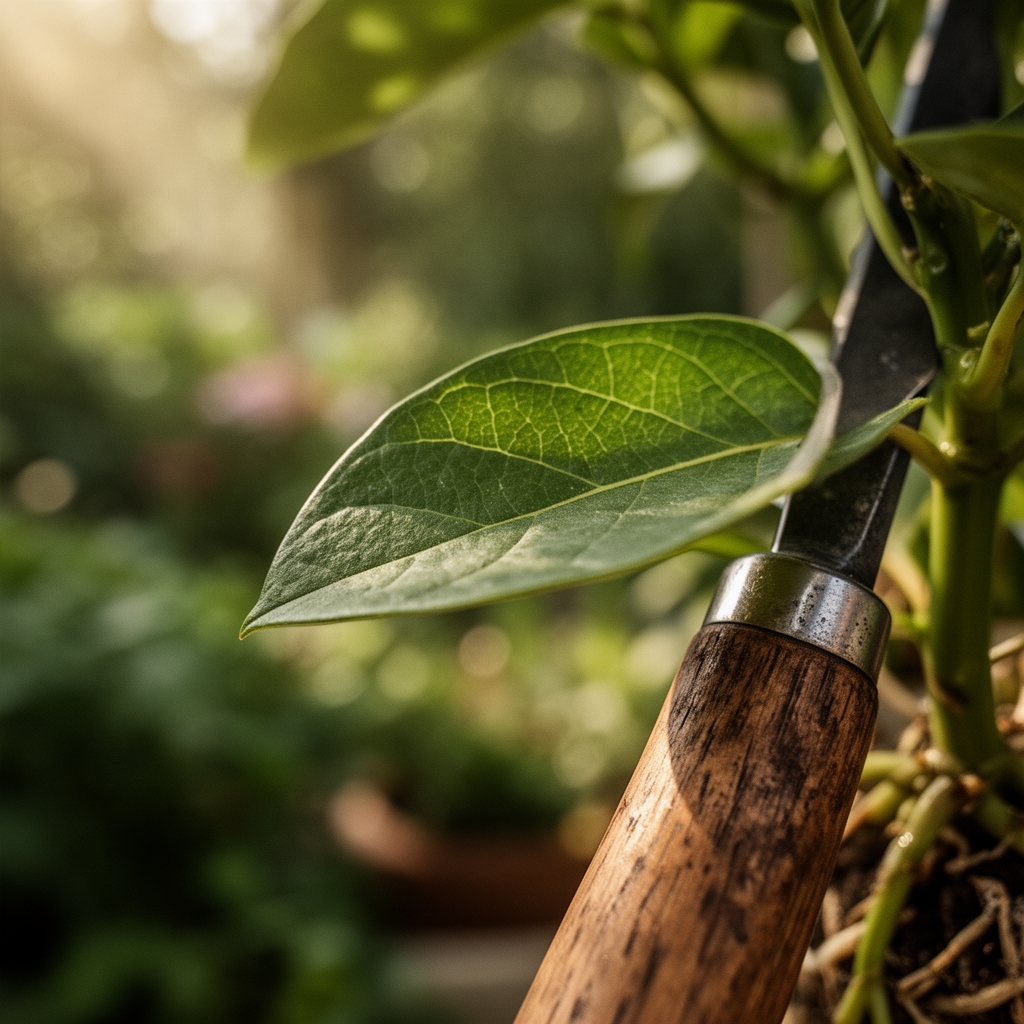
Pruning shears sterilized in 10% bleach solution (1 part bleach to 9 parts water) prevent cross-contamination. Sharpen blades to 20-degree angles for clean cuts that minimize vascular tissue damage. Ragged cuts invite fungal colonization at wound sites.
Activated charcoal chunks measuring 0.5 inches maintain water clarity by adsorbing phenolic compounds released during rooting. Add one chunk per 8-ounce container. Replace charcoal every 10 days as adsorption sites saturate.
Timing
Initiate water propagation during active growth phases when endogenous auxin levels peak. For temperate zone perennials in Hardiness Zones 4 through 9, late spring through early summer (May 15 to July 1) provides optimal conditions. Stem tissues contain maximum carbohydrate reserves following spring flush.
Tropical and subtropical species propagate year-round in climate-controlled environments maintaining 72°F to 78°F. Below 65°F, cellular metabolism slows and root initiation extends beyond 30 days. Above 82°F, dissolved oxygen drops below the 6 ppm threshold required for aerobic root respiration.
Avoid propagation during flowering or seed-set phases. Reproductive hormone dominance suppresses vegetative auxin production, reducing rooting success rates by 60%.
Phases
Selection and Cutting
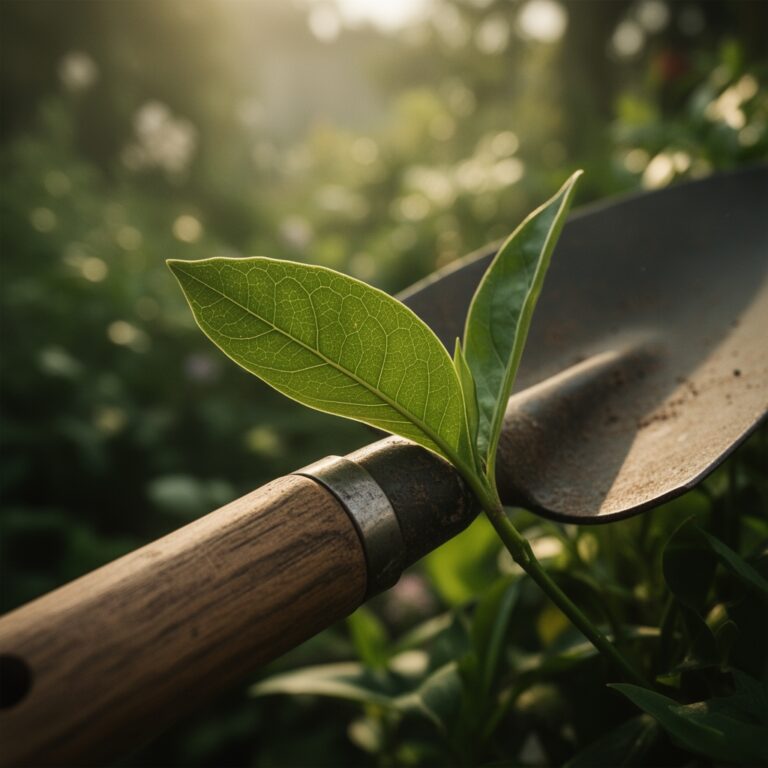
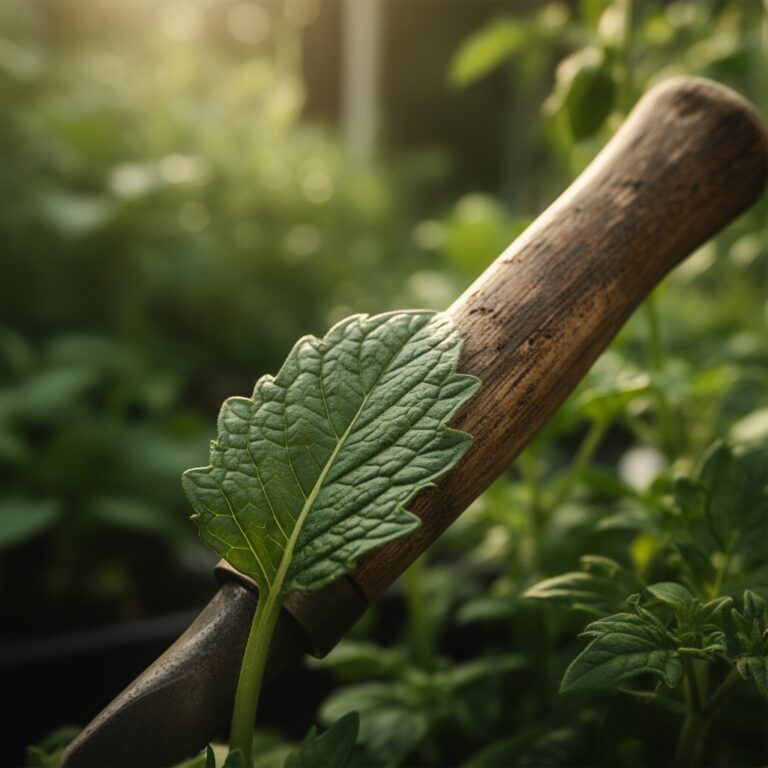
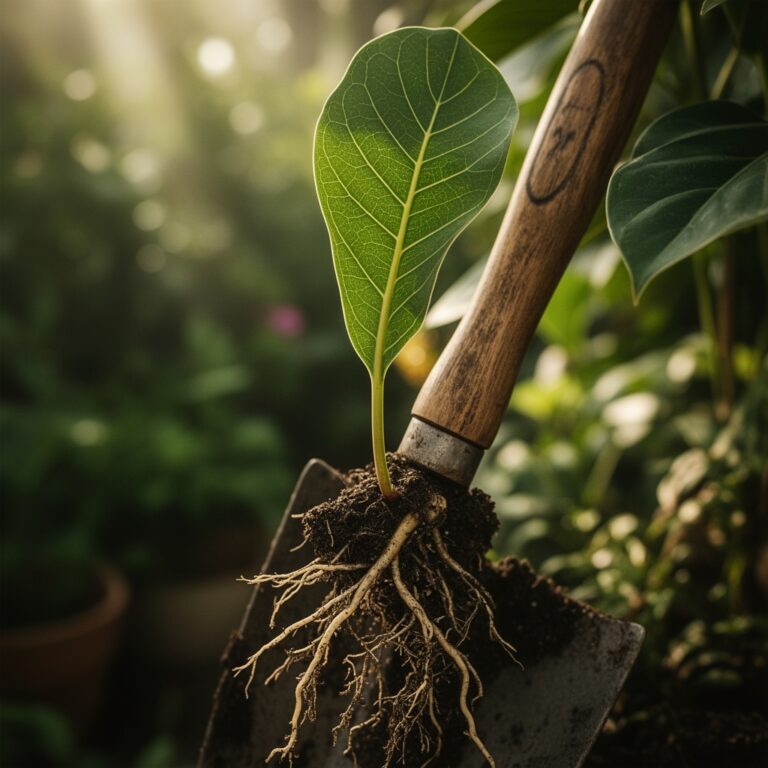
Harvest 4- to 6-inch terminal stem sections from healthy parent plants showing no pest damage or chlorosis. Select semi-hardwood growth, neither soft herbaceous tips nor fully lignified woody stems. Cut at 45-degree angles 0.25 inches below a node where meristematic tissue concentrates auxin receptors.
Remove lower leaves along the bottom 2 inches of stem to prevent submersion and bacterial bloom. Retain two to four upper leaves, reducing their surface area by half to limit transpiration stress. Leaf removal wounds produce ethylene gas that can inhibit rooting in enclosed spaces.
Pro-Tip: Make cuts in early morning when xylem vessels maintain maximum turgor pressure, improving cutting survival by 25% compared to afternoon harvest.
Water Immersion and Positioning
Fill containers to a depth that submerges at least one node while keeping remaining foliage dry. Nodes contain dormant primordia that differentiate into root initials when submerged. Position cuttings so stems do not touch container walls, which concentrate biofilm formation.
Place stations in bright indirect light providing 200 to 400 foot-candles. Direct sun raises water temperature above 80°F and promotes algae growth. North-facing windows or locations 3 to 5 feet from south-facing glass provide appropriate luminosity.
Change water every 3 to 4 days to maintain dissolved oxygen above 6 ppm and prevent anaerobic bacteria colonization. Measure water temperature during changes; maintain consistency within 3-degree ranges to avoid thermal shock.
Pro-Tip: Add one drop of 3% hydrogen peroxide per cup of water during changes to boost dissolved oxygen and suppress pathogenic bacteria without harming developing root cells.
Root Development and Transplant
Root primordia emerge as white bumps at nodes between days 7 and 14 for fast-rooting species like Pothos and Philodendron. Slower species including Fiddle Leaf Fig require 21 to 28 days. Roots should reach 2 to 3 inches before transplant to ensure sufficient surface area for soil nutrient uptake.
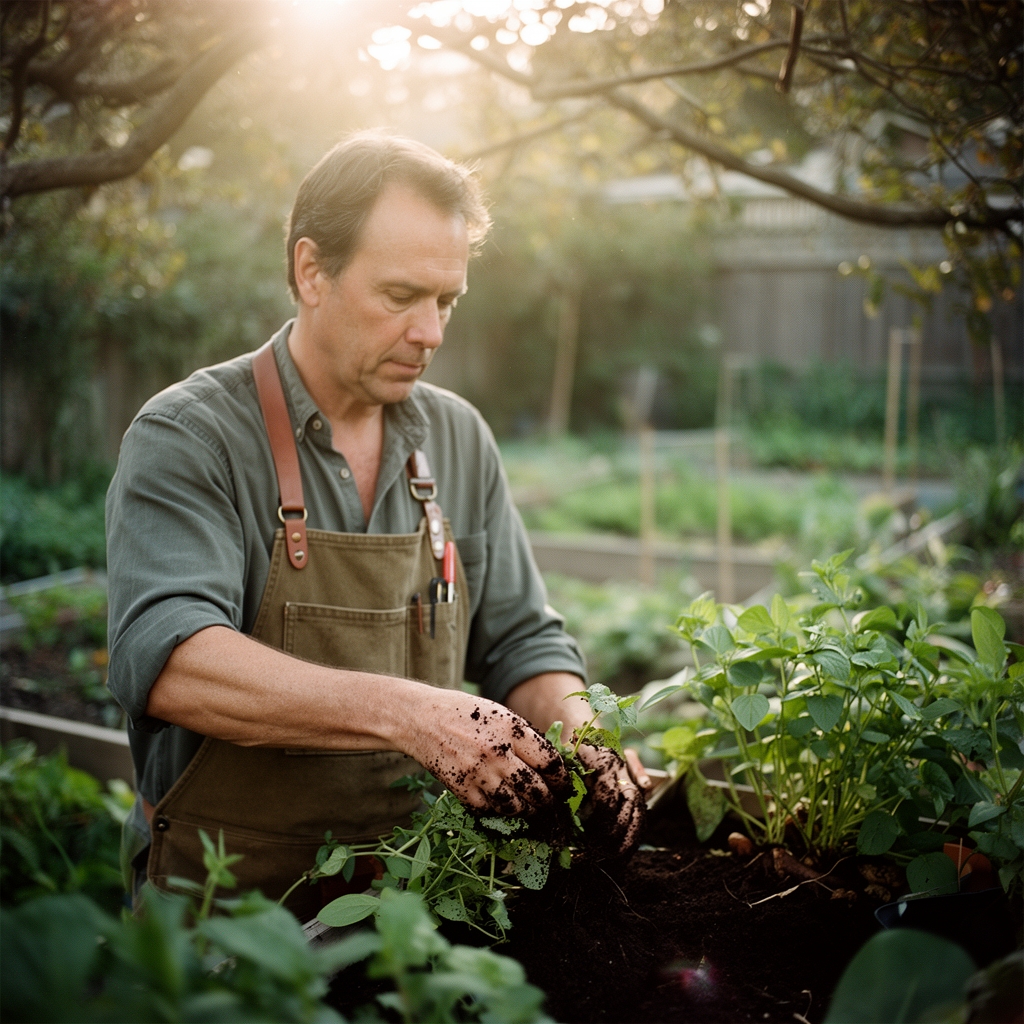
Transplant into sterile potting mix with cation exchange capacity above 15 meq/100g. Blend equal parts peat moss, perlite, and aged compost to create 5.8 to 6.5 pH medium. Water-grown roots lack protective root hairs; gentle handling prevents fragile lateral root damage.
Harden off transplants gradually over 7 days by introducing them to potting mix moisture levels. Water daily for the first week, then transition to standard care as new feeder roots colonize the soil matrix.
Pro-Tip: Inoculate transplant holes with mycorrhizal fungi containing Glomus intraradices at 100 propagules per gram to accelerate nutrient uptake and reduce transplant shock by 35%.
Troubleshooting
Symptom: Cloudy water with sulfur odor developing within 48 hours.
Solution: Anaerobic bacterial bloom caused by excessive organic matter. Remove cutting, sterilize container in boiling water for 5 minutes, restart with fresh distilled water. Reduce leaf material by additional 25%.
Symptom: Black or brown stem sections below waterline without root emergence after 14 days.
Solution: Stem rot from Pythium or Fusarium infection. Discard cutting. Sterilize tools and container. Select cutting from different parent stem section showing no lesions.
Symptom: Roots emerge but turn brown and cease growth at 0.5 inches.
Solution: Insufficient dissolved oxygen. Increase water change frequency to every 48 hours. Reduce water temperature to 68°F to 72°F range. Add aquarium air stone for passive oxygenation.
Symptom: Green algae coating submerged stem and container walls.
Solution: Excess light penetration. Wrap container lower third in aluminum foil to block light while maintaining visibility. Reduce photoperiod by moving station 2 feet further from light source.
Symptom: Leaf yellowing and abscission during rooting phase.
Solution: Excessive transpiration exceeding water uptake through cut stem. Reduce remaining leaf area by additional 30%. Increase ambient humidity to 60% using pebble tray or room humidifier.
Maintenance
Maintain water levels by adding distilled water to compensate for evaporation every 2 days. Top-offs should not exceed 20% of total volume to avoid diluting accumulated growth hormones released by the cutting.
Monitor ambient temperature stability. Fluctuations exceeding 8 degrees between day and night slow rooting by disrupting enzyme activity in dividing cells. Use heating mats set to 75°F for basement or garage stations where temperatures drop below 65°F at night.
Inspect cuttings daily for the first week to catch early rot symptoms. Remove any dropped leaves from water immediately to prevent decomposition and bacterial spike.
Label containers with species name and cutting date using waterproof markers. Track rooting times to identify optimal propagation windows for each species in your collection.
Rotate containers 180 degrees every 3 days to ensure even light exposure and prevent phototropic stem bending that complicates transplant.
FAQ
How long can cuttings remain in water after roots develop?
Maintain water-rooted cuttings for a maximum of 7 days post-rooting. Extended water culture longer than 4 weeks produces roots adapted to aquatic conditions that struggle to transition to soil's higher osmotic pressure, reducing transplant success below 50%.
Can fertilizer accelerate root growth in propagation water?
Dilute liquid fertilizer to 1/8 strength (approximately 0.5-0.5-0.5 NPK ratio) applied only after roots reach 0.5 inches. Earlier application diverts energy to foliar growth instead of root development. Excessive nitrogen promotes soft, rot-prone roots.
Which plant species root best in water?
Herbaceous tropicals with naturally high auxin production succeed most reliably: Pothos (7-10 days), Tradescantia (5-8 days), Philodendron (10-14 days), Coleus (6-9 days), and Mint (4-7 days). Woody species and succulents generally fail due to low auxin levels and rot susceptibility.
Does water propagation work for edible herbs?
Basil, mint, oregano, and lemon balm root in 5 to 10 days. Rosemary and thyme require rooting hormone and achieve only 40% success rates due to woody stems and low moisture tolerance. Harvest cuttings from non-flowering stems for best results.
Should propagation water contain nutrients initially?
Begin with pure distilled water only. Cuttings mobilize stored carbohydrates from existing stem and leaf tissue during the first 14 days. Nutrient addition before root emergence encourages algae and bacteria growth that competes for dissolved oxygen.