6 Simple Steps to Sharpen a Spade with a File
The scent of damp earth rising from a freshly turned furrow indicates a healthy rhizosphere, but a dull blade destroys the soil structure by tearing rather than slicing. When a spade edge loses its bevel, the gardener must exert excessive force, compressing the soil and damaging the turgor pressure of nearby root systems. Following precise steps for sharpening a garden spade with a file ensures a clean cut through fibrous roots and compacted clay. This technical maintenance is essential for preserving the integrity of the soil profile and reducing physical strain during the planting season.
Materials:
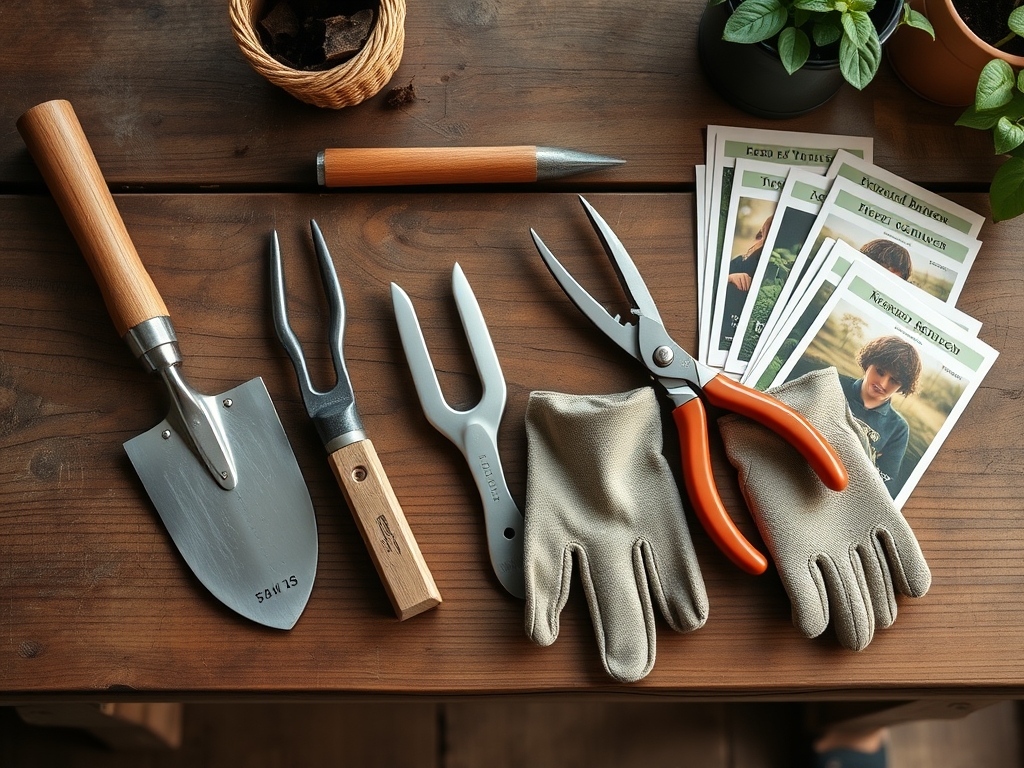
While tool maintenance is mechanical, it directly impacts your ability to manage soil chemistry. A sharp spade allows for the precise extraction of soil cores to measure **Cation Exchange Capacity (CEC)** and nutrient density. In a **friable loam** with a **pH of 6.5**, nutrient availability is maximized. Specifically, **Nitrogen (N)** at a ratio of **10-10-10** supports vegetative growth, while **Phosphorus (P)** and **Potassium (K)** are critical for root development and cellular resilience. To perform these steps, you require an **8-inch or 10-inch mill bastard file**, a **bench vise**, **safety goggles**, and **penetrating oil**. The file must be high-carbon steel to effectively shave the softer steel of the spade blade.
Timing:
Sharpening should occur during the dormant season, typically between the first hard frost and the spring thaw. In Hardiness Zones 5 through 7, this window falls between December and February. This timing aligns with the plant's Biological Clock, specifically the period of senescence where deciduous perennials have retreated to their rootstocks. Performing maintenance now ensures that when the photoperiod lengthens and triggers the transition from dormancy to the vegetative stage, your tools are ready for immediate use. Sharpening during active growth phases risks the introduction of pathogens into open plant wounds if the tool is not also sterilized with a 70 percent isopropyl alcohol solution.
Phases:
Sowing and Preparation
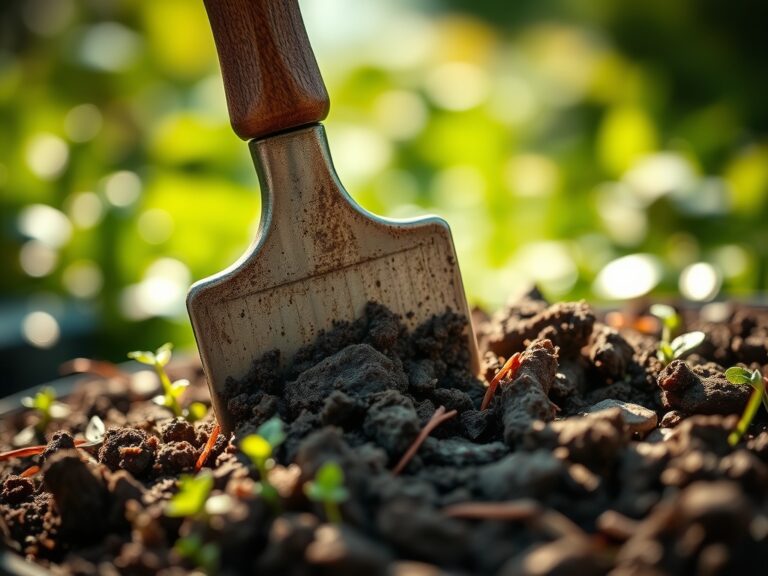
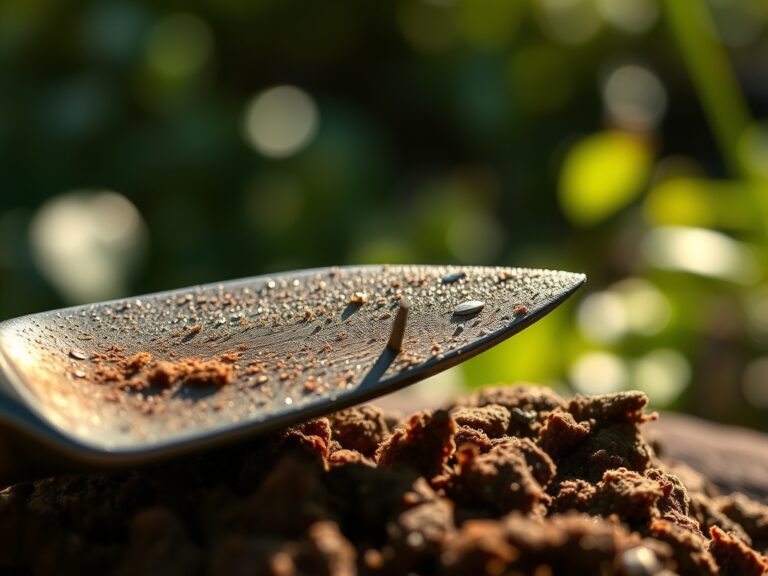
The first phase involves cleaning the blade. Use a wire brush to remove oxidized metal and desiccated organic matter. Secure the spade in a bench vise at a 45-degree angle with the interior (concave) side facing away from you. This stability prevents "chatter," which creates an uneven edge.
Pro-Tip: Maintaining a clean blade prevents the transfer of fungal spores like Fusarium oxysporum. A smooth surface reduces friction, allowing the blade to glide through the rhizosphere without disrupting the delicate mycorrhizal symbiosis between fungi and root hairs.
Transplanting the Edge
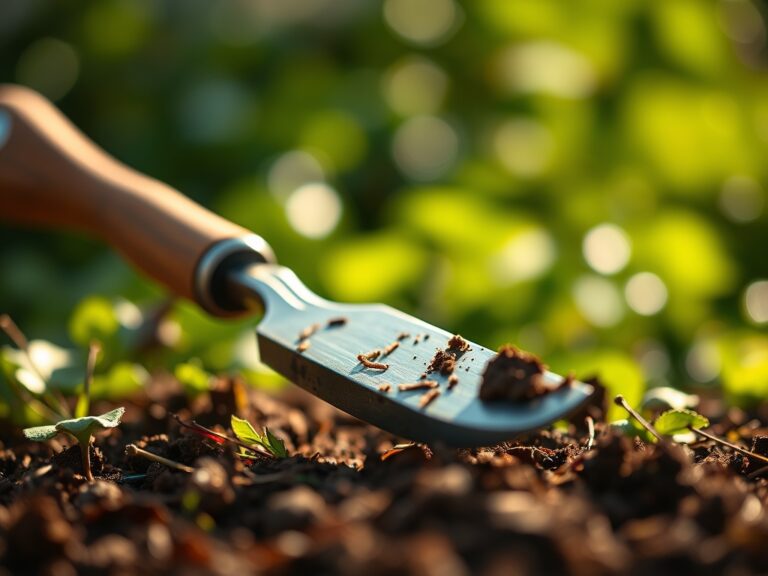
Apply the file to the edge of the spade. Use long, single-direction strokes pushing away from your body. Follow the factory bevel, which is usually between 20 and 30 degrees. Do not use a back-and-forth sawing motion; this creates heat that can draw the temper out of the steel, making it brittle.
Pro-Tip: A precise bevel angle is critical for auxin suppression management. When transplanting, a sharp cut to lateral roots stimulates the release of auxins, which encourages the development of a more robust, branched root system in the new planting hole.
Establishing the Finish
After sharpening the front bevel, flip the spade. Run the file flat against the back side once or twice to remove the "burr" or "wire edge." This ensures the blade is microscopically straight. Finish by wiping the metal with a rag soaked in mineral oil to prevent oxidation during storage.
Pro-Tip: A burr-free edge prevents jagged tears in the plant's vascular tissue. Clean cuts allow the plant to quickly form a callus, maintaining turgor pressure and preventing the entry of opportunistic bacteria that cause systemic wilt.
The Clinic:
Physical tool failure often mirrors plant physiological disorders. If a spade is too dull, it causes "Root Crushing," a symptom where the root ends appear flattened and brown. The solution is to re-establish a 30-degree bevel.
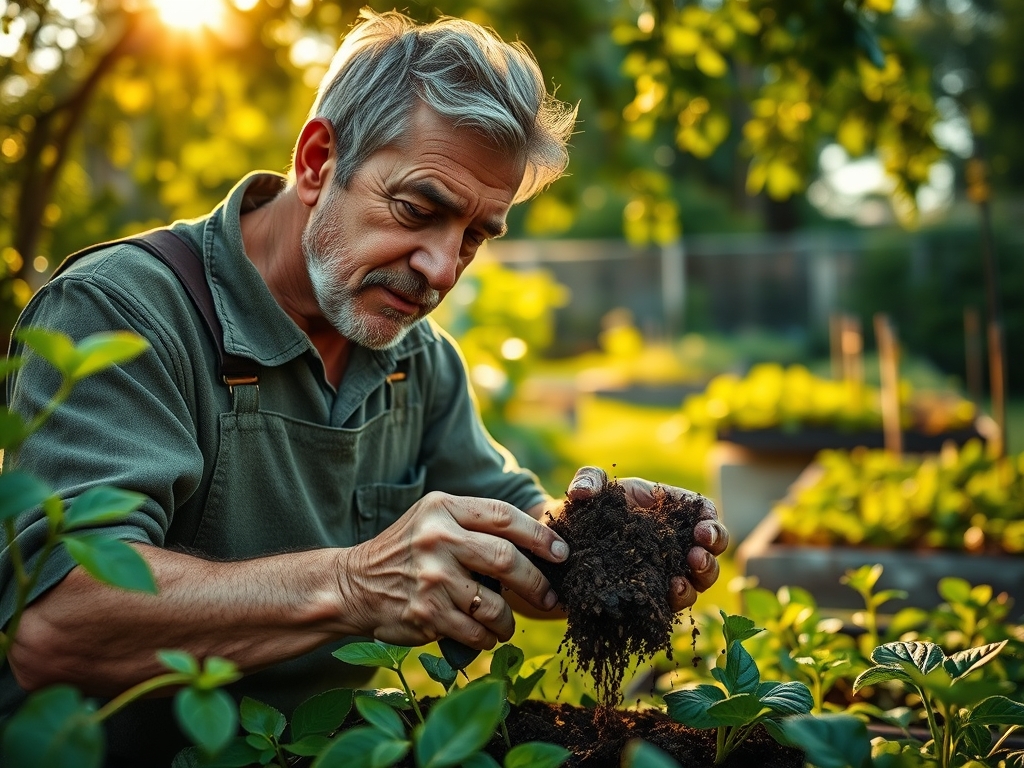
Nitrogen Chlorosis: If your plants show yellowing in older leaves, the soil likely lacks Nitrogen. Fix this by incorporating a blood meal or a 20-0-0 fertilizer into the top 4 inches of soil using your sharpened spade.
Iron Deficiency: Interveinal chlorosis in new growth suggests a pH imbalance. Use a soil moisture meter to ensure the area is not waterlogged, then apply chelated iron to the root zone.
Phosphorus Deficiency: Purplish tinting on stems indicates a lack of P. Apply bone meal (0-12-0) during the transplanting phase to support ATP production and energy transfer within the plant.
Maintenance:
Post-sharpening, maintain your garden beds with precision. Apply 1.5 inches of water per week at the drip line to ensure deep penetration. Use a soil moisture meter to verify that the water reaches a depth of 6 to 8 inches. When pruning or dividing perennials, utilize bypass pruners for soft tissue and a hori-hori knife for dividing dense root balls. The hori-hori knife should be sharpened using the same file techniques applied to the spade to ensure clean divisions of rhizomes and tubers.
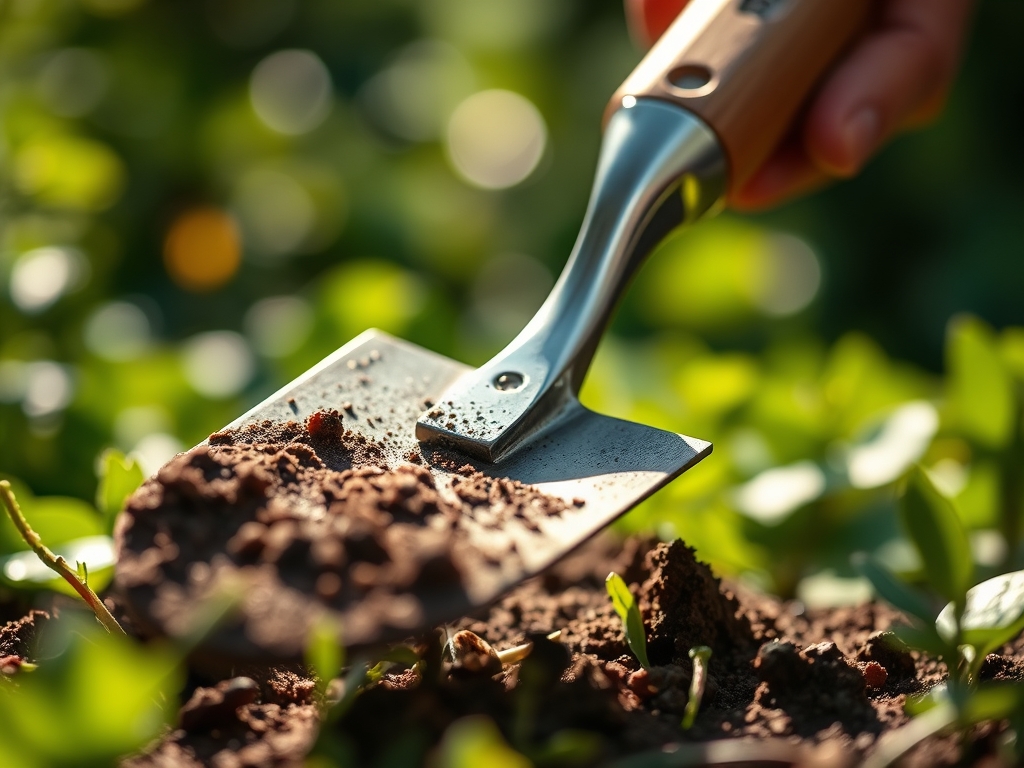
The Yield:
For root crops like carrots or parsnips, harvest timing is determined by the shoulder diameter and foliage color. Use your sharpened spade to loosen the soil 4 inches away from the crown to avoid mechanical damage. Post-harvest, submerge the roots in 40-degree Fahrenheit water to remove field heat. This process slows the rate of respiration and preserves "day-one" freshness by locking in sugars and moisture.
FAQ:
How often should I sharpen my spade?
Sharpen your spade every 50 hours of use or at the start of every spring. High-clay soils or rocky substrates increase the rate of abrasion, necessitating more frequent edge maintenance to ensure clean cuts.
What angle is best for a garden spade?
Maintain a 45-degree bevel for general digging and a 25-degree bevel for edging or cutting sod. A shallower angle provides a sharper edge but is more prone to chipping in rocky soil conditions.
Can I use a power grinder instead of a file?
A file is preferred because power grinders generate excessive heat. If the steel exceeds 400 degrees Fahrenheit, it loses its temper and becomes soft, requiring more frequent sharpening and shortening the tool's lifespan.
Why does my spade rust after sharpening?
Sharpening exposes raw, unoxidized steel to oxygen and moisture. Always apply a thin layer of mineral oil or silicone spray immediately after filing to create a protective barrier against atmospheric oxidation.