8 Professional Steps to Prepare a Tool Manual
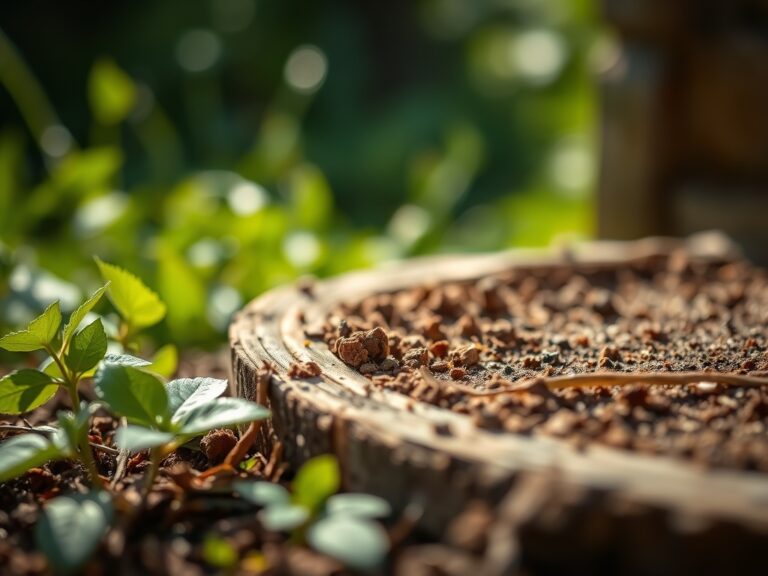
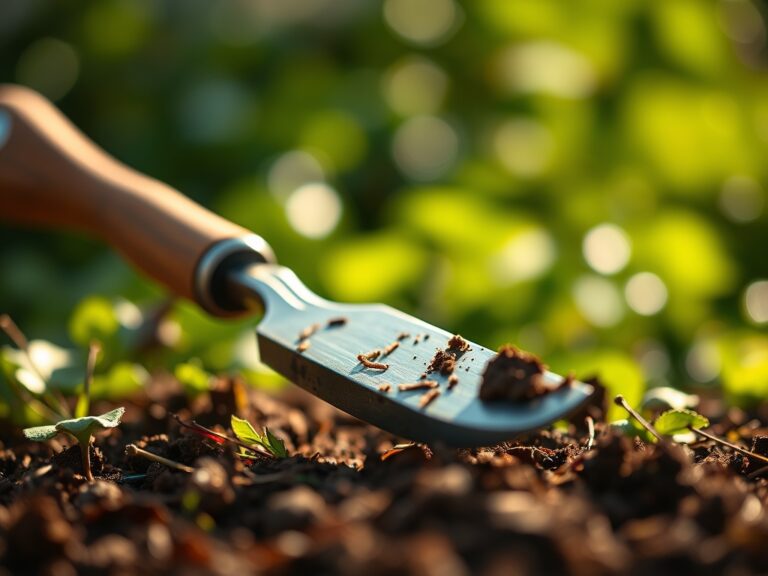
The scent of damp earth and the crisp turgor of a healthy leaf define a successful growing season. Achieving this level of plant health requires more than water; it demands a systematic approach to equipment readiness and site management. Learning how to prepare a garden for a tool maintenance guide ensures that every cut is clean and every furrow is precise. Professional horticulture relies on the intersection of mechanical efficiency and biological potential. When tools are calibrated and the soil is primed, the rhizosphere thrives.
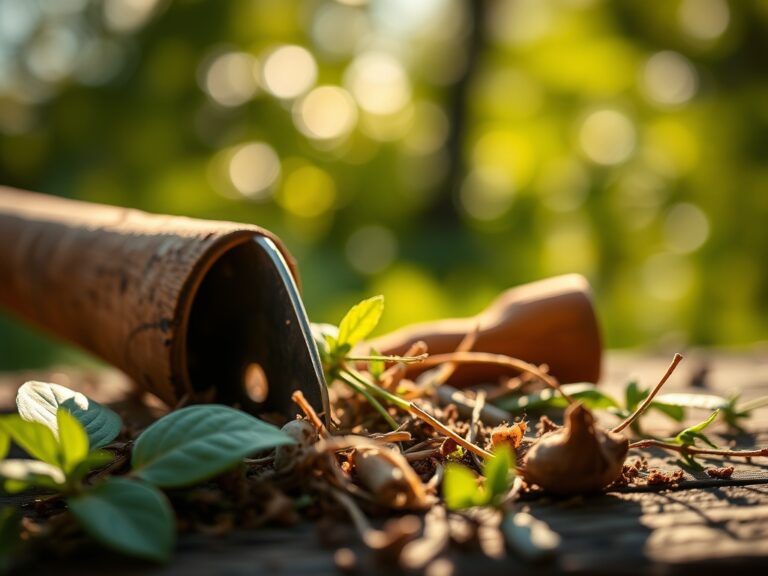
Establishing a high-performance garden begins with the physical environment. Neglecting the state of your blades or the calibration of your spreaders results in ragged tissue tears and uneven nutrient distribution. A well-maintained garden serves as the ultimate testing ground for your equipment. By aligning your maintenance schedule with the physiological needs of your crops, you minimize stress and maximize yield. This guide provides the technical framework for integrating tool care with advanced horticultural practices.
Materials:
Successful cultivation requires a friable loam substrate with a balanced Cation Exchange Capacity (CEC). Aim for a soil structure composed of 40 percent sand, 40 percent silt, and 20 percent clay. This ratio ensures optimal pore space for oxygen exchange and moisture retention.
Soil chemistry must be precise. For general vegetable production, maintain a pH between 6.2 and 6.8. This range ensures that essential micronutrients remain bioavailable. Specific NPK ratios are required based on the growth stage:
- Establishment Phase: Use a 5-10-5 ratio to prioritize root development via phosphorus.
- Vegetative Phase: Transition to a 10-5-5 ratio to support nitrogen-driven chlorophyll production.
- Reproductive Phase: Utilize a 5-10-15 ratio to provide the potassium necessary for fruit set and osmotic regulation.
Timing:
Timing is dictated by the USDA Hardiness Zones and the local frost-free window. In Zones 5 through 7, the primary planting window opens when soil temperatures consistently reach 55 degrees Fahrenheit. Monitor the biological clock of your plants; the transition from vegetative to reproductive stages is often triggered by the photoperiod. Long-day plants require more than 12 hours of light to initiate flowering.
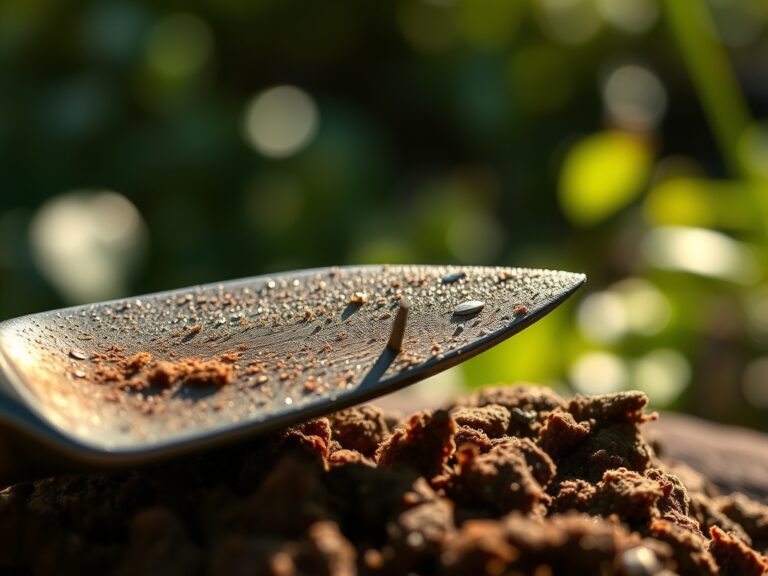
Tool maintenance must precede these biological milestones. Sharpen bypass pruners before the spring sap flow begins. Sterilize equipment with a 10 percent bleach solution or 70 percent isopropyl alcohol to prevent the transmission of pathogens during the high-growth phase.
Phases:
Sowing
Direct sow seeds at a depth two to three times their diameter. Ensure the seedbed is level and free of debris to allow for uniform emergence. Maintain a consistent soil moisture level of 70 percent field capacity during germination.
Pro-Tip: Proper sowing depth prevents epigeal germination failure. By placing seeds at the correct depth, you ensure the hypocotyl has enough leverage to break the soil surface without exhausting stored energy reserves.
Transplanting
Move seedlings when they have developed at least two sets of true leaves. Dig a hole twice as wide as the root ball. Ensure the transition happens during overcast days or late afternoon to reduce transpiration stress.
Pro-Tip: Use a mycorrhizal inoculant during transplanting. This fosters a symbiotic relationship where fungi extend the root system's reach, increasing the uptake of phosphorus and water through a vastly expanded network of hyphae.
Establishing
Once the root system is set, focus on structural integrity. Use stakes or trellises for indeterminate varieties. Monitor the turgor pressure of the stems; drooping indicates a lack of internal water pressure within the xylem.
Pro-Tip: Practice auxin suppression by pinching off the terminal buds of certain species. This redirects the plant's hormonal energy from apical dominance to lateral branching, resulting in a bushier, more productive plant.
The Clinic:
Physiological disorders often mimic infectious diseases. Accurate diagnosis is essential before intervention.
- Symptom: Interveinal chlorosis on young leaves.
- Solution: This indicates an Iron (Fe) deficiency, often caused by high soil pH. Lower the pH or apply chelated iron.
- Symptom: Blossom end rot on fruit.
- Solution: This is a Calcium (Ca) transport issue. Ensure consistent irrigation to allow the plant to move calcium through the transpiration stream.
- Symptom: Purple tinting on the underside of leaves.
- Solution: This suggests a Phosphorus (P) deficiency, common in cold soils where microbial activity is low.
- Symptom: Marginal leaf scorch on older foliage.
- Solution: This is a classic sign of Potassium (K) deficiency. Supplement with sulfate of potash to restore osmotic balance.
Fix-It Section: For general Nitrogen chlorosis (yellowing of older leaves), apply a high-nitrogen liquid fertilizer at a rate of 1 pound of actual nitrogen per 1,000 square feet.
Maintenance:
Precision maintenance prevents plant decline. Apply 1.5 inches of water per week delivered at the drip line to ensure deep root penetration. Avoid overhead irrigation to minimize leaf moisture, which can invite fungal spores.
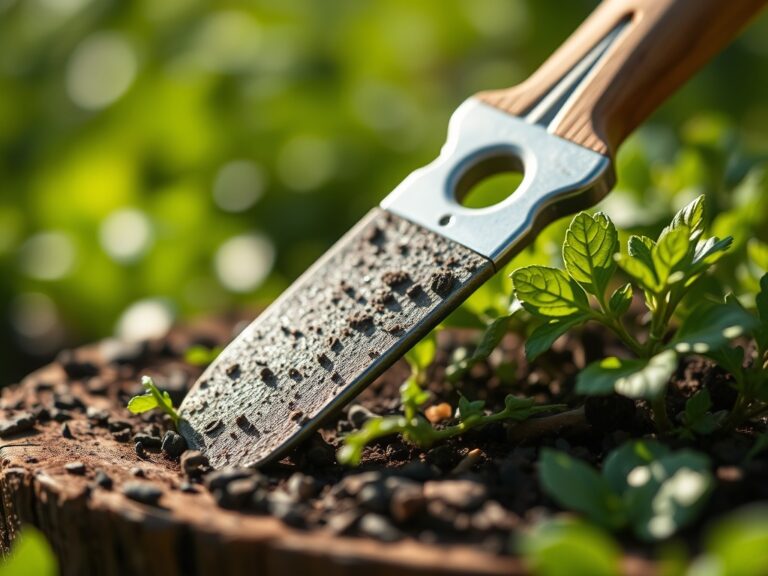
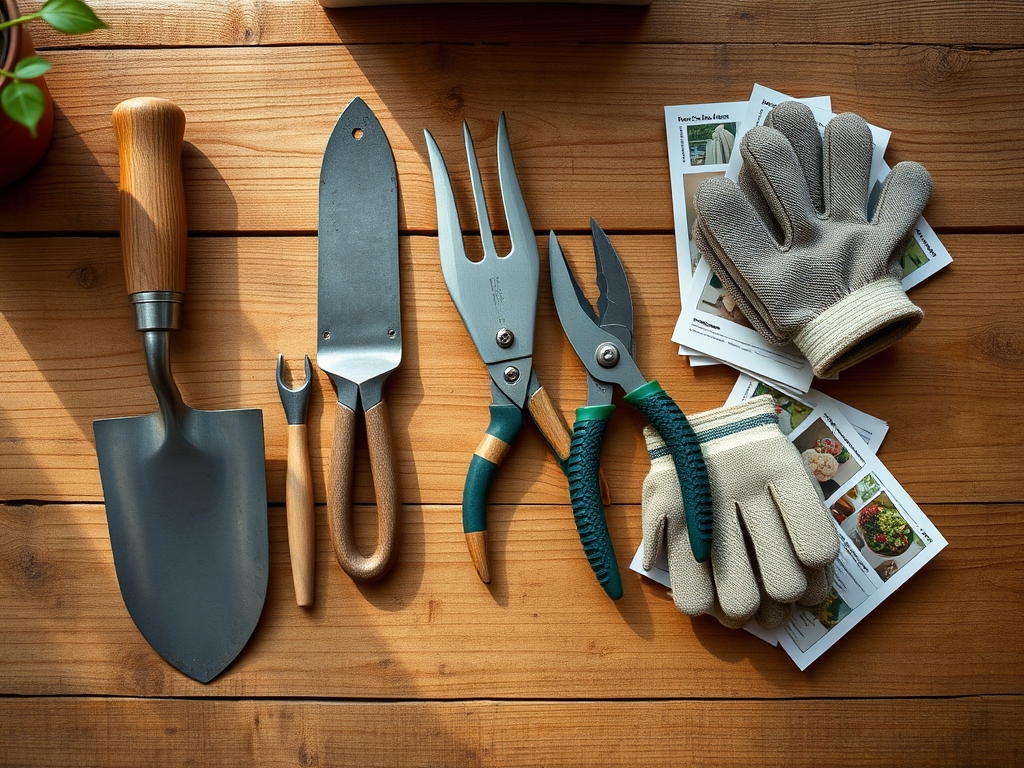
Utilize a hori-hori knife for deep weeding and precise planting. This tool is essential for removing taproots without disturbing the surrounding soil structure. Regularly check soil density with a soil moisture meter to avoid over-saturation. Keep your bypass pruners honed to a razor edge; dull blades crush the vascular tissue (xylem and phloem), creating an entry point for disease. Clean all metal surfaces with a wire brush and apply a light coat of mineral oil to prevent oxidation.
The Yield:
Harvesting is the culmination of the physiological process. For most fruiting crops, harvest when the fruit reaches its full color break but remains firm to the touch. This timing ensures peak sugar content and optimal shelf life. Use a sharp knife or shears to leave a small portion of the pedicel attached; this prevents moisture loss from the fruit.
Post-harvest handling is critical. Reduce the field heat of the produce immediately by moving it to a shaded, cool environment. For leafy greens, a quick dip in 40-degree Fahrenheit water restores turgor and maintains "day-one" freshness by slowing the rate of respiration and senescence.
FAQ:
How do I calibrate a soil pH meter?
Clean the probe with distilled water. Insert it into a buffer solution of pH 4.0 or 7.0. Adjust the meter until the reading matches the solution. Always store the probe in a storage solution to maintain electrode sensitivity.
What is the best way to clean rusty tools?
Soak the metal components in white vinegar for 24 hours. Use steel wool or a wire brush to scrub away the loosened oxidation. Rinse with water, dry thoroughly, and apply a thin layer of machine oil to the surface.
When should I sharpen my pruning shears?
Sharpen shears every 10 to 20 hours of use or whenever you notice the blade tearing the plant tissue rather than slicing it. Use a diamond file or whetstone, following the original bevel angle of the blade.
How does soil compaction affect tool use?
Compacted soil increases the physical resistance against tools like spades and broadforks. It also limits oxygen in the rhizosphere, leading to anaerobic conditions that stunt root growth and make manual cultivation significantly more difficult and less effective.