6 Best Durable Plant Ties for Climbing Support
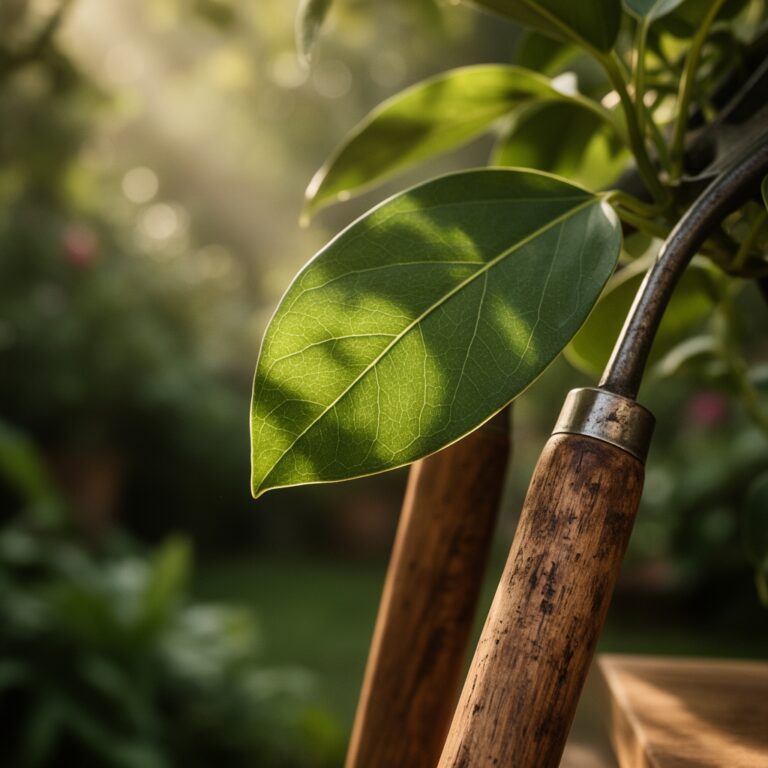
The scent of damp, anaerobic decomposition signals a failure in soil aeration, but the crisp snap of a leaf with high turgor pressure indicates a plant at its physiological peak. Maintaining this structural integrity requires more than just soil health; it demands mechanical stability. When a heavy vine or a top-heavy indeterminate tomato variety begins to lean, the vascular system undergoes mechanical stress that can lead to permanent tissue damage. Selecting the best plant ties is a technical necessity for any horticulturist aiming to optimize vertical growth and prevent stem kinking. These ties must provide enough tension to resist wind shear while remaining flexible enough to accommodate secondary growth in the cambium layer. Without proper support, the plant's energy is diverted from fruit production to structural repair. A professional-grade tie ensures that the xylem and phloem remain unobstructed, allowing for the efficient transport of water and nutrients from the rhizosphere to the furthest apical meristem. Precision in tying prevents the constriction of the stem, which would otherwise lead to localized necrosis or total plant failure.
Materials:
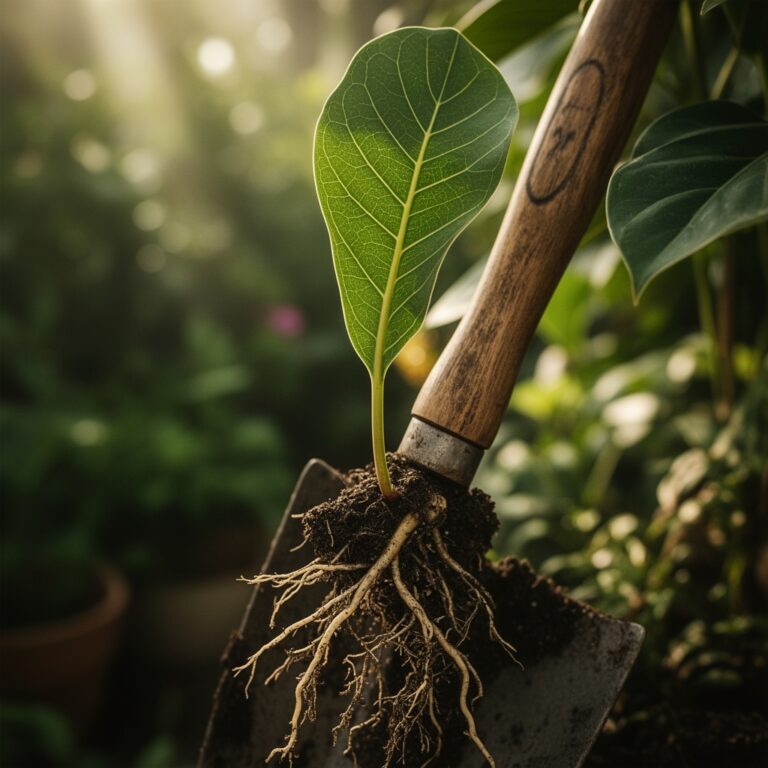
The foundation of any climbing system begins with the soil substrate. For heavy climbers like Wisteria or Vitis vinifera, a **friable loam** with a Cation Exchange Capacity (CEC) between **15 and 25 meq/100g** is required to support the massive biomass. The soil pH should be maintained between **6.2 and 6.8** to ensure maximum bioavailability of micronutrients. During the vegetative phase, an NPK ratio of **10-5-5** supports rapid cell division. As the plant transitions to the reproductive phase, shift to a **5-10-10** ratio to prioritize phosphoric acid for root and bloom development. The physical texture of the substrate must allow for a 20 percent macropore space to facilitate oxygen diffusion to the root zone. When selecting ties, consider the weight of the mature plant relative to the tensile strength of the material. Soft-stretch tie tape, rubber-coated wire, and biodegradable jute are standard; however, high-density polyethylene (HDPE) strips offer the best longevity for perennial woody stems.
Timing:
Successful vertical integration depends on the USDA Hardiness Zone and the specific photoperiod requirements of the species. In Zones 5 through 7, the window for installing supports and the first round of ties usually falls between late March and early May, immediately following the last frost date. You must monitor the biological clock of the plant. The transition from the vegetative stage to the reproductive stage is triggered by changes in day length and temperature. Tying must occur during the vegetative surge when the stems are pliable. Once the plant enters senescence or begins lignification (the hardening of cell walls with lignin), the risk of snapping the main leader increases by 40 percent. For indeterminate species, ties should be adjusted every 7 to 10 days to keep pace with growth rates that can exceed 2 inches per day in optimal conditions.
Phases:
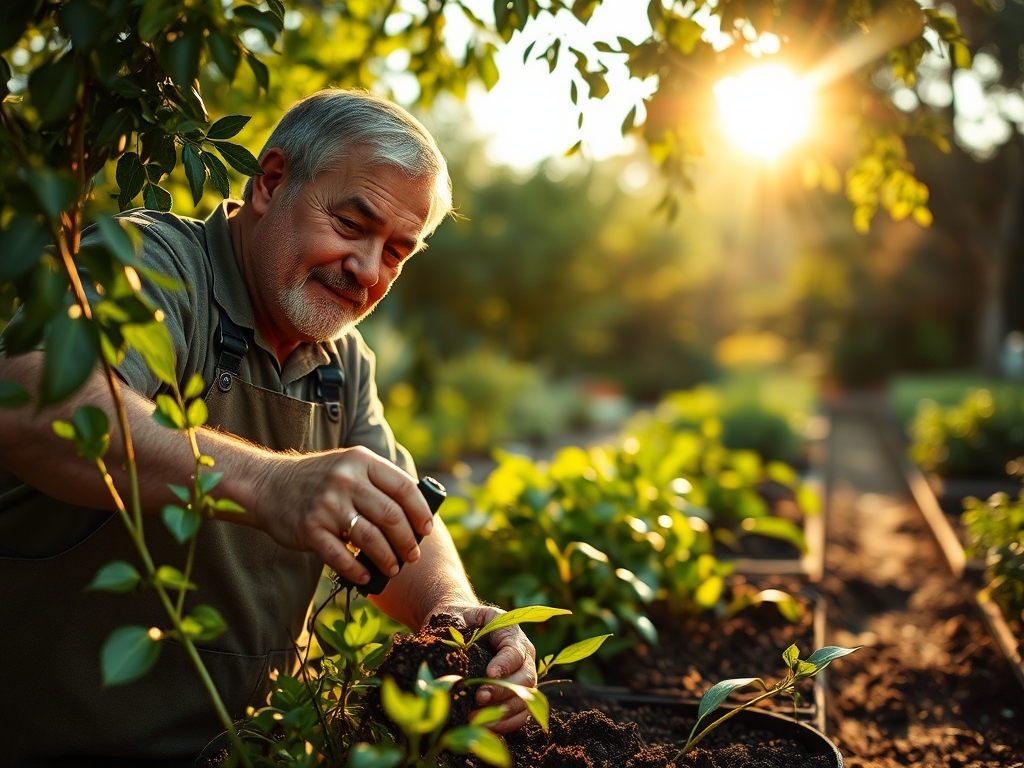
Sowing and Initial Support
Early intervention prevents lodging. As soon as the first true leaves appear and the seedling reaches 4 inches in height, provide a thin bamboo stake. Use a lightweight thread or a soft twist-tie to secure the stem loosely.
Pro-Tip: Early support utilizes thigmotropism, a directional growth movement which occurs as a mechanosensory response to a solid object. Providing a touch-point early encourages the plant to thicken its cell walls in response to the support.
Transplanting and Structural Anchoring
When moving a plant to its permanent location, the root ball must be set so the crown is level with the soil surface. Use a hori-hori knife to cut through any circling roots to prevent girdling. Install the primary support system (trellis or cattle panel) at least 6 inches deep into the subsoil.
Pro-Tip: When anchoring, avoid tight knots to prevent the suppression of auxins. These hormones accumulate on the shaded side of the stem; tight ties can disrupt their flow, leading to stunted or asymmetrical growth.
Establishing and Canopy Management
As the plant reaches the mid-point of its vertical limit, use heavy-duty rubber-coated ties. These should be applied in a figure-eight pattern. This configuration creates a buffer zone between the plant and the support, preventing friction burns on the epidermis.
Pro-Tip: Proper spacing of ties improves airflow through the canopy, which reduces the humidity levels that favor fungal pathogens. This management of the microclimate is essential for preventing Oidium (powdery mildew) outbreaks.
The Clinic:
Physiological disorders often manifest as physical deformities that ties can either mitigate or exacerbate.
- Symptom: Stem Constriction (Girdling). Solution: Immediately loosen ties. If the tissue is deeply indented, the plant may suffer from restricted carbohydrate transport. Use an expandable soft-foam tie to allow for secondary xylem expansion.
- Symptom: Interveinal Chlorosis. Fix-It: This is often a sign of Magnesium deficiency. Apply a foliar spray of Epsom salts (magnesium sulfate) at a rate of 1 tablespoon per gallon of water to restore chlorophyll production.
- Symptom: Adventitious Root Growth on Stems. Solution: This indicates high humidity or a search for stability. Secure the stem more firmly to the support using a best plant tie with a wider surface area to distribute pressure.
- Symptom: Nitrogen Chlorosis (yellowing of older leaves). Fix-It: Apply a high-nitrogen organic fertilizer like blood meal to the drip line. Ensure the soil pH is not above 7.5, which can lock out nitrogen.
Maintenance:
Precision maintenance requires a soil moisture meter to ensure the root zone receives exactly 1.5 inches of water per week at the drip line. Avoid overhead irrigation to minimize leaf wetness duration. Use bypass pruners to remove any lateral shoots (suckers) that emerge at a 45-degree angle from the leaf axils; this redirects energy to the main leader. Check the tension of your plant ties monthly. As the stem diameter increases, a tie that was once loose can become a tourniquet. If using a hori-hori knife to weed around the base, be careful not to disturb the fine feeder roots located in the top 3 inches of the soil profile.
The Yield:
For fruiting climbers, harvest when the fruit reaches the "breaker stage" or full color saturation. For flowers, harvest in the early morning when turgor pressure is at its highest. Use a sharp, sterilized blade to make a clean cut at a node. To maintain "day-one" freshness, immediately submerge the cut end in 40-degree Fahrenheit water to slow the rate of respiration and transpiration. For woody vines, post-harvest maintenance involves pruning back to the structural framework to prepare for the next season's growth.
FAQ:
What is the best material for plant ties?
Soft, UV-stabilized rubber or stretchy plastic tape is superior. These materials expand as the stem grows, preventing girdling and vascular constriction. Natural jute is an excellent biodegradable option for annual crops that require less than one season of support.
How tight should I tie my plants?
Never tie a plant flush against a support. Use a figure-eight loop to leave at least 0.5 inches of clearance. This allows for natural movement in the wind, which strengthens the stem through a process called thigmomorphogenesis.
Can I reuse plant ties every year?
Plastic and rubber ties can be reused if they are sterilized in a 10 percent bleach solution to kill dormant fungal spores or bacteria. Jute and cotton ties should be composted after one use to prevent pathogen carryover.
When should I remove plant ties?
Remove or loosen ties once the plant has developed sufficient lignin to support its own weight or when the tie begins to indent the bark. For annuals, remove all ties during the final harvest to facilitate garden cleanup.