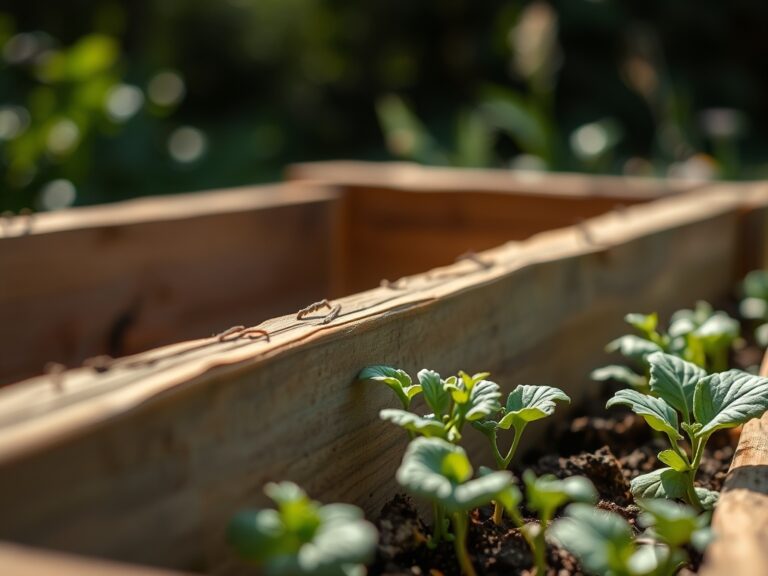
7 Best Rust Removers for Garden Spades
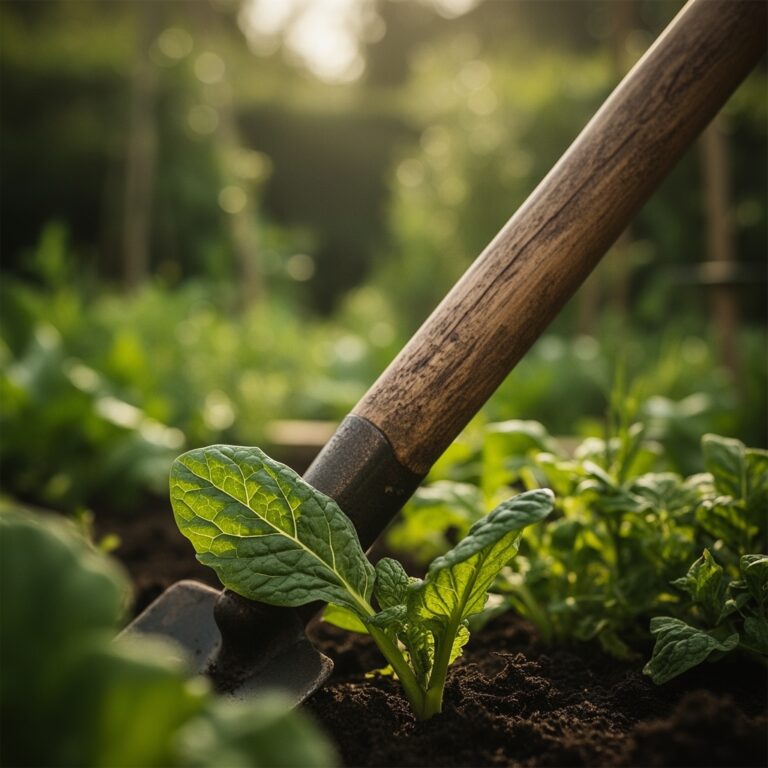
The smell of damp earth after a spring rain signals the peak of microbial activity in the rhizosphere. High turgor pressure in a healthy vegetable leaf indicates a plant is efficiently transporting water through its xylem. To maintain this biological efficiency, a gardener must rely on clean, sharp implements. Oxidation on a spade blade introduces friction and harborages for pathogens. Selecting the best vegetable garden tool rust removers is a critical maintenance task for any serious grower. Rust, or iron oxide, forms when oxygen and moisture react on the metal surface. This process is accelerated in coastal regions or areas with high humidity. A rusted tool creates jagged edges that tear plant tissue rather than slicing it. These ragged wounds are entry points for fungal spores and bacteria. Clean steel ensures that every cut is surgical and every plunge into the soil is effortless. Maintaining the integrity of your carbon steel or stainless steel tools is as vital as monitoring soil moisture levels or nutrient uptake.
Materials:
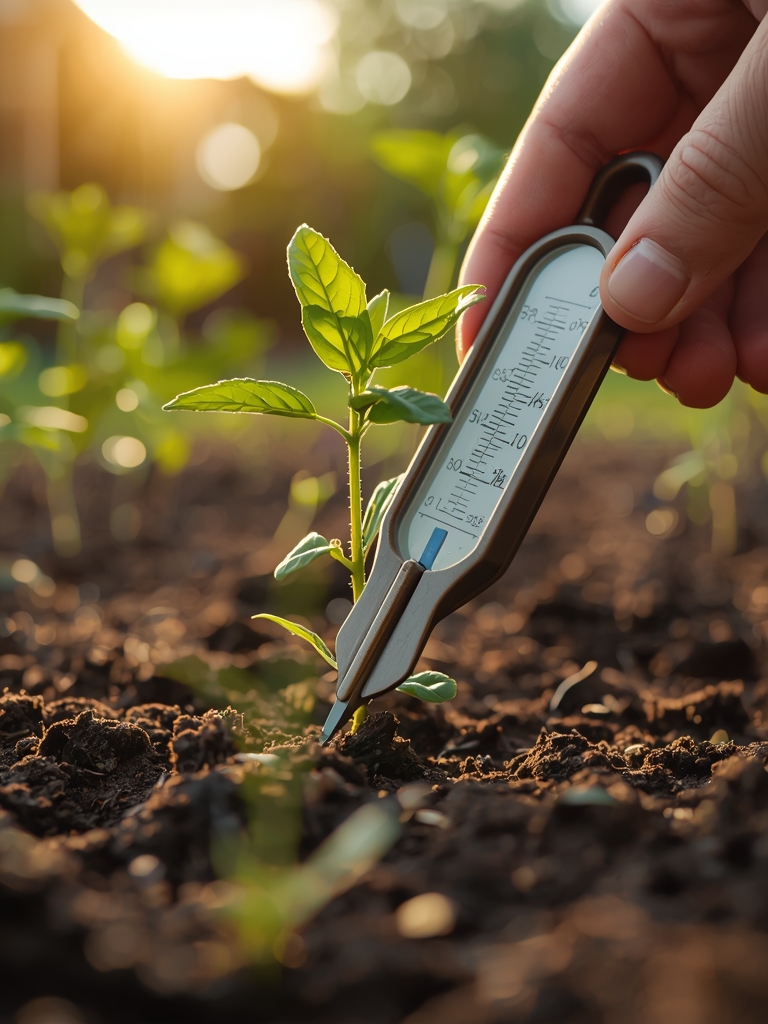
The success of a vegetable garden begins with the substrate. A friable loam with a **Cation Exchange Capacity (CEC) between 15 and 25** allows for optimal nutrient retention and root penetration. Soil pH should be maintained between **6.2 and 6.8** for most vegetable crops to ensure the bioavailability of phosphorus and micronutrients. When prepping your beds, incorporate organic matter to achieve a soil texture that crumbles easily when squeezed. For heavy feeders like brassicas, an NPK ratio of **10-10-10** provides a balanced start; however, fruiting crops like tomatoes benefit from a **5-10-10** ratio to prioritize reproductive growth over excessive foliage. Use a **soil moisture meter** to verify that the root zone remains at a consistent hydration level.
Timing:
Hardiness Zones determine the window for effective cultivation. In Zones 5 through 7, the last frost date typically falls between mid-April and early May. Understanding the biological clock of your plants is essential for a high yield. The transition from the vegetative stage to the reproductive stage is triggered by the photoperiod or the accumulation of Growing Degree Days (GDD). For instance, spinach will bolt and enter senescence when day lengths exceed 14 hours. Early season planting requires monitoring soil temperatures; most seeds require a minimum of 50 degrees Fahrenheit for germination. Conversely, heat-loving crops like peppers require soil temperatures of at least 65 degrees Fahrenheit to avoid stunting.
Phases:
Sowing
Direct sow seeds at a depth approximately three times the diameter of the seed. Ensure consistent contact between the seed coat and the moist soil particles to initiate imbibition. This first stage of germination is delicate.
Pro-Tip: Maintain consistent moisture to prevent the soil surface from crusting. This prevents "hypocotyl snap," where the emerging seedling breaks because it cannot penetrate the hardened upper layer of the substrate.
Transplanting
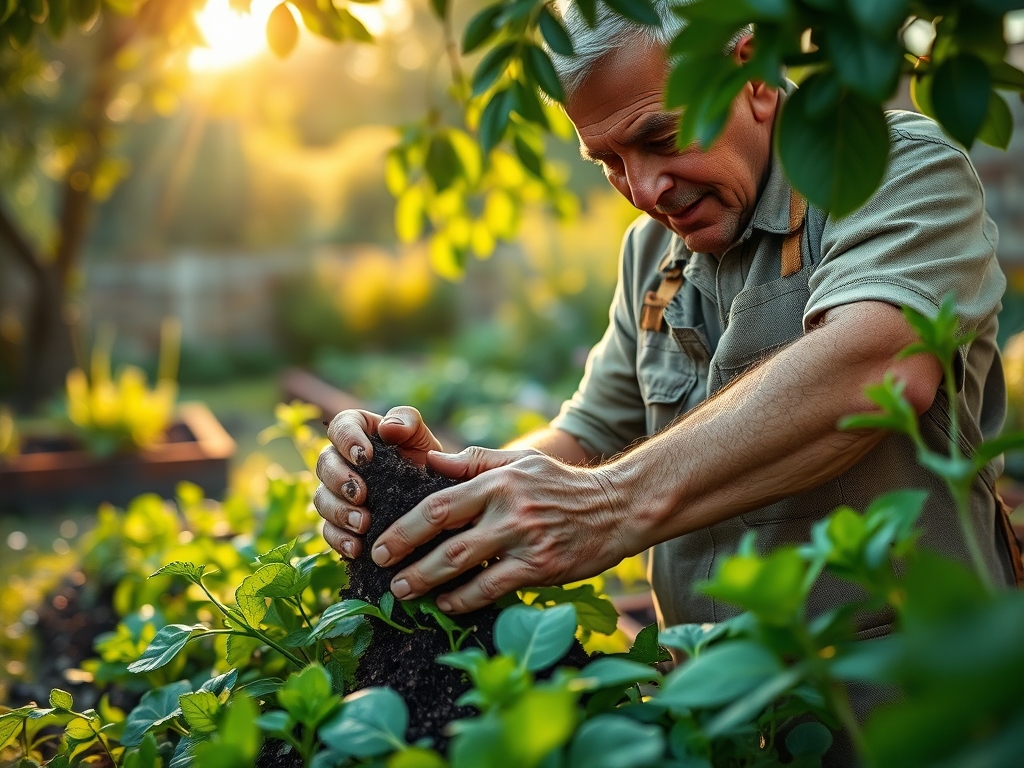
When moving seedlings from flats to the field, minimize root disturbance. Dig a hole twice as wide as the root ball using a hori-hori knife. Set the plant so the crown is level with the soil surface.
Pro-Tip: Apply a diluted seaweed extract during transplanting to encourage mycorrhizal symbiosis. These beneficial fungi extend the reach of the root system, increasing the surface area for water and phosphorus absorption.
Establishing
During the first 14 to 21 days after transplanting, the plant focuses on root development. Avoid high-nitrogen fertilizers during this window to prevent leggy growth that the young root system cannot support.
Pro-Tip: Use a technique called "pinching" on certain crops to suppress apical dominance. This redirects auxins to lower lateral buds, creating a bushier, more structurally sound plant that can support a heavier fruit load.
The Clinic:
Physiological disorders often mimic disease but are rooted in environmental or nutritional stress.
- Symptom: Interveinal chlorosis on young leaves.
Solution: This indicates an Iron deficiency, often caused by high soil pH. Apply chelated iron or lower the pH with elemental sulfur to a range of 6.0 to 6.5.
- Symptom: Blossom end rot on tomatoes or peppers.
Solution: This is a Calcium deficiency caused by inconsistent transpiration. Ensure 1.5 inches of water per week and avoid high-ammonium fertilizers which compete with calcium uptake.
- Symptom: Purpling of older foliage.
Solution: This is a classic sign of Phosphorus deficiency, common in cold, wet soils. Increase soil temperature with black plastic mulch or apply a high-phosphorus starter fertilizer.
- Symptom: Tip burn on lettuce.
Solution: This occurs when the plant cannot move calcium to the leaf margins during rapid growth. Increase airflow and ensure consistent soil moisture to stabilize the transpiration stream.
Maintenance:
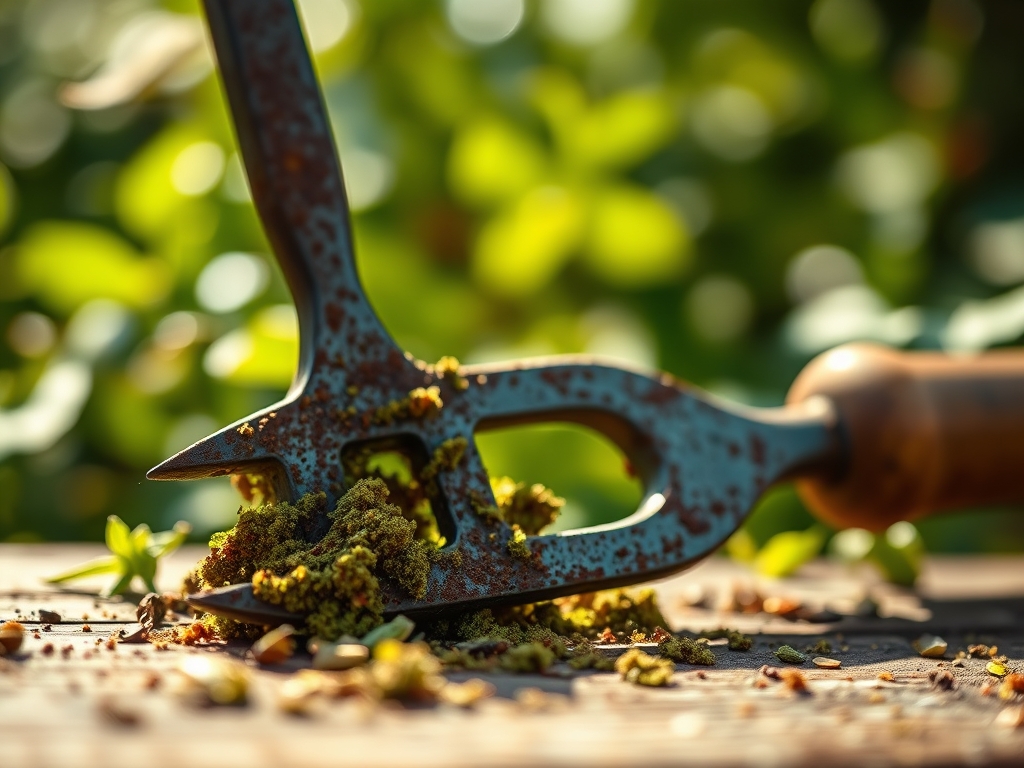
Precision is the hallmark of a master gardener. Apply exactly 1.5 inches of water per week at the drip line of the plants. Use a soil moisture meter to check the depth of hydration; water should reach at least 6 inches deep to encourage deep rooting. Keep your bypass pruners sharp and sterilized with a 10 percent bleach solution between plants to prevent the spread of tobacco mosaic virus or bacterial wilt. After each use, wipe your hori-hori knife clean of soil. If rust appears, use a wire brush or a chemical neutralizer specifically designed for garden tools. Store tools in a bucket of sand mixed with mineral oil to prevent oxidation and keep the metal surfaces conditioned.
The Yield:
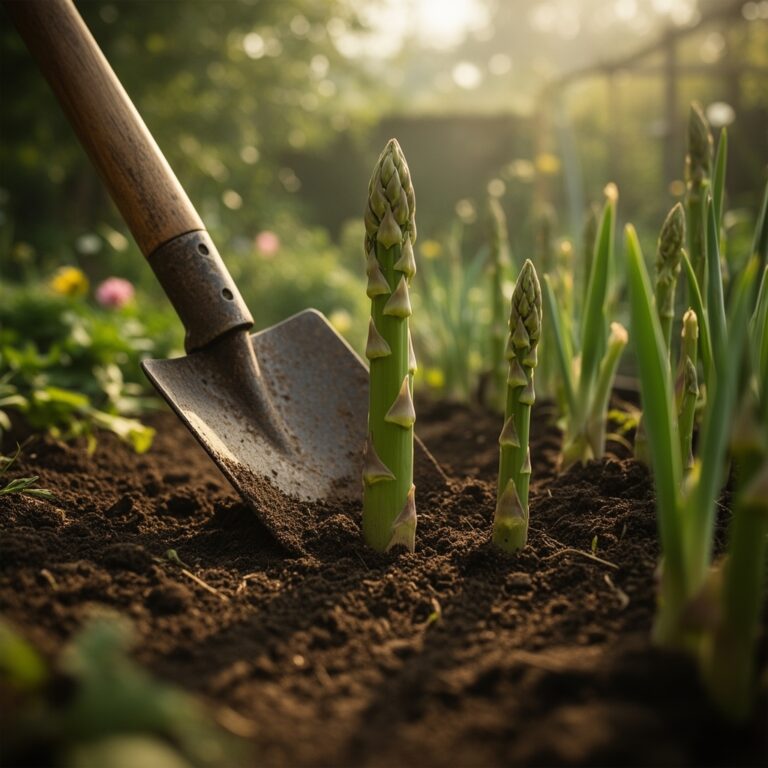
Harvesting is a race against senescence. For leafy greens, harvest in the early morning when turgor pressure is at its highest. This ensures the cell walls are fully hydrated, providing a crisp texture. For root crops like carrots, harvest after the first light frost when the plant begins to convert starches into sugars as an antifreeze mechanism. Use a garden fork to loosen the soil 4 inches away from the base of the plant to avoid bruising the tissue. Post-harvest, submerge greens in cool water to remove field heat immediately. This slows the respiration rate, preserving the nutrient density and flavor of the produce for "day-one" freshness.
FAQ:
How do I remove heavy rust from a spade?
Submerge the metal head in white vinegar for 12 to 24 hours. Use a stiff wire brush to scrub away the softened iron oxide. Rinse with water, dry completely, and apply a thin coat of linseed oil.
Can I use sandpaper to clean my garden tools?
Yes, use 80-grit sandpaper for heavy rust and move to 120-grit for finishing. Always sand in the direction of the metal grain. This removes oxidation without compromising the structural integrity of the steel blade.
Is it safe to use chemical rust removers on vegetable tools?
Use products labeled as non-toxic or biodegradable. After treatment, wash the tool with soap and water to ensure no residues remain. This prevents chemical contamination of the soil and the sensitive rhizosphere of your food crops.
Why is rust bad for my garden plants?
Rust creates a porous, rough surface that traps soil and moisture. This environment fosters the growth of pathogenic fungi and bacteria. Smooth, clean tools make precise cuts that heal faster, reducing the risk of systemic plant infections.