9 Protection Steps to Install a Vegetable Fence
The smell of damp earth and the firm turgor of a healthy leaf define a productive growing season. To protect this investment, you must execute the specific steps for installing a vegetable garden fence panel with engineering precision. A fence is not merely a boundary; it is a structural barrier designed to mitigate herbivory and wind stress. Without a physical perimeter, your soil health and crop yields remain vulnerable to external pressures that can decimate a harvest in a single night.
Success begins with a structural analysis of your site. You are building a defense system for a high performance biological engine. Every post must be plumb and every panel must be tensioned to withstand lateral forces. By following the correct steps for installing a vegetable garden fence panel, you ensure that the rhizosphere remains undisturbed by tunneling pests or larger foragers. This guide details the technical requirements for a professional installation that prioritizes both structural integrity and plant physiology.
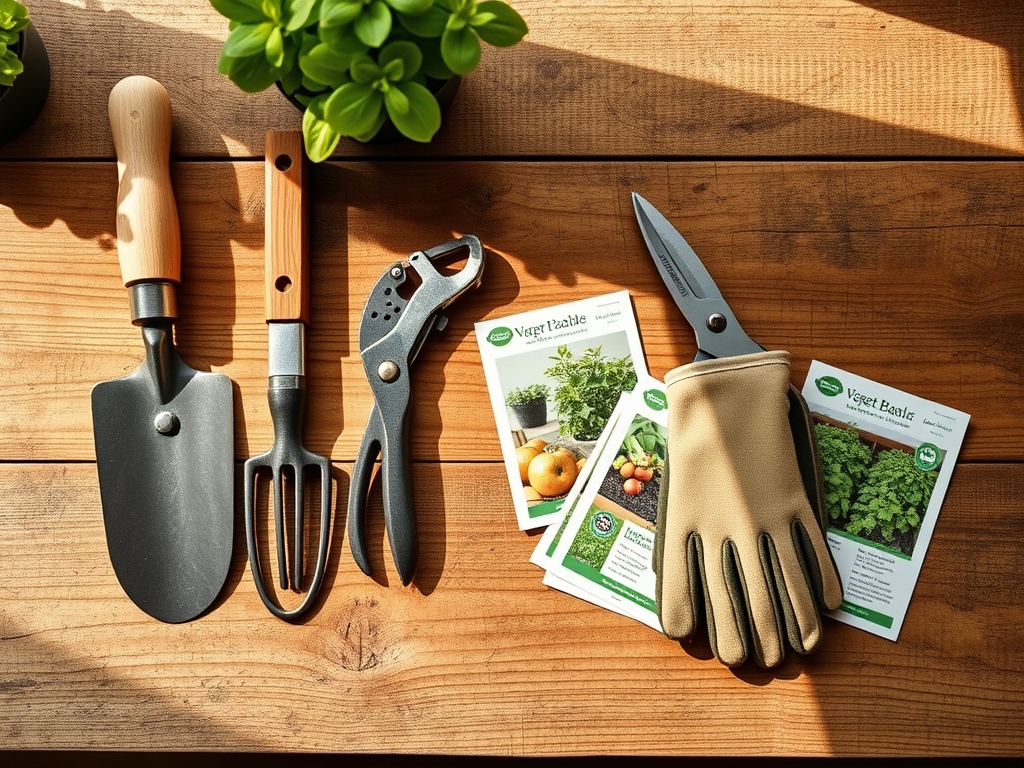
Materials:
Before setting posts, you must analyze the substrate. The ideal soil is a **friable loam** with a **pH between 6.0 and 7.0**. This range ensures optimal **cation exchange capacity (CEC)**, allowing plants to access essential nutrients. If your soil is heavy clay, drainage will be poor, leading to root hypoxia.
For your vegetable beds, aim for an NPK ratio of 5-10-10 for root crops or 10-10-10 for general leafy greens. High nitrogen (the first number) promotes vegetative growth, while phosphorus (the second number) is critical for ATP production and root development. Ensure you have 14-gauge galvanized welded wire, 4×4 pressure-treated timber posts, and stainless steel hardware to prevent corrosion in high-moisture environments.
Timing:
The installation window is dictated by your USDA Hardiness Zone. In Zones 5 through 7, fence installation should occur after the ground thaws but before the last spring frost date, typically between late March and early May. This timing allows you to establish the perimeter without compacting wet, early spring soil, which destroys soil structure.
Understanding the biological clock of your crops is essential. Most vegetables transition from the vegetative stage (leaf growth) to the reproductive stage (flowering and fruiting) based on the photoperiod. You must have your fence panels secured before the vegetative stage reaches its peak. If you delay installation, you risk damaging the delicate root systems of established plants or interrupting the auxin flow that regulates upward growth.
Phases:
Sowing and Site Preparation
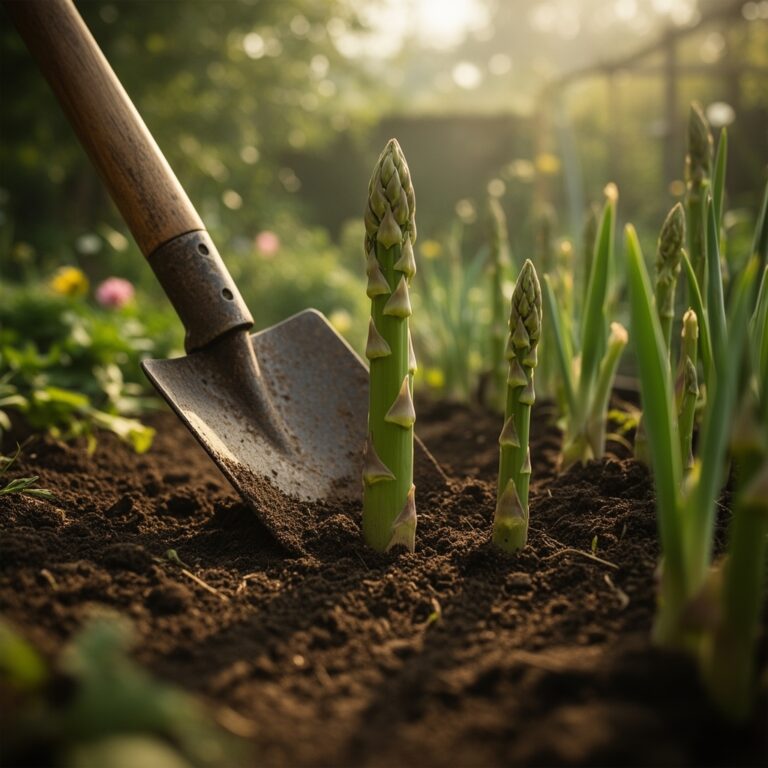
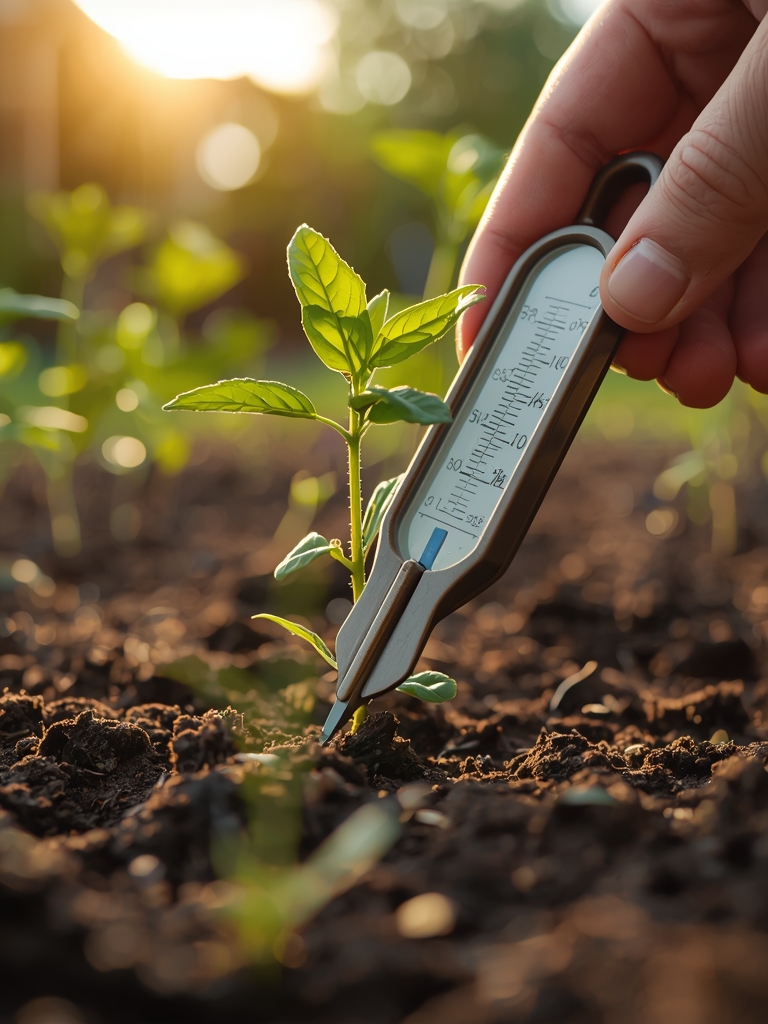
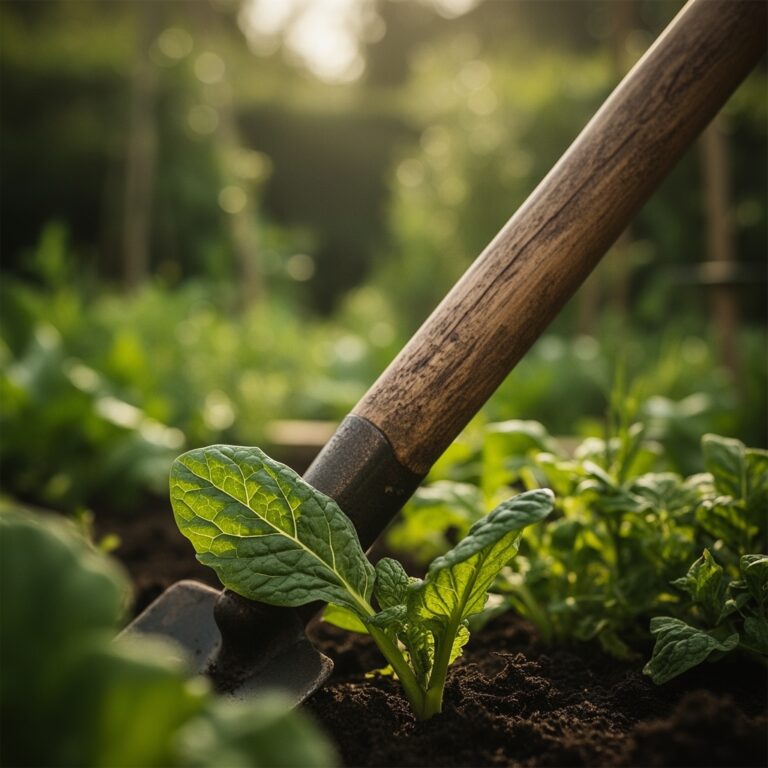
Begin by clearing a 24 inch wide perimeter of all debris. Use a soil moisture meter to ensure the ground is not saturated; digging in wet soil causes irreversible compaction. Excavate post holes to a depth of one third the total height of the post to ensure leverage against wind.
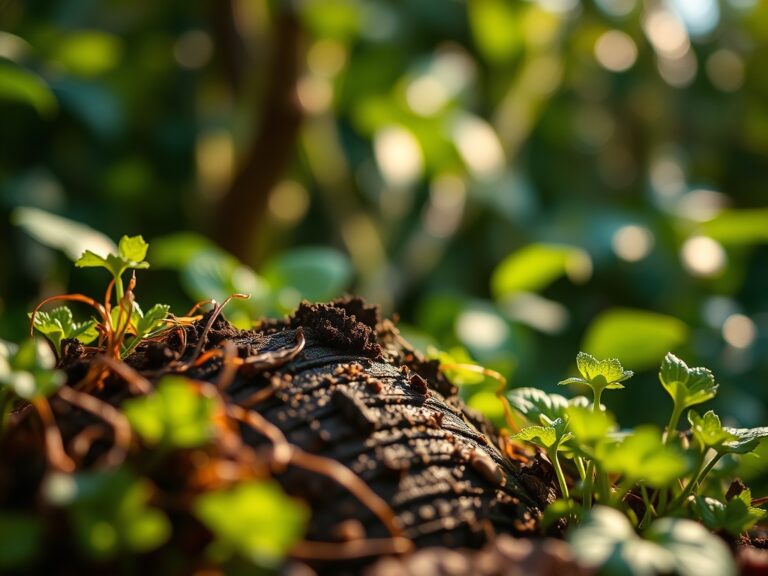
Pro-Tip: When backfilling post holes, incorporate a small amount of organic matter to encourage mycorrhizal symbiosis in the surrounding area. These fungi extend the reach of plant roots, increasing phosphorus uptake by up to 300 percent.
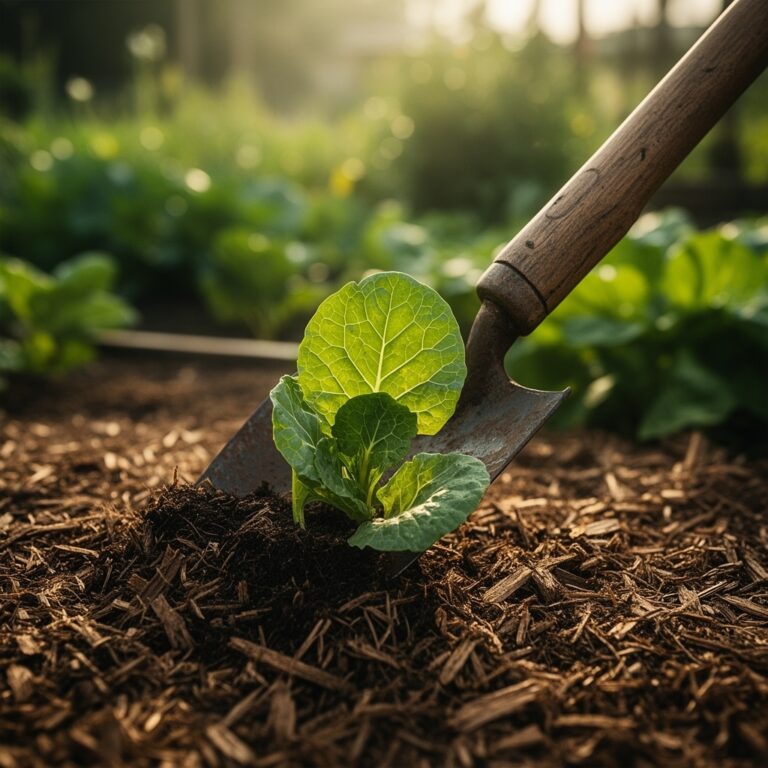
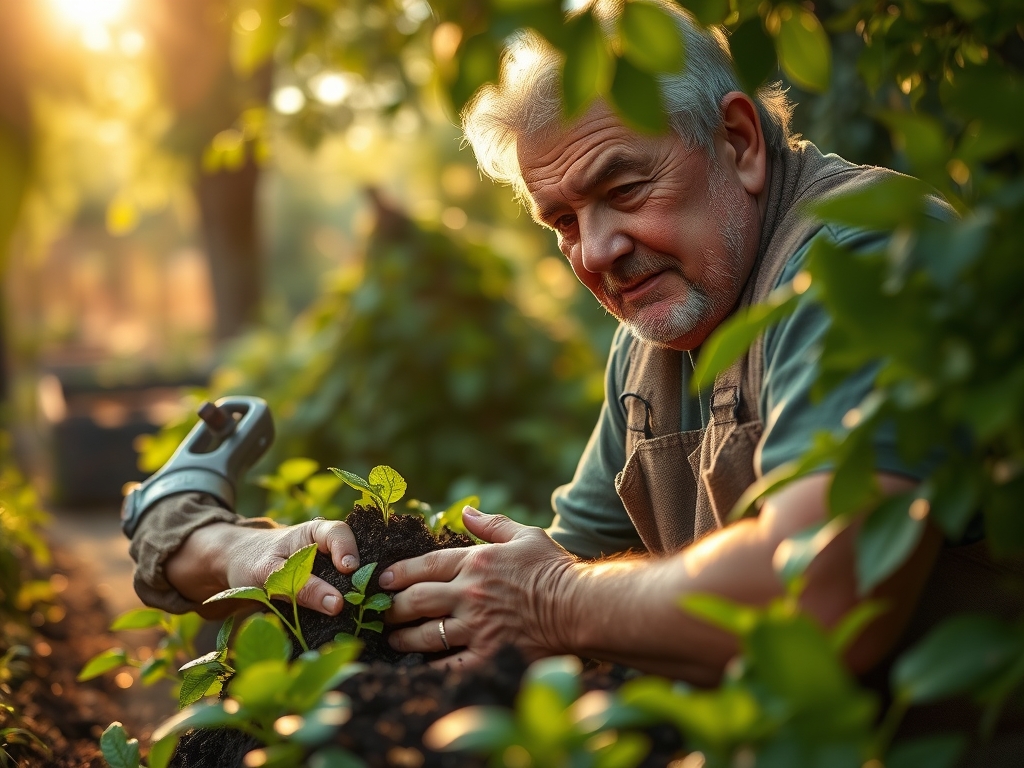
Transplanting and Panel Attachment
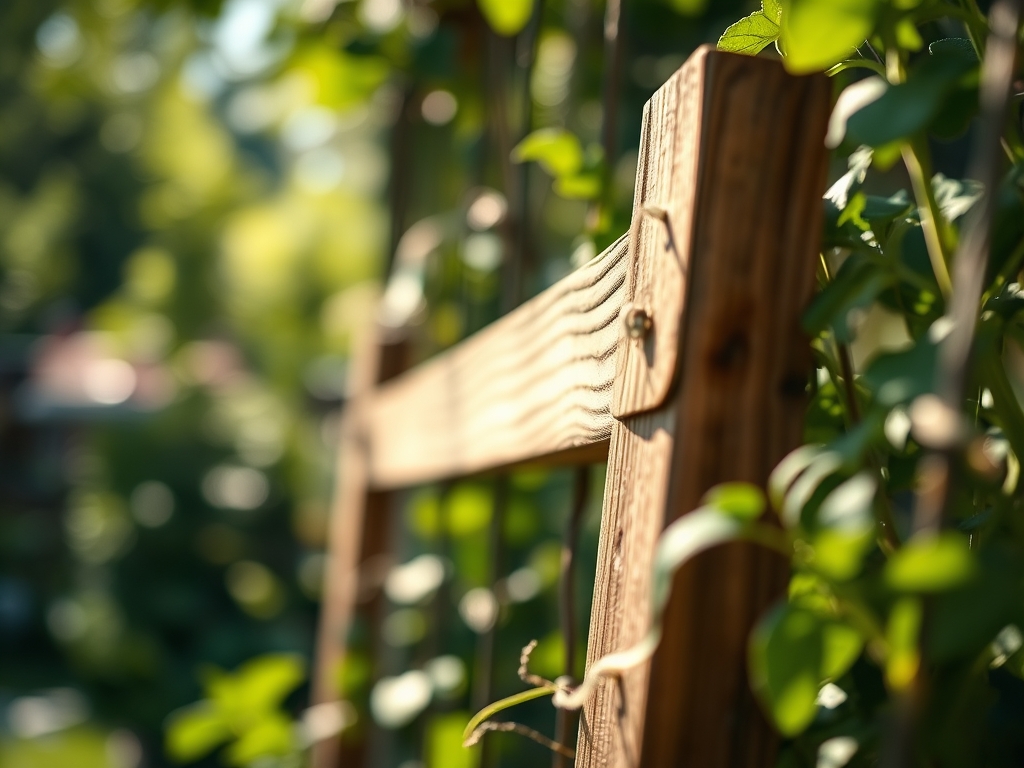
Secure your fence panels using U-nails or heavy-duty staples. Ensure the bottom of the panel is buried at least 6 inches below the soil line. This prevents burrowing animals from entering the rhizosphere, the critical zone where roots and soil microbes interact.
Pro-Tip: Align your fence panels to minimize shading. Excessive shade can trigger phototropism, causing plants to grow elongated and weak as they reach for light. Maintaining a vertical, clear barrier ensures maximum solar radiation reaches the leaf canopy.
Establishing and Securing
Once the panels are fixed, check for tension. A loose panel can vibrate in the wind, causing mechanical stress to nearby plants. This stress triggers the production of ethylene, a gas that can lead to premature senescence (aging) of the plant tissue.
Pro-Tip: Use a hori-hori knife to trench the base of the fence. This allows for a clean installation of hardware cloth. Burying this extra layer suppresses auxin in weeds by physically blocking their emergence, reducing competition for your vegetables.
The Clinic:
Physiological disorders often mimic pest damage. Use this diagnostic guide to identify issues within your fenced enclosure.
Symptom: Interveinal chlorosis (yellowing between leaf veins) on older leaves.
Solution: This indicates a Magnesium deficiency. Magnesium is the central atom in the chlorophyll molecule. Apply Epsom salts (magnesium sulfate) at a rate of 1 tablespoon per foot of plant height.
Symptom: Blossom end rot (dark, leathery spots on the bottom of fruit).
Solution: This is caused by a Calcium transport issue, often linked to inconsistent moisture. Maintain steady turgor pressure by regulating irrigation.
Symptom: Purpling of stems and lower leaves.
Solution: This is a classic sign of Phosphorus deficiency. Low soil temperatures (below 55 degrees Fahrenheit) can inhibit phosphorus uptake. Apply a high-phosphorus starter fertilizer.
Fix-It for Nitrogen Chlorosis: If the entire plant is pale green or yellow, it lacks nitrogen. Apply a liquid seaweed or fish emulsion with a 5-1-1 NPK ratio for rapid absorption through the roots.
Maintenance:
Precision maintenance is required to sustain high yields. Deliver exactly 1.5 inches of water per week at the drip line. Use a soil moisture meter daily to check the top 6 inches of the profile. If the meter reads below 40 percent capacity, initiate irrigation.
Utilize bypass pruners to remove any foliage touching the fence panels. Foliage contact can create a bridge for pathogens. Use your hori-hori knife to sever the roots of invasive weeds that attempt to creep under the fence line. Inspect the tension of your wire panels every 30 days to ensure the structure remains a rigid deterrent.
The Yield:
Harvesting is the culmination of proper structural protection. For most fruiting vegetables, harvest when the fruit reaches 90 percent of its final color. This is when the sugar-to-acid ratio is at its peak. Use sharp shears to cut the pedicel; never pull the fruit, as this can cause vascular tearing in the main stem.
To maintain "day-one" freshness, move harvested produce out of direct sunlight immediately to stop transpiration. For leafy greens, submerge them in 40-degree Fahrenheit water to lock in turgor pressure before refrigeration. This rapid cooling slows the metabolic rate and preserves the nutrient density of the crop.
FAQ:
How deep should I bury the fence panel?
Bury the bottom of the panel at least 6 to 8 inches into the soil. This depth effectively thwarts burrowing pests from accessing the root zone and prevents the fence from shifting during heavy rain or soil expansion.
What is the best NPK ratio for a new garden?
A balanced 10-10-10 NPK ratio is ideal for initial site preparation. It provides equal parts nitrogen for leaves, phosphorus for roots, and potassium for overall cellular health and disease resistance during the establishment phase.
Can I install a fence in high-clay soil?
Yes, but you must account for drainage. Use a post-hole auger and backfill the base with 3 inches of crushed gravel. This prevents water from pooling around the post, which causes wood rot and anaerobic soil conditions.
When should I use a hori-hori knife?
Use a hori-hori knife for precision trenching, weeding, and measuring planting depths. Its serrated edge is perfect for cutting through thick sod or root mats during the installation of your vegetable garden fence panels.