6 Best Wall-Mounted Racks for Long-Handled Tools
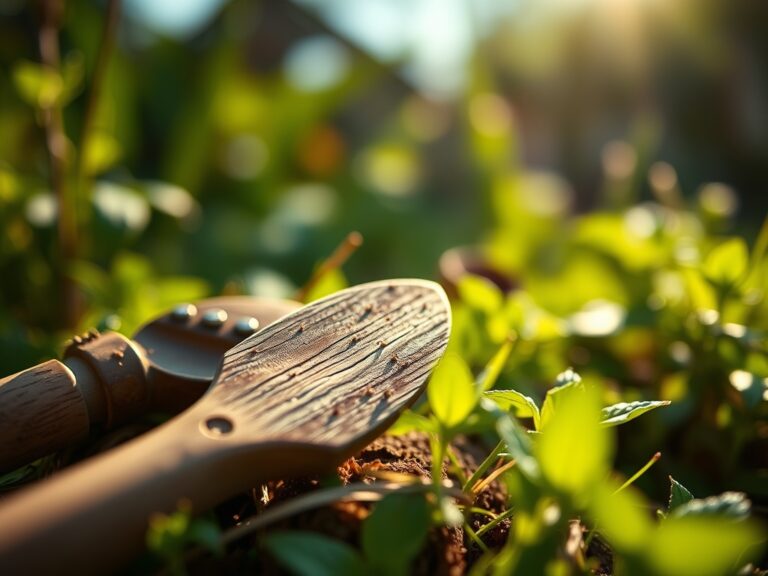
The smell of damp earth and the crisp snap of a leaf with high turgor pressure define a productive workspace. Efficiency in the garden begins with the structural integrity of your infrastructure. When tools are scattered, the risk of physical damage to handles and blades increases; more importantly, disorganized storage invites moisture retention and fungal colonization. Selecting the best storage racks for long-handled tools is a technical necessity to prevent wood rot and steel oxidation. A vertical mounting system ensures that shovels, rakes, and hoes remain off the floor, preserving the factory-edge sharpness and preventing handle warping. Proper storage maintains the mechanical advantage required for deep soil penetration. By elevating these implements, you protect the investment in your specialized equipment while ensuring that every tool is accessible during the critical windows of the planting season.
Materials:
Success in the field starts with the substrate. For most long-handled tool applications, you are managing plants in a friable loam with a **Cation Exchange Capacity (CEC) of 15 to 25 milliequivalents per 100g**. This soil texture allows for optimal gas exchange in the rhizosphere. Before installing your racks, assess the nutritional needs of your primary crops. A standard **10-10-10 NPK ratio** provides a baseline for vegetative growth, but heavy feeders like Brassicas may require a **high-nitrogen (20-10-10)** application to support leaf expansion. Maintain a **soil pH between 6.2 and 6.8** to ensure that micronutrients like iron and manganese remain bioavailable. If the pH drops below 5.5, aluminum toxicity can inhibit root elongation, rendering your long-handled spades useless against stunted, brittle root systems.
Timing:
The utility of your tools follows the biological clock of your specific Hardiness Zone. In Zones 5 through 7, the window for soil preparation opens when the soil temperature consistently reaches 50 degrees Fahrenheit. This transition from the dormant phase to the vegetative stage is governed by the photoperiod. As day length increases, plants initiate the production of chlorophyll and move toward active transpiration. You must have your racks organized and tools sharpened before the last frost date, which typically occurs between April 15 and May 15 in temperate regions. Using a long-handled rake during the "silver tip" stage of fruit trees or the first emergence of perennials requires precision timing to avoid damaging the delicate crown or disturbing the emerging mycorrhizal networks in the upper three inches of the soil profile.
Phases:

Sowing
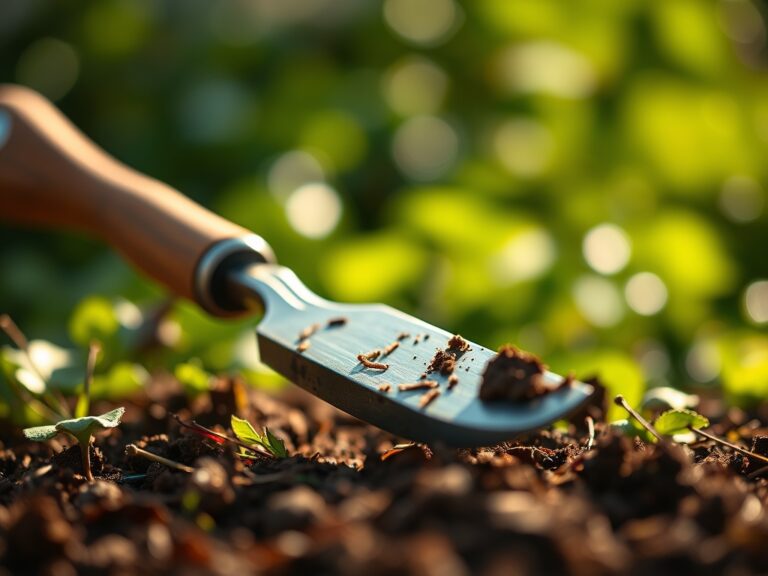
When sowing large-seeded crops like legumes or cucurbits, use a long-handled hoe to create a furrow exactly twice the depth of the seed diameter. This ensures the radical can emerge without excessive energy expenditure.
Pro-Tip: Maintain consistent seed-to-soil contact to trigger imbibition. This is the biological process where the seed absorbs water to activate metabolic enzymes; without it, the embryo remains dormant.
Transplanting
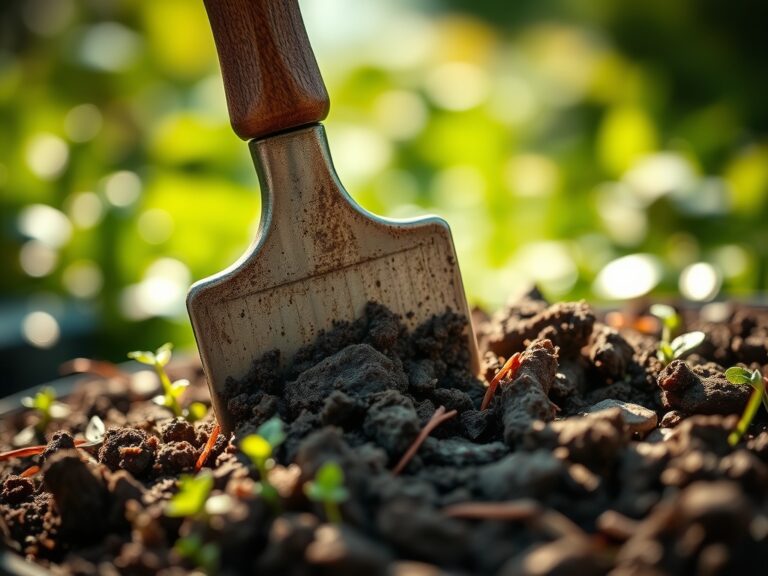
Use a long-handled spade to excavate a hole twice the width of the root ball. This loosening of the surrounding soil encourages lateral root growth and prevents the plant from becoming "pot-bound" within the native soil.
Pro-Tip: Avoid glazing the sides of the planting hole in heavy clay. Glazing creates a physical barrier that restricts oxygen diffusion and prevents the expansion of fine root hairs into the surrounding soil matrix.
Establishing
During the establishment phase, use a long-handled cultivator to break the soil crust. This improves water infiltration and gas exchange, preventing anaerobic conditions that lead to root rot.
Pro-Tip: Disturbing the top inch of soil disrupts the capillary action that pulls moisture to the surface. This "dust mulch" conserves deep-soil moisture for the developing root system through the principle of reduced evaporation.
The Clinic:
Physiological disorders often mimic pathogen attacks. Use your tools to investigate the root zone when these symptoms appear.
- Nitrogen Chlorosis: Observe yellowing of older, lower leaves while new growth remains pale green. Fix-It: Apply a water-soluble fertilizer with a high first number (N) to the drip line.
- Blossom End Rot: This is a calcium deficiency often caused by erratic moisture levels rather than a lack of soil calcium. Fix-It: Use a soil moisture meter to ensure consistent hydration, maintaining a steady flow of calcium through the xylem.
- Interveinal Chlorosis: Yellowing between the veins of young leaves suggests iron or magnesium deficiency. Fix-It: Check soil pH; if it is above 7.2, iron becomes locked in the soil and unavailable to the plant.
- Turgor Loss: Wilting despite moist soil indicates root damage or high salinity. Fix-It: Flush the rhizosphere with 2 inches of clean water to leach excess salts away from the root zone.
Maintenance:
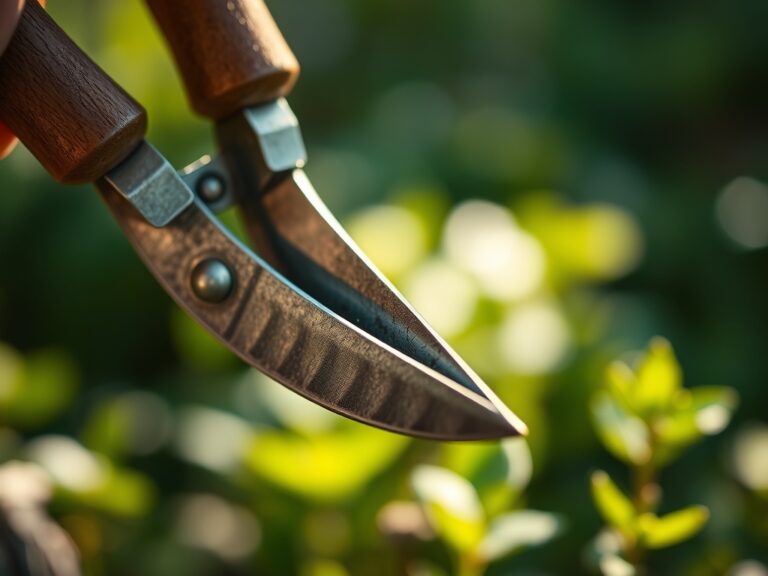
Precision maintenance extends the life of both the plant and the tool. Apply 1.5 inches of water per week at the drip line; do not overhead water, as this increases leaf wetness duration and promotes fungal sporulation. Use a soil moisture meter to verify that the moisture has penetrated to a depth of 6 to 8 inches. For pruning, utilize bypass pruners for clean cuts on living tissue; anvil pruners can crush the vascular cambium and delay healing. Keep a hori-hori knife holstered for weeding and measuring planting depths. After use, clean all steel surfaces with a wire brush and apply a thin coat of mineral oil before returning them to the wall-mounted rack. This prevents the formation of ferric oxide, which can pit the metal and harbor soil-borne pathogens.
The Yield:
Harvesting is the culmination of the reproductive stage. For leafy greens, harvest during the cool of the morning when turgor pressure is at its peak. This prevents rapid senescence and wilting. For root crops, use a long-handled garden fork to lift the soil from the side, avoiding direct contact with the vegetable to prevent bruising. Post-harvest, immediately move produce to a shaded area to remove field heat. Reducing the internal temperature of the crop slows down respiration rates, preserving the sugars and cellular structure for day-one freshness.
FAQ:
How high should I mount my tool racks?
Mount the primary rail 60 to 72 inches from the floor. This height allows long-handled shovels to hang vertically without touching the ground, preventing moisture wicking and handle rot while keeping the center of gravity stable.
Can I store wooden and fiberglass handles together?
Yes. However, ensure the rack grips are padded. Metal-on-wood contact can cause abrasions that lead to splintering; metal-on-fiberglass can compromise the resin coating. Proper spacing prevents handles from knocking together and causing structural stress.
What is the best way to prevent rust on stored tools?
Clean tools with a stiff brush to remove all organic matter. Wipe the metal heads with a cloth saturated in 3-in-1 oil or linseed oil. High-quality racks keep tools separated, ensuring airflow and preventing moisture traps between metal surfaces.
How many tools can a standard wall rack hold?
Most heavy-duty industrial racks support 50 pounds per linear foot. A standard four-foot rack safely holds 8 to 12 long-handled tools. Always secure the rack directly into wall studs using 3-inch lag bolts for maximum weight capacity.