7 Natural Ways to Prepare a DIY Plant Mister
The scent of damp humus and the sound of cell walls expanding under high turgor pressure define a successful greenhouse environment. When a leaf is fully hydrated, its stomata remain open for efficient gas exchange; this allows the plant to maximize carbon fixation during peak daylight. Maintaining this state in arid indoor environments requires precise humidity management. Learning how to prepare a DIY plant mister ensures that the boundary layer of air surrounding the foliage remains saturated, preventing excessive transpiration. A fine mist increases the vapor pressure deficit (VPD) in a way that favors cellular health without saturating the growing medium. This guide details seven technical methods to engineer a delivery system that mimics the humid microclimates of a tropical understory. By focusing on droplet size and mineral content, you can prevent the desiccation of sensitive apical meristems and ensure your collection thrives through the driest winter months.
Materials:
Effective hydration starts with the substrate. For plants requiring high humidity, a **friable loam** with a high Cation Exchange Capacity (CEC) is essential. The ideal substrate should consist of **40 percent peat moss, 30 percent perlite, and 30 percent composted pine bark**. This mixture maintains a **pH range of 5.8 to 6.2**, which is the optimal window for the solubility of micronutrients like manganese and iron. Regarding nutrition, look for an **NPK ratio of 10-10-10** for general maintenance or a **5-10-5** ratio if you are encouraging root development in a high-humidity environment. The physical texture must be porous enough to allow oxygen to reach the **rhizosphere** while holding enough moisture to prevent the plant from drawing too heavily on its internal water reserves between misting cycles.
Timing:
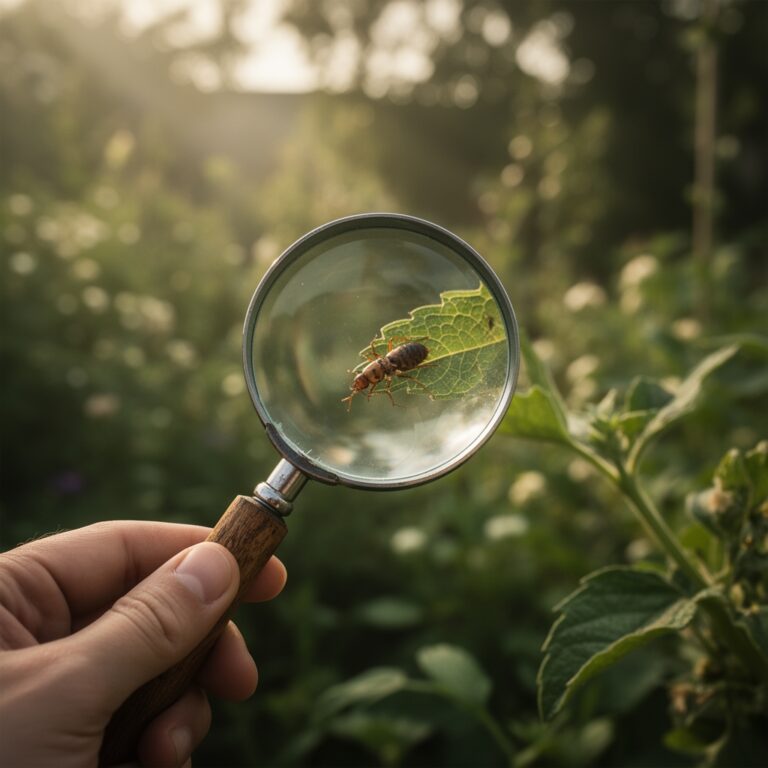
Timing your misting and hydration protocols depends heavily on your local environment and the plant's biological clock. In Hardiness Zones 3 through 7, indoor humidity often drops below 20 percent during the winter heating season; this is when a DIY mister becomes a critical survival tool. You must align your misting schedule with the plant's circadian rhythm. Mist in the early morning, between 6:00 AM and 8:00 AM, to allow the foliage to dry before the temperature drops at night. This prevents the germination of fungal spores on the leaf surface. During the transition from the vegetative stage to the reproductive stage, plants often require a slight increase in ambient humidity to support the development of delicate floral structures. Avoid misting during the peak heat of the day in Zones 8 through 11, as water droplets can act as lenses, potentially causing localized tissue necrosis through solar magnification.
Phases:
Sowing
When starting seeds, the goal is to maintain a constant 100 percent humidity level at the soil surface. Use a fine-mist DIY sprayer to dampen the top 0.25 inches of the seed-starting mix. This prevents the displacement of small seeds that often occurs with heavy watering cans.
Pro-Tip: Maintaining high humidity during germination prevents the seed coat from hardening. This supports the emergence of the hypocotyl by reducing the mechanical resistance the seedling faces, a process influenced by gibberellic acid activation within the embryo.
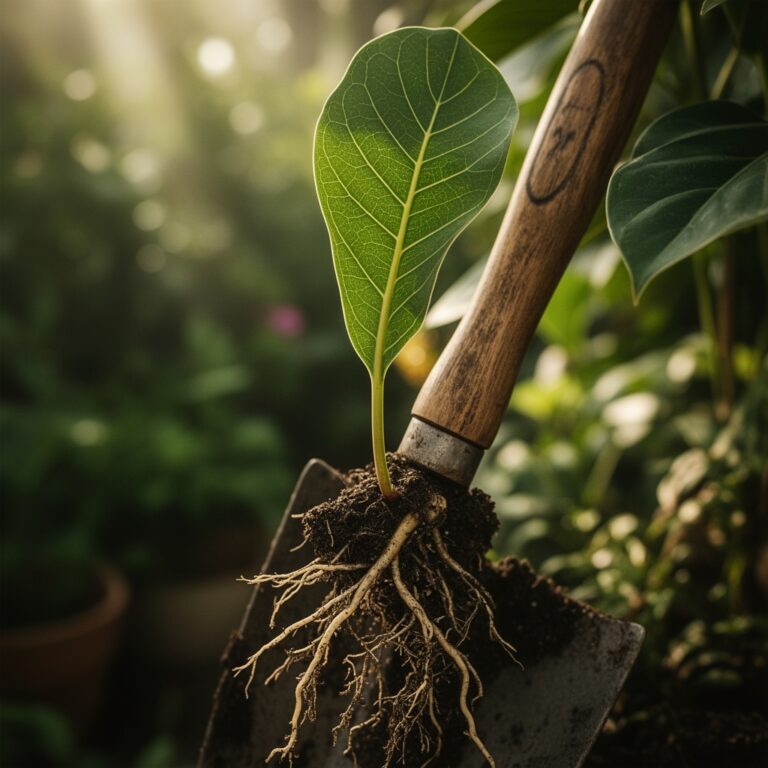
Transplanting
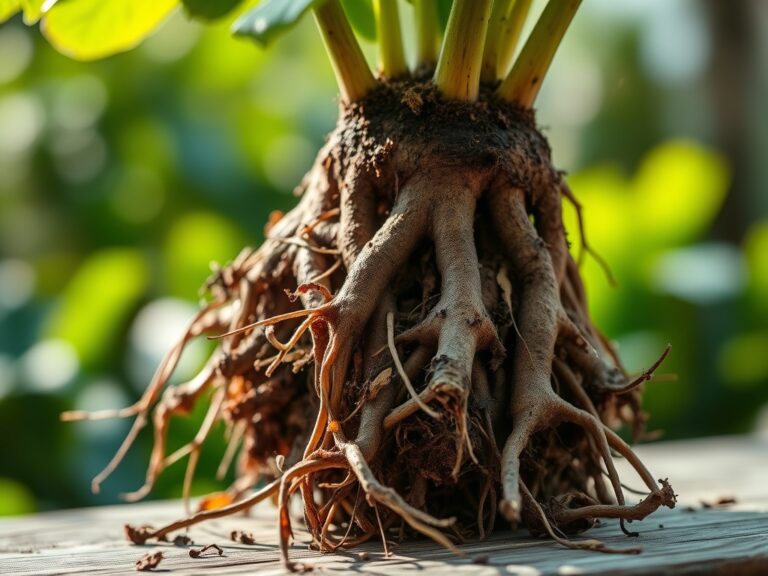
During transplantation, the root system is temporarily compromised. Use your mister to coat the underside of the leaves, where the highest concentration of stomata is located. This reduces the transpiration rate while the roots establish a connection with the new soil particles.
Pro-Tip: Misting during transplanting helps mitigate transplant shock by maintaining leaf turgor. This allows the plant to allocate energy toward mycorrhizal symbiosis rather than struggling to keep its vascular system from collapsing.
Establishing
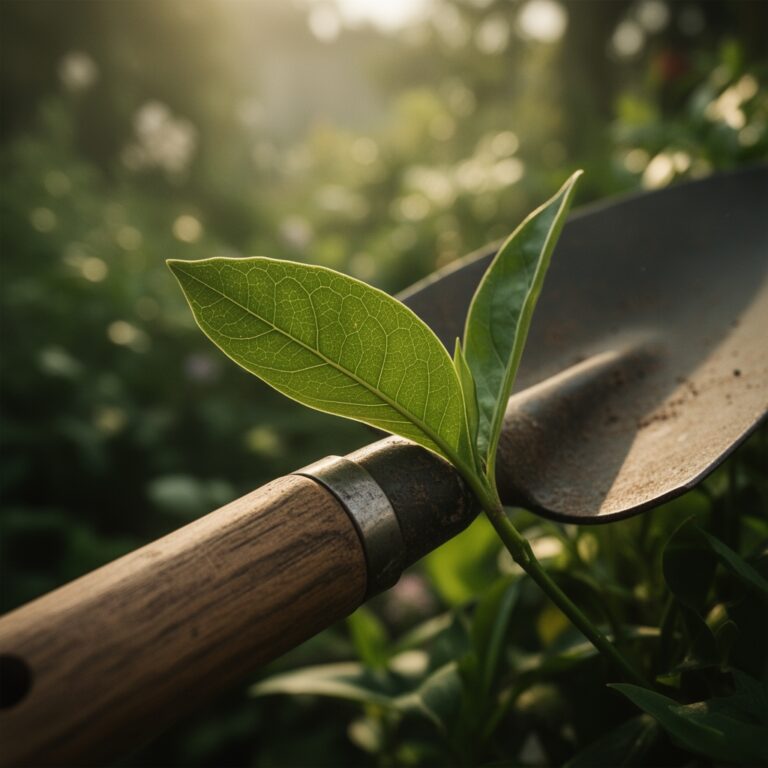
Once the plant has established its secondary root system, misting should be used to manage the microclimate. Target the nodes and internodes where new growth emerges. This is particularly effective for epiphytes that absorb moisture through aerial roots.
Pro-Tip: Consistent misting of new growth points suppresses apical dominance in some species by maintaining high auxin levels in a hydrated state. This encourages a bushier growth habit and more robust lateral branching.
The Clinic:
Physiological disorders often manifest when the balance between humidity and soil moisture is lost.
- Symptom: Tip Burn. This is often a sign of low humidity or salt accumulation. Solution: Increase misting frequency using distilled water to wash away excess salts from the leaf margins.
- Symptom: Edema. Small bumps on the underside of leaves indicate the plant is taking up more water than it can transpire. Solution: Reduce misting and improve air circulation to balance the Vapor Pressure Deficit.
- Symptom: Nitrogen Chlorosis. Older leaves turn pale yellow while veins remain slightly green. Fix-It: Apply a foliar feed via your DIY mister using a diluted 10-5-5 liquid fertilizer at 25 percent strength to provide immediate nitrogen to the leaf tissues.
- Symptom: Interveinal Chlorosis. This indicates a magnesium deficiency, often caused by a pH above 7.0. Fix-It: Mist with a solution of one teaspoon of Epsom salts per gallon of water to bypass root uptake issues.
Maintenance:
Precision is the hallmark of a master horticulturist. Use a soil moisture meter daily to ensure the root zone remains at a consistent moisture level; aim for level 4 or 5 on a standard 10-point scale. For outdoor containers or garden beds, provide 1.5 inches of water per week applied directly at the drip line to encourage deep root penetration. When pruning dead or senescent tissue, always use sharp bypass pruners to ensure clean cuts that heal quickly. For weeding and soil aeration, a hori-hori knife is the superior tool for cutting through compacted soil without damaging the primary taproots of your specimen plants. Clean your DIY mister every two weeks with a 10 percent bleach solution to prevent the buildup of biofilm and algae which can clog the nozzle and harbor pathogens.
The Yield:
When harvesting leafy greens or herbs that have been maintained with a regular misting regimen, timing is everything. Harvest at 5:00 AM when the plant is at maximum turgidity. Use a sharp blade to make a clean incision, then immediately submerge the stems in 40-degree Fahrenheit water. This "hydro-cooling" process removes field heat and locks in the moisture levels you worked to maintain. For flowers, misting the petals lightly after cutting can extend vase life by three to five days by slowing the onset of senescence. Store the harvested material in a high-humidity environment to maintain that "day-one" crispness and nutritional density.
FAQ:
What is the best water for a DIY mister?
Use distilled or rainwater. Tap water often contains high levels of calcium and chlorine; these minerals can clog the stomatal pores and leave white alkaline deposits on the foliage, interfering with photosynthesis and gas exchange.
How often should I mist my indoor plants?
Frequency depends on the species and ambient humidity. Most tropicals require misting two to three times per week. Use a hygrometer to monitor levels; if the air drops below 40 percent humidity, daily misting is required.
Can misting replace regular watering?
No. Misting only affects the boundary layer of the foliage and does not provide sufficient moisture to the rhizosphere. You must still provide deep watering to ensure the roots can access nutrients through cation exchange.
Why are the leaves turning yellow after misting?
This may indicate fungal growth or "wet feet." If the water does not evaporate within four hours, you are over-misting. Ensure adequate airflow and only mist in the morning to allow for evaporation before sunset.