8 High-Light Steps to Prepare a Gardenia Shelf
The scent of damp, acidic peat moss mixed with the sharp metallic tang of a sharp bypass pruner defines the workspace of a professional grower. Success with Gardenia jasminoides requires more than aesthetic placement; it demands a rigorous engineering of the immediate microclimate. To master how to prepare a plant shelf for gardenias, you must prioritize light intensity and atmospheric moisture over simple shelf stability. A healthy gardenia leaf should exhibit high turgor pressure, feeling firm and waxy to the touch rather than limp or papery. These plants are sensitive to the slightest fluctuations in their rhizosphere, making the structural integrity and environmental control of your shelving unit the difference between a profusion of white blooms and a collection of yellowing, necrotic stems. You are building a life-support system that mimics the humid, high-light understories of East Asia. Every measurement of humidity and every lumen of light must be calibrated to prevent the physiological stress that leads to premature bud abscission.
Materials:
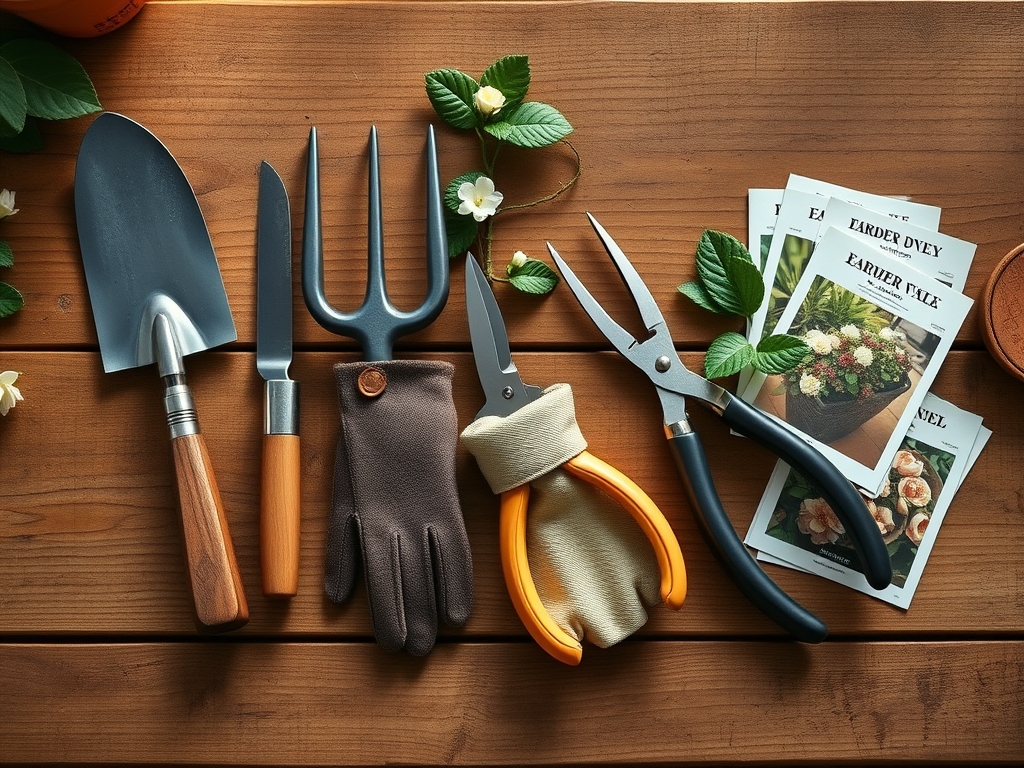
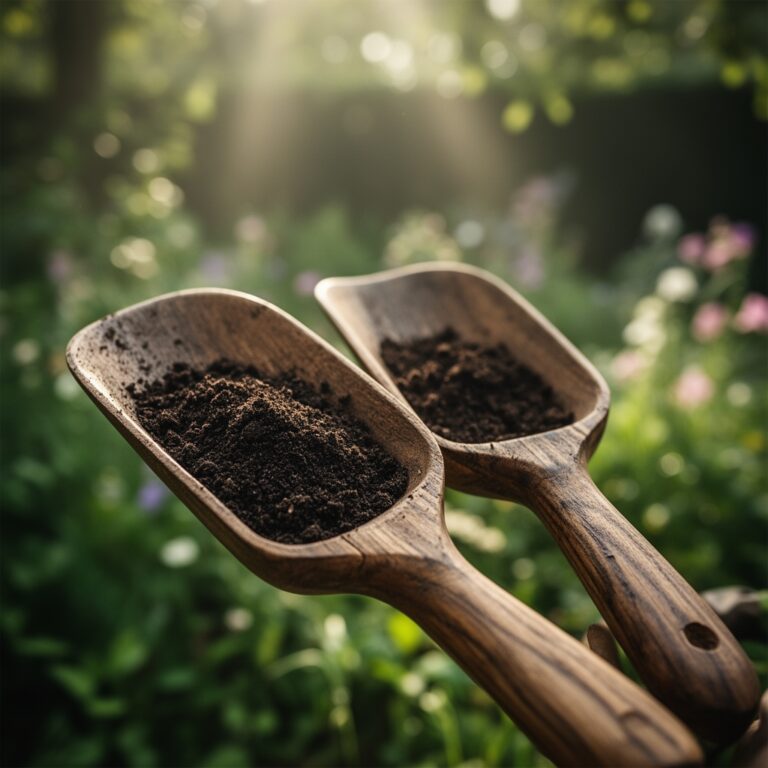
Substrate selection is the foundation of gardenia health. You require a **friable loam** that maintains a **pH between 5.0 and 6.0**. If the pH rises above 7.0, iron becomes chemically locked in the soil, leading to interveinal chlorosis. Use a mix of two parts peat moss, one part coarse perlite, and one part composted pine bark to ensure a high **Cation Exchange Capacity (CEC)**.
For nutrition, secure a slow-release fertilizer with an NPK ratio of 3-1-2 or 4-1-2. Gardenias are heavy feeders of nitrogen but require phosphorus and potassium for lignification and floral development. Ensure you have chelated iron supplements on hand. The shelf itself must be constructed of non-corrosive materials like powder-coated steel or sealed cedar to withstand the 60 percent to 80 percent humidity levels required for optimal growth.
Timing:
Gardenias are primarily suited for USDA Hardiness Zones 8 through 11. On a plant shelf, you are bypassing outdoor seasonal limits, yet the plant's internal biological clock remains tethered to the photoperiod. Initiate your shelf setup in late winter or early spring, roughly 4 to 6 weeks before the last frost date in your region. This timing aligns with the plant's transition from winter dormancy to active vegetative growth. During this window, increasing day length triggers the production of auxins, the hormones responsible for cell elongation and new shoot development. If you are moving plants from a greenhouse to a shelf, ensure the ambient temperature remains consistently between 65 and 75 degrees Fahrenheit during the day and no lower than 55 degrees Fahrenheit at night to induce flower bud initiation.
Phases:
Sowing and Propagation
While most gardenias are purchased as established liners, starting from softwood cuttings requires a controlled environment. Take 4-inch cuttings in early summer, ensuring at least two nodes are present. Dip the basal end in a 0.3 percent Indole-3-butyric acid (IBA) rooting hormone. Place the cuttings in a sterile medium of perlite and peat.
Pro-Tip: Maintain high humidity around cuttings to prevent transpiration pull from exceeding the plant's ability to take up water without a root system. This maintains turgor pressure and prevents cellular collapse before the first adventitious roots emerge.
Transplanting
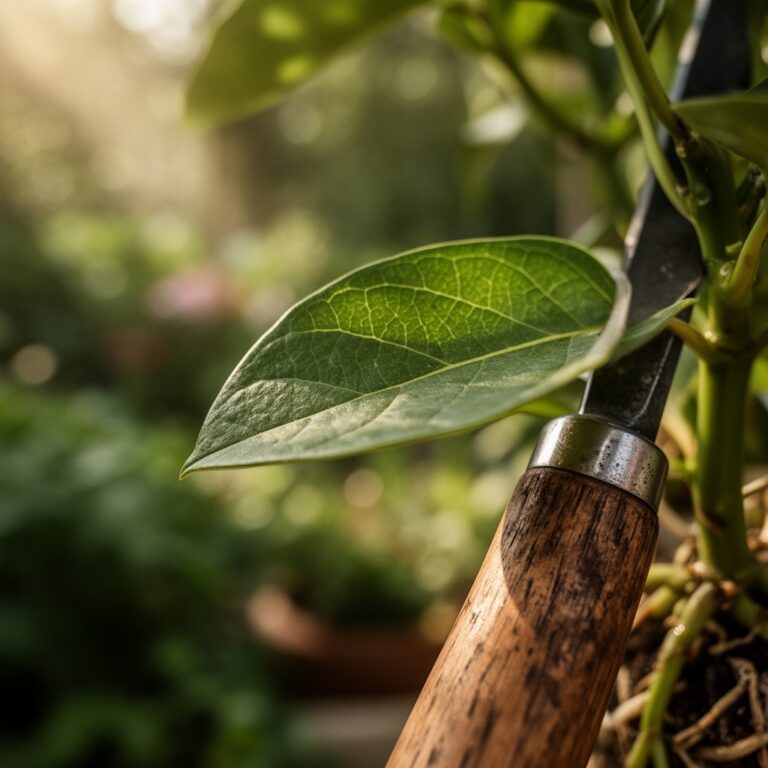
When moving a gardenia to its permanent container on the shelf, inspect the root ball for circling roots. Use a hori-hori knife to make three to four vertical incisions in the root mass to encourage outward growth. Ensure the top of the root ball is level with the soil surface; planting too deep can lead to oxygen deprivation in the rhizosphere and eventual crown rot.
Pro-Tip: Inoculate the new substrate with mycorrhizal fungi. This symbiotic relationship expands the root surface area, significantly increasing the plant's efficiency in absorbing phosphorus and micronutrients in acidic conditions.
Establishing
Once positioned on the high-light shelf, the gardenia needs 12 to 14 hours of bright, indirect light. If using LED grow lights, aim for a Photosynthetic Photon Flux Density (PPFD) of 400 to 600 micromoles. Monitor the soil moisture daily with a digital soil moisture meter.
Pro-Tip: Avoid moving the pots once buds have formed. Gardenias exhibit strong phototropism; sudden changes in light orientation cause the plant to redistribute hormones, which often results in the abscission of flower buds as a stress response.
The Clinic:
Physiological disorders in gardenias often manifest through foliage changes. Use the following diagnostic guide to address issues before they cause permanent damage.
- Symptom: Yellowing of new leaves while veins remain green.
- Diagnosis: Iron Chlorosis.
- Solution: Apply chelated iron as a soil drench and verify that the soil pH has not drifted above 6.0.
- Symptom: Premature dropping of unopened flower buds.
- Diagnosis: Environmental Shock or Low Humidity.
- Fix-It: Increase humidity to above 60 percent using a dedicated humidifier and eliminate cold drafts from windows or HVAC vents.
- Symptom: Cottony white masses in leaf axils.
- Diagnosis: Mealybug infestation.
- Solution: Manually remove using a cotton swab dipped in 70 percent isopropyl alcohol or apply a horticultural oil spray during the evening to avoid leaf scorch.
- Symptom: Lower leaves turning completely yellow and falling.
- Diagnosis: Nitrogen Deficiency.
- Fix-It: Apply a water-soluble fertilizer with a high nitrogen ratio to quickly restore chlorophyll production.
Maintenance:
Precision is mandatory for long-term shelf maintenance. Provide 1.5 inches of water per week, delivered directly to the substrate rather than the foliage to prevent fungal pathogens. Use a soil moisture meter to ensure the top inch of soil is dry before re-watering; gardenias require a "moist but not saturated" environment.
Pruning should occur immediately after the flowering cycle finishes. Use bypass pruners to remove spent blooms and any leggy growth, cutting just above a leaf node to promote branching. This stimulates lateral bud development and prevents the plant from becoming top-heavy on the shelf. Every six months, flush the pots with distilled water to leach out accumulated fertilizer salts that can increase soil salinity and damage sensitive root hairs.
The Yield:
For gardenias, the "yield" is the harvest of its fragrant blooms. To harvest for indoor display, cut the stems in the early morning when turgor pressure is at its peak. Use a sharp knife to make a 45-degree angle cut. Immediately submerge the stems in lukewarm water mixed with a floral preservative containing a carbohydrate source and a pH acidifier.
To maintain "day-one" freshness, keep harvested blooms out of direct sunlight and away from ripening fruit, which releases ethylene gas. Ethylene accelerates senescence, causing the white petals to brown and wilt prematurely. If handled correctly, a cut gardenia will maintain its structural integrity and fragrance for five to seven days.
FAQ:
How much light do gardenias need on a shelf?
Gardenias require 12 to 14 hours of bright, indirect light daily. On a shelf, this usually means placement near a south-facing window or using LED grow lights providing 400 to 600 PPFD to ensure consistent flower production.
What is the best fertilizer for gardenias?
Use an acidic, water-soluble fertilizer with a 3-1-2 NPK ratio. Ensure it contains trace minerals like iron, magnesium, and manganese, as gardenias are prone to micronutrient deficiencies in non-acidic environments.
Why are my gardenia leaves turning yellow?
Yellow leaves with green veins usually indicate iron chlorosis caused by high soil pH. If the entire leaf turns yellow, it likely signals a nitrogen deficiency or overwatering, which leads to root hypoxia and nutrient uptake failure.
How do I increase humidity on a plant shelf?
Place a humidifier nearby or use a pebble tray filled with water beneath the pots. Ensure the pot base sits above the water line. Aim for a consistent humidity level between 60 percent and 80 percent.
When should I prune my gardenia?
Prune gardenias immediately after they finish blooming in the summer. Pruning too late in the year can remove the nodes where next year's flower buds are set, significantly reducing the following season's floral yield.