9 Steps to Install a Subsurface Irrigation System
The difference between drought-stressed plants and thriving gardens often lies beneath the surface. Traditional overhead irrigation wastes up to 50% of water to evaporation and runoff, while subsurface systems deliver moisture directly to root zones with surgical precision. Understanding the steps for installing a subsurface irrigation system transforms water management from guesswork into controlled science, reducing consumption by 30 to 70% while accelerating plant growth through consistent soil moisture levels.
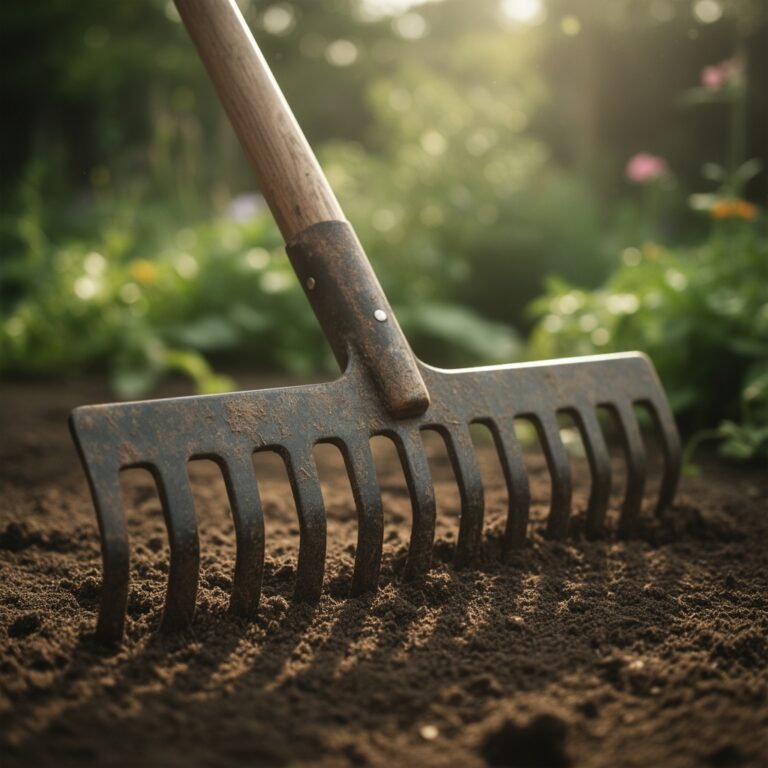
Materials
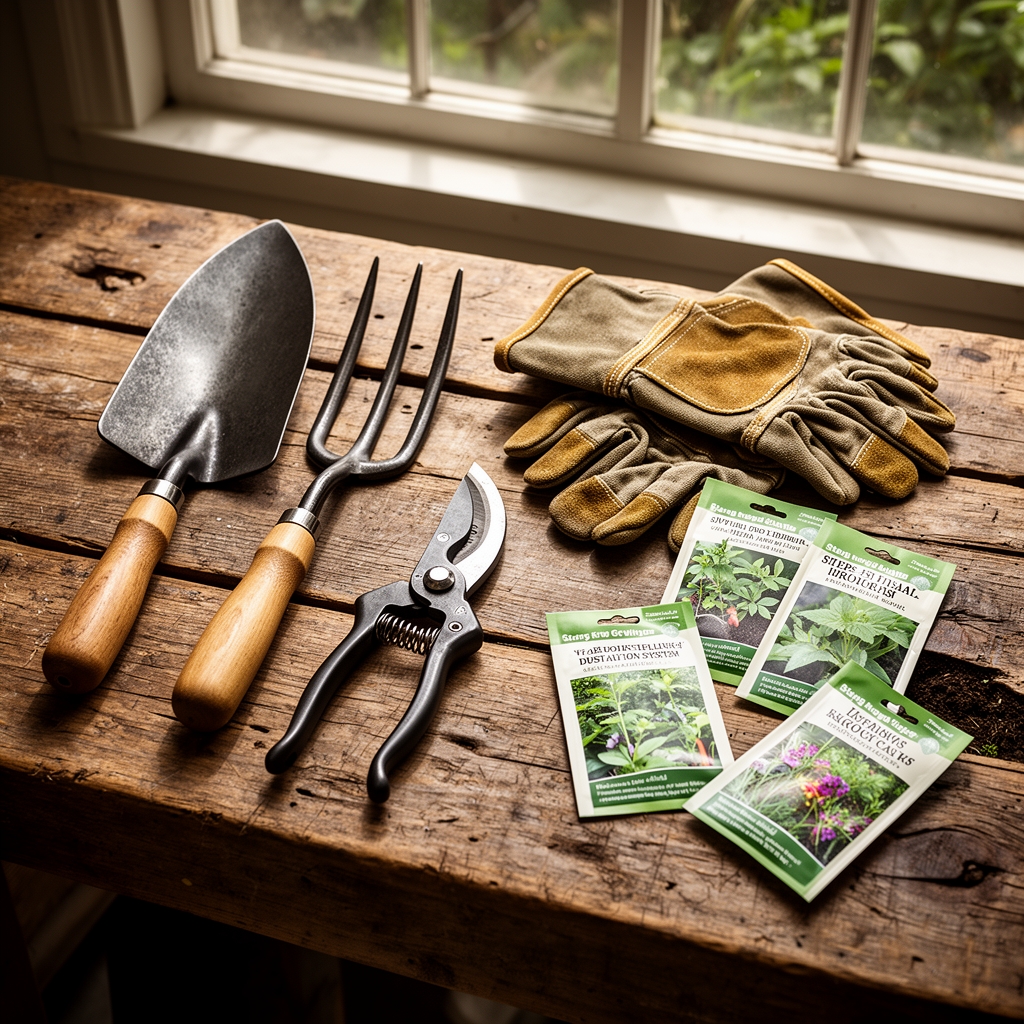
Gather drip tubing with 0.6 GPH emitters spaced 12 inches apart for vegetable beds or 18 inches for perennial borders. Select polyethylene tubing rated for burial, typically 0.670-inch inside diameter with 25 PSI minimum pressure rating. Pressure-compensating emitters maintain uniform flow across elevation changes and line lengths up to 400 feet.
Install a backflow preventer rated for your municipal water pressure, typically 150 PSI residential standard. Add a 200-mesh filter to prevent emitter clogging from sediment particles. A pressure regulator set to 15 PSI protects subsurface lines from burst damage.
Acquire trenching tools appropriate to soil type. Sandy loam (pH 6.0-7.0) requires only a flat spade. Clay soils (cation exchange capacity above 25 meq/100g) demand a mattock or mechanical trencher. Mark buried lines with detectable warning tape placed 6 inches above tubing depth.
Amend installation trenches with compost at 2 cubic feet per 10 linear feet. This organic matter (approximate NPK 1-1-1) improves water infiltration in clay and increases moisture retention in sand. Mycorrhizal fungi inoculant applied at 1 tablespoon per 5 feet of trench colonizes root zones, extending effective water uptake radius by 10 to 100 times.
Timing
Install subsurface irrigation systems 4 to 6 weeks before transplanting or direct seeding. In Zones 3-5, schedule installation between April 15 and May 30 after final frost date when soil temperature reaches 50°F at 6-inch depth. Zones 6-8 allow installation from March 15 through October 15. Zones 9-11 permit year-round installation but avoid periods of active root growth to minimize disturbance.
Fall installation in September through November allows settling time before spring planting. Soil compaction from trenching dissipates through freeze-thaw cycles in cold climates or winter rainfall in temperate regions. Spring installations require immediate watering to settle soil around tubing and prevent air gaps that create dry zones.
Phases

Planning Phase: Map garden beds on graph paper at 1:12 scale. Calculate water requirements using evapotranspiration rates: 1.5 inches per week for vegetables, 1 inch for perennials, 0.5 inches for drought-adapted natives. Design zones with similar water needs. Run lateral lines perpendicular to prevailing slope to ensure uniform distribution.
Pro-Tip: Install tubing depth at 6 inches for annuals and vegetables, 8 to 10 inches for perennial beds. This depth intersects peak root density zones where auxin distribution signals maximum water uptake capacity.
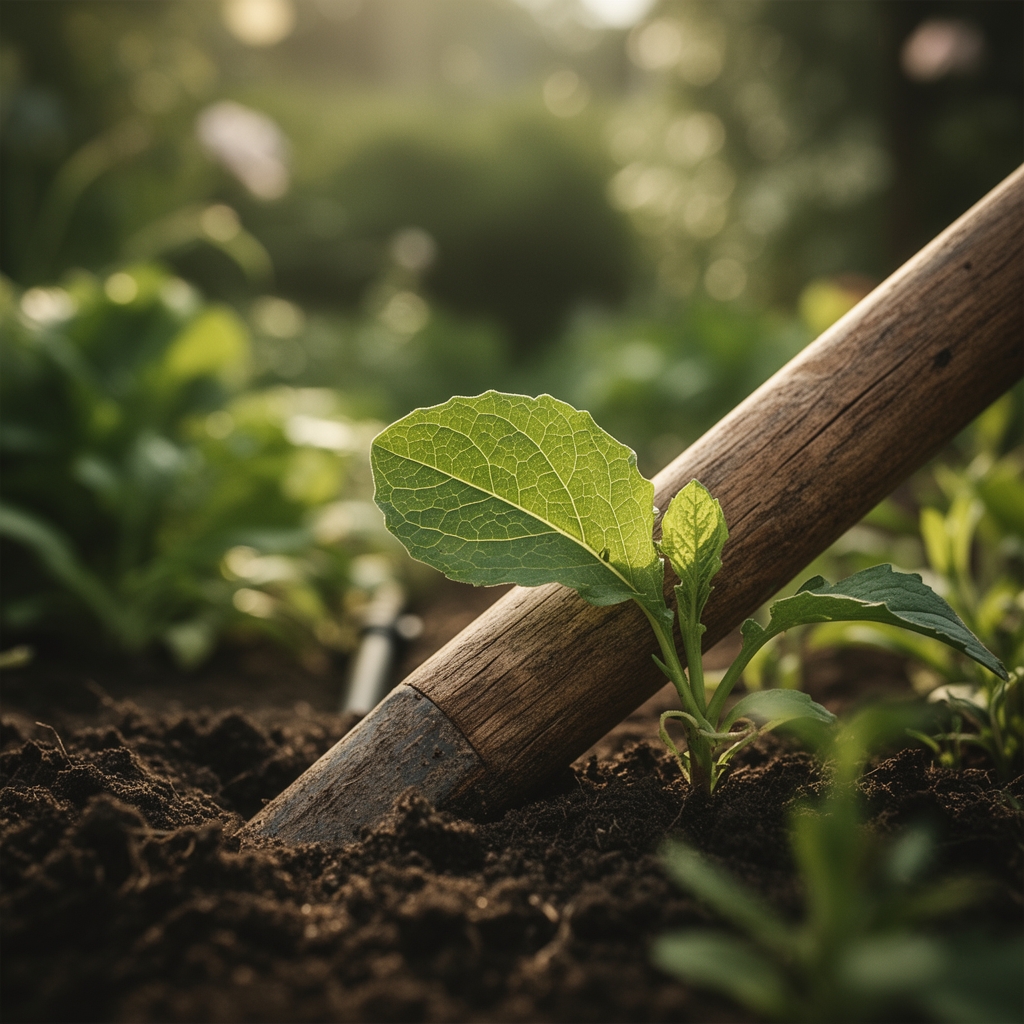
Installation Phase: Excavate trenches using string lines for straight runs. Maintain consistent depth within 0.5 inches to prevent pooling. Lay tubing with emitters facing upward. This orientation prevents root intrusion and soil particle ingestion. Connect lateral lines to header tubing using compression fittings or barbed connectors with stainless steel clamps.
Flush lines before burial by running water until clear flow emerges from all endpoints. This removes manufacturing debris that clogs emitters. Backfill trenches with native soil mixed 50:50 with compost. Water thoroughly to eliminate air pockets.
Pro-Tip: Mark emitter locations at soil surface using landscape flags. This map guides transplanting to position root balls directly above water sources for 15% faster establishment.
Testing Phase: Run system for 1 hour while monitoring pressure at header and line ends. Pressure variation exceeding 10% indicates restriction or elevation issues. Check for wet spots indicating leaks or emitter blowouts. Adjust valve timing using bucket tests: place containers at multiple points, run system 15 minutes, measure output. Target 0.15 gallons per emitter equals 0.6 GPH rating.
Pro-Tip: Install a flow meter to detect leaks through consumption monitoring. Baseline flow for each zone allows 5% variance detection.
Troubleshooting
Symptom: Uneven plant growth with dry zones between rows.
Solution: Emitters clogged by root intrusion or mineral deposits. Inject hydrogen peroxide at 3% concentration (1 quart per 100 gallons) through system. Flush for 30 minutes. Install root barrier fabric in 4-inch strip above tubing.
Symptom: Pressure loss exceeding 20% from header to line end.
Solution: Undersized header line or excessive lateral length. Upgrade header to 1-inch diameter or split zone into two circuits with separate valves.
Symptom: Surface pooling above buried emitters.
Solution: Soil crusting prevents infiltration despite subsurface delivery. Apply gypsum at 40 pounds per 1,000 square feet to improve clay structure. Mulch with 2 inches shredded bark to maintain surface porosity.
Symptom: Salt accumulation at soil surface visible as white crust.
Solution: Insufficient leaching fraction. Increase runtime by 20% monthly to push salts below root zone. Test electrical conductivity; readings above 2.0 dS/m require corrective leaching.
Maintenance
Run system daily during establishment (first 30 days post-transplant) for 30 minutes in sandy soil, 45 minutes in loam, 60 minutes in clay. Reduce to every 2 to 3 days once plants show new growth. Deliver 1 inch of water weekly during active growth, measured by placing straight-sided containers at emitter locations.
Flush lines quarterly by removing end caps and running until clear. Inspect filters monthly during growing season; clean when pressure drop exceeds 5 PSI from baseline. Inject phosphoric acid at pH 2.0 (1 quart per 100 gallons) annually to dissolve mineral scaling inside tubing and emitters.
Excavate and inspect 3-foot sections biennially. Check for root penetration, rodent damage, or emitter failure. Replace damaged sections immediately to prevent zone failure.
FAQ
How deep should tubing be buried?
Six inches for annual vegetables and flowers provides optimal moisture to fibrous root systems. Eight to ten inches suits perennials with deeper taproots.
Can subsurface irrigation work in clay soil?
Yes. Install tubing at 8-inch depth and space emitters 9 inches apart instead of 12 inches. Clay's lateral water movement allows closer coverage.
What prevents roots from entering emitters?
Pressure-compensating emitters with turbulent flow paths and physical root barriers embedded in tubing walls. Trifluralin-impregnated tubing actively repels root tips.
How long does subsurface tubing last?
Quality polyethylene tubing survives 15 to 20 years when buried. UV degradation is eliminated, and temperature fluctuations are minimal below surface.
Should I winterize the system?
Zones 6 and colder require fall blowout using compressed air at 40 PSI maximum. Purge all water to prevent freeze expansion damage.