9 Steps for Disinfecting Plastic Seed Trays
Crushing a handful of damp, friable loam reveals the structural integrity of your growing medium; the earthy scent of geosmin indicates a healthy microbial community. Maintaining high turgor pressure in young seedlings requires a sterile environment to prevent the catastrophic collapse of vascular tissues. Pathogens like Pythium and Rhizoctonia persist in residual organic matter, making the specific steps for disinfecting seed trays for reuse a mandatory protocol for any serious propagator. Failure to sanitize leads to damping-off, where fungal hyphae constrict the seedling stem at the soil line, resulting in total crop loss before the first true leaves emerge.
Materials:
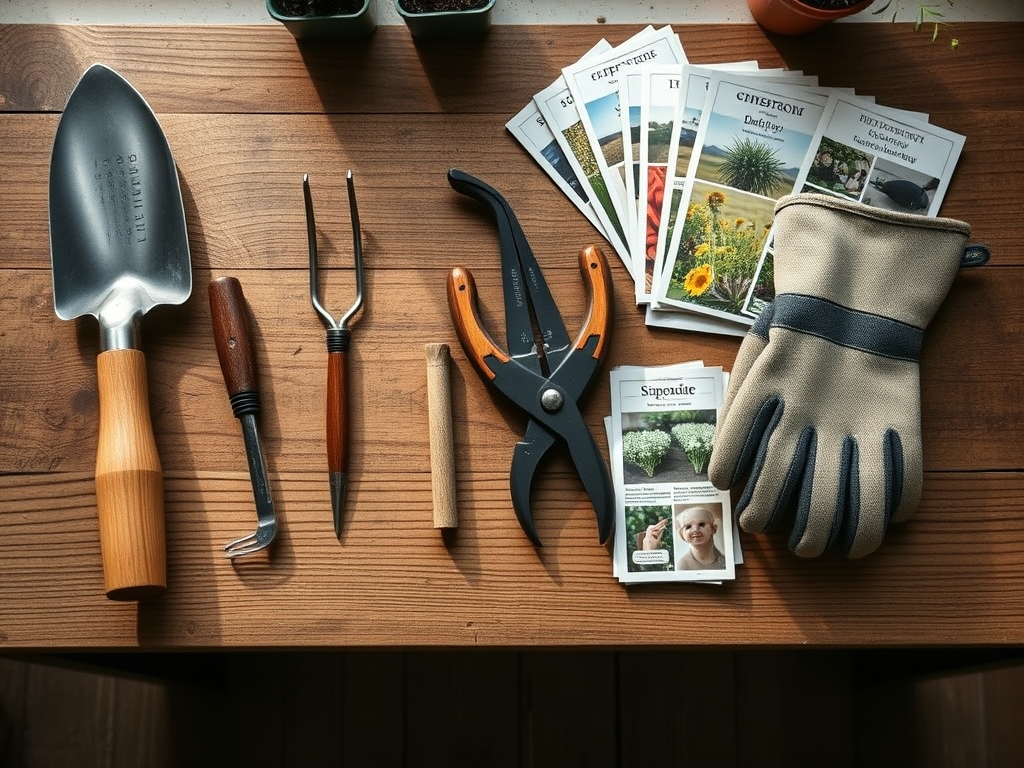
The success of the next generation depends on the substrate used after disinfection. An ideal propagation mix is a sterile, peat-based or coco-coir medium with a **pH between 5.8 and 6.2**. This range ensures maximum bioavailability of micronutrients. For initial growth, a low-analysis NPK ratio of **0.5-0.5-0.5** is preferred to avoid osmotic stress on delicate root hairs. High Cation Exchange Capacity (CEC) materials, such as vermiculite, should be incorporated to retain essential ions like **Potassium (K+) and Calcium (Ca2+)**. The physical texture must be highly porous; a mix of 60 percent peat and 40 percent perlite provides the oxygen diffusion rates necessary for rapid cellular respiration in the rhizosphere. You will also need a **10 percent sodium hypochlorite solution** or a peroxyacetic acid-based stabilizer for the actual sanitation process.
Timing:
In Hardiness Zones 4 through 7, the window for disinfecting trays begins in late winter, approximately 8 to 10 weeks before the last predicted frost date. This timing aligns with the biological clock of most temperate species, allowing for a clean transition from seed dormancy to the vegetative stage. As the photoperiod increases, plants move from the juvenile phase toward reproductive maturity. Disinfecting trays during the dormant season ensures that when the soil temperature reaches a consistent 65 degrees Fahrenheit, your equipment is chemically inert and free of dormant spores. This preparation prevents the premature senescence of seedlings caused by early-stage root rot.
Phases:
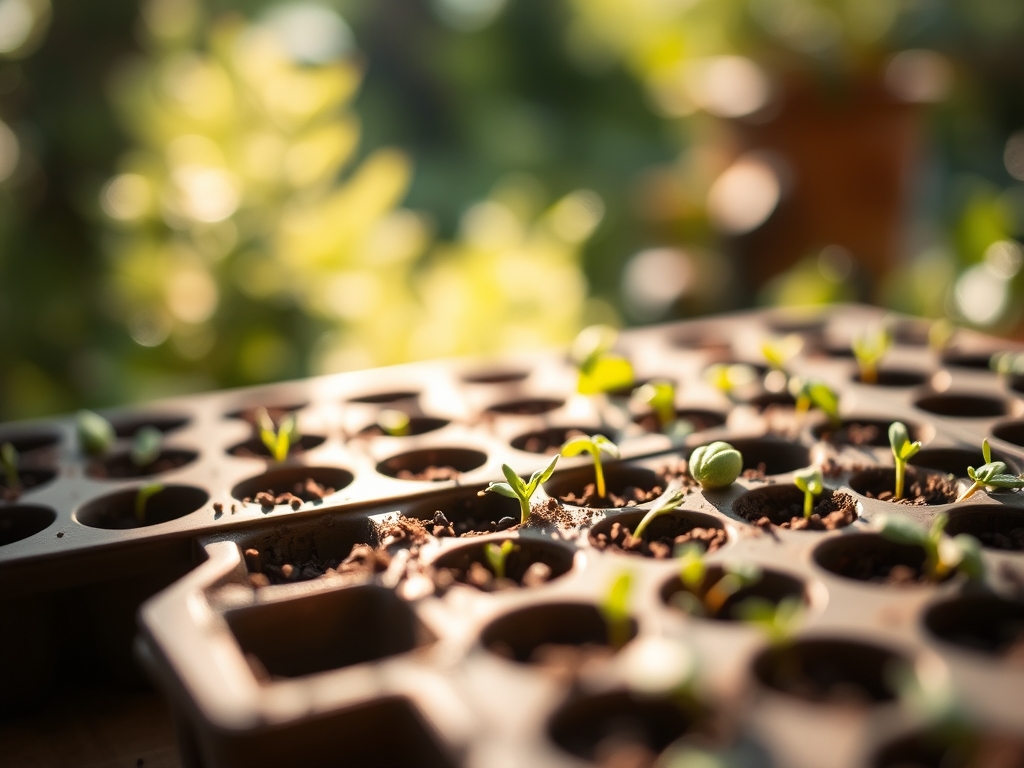
Sowing
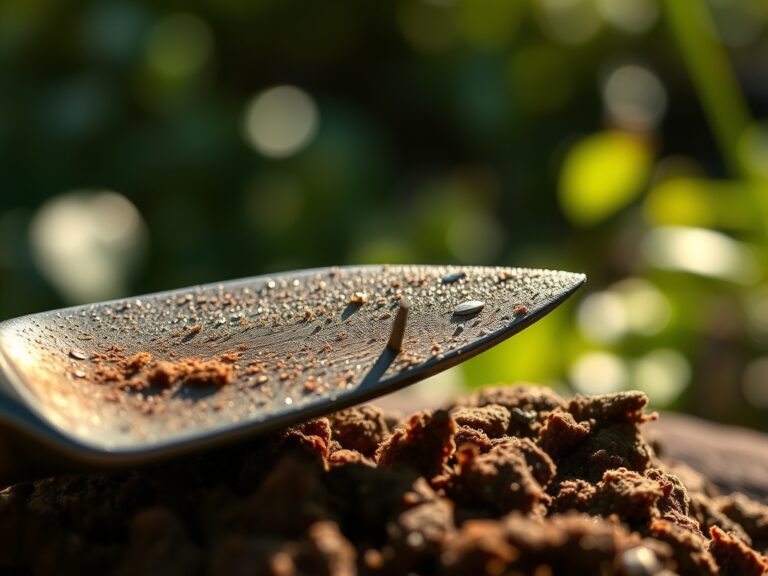
Begin by mechanically removing all dry root mass and mineral deposits from the plastic surfaces using a stiff brush. Submerge the trays in a solution of one part bleach to nine parts water for a minimum of 10 minutes. This duration is critical for the oxidation of fungal cell walls. Rinse thoroughly with potable water to remove residual chlorine, which can cause phytotoxicity in emerging radicles.
Pro-Tip: Proper rinsing prevents the inhibition of mycorrhizal symbiosis. Residual salts or chlorine can kill beneficial fungi that form a mutualistic relationship with the roots, which is essential for phosphorus uptake.
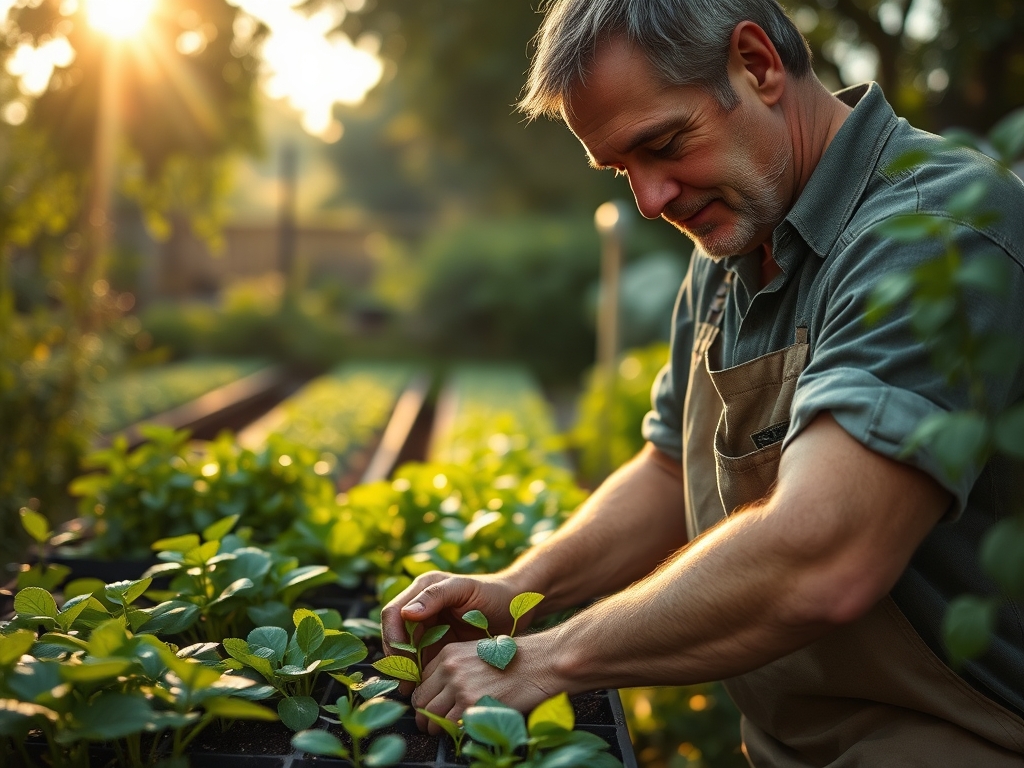
Transplanting
Once seedlings develop their second set of true leaves, they are ready for up-potting. Use a hori-hori knife to gently lift the root ball, ensuring the apical meristem remains undamaged. The new container must also have undergone the same disinfection protocol to maintain a sterile chain of custody for the plant.
Pro-Tip: Maintain high humidity during this phase to reduce transpirational pull. Because the roots are temporarily disturbed, the plant cannot replace water as fast as the leaves lose it; keeping the air moist prevents wilting and physiological shock.
Establishing
Place the trays under full-spectrum lighting for 14 to 16 hours per day. Monitor the substrate moisture daily using a soil moisture meter. The goal is to maintain a moisture level of 40 to 60 percent of the field capacity. Avoid saturated conditions that lead to anaerobic pockets in the tray corners.
Pro-Tip: Consistent light exposure manages auxin suppression. If light is insufficient, auxins concentrate on the shaded side of the stem, causing the plant to stretch toward the light. This results in weak, spindly "leggy" growth that is susceptible to mechanical failure.
The Clinic:
Physiological disorders often mimic infectious diseases. Accurate diagnosis is required before intervention.
- Nitrogen Chlorosis: Symptoms include the yellowing of older, lower leaves while the new growth remains green. This occurs because nitrogen is a mobile element within the plant. Fix-It: Apply a water-soluble fertilizer with an NPK of 20-10-20 at half-strength.
- Edema: Observed as small, corky blisters on the underside of leaves. This is caused by high soil moisture and high humidity, forcing cells to rupture. Fix-It: Increase airflow using a horizontal flow fan and reduce watering frequency.
- Calcium Deficiency: Manifests as "tip burn" on new growth or distorted leaf margins. This is often a result of low transpiration rather than a lack of calcium in the soil. Fix-It: Ensure the pH is above 5.5 and improve ventilation to encourage the movement of water through the xylem.
- Magnesium Deficiency: Characterized by interveinal chlorosis on older leaves, where the veins stay green but the tissue between them turns yellow. Fix-It: Apply a foliar spray of Epsom salts (Magnesium Sulfate) at a rate of one tablespoon per gallon of water.
Maintenance:
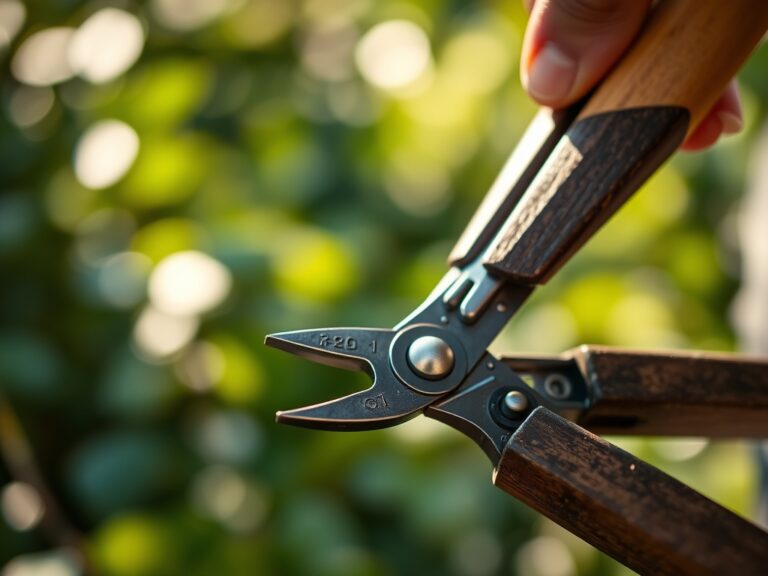
Post-disinfection maintenance requires a disciplined irrigation schedule. Provide 1.5 inches of water per week, delivered at the base of the plant to keep the foliage dry. Use bypass pruners to remove any necrotic tissue, which serves as a vector for secondary infections. Check the drainage holes of your reused trays weekly; mineral buildup can occlude these openings, leading to perched water tables within the cell. If the substrate feels compacted, use a small probe to gently aerate the top 0.5 inch of the soil, being careful not to disrupt the primary taproot.
The Yield:
When harvesting starts or flowers reach peak anthesis, timing is determined by the specific gravity or color break of the fruit. For leafy greens, harvest in the early morning when turgor pressure is at its maximum. Use a sharp, sanitized blade to make clean cuts, reducing the surface area for potential pathogens. Immediately hydro-cool the produce by submerging it in 40-degree Fahrenheit water to remove field heat. This process slows the rate of respiration and enzymatic degradation, preserving "day-one" freshness and nutritional density for an extended period.
FAQ:
How long should I soak trays in bleach?
Submerge plastic seed trays in a 10 percent bleach solution for exactly 10 to 20 minutes. This duration ensures the total eradication of persistent fungal spores and bacterial pathogens without degrading the structural integrity of the plastic.
Can I use vinegar instead of bleach?
Vinegar is less effective than sodium hypochlorite for professional sanitation. While acetic acid has some antimicrobial properties, it does not reliably kill the most resilient soil-borne pathogens like Fusarium or Pythium found in used seed trays.
How do I remove mineral crust from trays?
Scrub the trays with a stiff brush and a mild detergent before the disinfection soak. For heavy calcium deposits, a brief soak in a diluted citric acid solution will dissolve the minerals, allowing the disinfectant to reach the plastic surface.
Why is rinsing necessary after disinfecting?
Rinsing removes residual chlorine or chemical salts that cause phytotoxicity. If left on the tray, these chemicals can leach into the new substrate, damaging sensitive root hairs and inhibiting the germination of the next seed crop.