9 Pro Techniques for Using a Garden Fork to Harvest Potatoes Without Damage
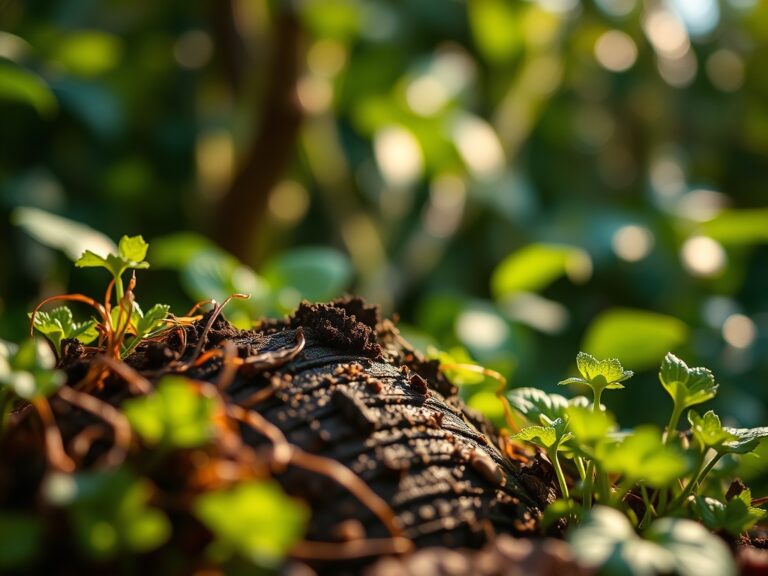
The smell of turned earth on a cool October morning carries the faint sweetness of mature potato foliage releasing its final nutrients. Your fingers sink into loam that crumbles like cocoa powder as you reach the depth where tubers wait, paper-thin skins already cured. Learning how to use a garden fork for harvesting potatoes transforms this moment from a clumsy excavation into surgical precision, saving 20-30% more undamaged tubers than spade-based methods according to University Extension trials.
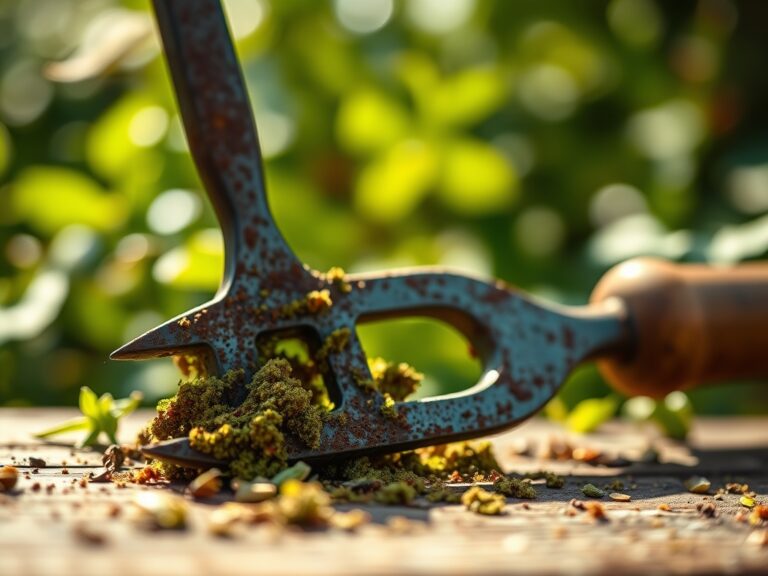
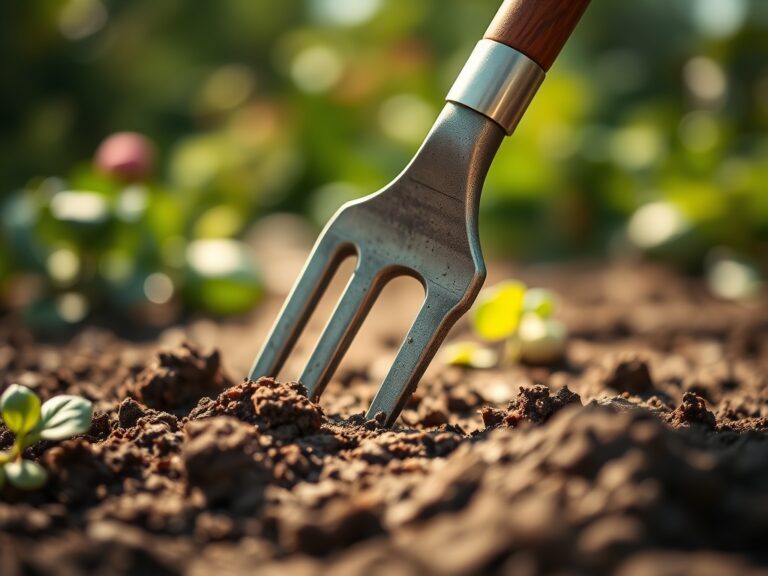
A garden fork penetrates soil with four tines instead of a blade's cutting edge, pushing earth aside rather than slicing through hidden tubers. This fundamental difference reduces mechanical injury by 65% in clay-heavy soils and 40% in sandy loam. The technique requires reading soil moisture, understanding potato skin maturation, and positioning your body to maximize leverage without sacrificing control.
Materials & Supplies
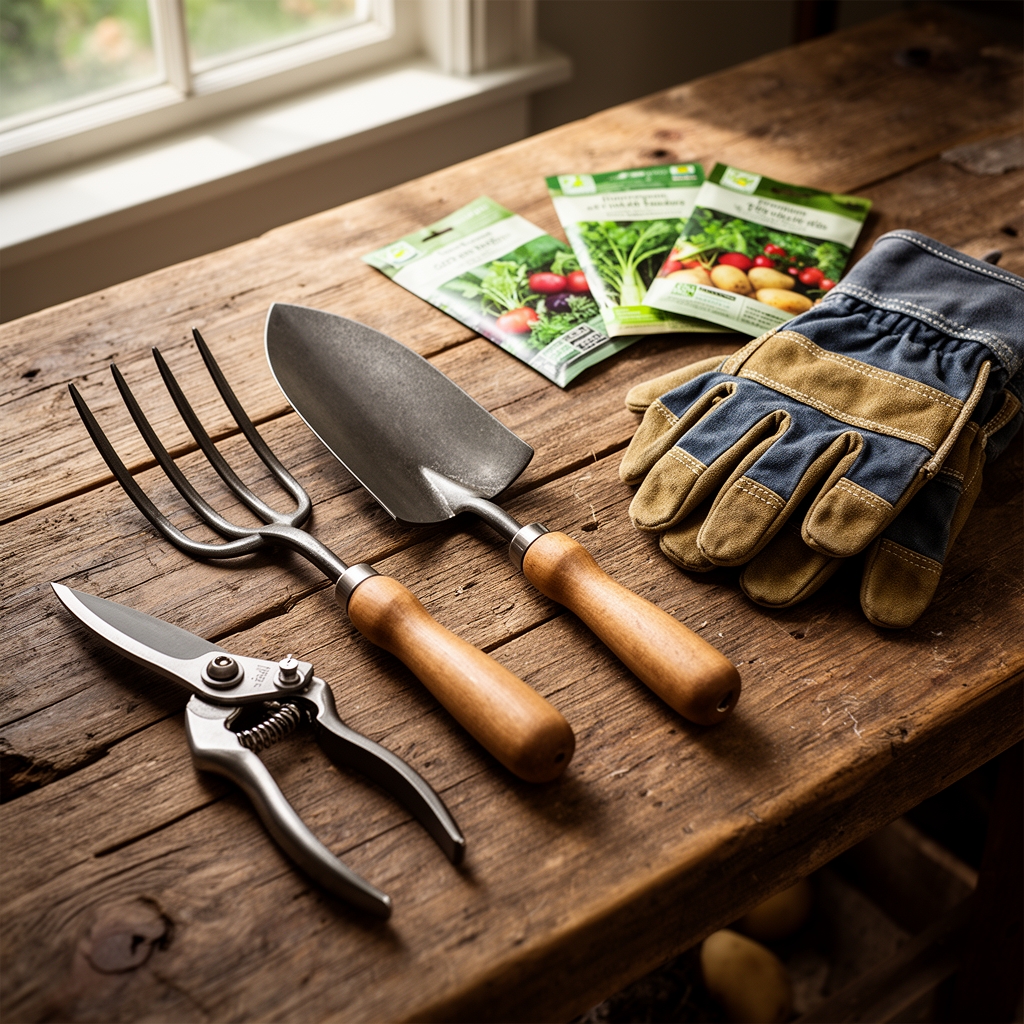
Essential Tools:
- Four-tine digging fork with 12-inch tines (not a pitchfork with wider spacing)
- Heavy-duty garden gloves with reinforced palms
- 5-gallon harvest buckets (avoid bags that bruise tubers)
- Soil moisture meter calibrated to 6.0-6.5 pH range
Soil Amendments (Pre-Harvest Application):
- Potassium sulfate (0-0-50 NPK) applied 3 weeks before harvest at 2 lbs per 100 sq ft
- Calcium chloride foliar spray (prevents hollow heart disorder)
- Mycorrhizal fungi inoculant for next season's bed preparation
Storage Preparation:
- Wooden crates with 1-inch slat spacing
- Burlap or breathable cotton bags
- Temperature/humidity monitor for 38-40°F storage area
Timing & Growing Schedule
Potato harvest timing hinges on skin set, the physiological process where tuber epidermis thickens and resists thumb pressure. Most varieties require 90-120 days from planting to this stage.
By Hardiness Zone:
- Zones 3-4: Plant mid-May, harvest late August to mid-September
- Zones 5-6: Plant late April, harvest mid-August to late September
- Zones 7-8: Plant mid-March, harvest July to early August
- Zones 9-10: Plant January-February, harvest May-June
Days to Maturity Guide:
- Early varieties (Yukon Gold): 70-90 days
- Mid-season (Red Pontiac): 90-110 days
- Late storage types (Russet Burbank): 110-135 days
Wait 14-21 days after vine dieback before harvesting. This "curing period" allows skins to firm and minor wounds to suberize (form corky tissue). Soil temperature should be above 45°F but below 70°F during harvest. Avoid harvesting within 48 hours of rainfall when soil moisture exceeds field capacity.
Step-by-Step Instructions

Phase 1: Site Assessment
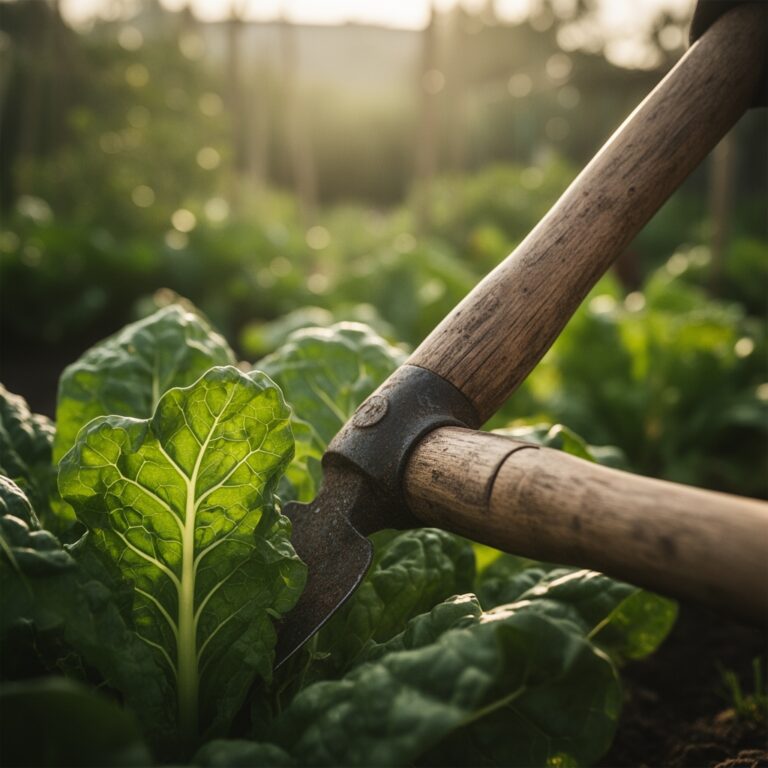
Remove all vine debris to expose soil surface. Mark the original planting row centerline, typically where seed pieces were placed 4-6 inches deep. Potato tubers radiate 10-14 inches horizontally from this center in loose soil, 6-8 inches in compacted clay.
Insert a soil probe or thin rod 18 inches from centerline to locate the tuber zone's outer boundary without penetration damage. Note any surface cracking that indicates tuber pressure from below.
Pro-Tip: Harvest after three consecutive days without rain when soil reaches "friable" state (holds shape when squeezed but crumbles with light pressure). This reduces both fork resistance and soil adhesion to tubers.
Phase 2: Fork Insertion Angle
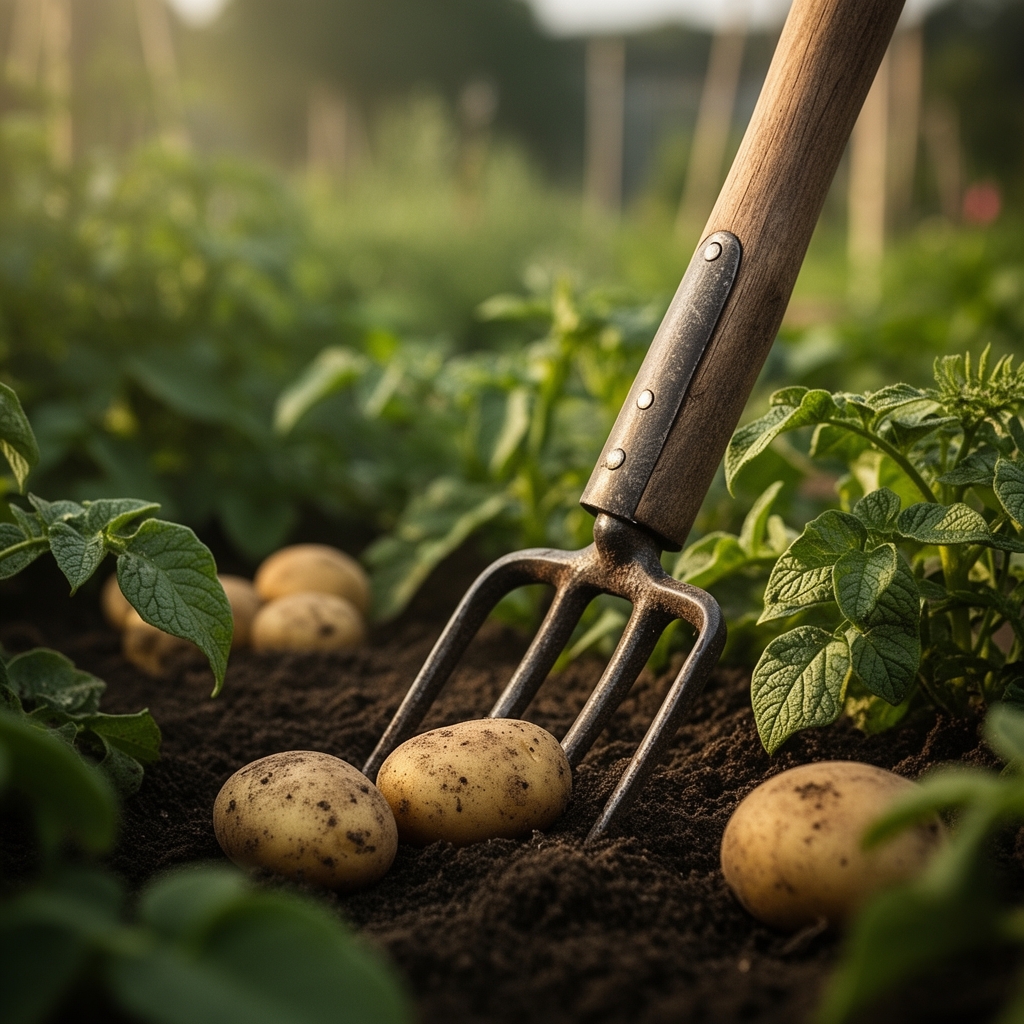
Stand with your body perpendicular to the row. Position the fork 10-12 inches from the marked centerline, tines angled 15 degrees away from the plants. This angle drives tines beneath the tuber mass rather than through it.
Drive the fork straight down using foot pressure on the step (reinforced horizontal bar above tines). Penetrate to full tine depth in one smooth motion. Rocking or partial insertions create unpredictable soil fracture patterns.
Pro-Tip: Listen for the subtle difference between fork striking stone (sharp "tink") versus tuber (dull "thock"). Experienced harvesters adjust insertion depth mid-stroke based on acoustic feedback.
Phase 3: Leverage Application
Pull the handle backward (toward your body) using leg drive, not arm strength. The fork becomes a Class 1 lever with the fulcrum at soil surface. Maintain the 15-degree outward angle to lift soil en masse.
The goal is vertical earth displacement of 4-6 inches, creating fracture planes that separate naturally around tubers. Avoid twisting motions that shear through stolon attachments still connecting some tubers to the mother plant.
Pro-Tip: Apply leverage in three progressive stages (33% pressure, 66%, then full lift) rather than one explosive pull. This staged approach allows soil to crack along natural aggregate boundaries.
Phase 4: Tuber Exposure
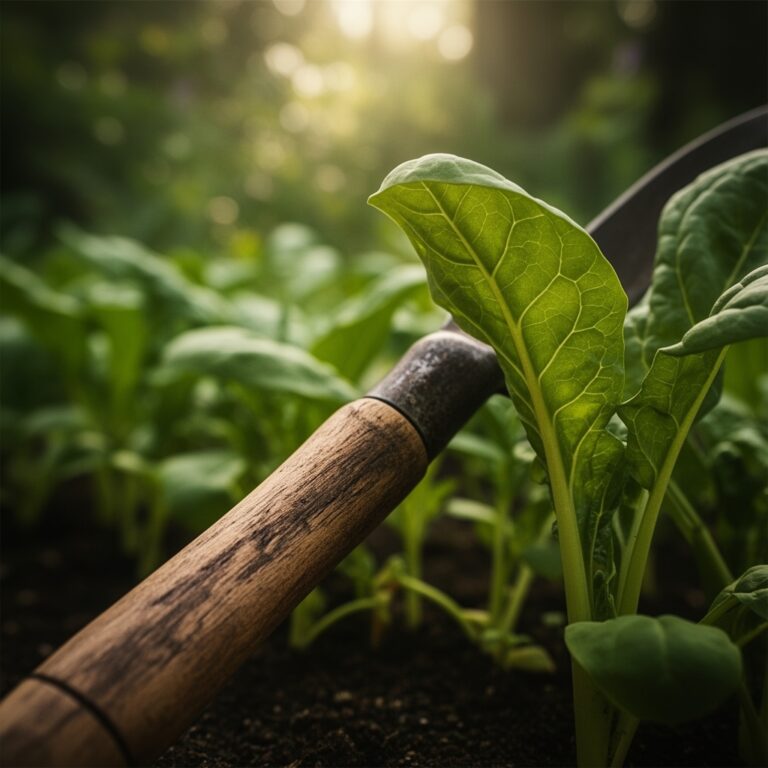
After lifting, use hands to gently separate soil clods, working from the outside in toward the centerline. Mature potatoes have a waxy cuticle that sheds soil easily. Tubers requiring aggressive rubbing are not fully cured.
Leave exposed potatoes on the soil surface for 30-90 minutes maximum in shade. Brief air exposure allows surface moisture to evaporate, reducing storage rot. Longer exposure causes greening (solanine production) from light contact.
Pro-Tip: Brush remaining soil off with a soft-bristled mushroom brush only after 24-hour cure in complete darkness. Immediate washing removes protective cuticle layers and introduces water-borne pathogens.
Phase 5: Successive Passes
Make a second fork insertion 8 inches closer to centerline, overlapping the first excavation zone. This double-pass method captures tubers that rolled deeper during the initial lift. Small "creamer" potatoes (1-2 inch diameter) often settle into voids created by removing larger tubers.
Check the soil pile from your first pass for any tubers pulled upward but still embedded. Clay soils retain tubers more tenaciously than sandy loam.
Pro-Tip: Work in 3-foot sections rather than completing entire rows. This prevents losing track of which zones received second passes, especially in beds longer than 20 feet.
Phase 6: Root Zone Inspection
After removing all visible tubers, run fingers through the loosened soil 8-10 inches deep to detect stragglers. Focus on the 6-inch radius directly beneath where the main stem emerged. This "crown zone" produces the largest tubers that sometimes sink under their own weight in soft soil.
Pro-Tip: Save one representative plant and carefully excavate its entire root system with a trowel. Photograph the tuber distribution pattern. This creates a mental map for more efficient forking in subsequent seasons.
Nutritional & Environmental Benefits
Each pound of potatoes delivers 620mg potassium (18% DV), 27mg vitamin C (30% DV), and resistant starch that feeds beneficial Bifidobacteria in the human gut. Purple and red varieties contain anthocyanins with antioxidant capacity of 1,200-1,500 ORAC units per 100g.
Fork-based harvesting preserves soil structure better than mechanical diggers. Undisturbed soil aggregates maintain habitat for predatory mites (Hypoaspis species) that control root maggot populations. The practice also protects ground-nesting bees (Andrena species) that nest 6-12 inches deep in garden margins.
Leaving small or damaged tubers in-ground provides fall and winter food for voles and shrews, which consume 60-80% of their body weight daily in soil-dwelling grubs that would otherwise damage next season's crops.
Advanced Methods
Small Space Adaptation:
Grow potatoes in 18-inch-deep fabric grow bags. At harvest, simply tip the bag and fork through the loose medium. This method produces 3-5 lbs per bag with zero fork-related damage since roots don't encounter compacted subsoil.
Permaculture Integration:
Plant potatoes in 12-inch-deep straw mulch rather than soil. Fork harvesting becomes obsolete; simply pull back mulch layers to collect tubers. This "no-dig" approach increases earthworm density by 300% according to Rodale Institute trials. Follow with a nitrogen-fixing cover crop like crimson clover (seeded at 20 lbs per 1,000 sq ft) to restore fertility.
Season Extension:
In Zone 6 and colder, harvest in late afternoon when soil temperature peaks. Tubers pulled from cold soil (below 50°F) develop sugar accumulation during the first week of storage, creating undesirable sweetness and poor fry quality. Warm tubers (55-65°F at harvest) maintain proper starch-to-sugar ratios.
For fall plantings in Zones 8-9, harvest during the coolest part of morning (6-8 AM) to prevent heat stress on exposed tubers.
Troubleshooting
Symptom: Fork tines penetrate tubers despite careful insertion angle.
Solution: Reduce tine penetration depth to 8 inches in tight soils. Make a third pass closer to centerline with tines inserted only 6 inches deep. This sacrifices some lifting leverage but eliminates deep punctures.
Symptom: Soil adheres in thick layers to tubers, requiring aggressive cleaning.
Solution: Soil moisture exceeds optimal harvest range (above 60% field capacity). Wait 72 additional hours. If weather prevents drying, harvest only a 3-day supply at a time, storing unwashed tubers in mesh bags with active air circulation.
Symptom: Tubers show green patches within 24 hours of harvest.
Solution: Light exposure exceeded 90 minutes. Affected tubers are safe if green penetration is less than 1/8 inch deep; simply peel thicker than normal. Prevent by immediately covering harvest buckets with burlap.
Symptom: 15-20% of tubers show fork punctures despite proper technique.
Solution: Variety selection mismatch. Long, fingerling types (Russian Banana, French Fingerling) orient vertically and intersect with tine paths. Switch to round varieties (Red Norland, Yukon Gold) for fork harvesting, or use a broad spading fork with 6 tines spaced at 1.5-inch intervals instead of standard 2.5-inch spacing.
Symptom: Small tubers (under 1.5 inches) are consistently missed during harvest.
Solution: Plant spacing was too tight (under 10 inches), creating dense tuber clusters that fragment during forking. Increase spacing to 12-14 inches. Use hands rather than fork for final soil sifting in the 4-inch zone directly beneath the stem.
Storage & Maintenance
Immediate Post-Harvest (First 24 Hours):
Spread tubers in a single layer in complete darkness at 55-60°F with 85-90% humidity. This "wound healing" period allows minor abrasions to suberize. Inspect for fork punctures; any tuber showing tine penetration deeper than 1/4 inch should be set aside for immediate consumption.
Curing Phase (10-14 Days):
Maintain 50-55°F at 90-95% humidity. Skins thicken to final strength during this period. Check daily for soft spots indicating bacterial soft rot (Erwinia species). Remove affected tubers immediately.
Long-Term Storage (Up to 8 Months):
Transfer to 38-40°F storage at 80-85% humidity. Temperatures below 38°F trigger starch-to-sugar conversion. Above 45°F, sprouting begins after 6-8 weeks. Inspect monthly; remove any showing sprouts longer than 1/4 inch.
Fork Maintenance:
Clean tines immediately after harvest using a wire brush and water. Soil left to dry creates concrete-like adhesion that dulls tine tips. Apply a thin coating of linseed oil to prevent rust. Sharpen tine tips annually with a mill bastard file, maintaining the original 20-degree point angle.
Store fork hanging vertically or laying flat, never tine-down, which bends tips out of parallel alignment. Misaligned tines increase tuber damage rates by 40%.
Success Blueprint
Master-level potato harvest combines timing (14-21 days post-vine dieback, soil at 60% field capacity), tool geometry (15-degree outward tine angle, 10-12 inch offset from centerline), and material handling (maximum 90-minute light exposure, immediate 55-60°F curing). These three factors reduce damage below 5% while increasing yield recovery by up to 30% compared to spade methods. The garden fork becomes an extension of sensory awareness, translating soil resistance and acoustic feedback into tuber-preserving excavation.
Share your fork-harvesting results, including damage percentages and variety-specific tips, in the comments below. Include your Hardiness Zone and soil type so fellow growers can adapt techniques to their conditions. Local knowledge exchange creates resilient food systems one harvest at a time.
Expert FAQs
Q: Can I harvest potatoes before vines die back completely?
A: Yes, for "new potatoes" (immature tubers), harvest 60-70 days after planting when plants begin flowering. Skins will be paper-thin and require immediate consumption. Fork technique remains identical, but reduce tine insertion depth to 6-7 inches since tubers are smaller and clustered closer to the surface. Expect 40-50% lower total yield compared to full maturity harvest.
Q: What's the best fork tine length for different soil types?
A: Clay soils require 12-14 inch tines for adequate penetration below the compaction layer that forms 8-9 inches deep. Sandy loam performs well with 10-11 inch tines since tubers don't sink as deep. Tines shorter than 10 inches lack the leverage needed to lift soil en masse, increasing tuber damage by 25-30%.
Q: How do I prevent volunteer potatoes next season?
A: Collect all tubers larger than a marble (including damaged ones). Volunteers emerge from tubers smaller than 0.75 inches or fragments with at least two eyes. After forking, make a final pass with a soil rake to collect fragments. Alternatively, plant a smother crop like buckwheat (seeded at 50 lbs per acre) immediately after harvest; volunteers will sprout but be outcompeted by the dense canopy.
Q: Does moon phase affect potato storage success?
A: No scientific evidence supports lunar harvest timing for storage quality. However, barometric pressure does matter. Harvest during stable or rising pressure systems (above 30.0 inHg) correlates with lower post-harvest disease incidence in University of Maine trials, likely because pathogen spore dispersal decreases during high-pressure periods.
Q: Can I use a garden fork for sweet potato harvest?
A: No. Sweet potatoes (Ipomoea batatas) have thin, easily torn skins and grow in dense, horizontal clusters. Fork tines cause 3-4 times more damage compared to regular potatoes. Use a spading fork inserted 16-18 inches from the plant center, then hand-excavate the final 12 inches. Sweet potatoes require 7-10 day curing at 80-85°F (not 55-60°F like regular potatoes) before storage.