9 Heat-Hardy Steps to Prepare a Desert Garden
Crushing a handful of parched earth should result in a fine, silty dust; however, the goal of a desert grower is to transform that dust into a structured, moisture-retaining medium. True success begins when the smell of damp geosmin rises from a hydrated soil bed and the turgor pressure in a seedling stem remains rigid against a 105 degree afternoon. Learning how to prepare a garden for a desert vegetable garden requires a fundamental shift from traditional temperate methods. You are not just planting; you are engineering a microclimate capable of resisting extreme desiccation and high UV indices.
Establishing a productive plot in arid regions depends on managing the Cation Exchange Capacity (CEC) of your soil. Most desert soils are alkaline, often exceeding a pH of 8.0, which locks away essential micronutrients like iron and manganese. By integrating organic matter and managing mineral inputs, you create a rhizosphere that supports rapid nutrient uptake before the heat of midday shuts down plant stomata. This guide details the technical requirements for building a high-yield desert system from the ground up.
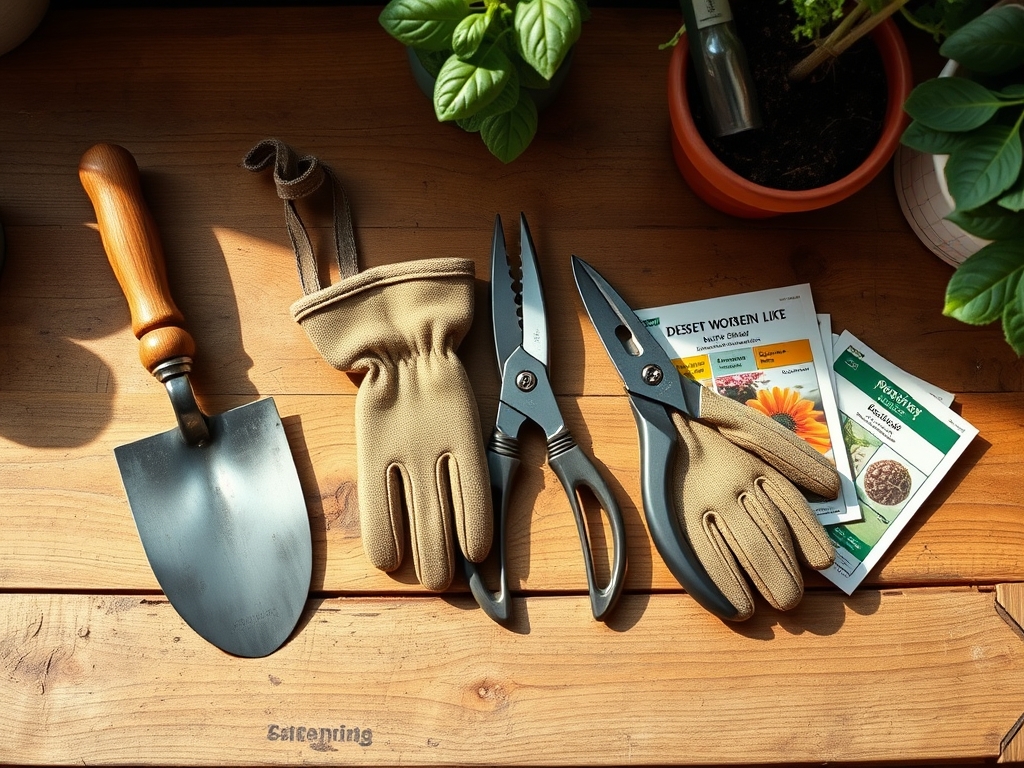
Materials:
The ideal substrate for desert vegetable production is a friable loam consisting of 40 percent sand, 40 percent silt, and 20 percent clay, heavily amended with composted organic matter. Because desert soils are notoriously low in nitrogen, your initial NPK strategy must be aggressive but balanced.
Target a soil pH between 6.2 and 6.8 to ensure maximum bioavailability of phosphorus. You will need:
- Nitrogen (N): Blood meal or feather meal (12-0-0) to drive vegetative growth.
- Phosphorus (P): Bone meal or rock phosphate (0-10-0) to support root architecture and floral initiation.
- Potassium (K): Sulfate of potash (0-0-50) to regulate osmotic pressure and water retention within plant cells.
- Sulfur: Elemental sulfur pellets to gradually lower the pH of alkaline native caliche.
- Mulch: Clean wheat straw or wood chips, applied at a 3-inch depth to reduce evaporation rates by up to 70 percent.
Timing:
Desert gardening is dictated by two distinct growing windows: the cool season (September to March) and the warm season (March to July). Most desert regions fall into USDA Hardiness Zones 8 through 11, where the primary threat is not a killing frost, but the rapid onset of triple-digit temperatures.
The "Biological Clock" of a desert plant is accelerated by high light intensity. Transitioning from vegetative to reproductive stages often happens faster here than in northern climates. For example, tomatoes must be established early enough to set fruit before nighttime temperatures consistently exceed 75 degrees Fahrenheit; at this threshold, pollen becomes sterile and fruit set ceases. Monitor the photoperiod closely; as days lengthen in May, heat-sensitive crops will begin senescence unless provided with 40 percent shade cloth to mimic a shorter, cooler day.
Phases:

Sowing
Direct sow seeds at a depth three times the diameter of the seed. In arid soils, the top half-inch of soil dries out in hours. Use a technique called "trench sowing" where seeds are placed at the bottom of a 2-inch furrow to concentrate moisture around the emerging radicle.
Pro-Tip: Utilize Hydrophilic Priming. Soaking seeds for 12 hours prior to sowing triggers the metabolic processes of germination, allowing the plant to emerge before the soil surface crusts over. This bypasses the initial struggle for moisture in the topsoil layer.
Transplanting
When moving seedlings from a controlled environment to the field, timing is critical. Transplant only during the late afternoon to allow the root system 12 hours of darkness to recover from transplant shock. Dig a hole twice as wide as the root ball and backfill with a 50/50 mix of native soil and finished compost.
Pro-Tip: Apply a Mycorrhizal Inoculant directly to the root zone. These fungi form a symbiotic relationship with the roots, effectively extending the root surface area. This symbiosis increases the plant's ability to scavenge for deep-seated water and phosphorus in lean soils.
Establishing
The first 14 days post-transplant determine the plant's ultimate yield. Maintain consistent soil moisture to prevent the wilting point from being reached. If the plant loses turgor during this phase, it may suffer permanent vascular damage.
Pro-Tip: Practice Auxin Suppression by pinching off early flower buds. Forcing the plant to focus on vegetative and root development for the first three weeks ensures a robust enough vascular system to support heavy fruit loads when the heat intensifies.
The Clinic:
Physiological disorders in the desert are often mistaken for pests. Understanding the science of plant stress allows for precise intervention.
- Symptom: Blossom End Rot (dark, leathery spots on the bottom of fruit).
- Solution: This is a calcium transport issue caused by erratic watering. Ensure consistent moisture levels so the plant can move calcium through the xylem.
- Symptom: Sunscald (white, papery patches on fruit or leaves).
- Solution: Install 40% density aluminet shade cloth. This reduces ambient temperature by 10 degrees and prevents UV tissue damage.
- Symptom: Interveinal Chlorosis (yellowing between green leaf veins).
- Fix-It: This indicates an Iron deficiency, common in high-pH soils. Apply chelated iron as a foliar spray or soil drench to bypass the pH lock in the rhizosphere.
- Symptom: Leaf Roll (upward curling of leaves).
- Solution: This is a self-defense mechanism to reduce surface area and transpiration. Increase mulch depth and check for soil moisture at a 6-inch depth.
Maintenance:
Precision is the hallmark of desert maintenance. Use a soil moisture meter daily to calibrate your irrigation. Most vegetable crops require 1.5 to 2 inches of water per week, delivered directly to the drip line via emitter tubing. Overhead watering is inefficient; evaporation rates can exceed 30 percent before the water even hits the soil.
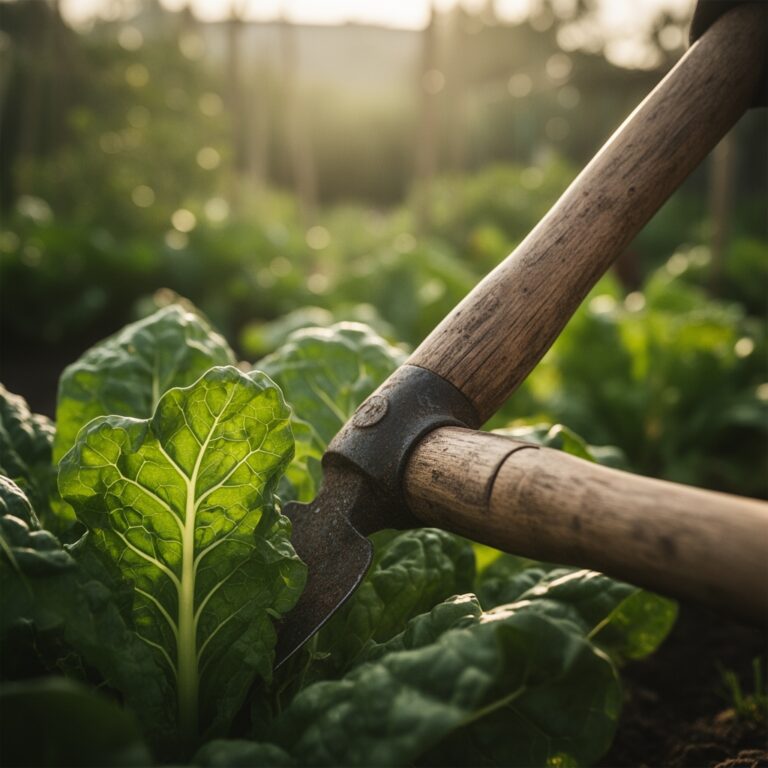
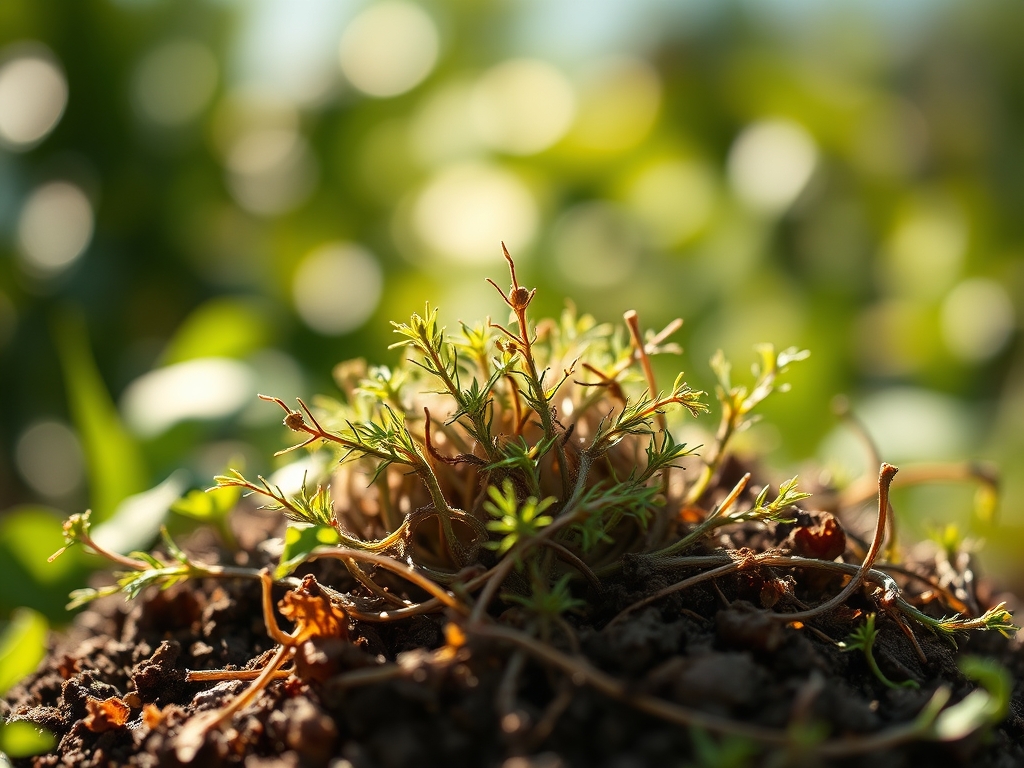
Keep a hori-hori knife sharpened for weeding. In the desert, weeds are "water thieves" that can deplete a garden bed's moisture in 48 hours. Use bypass pruners to remove any yellowing lower foliage (senescence). This improves airflow and prevents the "chimney effect" where heat gets trapped under a dense canopy. Check the integrity of your irrigation lines weekly; a single leak can drop the water pressure for the entire system, leading to localized drought stress.
The Yield:
Harvesting in the desert must occur at dawn. As soon as the sun rises, plants begin transpiring at a high rate, which pulls moisture out of the fruit and back into the stems. Harvesting at 6:00 AM ensures the highest sugar content and maximum turgor.
Use a sharp blade to cut stems rather than pulling, which can damage the fragile vascular tissue of the main plant. For leafy greens, place them immediately into an ice-water bath for 10 minutes to remove field heat. This "hydro-cooling" technique preserves "day-one" freshness by halting the metabolic degradation that occurs at high temperatures. Store produce in a controlled environment at 45 to 50 degrees Fahrenheit to extend shelf life.
FAQ:
How often should I water a desert vegetable garden?
Water deeply every 24 to 48 hours depending on the temperature. Use a soil moisture meter to ensure the root zone at a 6-inch depth remains moist. Avoid frequent, shallow watering which leads to weak, surface-level root systems.
What is the best mulch for desert gardening?
Wheat straw or wood chips are superior choices. Apply a layer at least 3 inches thick. This suppresses weeds, regulates soil temperature, and significantly reduces the rate of evaporation from the soil surface.
Can I grow tomatoes in the desert summer?
Yes, but fruit set usually stops above 90 degrees. Use heat-set varieties and provide 40 percent shade cloth. Focus on keeping the plant alive through July; production will resume as nighttime temperatures drop in late August.
How do I fix salty soil in the desert?
Improve drainage and leach the soil by applying heavy amounts of water to wash salts below the root zone. Adding organic matter and gypsum helps displace sodium ions, improving soil structure and Cation Exchange Capacity over time.