9 Fine Seedbed Tips to Use a Garden Rake
Cold earth clings to the boot sole while the sharp scent of geosmin rises from a freshly turned plot. Success in the vegetable garden begins with the mechanical manipulation of the top two inches of the soil profile. Using a garden rake for vegetable seedbeds is the critical bridge between rough tillage and the precise environment required for radical emergence. When the soil reaches a friable state, the turgor pressure within a germinating seed must overcome the physical resistance of the crust. A properly raked bed ensures uniform seed-to-soil contact; this minimizes air pockets that lead to desiccation and provides the capillary action necessary for consistent hydration. Achieving a fine tilth is not an aesthetic choice. It is a physiological necessity for small-seeded crops like carrots and lettuce that lack the stored energy to navigate heavy clods or deep crevices. The goal is a uniform surface where the particle size does not exceed the diameter of the seed being sown.
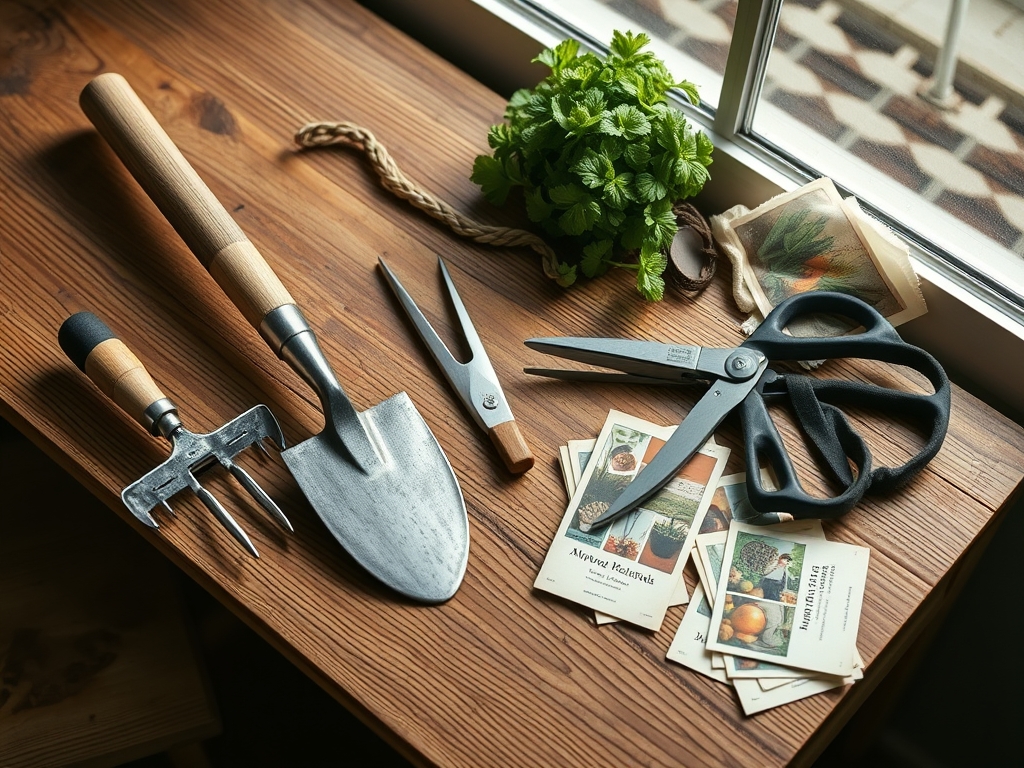
Materials:
The ideal substrate for a vegetable seedbed is a **friable loam** with a high **Cation Exchange Capacity (CEC)**. This allows the soil to retain essential nutrients like ammonium, calcium, and magnesium against the leaching forces of irrigation. Target a **soil pH between 6.2 and 6.8** for maximum nutrient bioavailability. Before raking, integrate organic matter to reach a target **NPK ratio of 5-10-10** for root crops or **10-10-10** for general leafy greens. High nitrogen levels (the first number) can lead to excessive vegetative growth at the expense of root development in young seedlings. Ensure the soil moisture is at approximately **50 percent of field capacity**; if the soil forms a hard ribbon when squeezed, it is too wet for the rake and will lead to detrimental compaction.
Timing:
Timing is dictated by the USDA Hardiness Zone and the specific thermal requirements of the crop. In Zones 5 through 7, the primary window for cool-season seedbed preparation opens when soil temperatures consistently hit 45 degrees Fahrenheit. For warm-season crops like Solanaceae, wait until the soil reaches a stable 65 degrees Fahrenheit. This timing aligns with the "Biological Clock" of the plant, ensuring that the transition from the lag phase of germination to the log phase of rapid vegetative growth occurs without the stress of chilling injury. Monitor the photoperiod; as day length increases, the metabolic rate of the rhizosphere accelerates, requiring a seedbed that is ready to support rapid nutrient uptake.
Phases:
Sowing
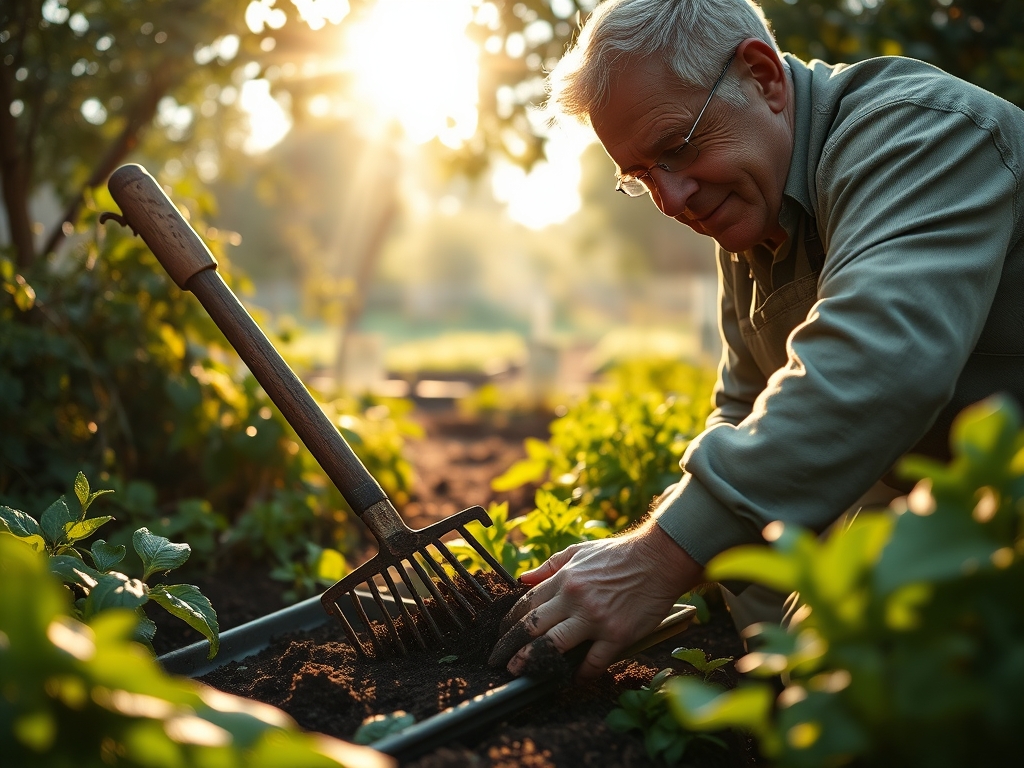
Using a heavy-duty bow rake, employ a push-pull motion to break down clods into particles smaller than 0.25 inches. Level the surface to prevent water pooling, which can lead to anaerobic conditions and "damping off" caused by fungal pathogens.
Pro-Tip: Maintaining a level surface ensures even phototropism; if the bed is uneven, seedlings emerge at different angles and compete for light, leading to weakened stems and reduced photosynthetic efficiency.
Transplanting
For starts, use the rake to create shallow furrows. This increases the surface area for water infiltration around the root ball. Ensure the rake teeth penetrate at least 3 inches to aerate the zone where the new roots will expand.
Pro-Tip: Deep raking before transplanting encourages mycorrhizal symbiosis. By aerating the soil, you provide the oxygen levels required for beneficial fungi to colonize the root system, which increases the plant's phosphorus uptake by up to 300 percent.
Establishing
Once seedlings are 2 inches tall, use the back of the rake to gently firm the soil around the base of the plants. This stabilizes the "anchor roots" and prevents the plant from tilting during high wind events.
Pro-Tip: Firming the soil manages auxin suppression. If a young plant is allowed to flop over, auxins accumulate on the lower side of the stem, causing uneven cell elongation and a permanent bend that restricts the vascular flow of water and nutrients.
The Clinic:
Physiological disorders often stem from poor seedbed preparation or subsequent environmental stress.
-
Symptom: Nitrogen Chlorosis.
- Observation: Pale yellowing of older, lower leaves while veins remain slightly green.
- Solution: Apply a water-soluble high-nitrogen fertilizer (e.g., blood meal or fish emulsion) directly to the root zone.
- Fix-It: Check the soil CEC; low organic matter often prevents the soil from "holding" nitrogen.
-
Symptom: Blossom End Rot.
- Observation: Sunken, leathery black spots on the distal end of the fruit.
- Solution: This is a calcium transport issue, often caused by inconsistent moisture.
- Fix-It: Use a soil moisture meter to ensure the bed stays at a consistent 60 to 70 percent moisture level.
-
Symptom: Anthocyanin Accumulation (Purple Leaves).
- Observation: Deep purple or reddish tints on the undersides of leaves.
- Solution: This usually indicates phosphorus deficiency, often triggered by cold soil (below 55 degrees Fahrenheit).
- Fix-It: Use the rake to incorporate a 0-20-0 superphosphate amendment if soil tests confirm low P levels.
Maintenance:
Precision maintenance requires data. Use a soil moisture meter daily to ensure the bed receives exactly 1.5 inches of water per week at the drip line. Overhead watering should be avoided to prevent foliar diseases; use drip irrigation or a soaker hose buried 1 inch below the raked surface. Keep a hori-hori knife sharpened for precise weeding between rows without disturbing the delicate rhizosphere of the vegetables. Use bypass pruners to remove any necrotic tissue or "suckers" on indeterminate varieties to focus energy on fruit production. If the soil surface begins to "crust" after a heavy rain, lightly drag the rake tines between rows to break the tension and allow for gas exchange.
The Yield:
Harvesting is the final stage of the horticultural cycle. For leafy greens, harvest when the leaves reach 4 to 6 inches in length to ensure maximum turgor pressure and nutrient density. For root crops, harvest when the "shoulder" of the vegetable is visible at the soil surface. To maintain "day-one" freshness, harvest in the early morning before the sun triggers high rates of transpiration. Immediately submerge harvested produce in 40-degree Fahrenheit water to remove field heat; this slows the process of senescence and preserves the sugars within the plant tissue.
FAQ:
How deep should I rake for a vegetable seedbed?
Rake the top 2 to 3 inches of soil. This depth provides enough loose material for root penetration while maintaining the structural integrity of the lower soil horizons and preserving existing macropore networks for drainage.
Can I use a rake to incorporate fertilizer?
Yes. Spread granular amendments over the surface and use the rake tines to work them into the top 2 inches. This places nutrients directly in the rhizosphere, where young roots can immediately access them during the establishment phase.
What is the best rake for a fine seedbed?
A steel bow rake is the professional standard. The rigid tines allow for the breaking of heavy clods, while the flat "back" of the rake can be used to level the surface and create a uniform grade for sowing.
Why is soil leveling important for seeds?
Leveling prevents water from pooling in low spots, which causes seed rot and hypoxia. It also ensures that all seeds are buried at a uniform depth, leading to synchronized germination and a more manageable harvest window.