9 Expert Tips for Using a Soil Thermometer: How to Time Your Planting for Maximum Success
Put your hand down on the soil in early spring. If it just feels cold, you’ve missed the critical data. Soil temperature is the secret language of seeds and roots, a metric far more reliable than the last frost date for using a soil thermometer for planting timing. The difference between a stalled, sulking transplant and a vigorous plant that takes off is often a matter of just 5 to 10 degrees Fahrenheit. In my own work, I base every seeding and transplant date not on the calendar, but on the numbers my probe gives me. This guide is about learning to speak that language.
Materials & Supplies
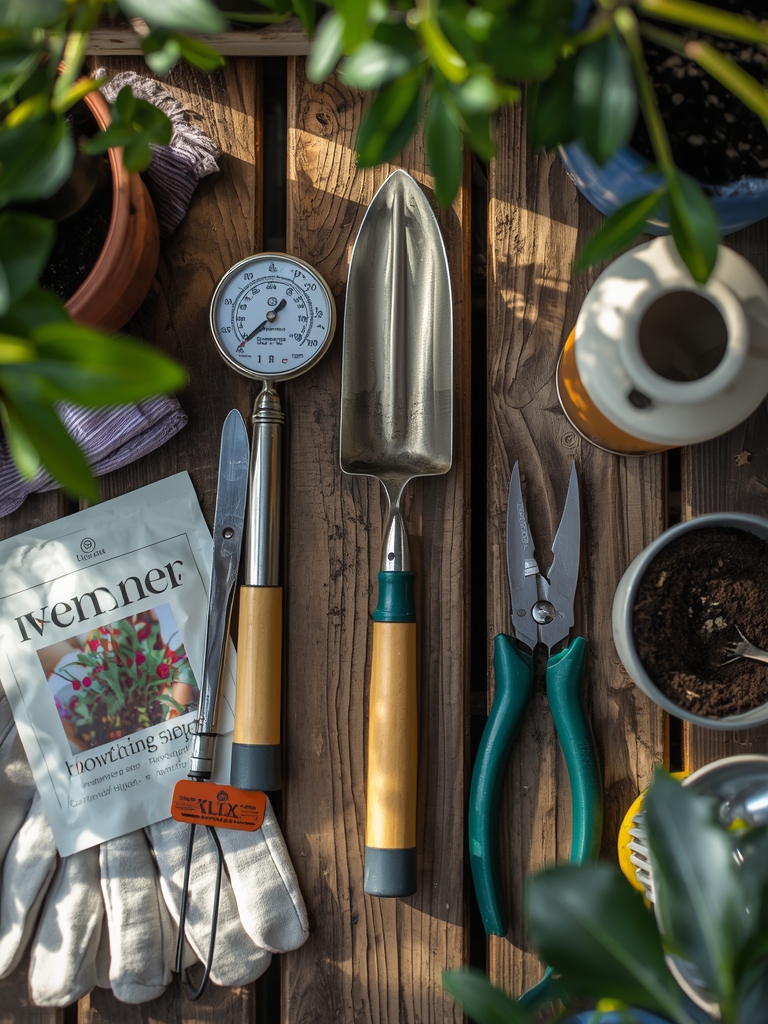
This isn’t a complicated setup. You need precision, not gadgetry.
- The Core Tool: A quality soil thermometer with a long, metal probe. Avoid cheap dial thermometers. A digital probe thermometer with an instant-read display is ideal. Ensure it reads from at least 40°F to 100°F.
- Soil & Amendments: Your existing garden soil. Have compost and a balanced, slow-release organic fertilizer (like a 5-5-5 NPK) on hand for amendments after testing.
- For Seed Starting: Seed trays or cells, a sterile, fine-textured seed-starting mix (not potting soil), and a heat mat. The heat mat is non-negotiable for consistent germination.
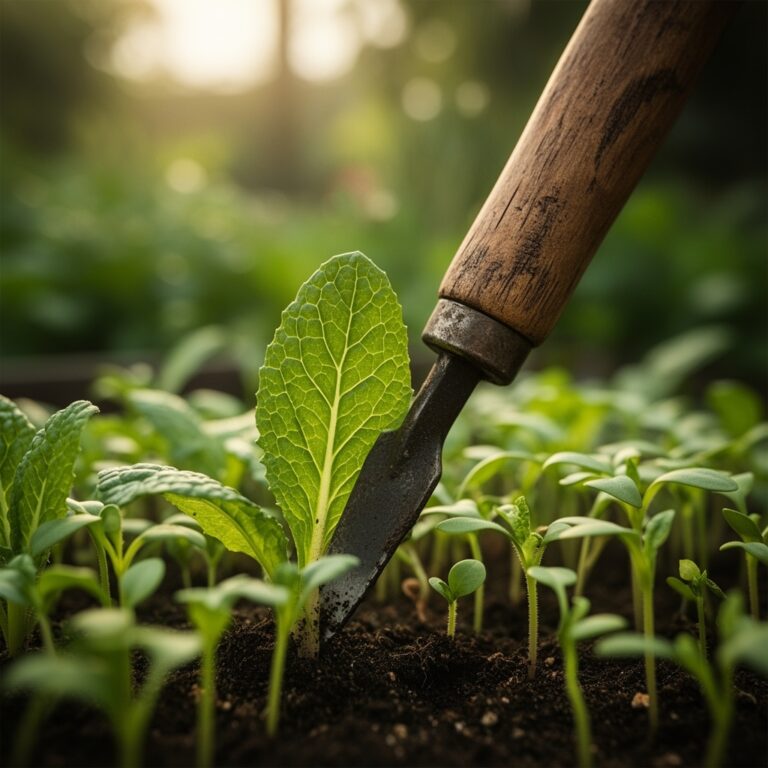
- For Transplanting: A sturdy trowel, a watering can with a rose attachment for a gentle flow, and organic mulch like straw or shredded leaves.
Timing / Growing Schedule
Forget generic planting dates. Your schedule is dictated by soil temperature ranges and your plant hardiness zone.
- Cool-Season Crops (Germinate at 40-75°F): These include spinach (40°F), peas (45°F), lettuce (55°F), and kale (65°F). Plant them as soon as your probe reads their minimum temperature. In Zones 5-7, this is often 4-6 weeks before your last frost.
- Warm-Season Crops (Germinate at 60-95°F): This is your tomato (70°F), pepper (75°F), bean (70°F), and cucumber (70°F) group. Transplant or direct sow only when soil is consistently above 60°F—typically 1-2 weeks after your last frost in Zones 5-7. Their days to maturity count starts here.
- The Rule: Take measurements at 9:00 AM for three consecutive days. The soil must meet or exceed the minimum germination temperature each day.
Step-by-Step Instructions
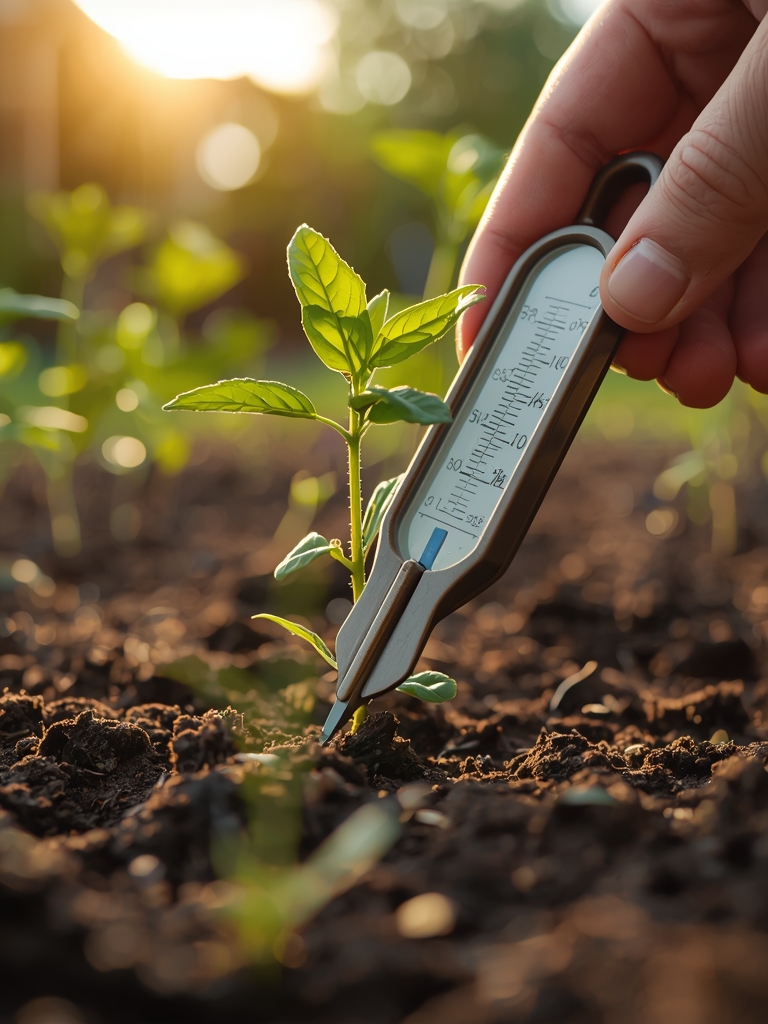
Phase 1: Taking Accurate Measurements
Push the probe firmly into moist (not soggy) soil to a depth of 2-3 inches for seeds, 4-6 inches for transplant root zones. Wait for the digital readout to stabilize. Take readings in several spots, especially where you plan to plant.
- Pro-Tip: In spring, test in full sun areas first; they warm up days earlier than shaded beds. This lets you succession-plant your cool-season crops.
Phase 2: Sowing & Germination
If direct sowing, plant seeds at the depth specified on the packet once soil hits the ideal range. For indoor starts, place seed trays on a heat mat set exactly to your crop’s ideal germination temperature.
- Pro-Tip: For tomatoes and peppers, maintain 75°F soil on the heat mat until true leaves form, then move them off. Bottom heat encourages strong root development and prevents damping-off fungi.
Phase 3: Transplanting
Wait for both the soil temperature and the 10-day weather forecast to be favorable. Dig a hole slightly larger than the root ball. Water the hole deeply before placing the plant.
- Pro-Tip: After transplanting, lay down a 2-inch layer of dark-colored organic mulch. This regulates soil temperature, preventing the midday sun from baking the roots you just carefully settled.
Nutritional & Environmental Benefits
Correct timing via soil temperature reduces transplant shock, allowing plants to establish robust root systems that efficiently uptake nutrients. A well-timed tomato plant will produce fruits higher in lycopene. Healthy, unstressed plants are more resilient to pest pressure. Furthermore, flowers that bloom on schedule provide consistent, reliable nectar and pollen sources for native pollinators like squash bees and parasitic wasps that control aphid populations.
Advanced Methods & Variations
Small Space/Container Gardening: Soil in containers heats up and cools down faster than in-ground soil. Monitor it daily. Use lightweight, soilless potting mixes and consider moving pots to capture or avoid sun to fine-tune root zone temperature.
Organic/Permaculture Methods: Use your thermometer to time the planting of soil-building cover crops like crimson clover (plant at 45°F) which fixes nitrogen. Apply finished compost in fall or early spring when soil is above 50°F to activate earthworms and beneficial decomposers without smothering them.
Season Extension: To get a jumpstart, pre-warm soil by covering it with black plastic or a layer of dark compost 2-3 weeks before planting. In fall, use heavy straw mulch to insulate soil and keep root crops like carrots harvestable long after frost.
Troubleshooting: Common Mistakes
-
Mistake: Relying on a single, midday measurement.
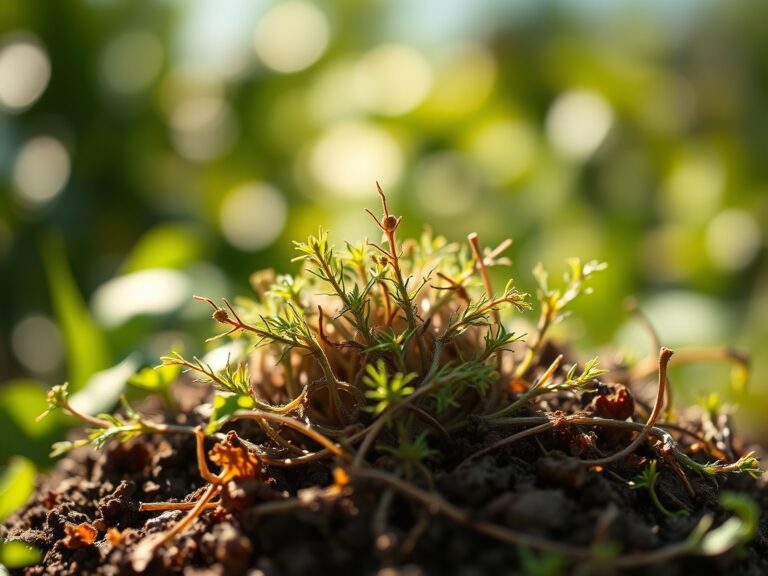
- Symptom: Seeds rot or fail to germinate; transplants wilt.
- Solution: Always take your reading at 9:00 AM. This gives you the low temperature, the critical limiting factor.
-
Mistake: Planting when soil is too wet and cold.
- Symptom: Compacted, anaerobic soil; seeds turn to mush; roots fail to grow outward.
- Solution: Squeeze a handful of soil. If it drips, wait. If it holds a loose shape, it’s workable. Warmth follows drainage.
-
Mistake: Ignoring the soil temperature after transplanting.
- Symptom: Plants are stunted and purplish (phosphorus lock-up in cold soil).
- Solution: Use your thermometer to monitor root zones. If a cold snap hits, protect transplants with cloches or floating row cover to hold soil warmth.
Storage & Ongoing Maintenance
Water based on soil moisture, not a schedule. After transplanting, provide 1 inch of water per week, applied in one or two deep soakings to encourage deep rooting. Fertilize with a balanced, water-soluble feed once plants are actively growing and soil is warm (above 60°F), as microbial activity is needed to convert nutrients. For harvest, pick vegetables in the cool of the morning when soil temperature and plant hydration are optimal for maximum crispness and shelf life.
Conclusion
Your success blueprint is this: measure at 9:00 AM, know your crop’s specific number, wait for consistency, and then plant. This simple practice aligns your garden with biological reality, not just hopeful dates. It builds resilience from the ground up. Now, go take your garden’s temperature—and then tell me what you’re planting first over on the blog.
Expert FAQs
What is the ideal soil temperature for germinating tomato seeds indoors?
70°F (21°C). Use a seedling heat mat to maintain this precisely. At 70°F, seeds germinate in 5-7 days. At 60°F, it can take two weeks or more.
How deep should I insert a soil thermometer for transplanting tomatoes?
Insert the probe 4 to 6 inches deep. This measures the temperature at the primary root zone depth where your transplant’s roots need to establish, not just the surface warmth.
Can I use a soil thermometer to time fall garlic planting?
Absolutely. Plant garlic cloves when your soil temperature at 4-inch depth drops to 60°F. This typically is 2-4 weeks after your first fall frost, allowing roots to establish before the ground freezes solid.
Why did my bean seeds rot even though the soil felt warm?
Warm but soggy soil is the culprit. Beans need a minimum soil temperature of 70°F and well-drained conditions. Cold, wet soil fosters Pythium and Rhizoctonia fungi that cause seed rot. Wait for the soil to both warm up and dry out slightly.