9 Emergency Steps for Treating Root Rot
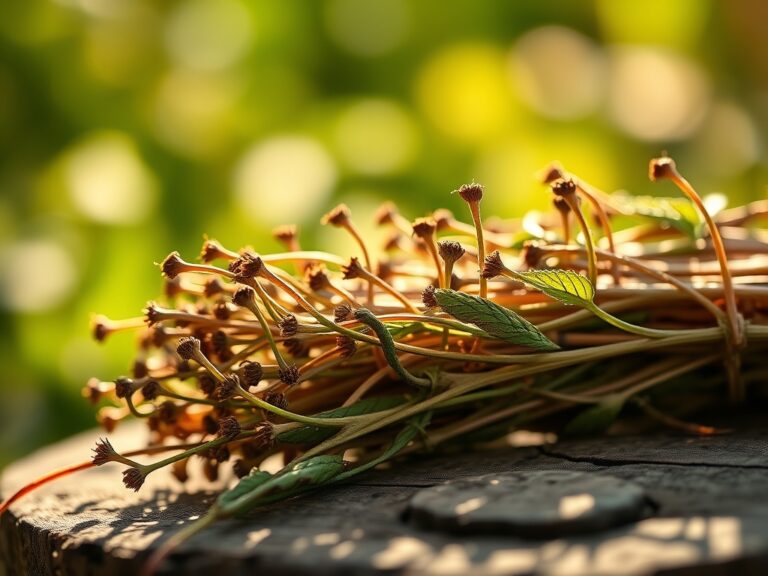
Healthy plant tissue maintains high turgor pressure; it feels firm and resists compression. When a plant succumbs to Pythium or Phytophthora, the rhizosphere transforms from a site of nutrient exchange into a site of decay. The primary indicator is the smell of anaerobic decomposition, a sulfuric odor that signals the collapse of cellular integrity. If the foliage turns yellow and wilts despite moist soil, the vascular system is failing. Implementing steps for treating root rot with repotting is the only viable method to arrest this fungal progression before it reaches the crown. Success depends on immediate intervention to restore oxygen levels to the root zone. You must act when the first signs of chlorosis appear at the leaf margins. Waiting even forty-eight hours can lead to systemic collapse. This process requires a total removal of contaminated substrate and a sterile surgical approach to root pruning. By following these steps for treating root rot with repotting, you manually reset the plant's environment to favor aerobic respiration over fungal proliferation.
Materials:
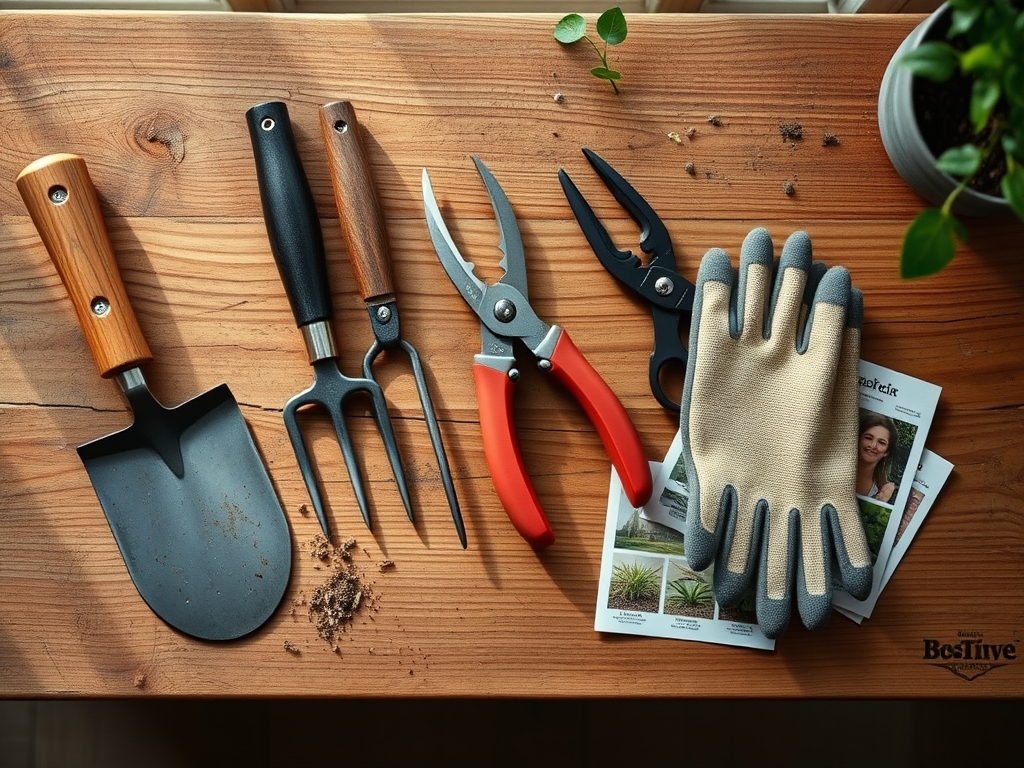
The recovery substrate must be a **friable loam** with high porosity to prevent future saturation. Aim for a soil pH between **5.8 and 6.5** for most tropicals to optimize nutrient availability. Use a potting mix with an NPK ratio of **5-10-5**; low nitrogen prevents excessive vegetative growth while the plant lacks a functional root system. High phosphorus levels support new root initiation. Incorporate perlite or coarse sand to ensure the **Cation Exchange Capacity (CEC)** remains manageable without retaining excess gravitational water. You will also need a **3% hydrogen peroxide solution** for sterilization and a high-quality **copper-based fungicide**.
Timing:
In Hardiness Zones 7 through 10, repotting should occur during the active growing season, typically between the last spring frost and mid-autumn. The biological clock of the plant dictates its recovery speed. Plants in the vegetative stage possess higher levels of auxins, which are hormones that promote root elongation. If the plant has entered the reproductive stage or senescence, its energy is diverted to flowering or dormancy, making recovery from root rot significantly less likely. Perform the procedure in the early morning when transpiration rates are lowest to reduce stress on the remaining vascular tissue.
Phases:
Sowing and Preparation
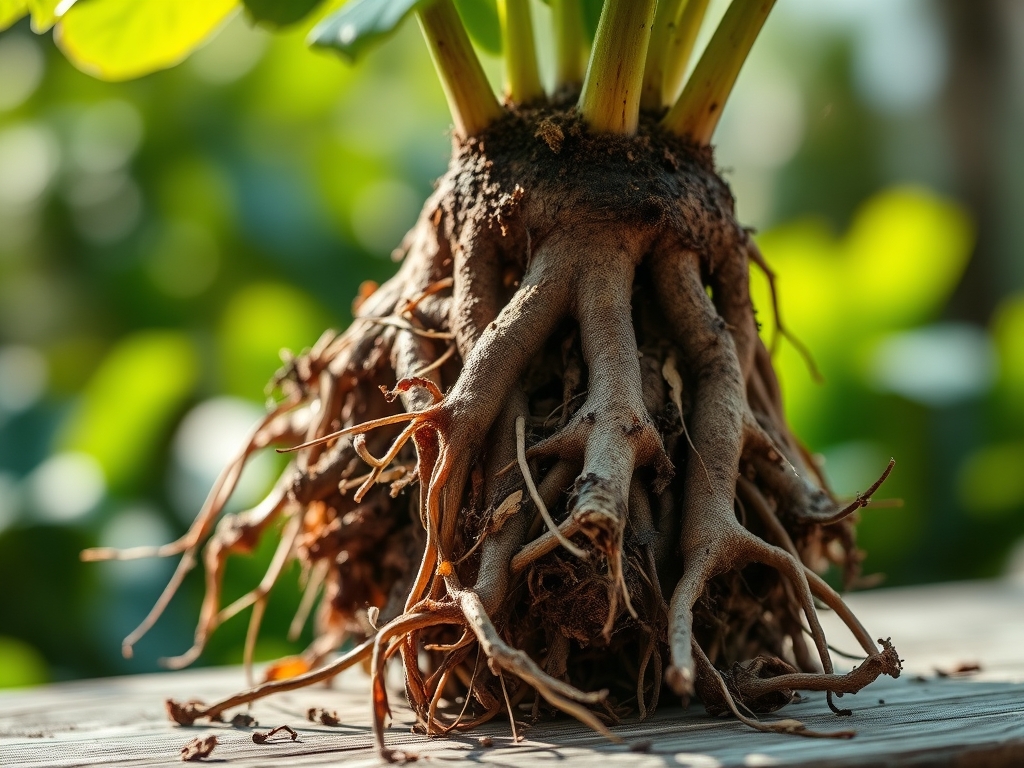
Before moving the plant, prepare a sterile workspace. Use a 70% isopropyl alcohol solution to clean your bypass pruners. Extract the plant from its container and wash the root ball under lukewarm running water until all old substrate is removed. This exposes the extent of the necrosis. Healthy roots appear white or tan and firm; infected roots are black, slimy, and pull away from the vascular core with ease.
Pro-Tip: Removing all old soil is essential because fungal oospores can remain dormant in the substrate for years. Eliminating the old medium prevents immediate reinfection of new root hairs.
Transplanting and Pruning
Cut away all soft, dark tissue using your sterilized shears. Make cuts 0.5 inches into healthy, white tissue to ensure no latent fungi remain. Dip the remaining root system into a solution of one part hydrogen peroxide to two parts water. This oxygenates the rhizosphere and kills anaerobic pathogens on contact. Replant in a new or bleached container that is only 1 to 2 inches wider than the remaining root mass.
Pro-Tip: Reducing pot size during recovery prevents "perched water tables." A smaller volume of soil dries faster, which encourages the plant to extend roots in search of moisture, stimulating hydrotropism.
Establishing and Recovery
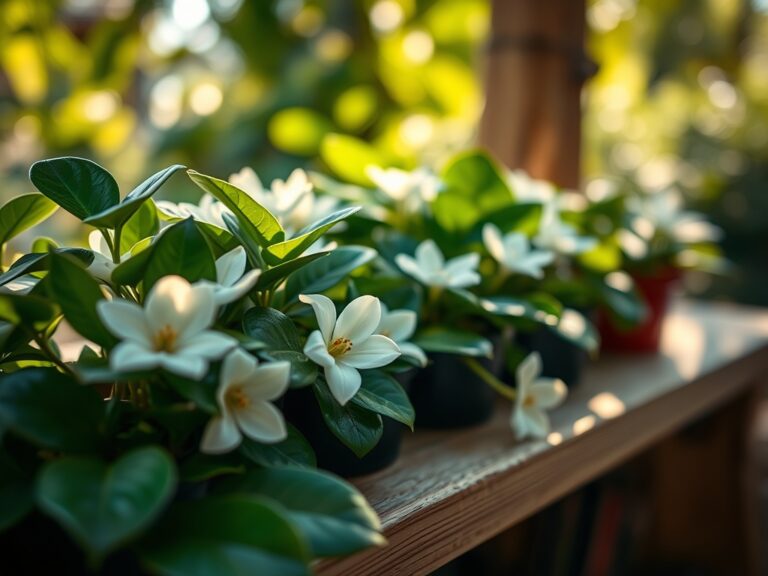
Place the repotted plant in a location with bright, indirect light. Avoid direct solar radiation for 10 to 14 days to prevent leaf scorch while the plant is unable to transport water efficiently. Do not fertilize for at least four weeks. The goal is to establish a stable root-to-shoot ratio before demanding new growth.
Pro-Tip: High humidity environments reduce the vapor pressure deficit (VPD). By lowering the rate of transpiration through the leaves, you allow the plant to retain internal moisture while the root system regenerates.
The Clinic:
Symptom: Interveinal chlorosis (yellowing between leaf veins).
Solution: This often indicates a Magnesium deficiency. Apply a foliar spray of Epsom salts at a rate of 1 tablespoon per gallon of water to bypass the damaged roots.
Symptom: Stunted new growth with "hooked" leaf tips.
Solution: This is a Calcium deficiency, common when root rot prevents the uptake of immobile nutrients. Ensure the soil pH is not below 5.5, as acidity locks out calcium.
Symptom: Rapid leaf drop of green leaves.
Solution: This indicates osmotic shock. Check the soil moisture with a soil moisture meter; if the meter reads in the "wet" zone despite the repotting, the drainage holes are likely obstructed.
Fix-It for Nitrogen Chlorosis: If the entire leaf turns pale green or yellow, the plant is scavenging nitrogen from old growth. Apply a diluted 2-1-1 liquid fertilizer at quarter strength once new white root tips are visible.
Maintenance:
Post-recovery maintenance requires precision. Use a soil moisture meter daily. Do not water until the top 2 inches of soil are dry to the touch. For most indoor and garden plants, provide 1.5 inches of water per week delivered directly at the drip line. Use a hori-hori knife to occasionally core the soil surface, which improves aeration and prevents surface crusting. Monitor the stem base for firmness; any softening indicates a relapse. Clean your bypass pruners after every use to prevent the mechanical transfer of pathogens between specimens.
The Yield:
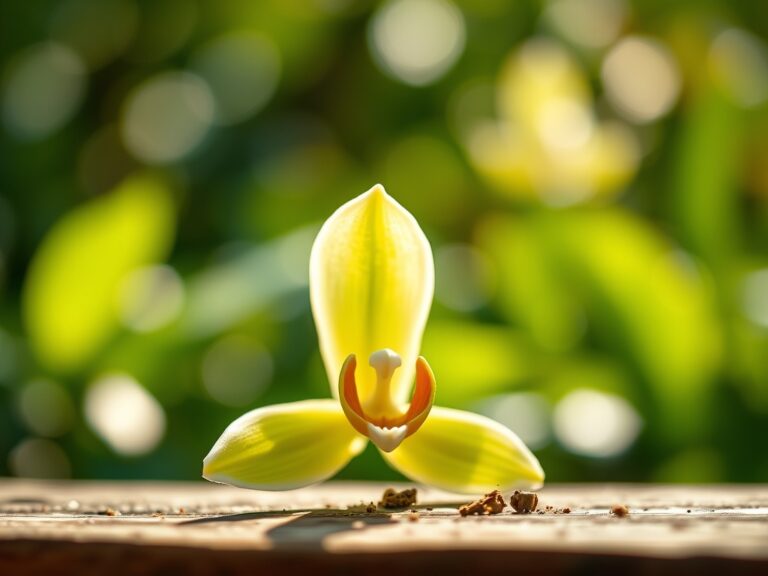
For flowering plants or ornamentals, the yield is measured in the return of foliar turgidity and new terminal bud development. Once the plant has stabilized, you will notice "pushes" of new growth. Do not harvest flowers or foliage for at least one full growing season after a major root rot event. This allows the plant to maximize its photosynthetic surface area, rebuilding the carbohydrate reserves stored in the roots. When you eventually harvest, use sharp shears to make clean 45-degree cuts, which minimizes the surface area of the wound and prevents secondary infections.
FAQ:
How do I know if root rot is gone?
New growth is the primary indicator. Check for firm, white root tips and increased leaf turgor. If the plant produces new leaves that reach full size without spotting or yellowing, the fungal pathogen is likely suppressed.
Can I reuse the old potting soil?
No. Pathogens like Pythium survive in soil for extended periods. Reusing infected medium will immediately re-infect the plant. Sterilize the old pot with a 10% bleach solution before using it for any other plant.
What is the best fungicide for root rot?
Copper-based fungicides or those containing Phosphorous acid are most effective. These systemic treatments help the plant develop an immune response and directly inhibit the growth of water molds within the vascular system.
Should I cut off yellow leaves?
Yes. Yellow leaves are no longer photosynthesizing efficiently and can attract secondary pests. Removing them allows the plant to redirect its limited energy and nutrients toward developing a new, healthy root system and terminal buds.