8 Ways to Use a Magnifying Glass for Pest Detection
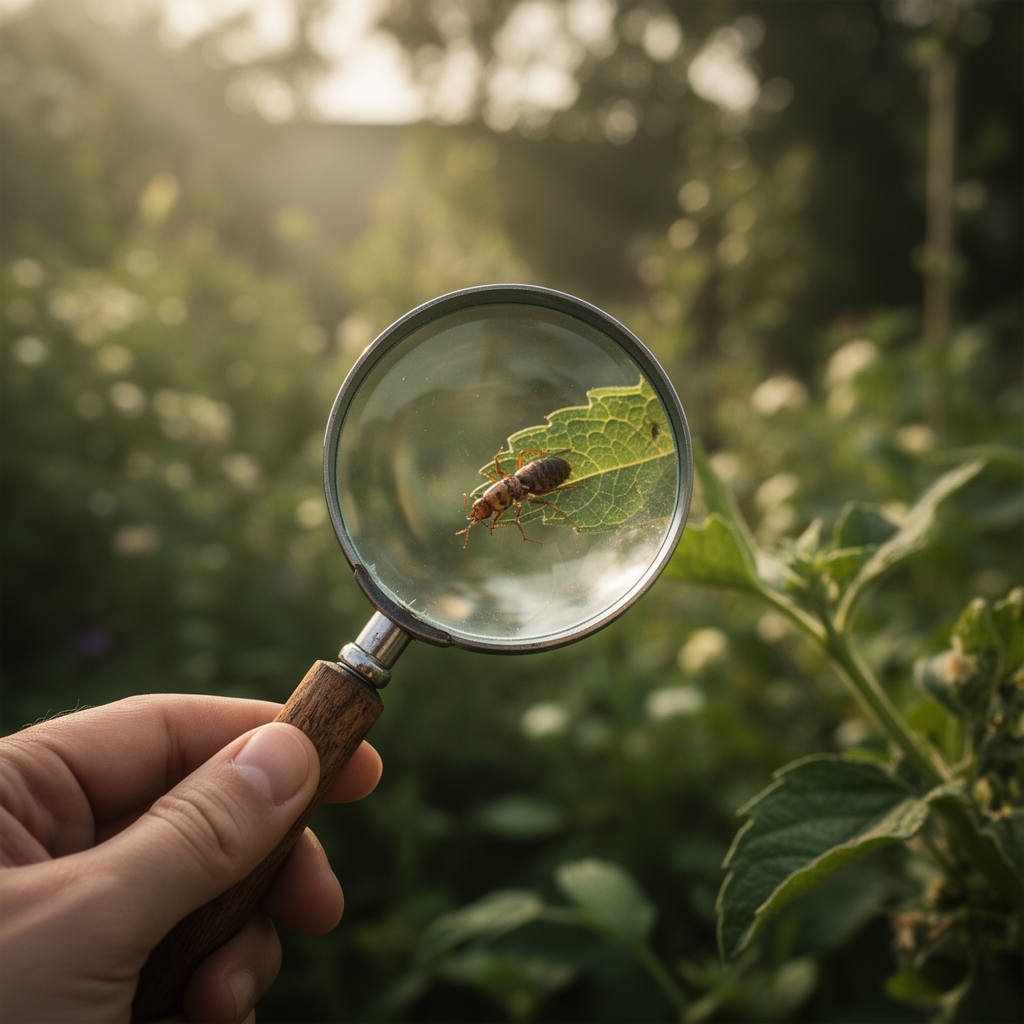
Using a magnifying glass for pest identification transforms abstract plant damage into visible, actionable evidence. A 10x magnification lens reveals the serrated mouthparts of thrips rasping leaf cells, the waxy filaments of mealybug egg sacs tucked into petiole crevices, and the rust-colored stippling left by two-spotted spider mites. Commercial growers rely on hand lenses rated between 10x and 20x to detect early-stage infestations before populations reach economic thresholds. This optical tool bridges the gap between suspicion and diagnosis, allowing precise intervention that preserves beneficial insect populations and minimizes broad-spectrum pesticide applications.
Materials
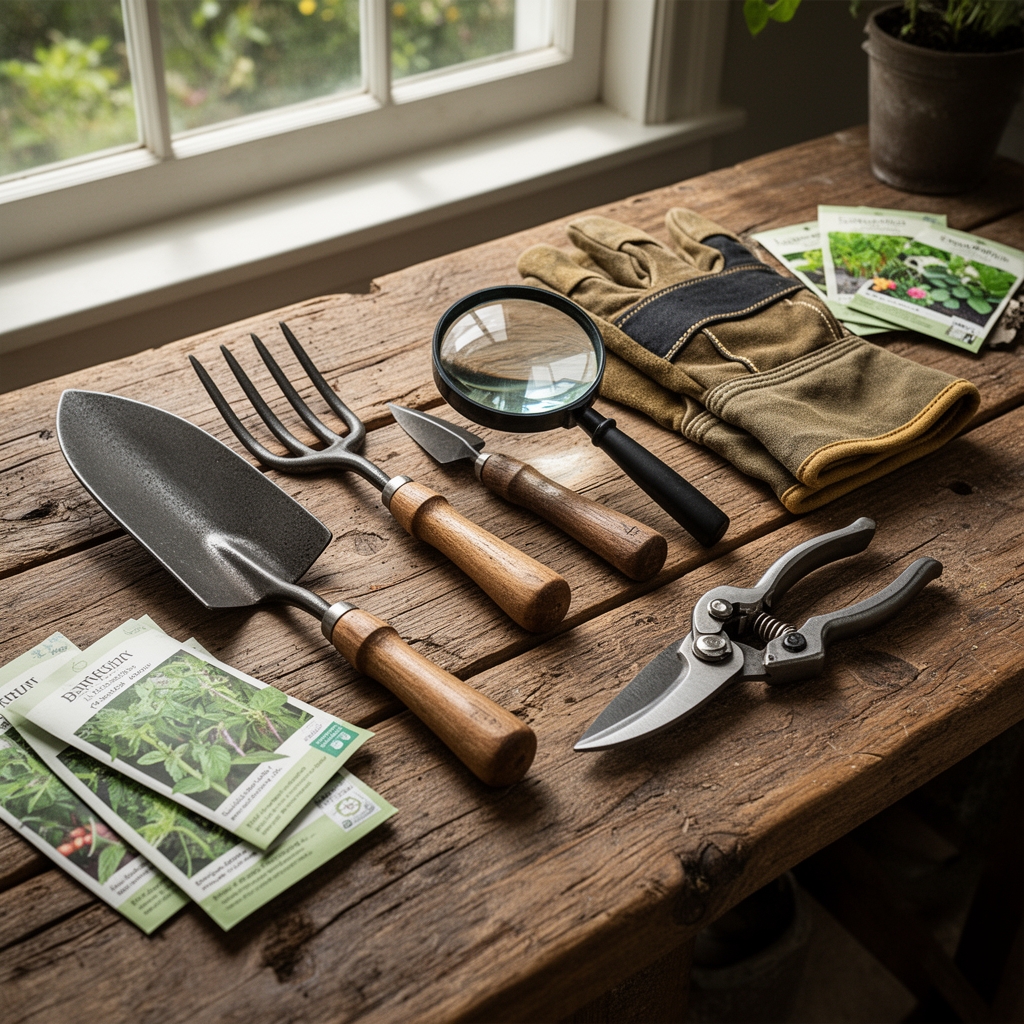
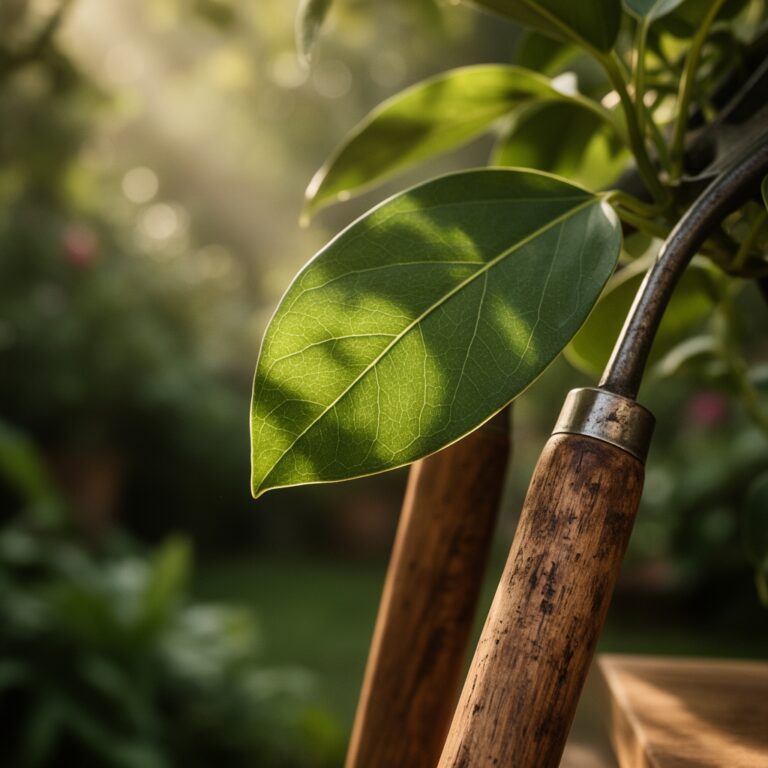
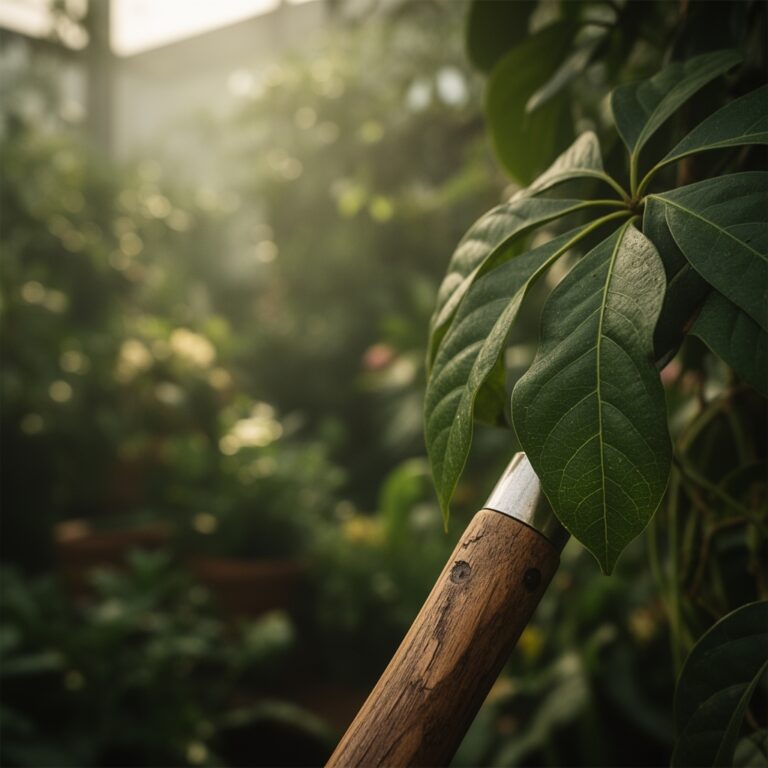
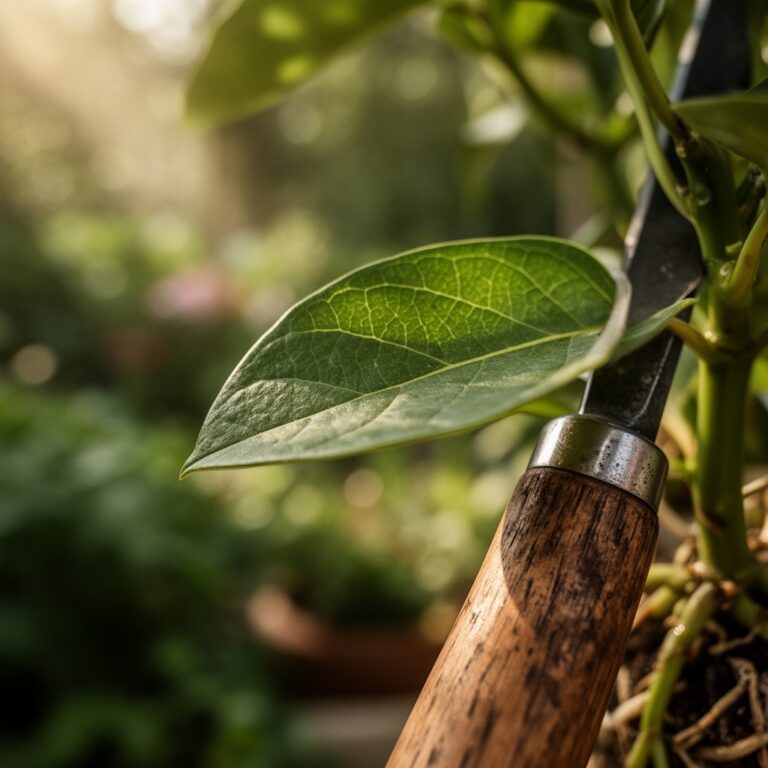
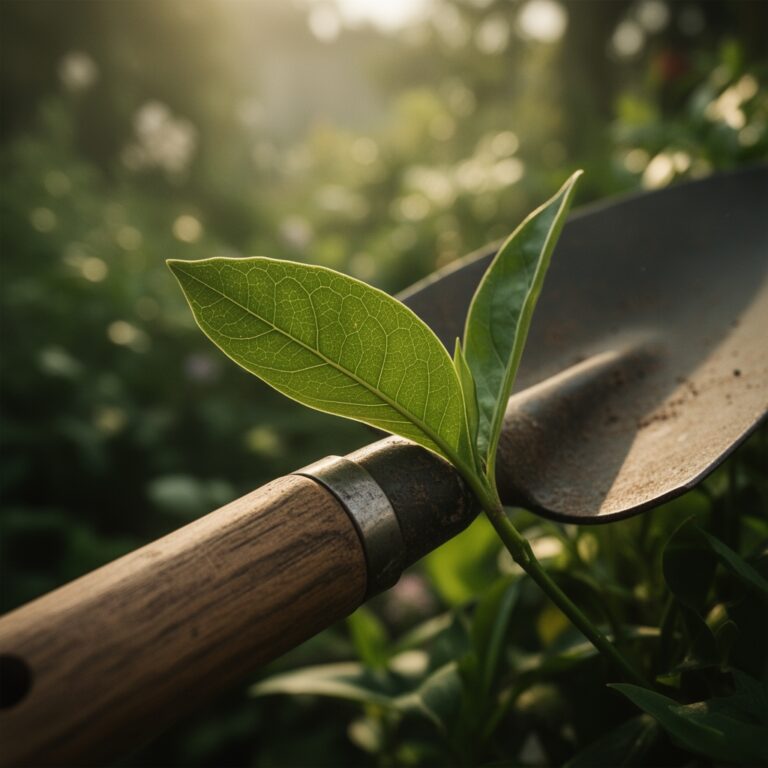
Select a magnifying glass with 10x to 20x magnification and a lens diameter of at least 25mm for field use. Models with built-in LED illumination reveal cryptic pests hiding in trichome forests and under bud scales. Pair the lens with a white acrylic observation tray (6 inches square) to create contrast when examining fallen insects or excised tissue. Maintain a field notebook with pH-calibrated paper (4.0 to 8.0 range) to document substrate conditions alongside pest presence. Apply a foliar nutrient solution at 4-4-4 NPK ratio using fish emulsion and kelp meal to support plant vigor during diagnostic sampling. Keep isopropyl alcohol (70% concentration) in a dropper bottle to immobilize fast-moving pests like aphids or flea beetles for closer examination. Use soft camel-hair brushes (size 00) to transfer specimens without crushing delicate anatomical features needed for identification.
Timing
Conduct magnified inspections weekly from hardiness zone last frost date through first fall frost. In USDA Zone 5, begin monitoring by May 15 when soil temperatures reach 55°F and overwintering pest eggs begin hatching. Zone 7 growers should start April 1 to catch early generations of whiteflies emerging as photoperiod extends past 12 hours. Peak pest pressure coincides with auxin distribution shifts during active shoot elongation, typically 4 to 6 weeks post-transplant for annuals and during flush cycles in perennials. Schedule inspections during morning hours between 7:00 and 10:00 AM when dew magnifies pest frass and honeydew secretions become visible as reflective droplets. Avoid midday examinations when leaf surfaces generate heat distortion under magnification.
Phases

Sowing Phase: Examine seed coats at 20x magnification for fungal hyphae or bacterial slime before planting. Surface sterilize affected seeds in 10% bleach solution for 2 minutes. Inspect germinating radicles daily for root maggot larvae, visible as translucent white segments 1 to 2mm long. Apply mycorrhizal fungi inoculant (Glomus intraradices at 300 spores per gram) to colonize root tips and enhance nutrient uptake via increased cation exchange capacity.
Pro-Tip: Dip the magnifying lens in distilled water before examining wet seed. The water film eliminates air-glass refraction artifacts that obscure fine fungal structures.
Transplanting Phase: Check transplant root balls for root aphids, identified by their powdery white wax coating visible at 15x magnification. Inspect stem-soil interface for cutworm larvae hiding in the top 0.5 inches of substrate. Examine leaf undersides for whitefly nymphs, which appear as translucent oval scales 0.3mm across with waxy marginal filaments. Prune damaged roots at 45-degree angles to maximize cambium exposure and auxin flow to wound sites.
Pro-Tip: Place the white observation tray under foliage and tap stems sharply three times. Adult thrips and spider mites dislodge and become visible against the contrasting background for counting.
Establishing Phase: Monitor new growth for aphid colonies clustered on apical meristems. Magnification reveals the twin cornicles (exhaust pipes) projecting from aphid abdomens, distinguishing them from scale insects. Search for lace bug nymphs on leaf undersides, identified by their spiny exoskeletons and dark frass deposits. Inspect flower buds for western flower thrips, detectable by their elongated bodies (1 to 1.5mm) and fringed wings visible at 20x power.
Pro-Tip: Apply neem oil at 2 tablespoons per gallon during evening hours. The oil suffocates soft-bodied insects while preserving hard-shelled beneficials like lady beetles.
Troubleshooting
Symptom: Silvery stippling on leaves with fine webbing visible at magnification.
Solution: Two-spotted spider mites confirmed. Spray with insecticidal soap (potassium salts of fatty acids at 2% concentration) targeting leaf undersides. Maintain relative humidity above 50% to suppress egg viability.
Symptom: Sticky honeydew on foliage with black sooty mold. Magnification shows white waxy insects 2 to 3mm long.
Solution: Mealybug infestation. Apply horticultural oil at 2% summer rate to smother adults. Release Cryptolaemus montrouzieri beetles at 5 per plant for biological control.
Symptom: Yellowing leaf margins with tiny black fecal specks visible at 10x magnification.
Solution: Flea beetle feeding damage. Dust plants with kaolin clay (95% purity) to create physical feeding deterrent. Row covers prevent adult colonization.
Symptom: Brown necrotic spots with yellow halos. Magnification reveals no insects but shows bacterial ooze.
Solution: Bacterial leaf spot, not pest-related. Remove affected tissue. Spray copper hydroxide at 1.5 pounds per 100 gallons. Improve air circulation to 2 to 3 mph.
Maintenance
Inspect plants every 7 days using the magnifying glass to detect population increases before damage becomes visible to the naked eye. Water at soil level to maintain consistent moisture at 1 inch per week, preventing drought stress that attracts spider mites. Apply balanced fertilizer at 5-5-5 NPK every 14 days to support cuticle thickness and reduce phloem sugar concentrations that attract aphids. Clean magnifying lens with microfiber cloth after each session to prevent spore transfer between plants. Store the lens in a protective case away from direct sunlight to prevent optical degradation.
FAQ
What magnification strength works best for garden pest identification?
A 10x magnifying glass reveals most pest anatomical features. Upgrade to 20x for mite identification or egg mass examination.
Can I use my phone camera instead of a magnifying glass?
Phone macro lenses work for photography but lack the real-time scanning capability needed to follow moving insects across leaf surfaces.
How do I differentiate beneficial insects from pests under magnification?
Check mouthpart structure. Predatory insects have piercing mandibles. Pest insects show rasping or sucking mouthparts adapted for plant tissue.
When should I escalate from magnified inspection to laboratory diagnosis?
Send samples to extension services when magnification reveals unfamiliar morphology or when multiple control attempts fail despite correct pest identification.
Does magnification help detect disease pathogens?
A hand lens reveals fungal fruiting bodies and bacterial ooze but cannot resolve individual pathogen cells. Laboratory microscopy at 400x is required for definitive identification.