8 Steps to Prepare a Spring Potting Bench
The sharp scent of damp humus and the high turgor pressure of a hardening seedling signal the start of the production cycle. Success in the greenhouse begins with mechanical efficiency and sterile conditions. Learning how to prepare a potting bench for a busy season requires more than just clearing clutter; it demands a systematic approach to substrate chemistry and ergonomic workflow. A disorganized workspace leads to cross-contamination and delayed transplanting, which can stunt root development during the critical vegetative growth phase.
Materials:
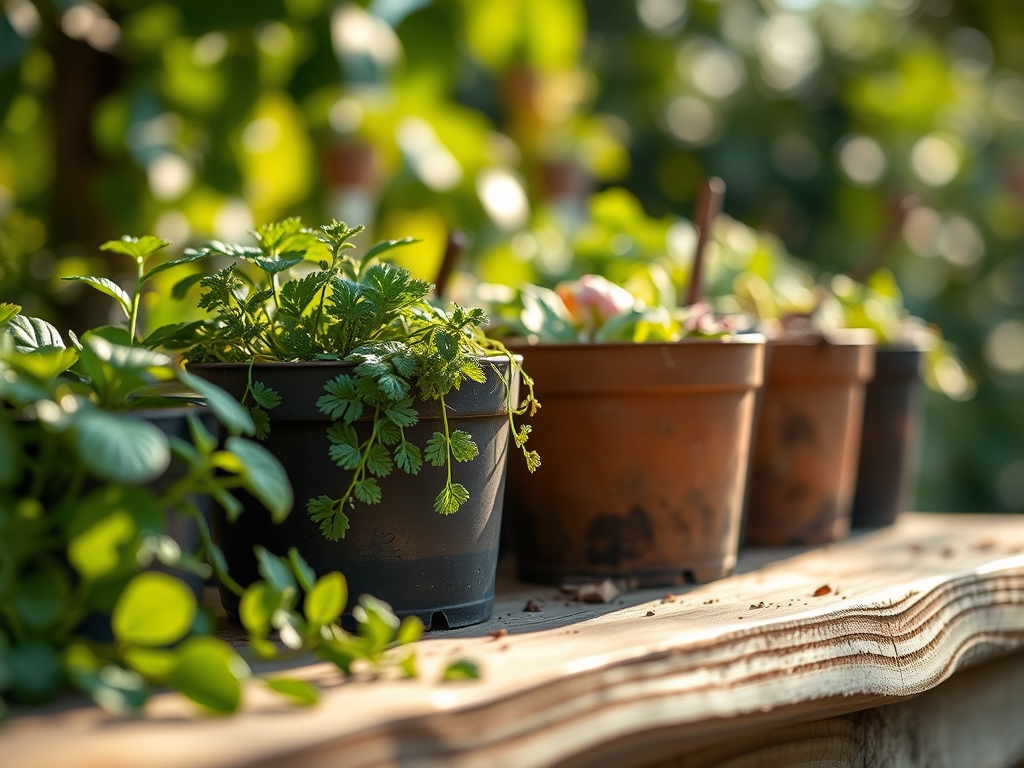
Substrate selection is the foundation of the potting bench. For general propagation, secure a **friable loam** with a high **Cation Exchange Capacity (CEC)** to ensure nutrient retention. The ideal potting medium should maintain a **pH between 5.8 and 6.5** to optimize nutrient availability. Stock your bench with three distinct NPK formulations. Use a **10-30-10 (High Phosphorus)** starter fertilizer for root initiation in seedlings. Maintain a **20-20-20 (Balanced)** water-soluble feed for general vegetative growth. Keep a **5-10-15 (High Potassium)** blend for woody perennials and flowering stage transitions. Ensure you have coarse perlite or vermiculite on hand to adjust porosity; a **20 percent air-filled porosity** is the baseline for preventing anaerobic conditions in the rhizosphere.
Timing:
The biological clock for spring preparation is dictated by your local frost-free date. In Hardiness Zones 5 through 7, bench preparation must be finalized at least six weeks before the last predicted frost. This window allows for the stratification of seeds and the gradual acclimation of overwintered stock. As the photoperiod extends beyond 12 hours, plants transition from dormancy to active vegetative states. Monitoring the soil temperature is critical; most temperate species require a consistent 65 to 70 degrees Fahrenheit for optimal germination. If the bench is located in an unheated structure, integrate bottom-heat mats to maintain these thermal thresholds regardless of ambient air fluctuations.
Phases:
Sowing
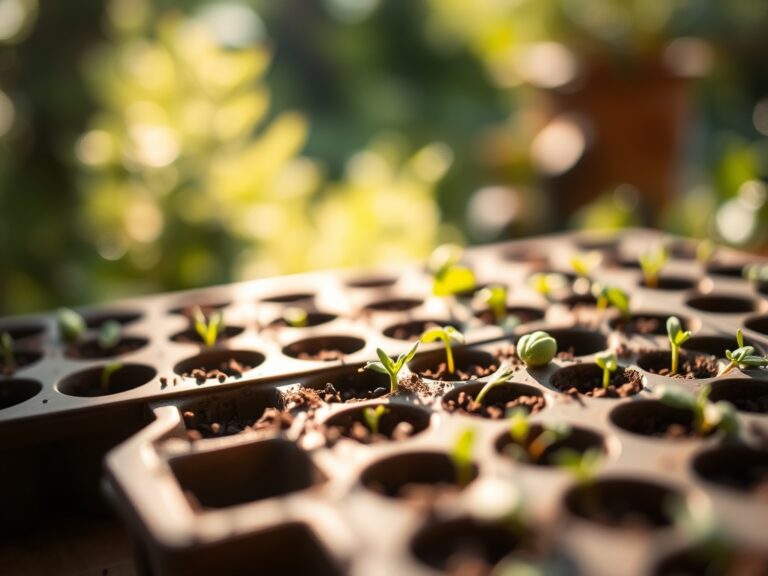
Sterilize all seed trays using a 10 percent bleach solution to eliminate pathogens like Pythium. Fill cells with a fine-textured, peat-based or coconut coir starting mix. Sow seeds at a depth equal to twice their diameter. Maintain high humidity until the first true leaves emerge.
Pro-Tip: Monitor the phototropic response. If seedlings lean aggressively toward a light source, increase intensity or decrease distance to the light. This prevents "leggy" growth by managing auxin distribution in the stem, ensuring a stout, resilient primary stalk.
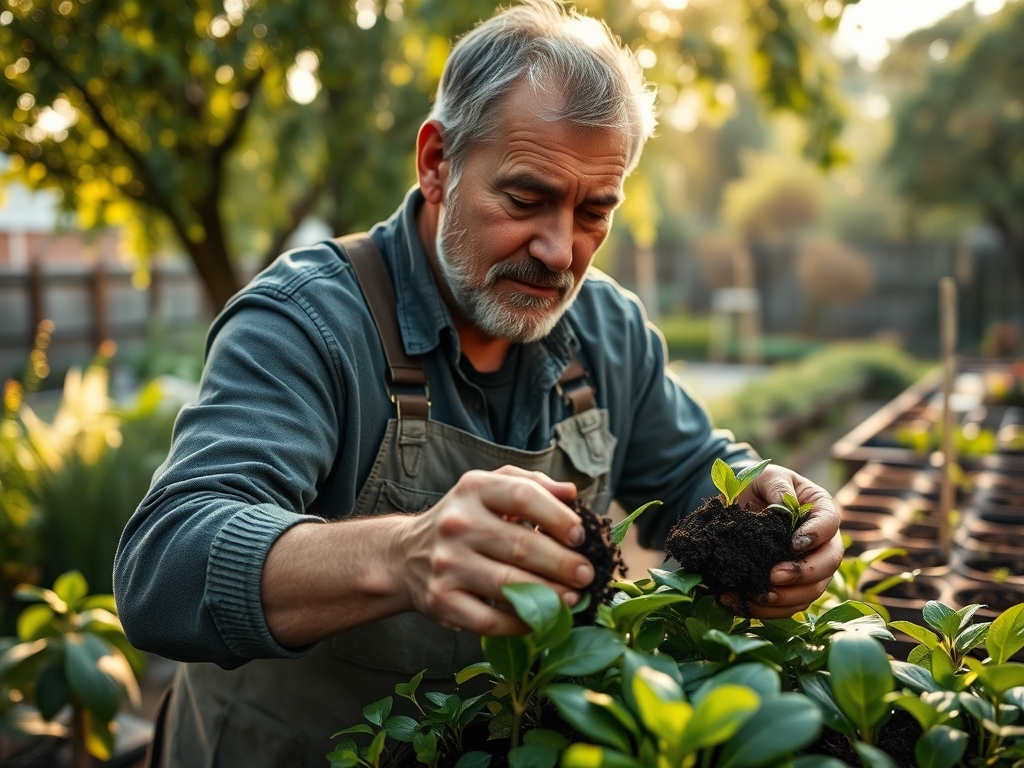
Transplanting
Move seedlings to larger vessels once the root mass occupies 75 percent of the current container volume. This prevents the plant from becoming root-bound, which can lead to permanent vascular restriction. Handle plants by the leaf or the root ball, never the stem, to avoid crushing the xylem and phloem tissues.
Pro-Tip: Inoculate the root zone with mycorrhizal fungi during transplanting. This symbiotic relationship extends the effective surface area of the root system, significantly increasing the uptake of phosphorus and micronutrients in the rhizosphere.
Establishing
After transplanting, place pots in a location with controlled airflow to encourage transpiration. Use a soil moisture meter to ensure the substrate remains at a "field capacity" of approximately 60 to 70 percent. Avoid saturation, which displaces oxygen and leads to root senescence.
Pro-Tip: Implement a "soft pinch" on the apical meristem of branching species. This suppresses apical dominance and redirects auxins to lateral buds, resulting in a fuller, more structurally sound plant architecture.
The Clinic:
Physiological disorders often mimic infectious diseases. Accurate diagnosis requires a systematic review of environmental variables and nutrient inputs.
Symptom: Interveinal chlorosis on new growth (yellowing between green veins).
Solution: This typically indicates an Iron (Fe) deficiency, often caused by a high substrate pH.
Fix-It: Lower the pH using an acidifying agent or apply chelated iron to bypass soil lockout.
Symptom: Purpling of the underside of older leaves.
Solution: This is a classic sign of Phosphorus (P) deficiency, frequently exacerbated by cold soil temperatures below 55 degrees Fahrenheit.
Fix-It: Increase the bench temperature or apply a high-phosphorus liquid feed.
Symptom: Tip burn on young foliage.
Solution: This suggests Calcium (Ca) deficiency or localized "salt burn" from over-fertilization.
Fix-It: Ensure consistent irrigation to facilitate calcium transport through transpiration and flush the soil with clear water to reduce Electrical Conductivity (EC) levels.
Maintenance:
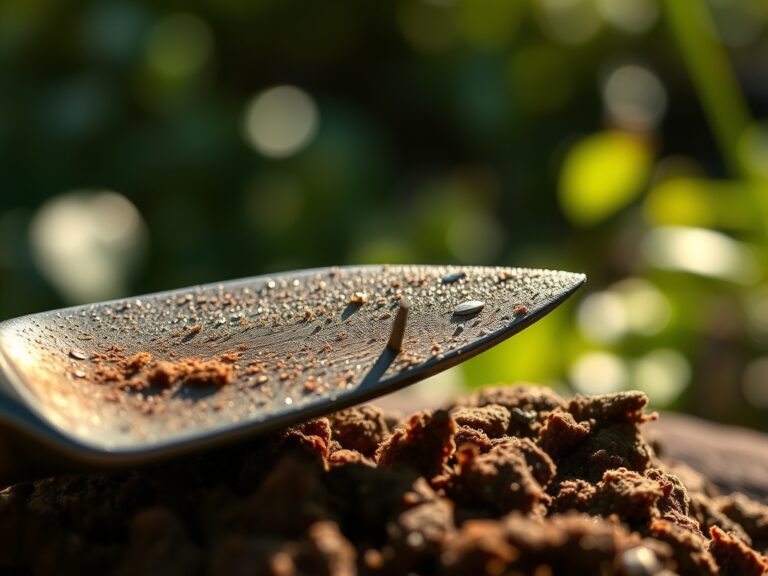
A professional potting bench requires daily calibration. Clean your bypass pruners and hori-hori knife with isopropyl alcohol after every use to prevent the mechanical transmission of viruses. Monitor irrigation closely; most container-grown plants require approximately 1.5 inches of water per week, delivered directly to the substrate at the drip line to keep the foliage dry. Use a soil moisture meter to verify that the core of the root ball is receiving hydration. If the substrate pulls away from the edge of the pot, it has become hydrophobic; submerge the pot in a water bath for 20 minutes to restore moisture tension.
The Yield:
For those growing herbs or cut flowers on the bench, timing the harvest is a matter of cellular chemistry. Harvest in the early morning when turgor pressure is at its peak and essential oil concentrations are highest. Use a sharp, sterilized blade to make a clean 45-degree cut, which maximizes the surface area for water uptake. For woody stems, immediately plunge the cut end into 110-degree Fahrenheit water to prevent air embolisms in the vascular system. This "hardening off" process ensures day-one freshness and extends the post-harvest life of the plant material.
FAQ:
How do I prevent damping-off on my potting bench?
Maintain strict sanitation by bleaching trays and providing high airflow. Use a sterile, well-draining medium and avoid overwatering. Ensure soil temperatures remain above 65 degrees Fahrenheit to promote rapid germination and strong cellular walls in young seedlings.
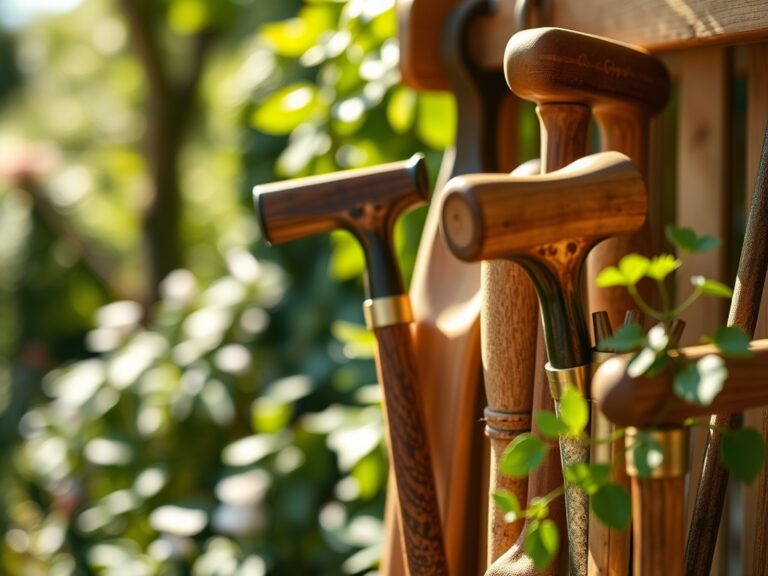
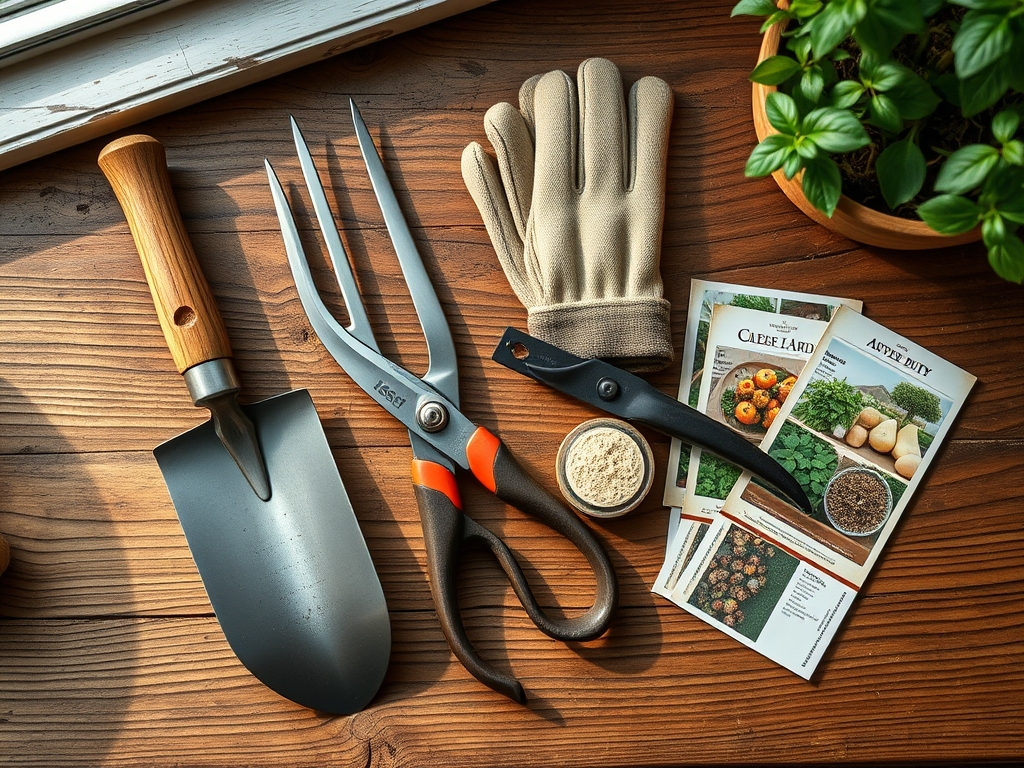
What is the best way to organize tools?
Store high-frequency tools like bypass pruners and hori-hori knives on a vertical magnetic strip. Keep a soil moisture meter and pH probes in a dedicated dry zone. Group amendments by NPK ratio to prevent application errors during the busy season.
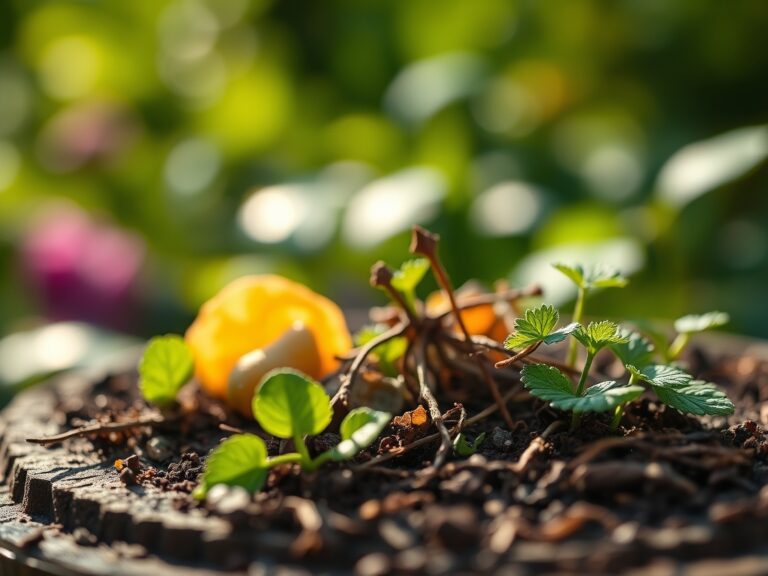
Can I reuse old potting soil?
Reusing soil is risky due to pathogen buildup and nutrient depletion. If necessary, solarize the soil to reach 140 degrees Fahrenheit for four weeks. Always amend with fresh compost to restore the Cation Exchange Capacity and microbial activity.
How do I know if my bench lighting is sufficient?
Seedlings that grow tall and thin are experiencing "etiolation" due to low light. Use a light meter to ensure a minimum of 20 to 30 moles of light per square meter per day for most sun-loving spring starts.