8 Integration Tips to Use a Garden Fork for Compost
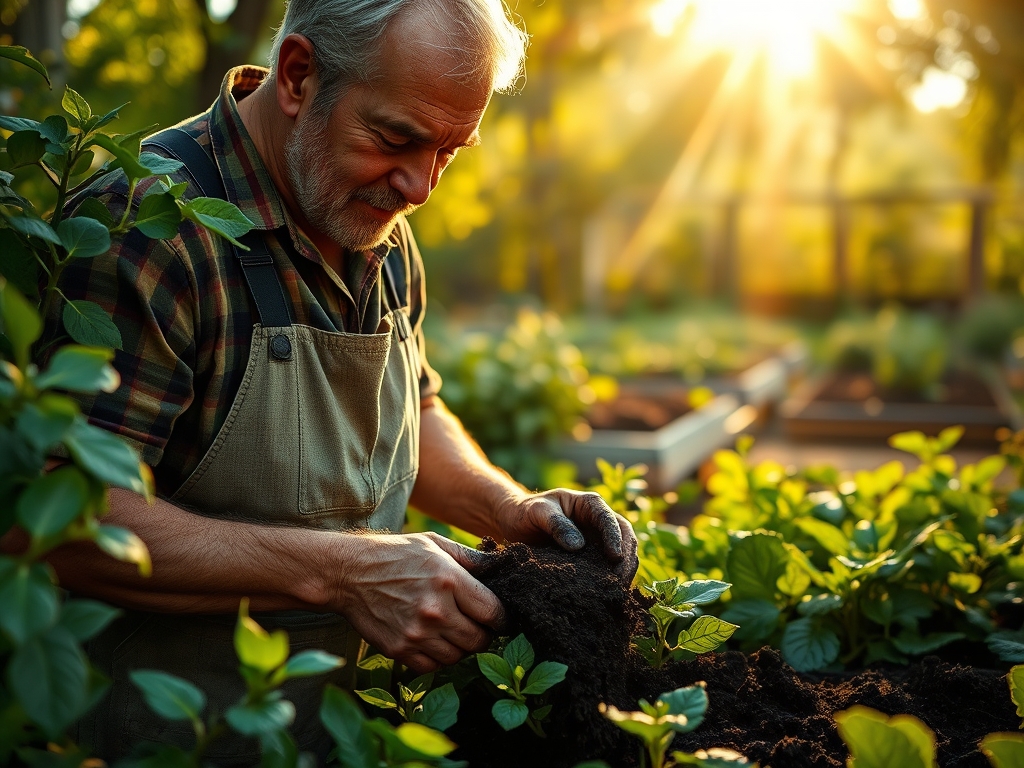
The scent of geosmin rises from the earth as the tines penetrate the surface; it is the olfactory signal of an active microbial community. Healthy vegetable production depends on the structural integrity of the rhizosphere. When the soil reaches a specific turgor pressure, the roots can push through the medium without exhausting the plant's energy reserves. Using a garden fork for vegetable soil turning is the most efficient method to maintain this balance. Unlike mechanical tillers that can pulverize soil aggregates and destroy fungal networks, a manual fork preserves the delicate pore spaces required for gas exchange. This ensures that oxygen reaches the root zone while carbon dioxide escapes, preventing the anaerobic conditions that lead to root rot and nutrient lockout. Successful cultivation begins with this physical intervention, ensuring the substrate is porous enough to allow for rapid water infiltration and deep root penetration during the early vegetative stages of growth.
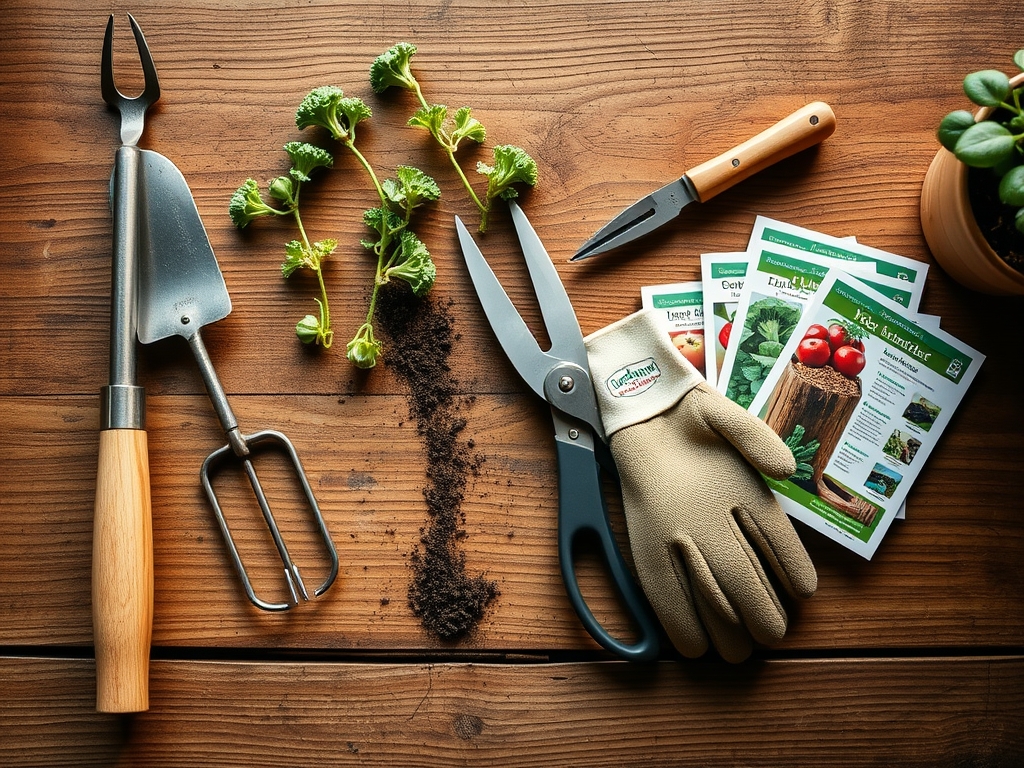
Materials:
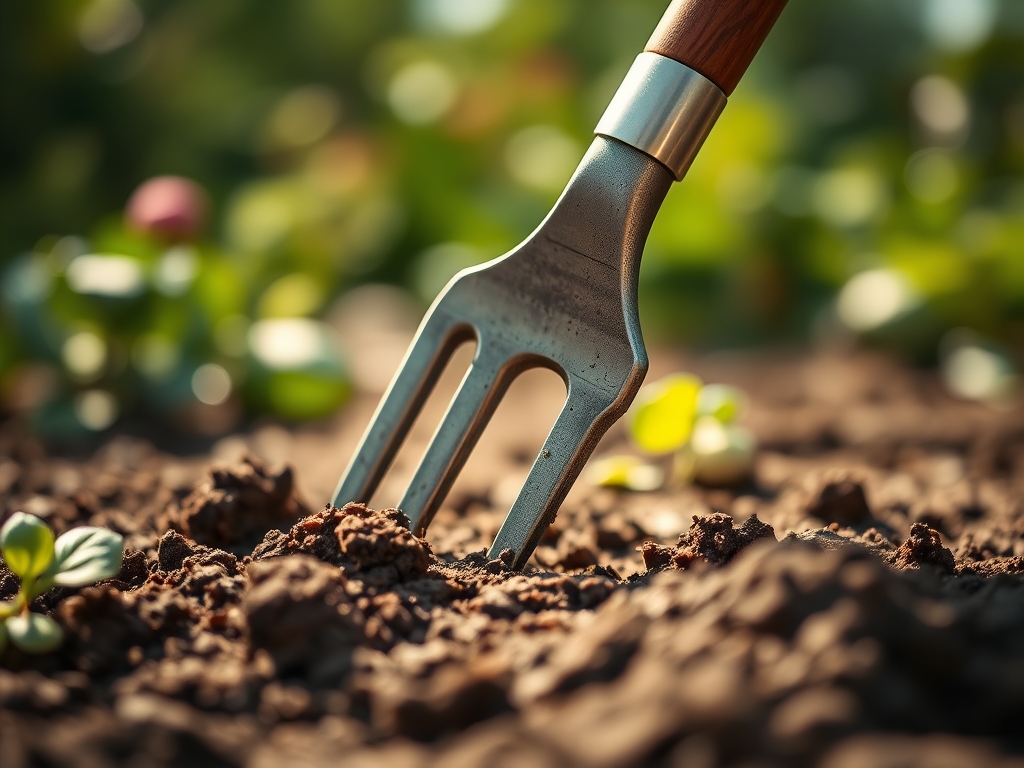
To optimize vegetable growth, the soil must be a **friable loam** with a **Cation Exchange Capacity (CEC)** between **15 and 25 meq/100g**. The target **pH level should sit between 6.2 and 6.8** for maximum nutrient bioavailability. Before turning the soil, ensure your compost reflects a balanced nutrient profile. For leafy greens, aim for an **NPK ratio of 10-5-5**. For fruiting crops like tomatoes or peppers, a **5-10-10 ratio** is superior to prevent excessive foliage at the expense of fruit. The physical substrate should consist of **45 percent minerals, 25 percent water, 25 percent air, and 5 percent organic matter**. A heavy-duty forged steel garden fork with four square tines is the standard tool for this task; it provides the leverage necessary to lift heavy clay without bending the equipment.
Timing:
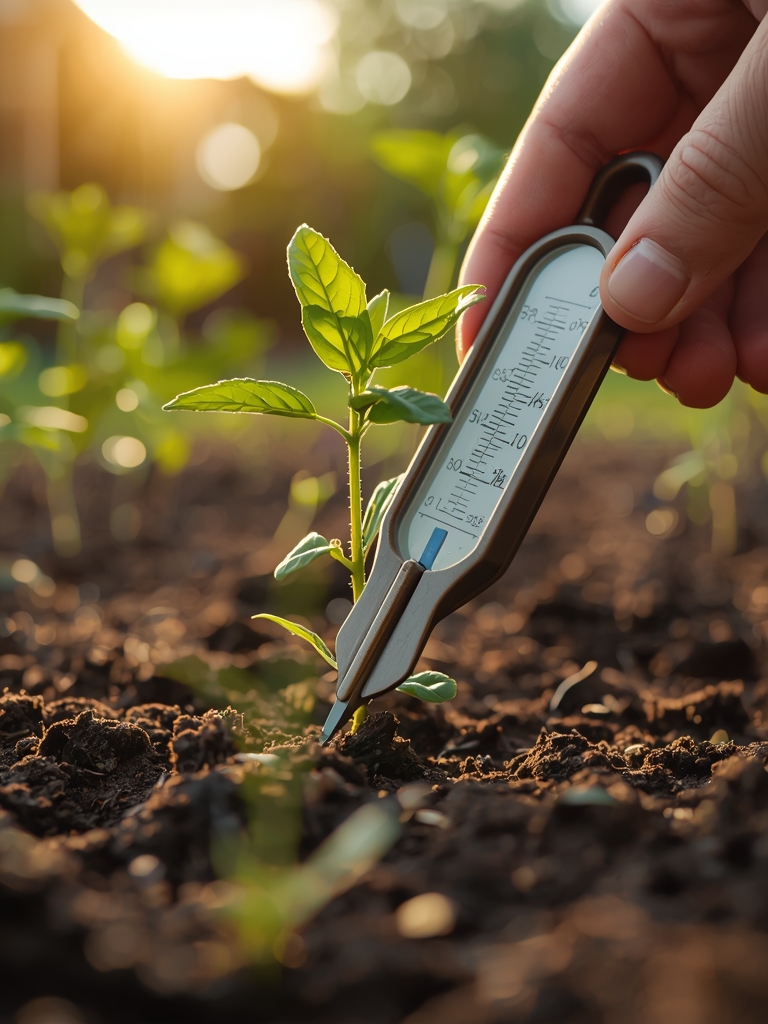
In Hardiness Zones 5 through 7, the window for soil preparation opens when the soil temperature consistently reaches 50 degrees Fahrenheit (10 degrees Celsius). Use a soil thermometer to verify this; working frozen or saturated soil will lead to irreversible compaction and "clodding." The biological clock of the garden is dictated by the transition from dormancy to the vegetative phase. You must complete your soil turning at least two weeks before the last frost date to allow the soil life to stabilize after the disturbance. This period allows the mycorrhizal fungi to re-establish connections before the first transplants are introduced. If you observe the emergence of hardy weeds like chickweed or henbit, the soil is biologically active enough for manual integration.
Phases:
Sowing
Before direct-seeding, use the fork to incorporate 2 inches of finished compost into the top 6 inches of the soil profile. Insert the fork vertically and pull the handle back at a 45-degree angle to lift and crack the earth. Do not flip the soil completely; this preserves the vertical stratification of aerobic and anaerobic microbes.
Pro-Tip: Minimizing soil inversion protects the mycorrhizal symbiosis. These fungi extend the reach of the root system by up to 100 times, allowing the plant to access phosphorus that is otherwise chemically bound to soil particles.
Transplanting
When moving seedlings from the greenhouse to the field, use the fork to loosen a radius three times the width of the root ball. This reduces mechanical resistance for the young primary roots. Ensure the soil is moist but not saturated to prevent the "bathtub effect" where water sits in the hole and suffocates the plant.
Pro-Tip: Loosening the surrounding soil encourages lateral root expansion. This prevents the plant from becoming root-bound in the planting hole and promotes the even distribution of auxins, the hormones responsible for root elongation and apical dominance.
Establishing
Once the plants reach the mid-vegetative stage, use the fork to gently aerate the paths and edges of the beds. This counteracts the compaction caused by foot traffic and ensures that irrigation water moves vertically toward the capillary fringe rather than running off the surface.
Pro-Tip: Periodic aeration prevents senescence in early summer by ensuring the roots have constant access to oxygen. High oxygen levels in the soil facilitate the active transport of ions across root membranes, a process that requires significant cellular energy.
The Clinic:
Physiological disorders often stem from poor soil structure or chemical imbalances.
-
Symptom: Blossom End Rot. This appears as a dark, leathery patch on the bottom of tomatoes.
-
Solution: This is caused by a Calcium deficiency, often triggered by inconsistent moisture. Use the fork to integrate bone meal or gypsum into the soil and ensure even watering to facilitate Calcium transport.
-
Symptom: Interveinal Chlorosis. The veins of the leaf remain green while the tissue between them turns yellow.
-
Solution: This typically indicates a Magnesium or Iron deficiency. Check the pH level; if it is above 7.0, these micronutrients become insoluble. Use the fork to incorporate sulfur to lower the pH.
-
Symptom: Stunted Growth with Purple Leaves. This is common in cool, wet springs.
-
Solution: This is a classic Phosphorus deficiency. Cold soil inhibits Phosphorus uptake. Use the fork to aerate the soil, which helps it warm up faster and stimulates microbial activity to release bound Phosphorus.
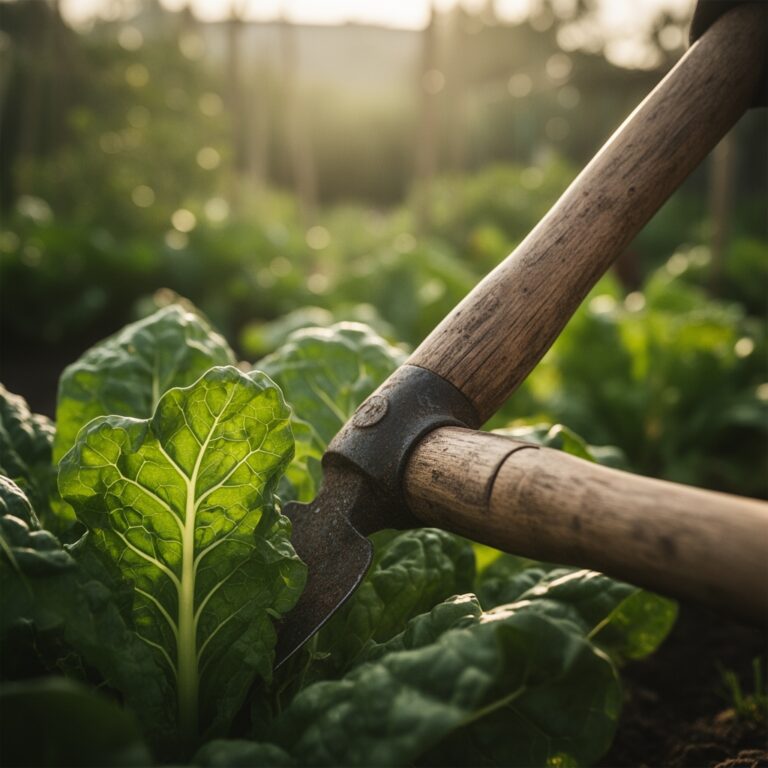
Fix-It for Nitrogen Chlorosis: If the entire leaf turns pale yellow, the plant lacks Nitrogen. Apply a high-Nitrogen liquid fertilizer (like fish emulsion) and use a hori-hori knife to slit the soil surface, allowing the nutrients to reach the root zone immediately.
Maintenance:
Precision is required for high-yield systems. Provide exactly 1.5 inches of water per week at the drip line; use a soil moisture meter to ensure the moisture has penetrated 8 inches deep. Check the sharpness of your bypass pruners weekly; dull blades crush vascular tissue and invite pathogens. When using a hori-hori knife for weeding, ensure you are removing the entire taproot of perennial weeds to prevent regrowth. Clean your garden fork after every use with a wire brush and coat the steel in linseed oil to prevent oxidation.
The Yield:
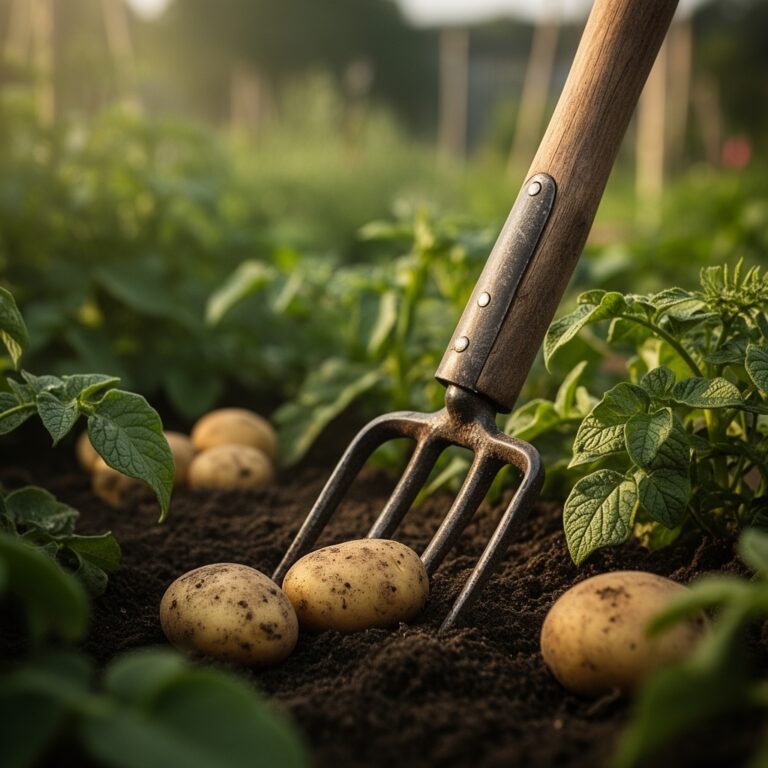
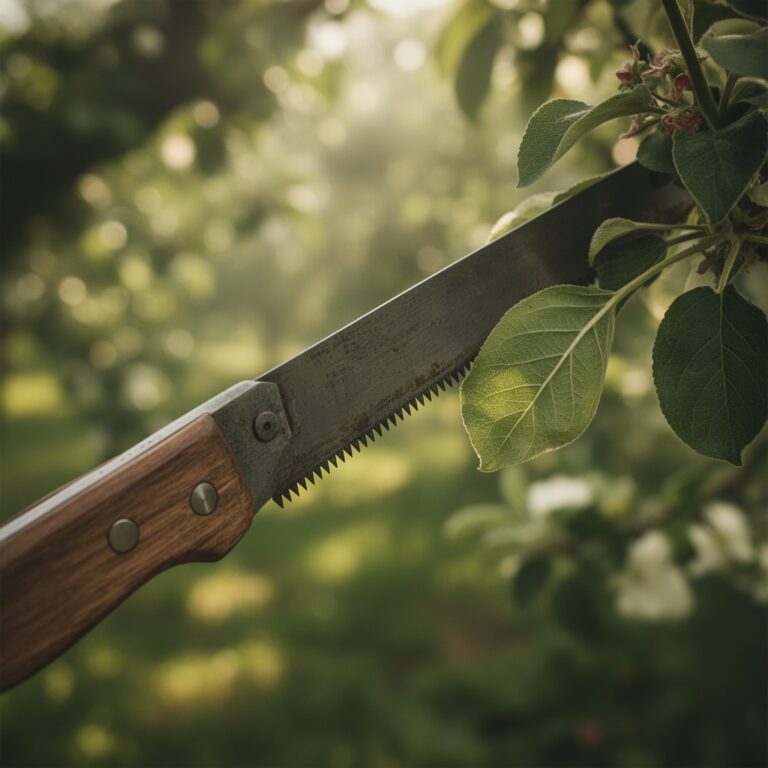
Harvesting should occur during the "cool of the day," typically between 5:00 AM and 8:00 AM, when turgor pressure is at its peak. For root crops, use the garden fork to loosen the soil 6 inches away from the plant base before lifting. This prevents mechanical bruising of the crop. For leafy greens, use a sharp blade to make a clean cut, leaving 1 inch of the crown for "cut and come again" varieties. To maintain "day-one" freshness, immediately submerge harvested produce in 40-degree Fahrenheit water to remove field heat and slow the rate of respiration.
FAQ:
How deep should I turn the soil?
Aim for a depth of 8 to 12 inches. This covers the primary root zone for most vegetables. Deep turning facilitates better drainage and allows for the deep placement of organic matter where it can undergo slow decomposition.
Can I use a garden fork in heavy clay?
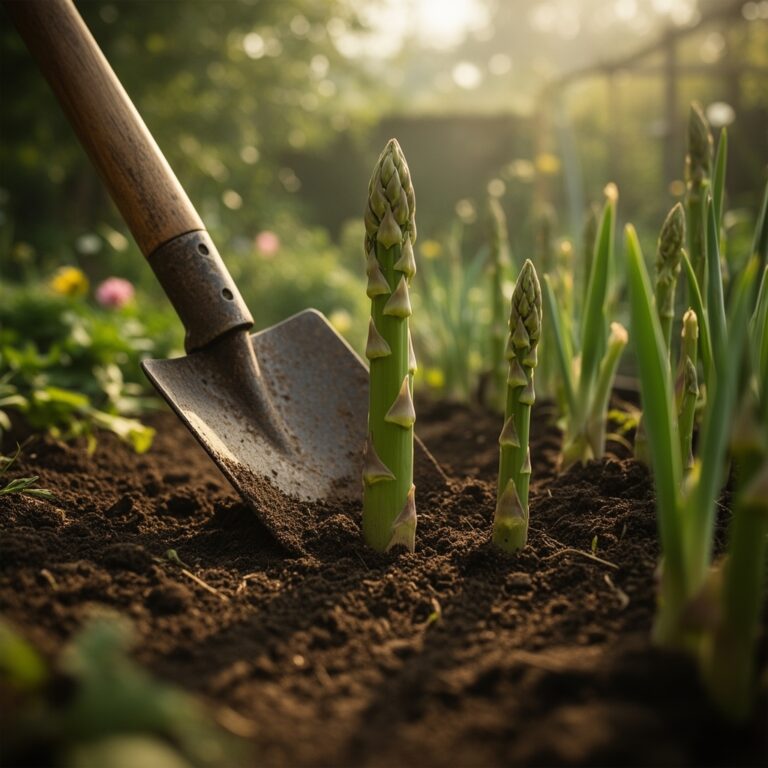
Yes, the garden fork is the superior tool for clay. The narrow tines penetrate the dense structure more easily than a solid shovel blade. It breaks the clay into smaller aggregates without creating a "hardpan" layer underneath.
How often should I add compost with the fork?
Incorporate 2 inches of compost twice per year. Perform the first integration in early spring before planting and the second in autumn after the final harvest. This maintains a consistent 5 percent organic matter threshold.
Is it possible to over-turn the soil?
Yes, excessive turning can accelerate the oxidation of organic matter and disrupt the soil food web. Limit aggressive turning to once per season. Use "broadforking" techniques for mid-season aeration to minimize structural damage to the soil.