8 Crucial Steps for Treating Houseplant Root Rot
Root rot announces itself through yellowing leaves and a foul, earthy smell that signals anaerobic decay below the soil line. The stems soften near the base, and when you lift the pot, blackened roots slide apart like wet tissue paper. These symptoms demand immediate intervention. The steps for treating root rot in houseplants begin the moment you identify mushiness in the root zone, as delay allows Pythium and Phytophthora species to colonize healthy tissue. Every hour matters when oxygen-starved roots shift from respiration to fermentation.
Materials
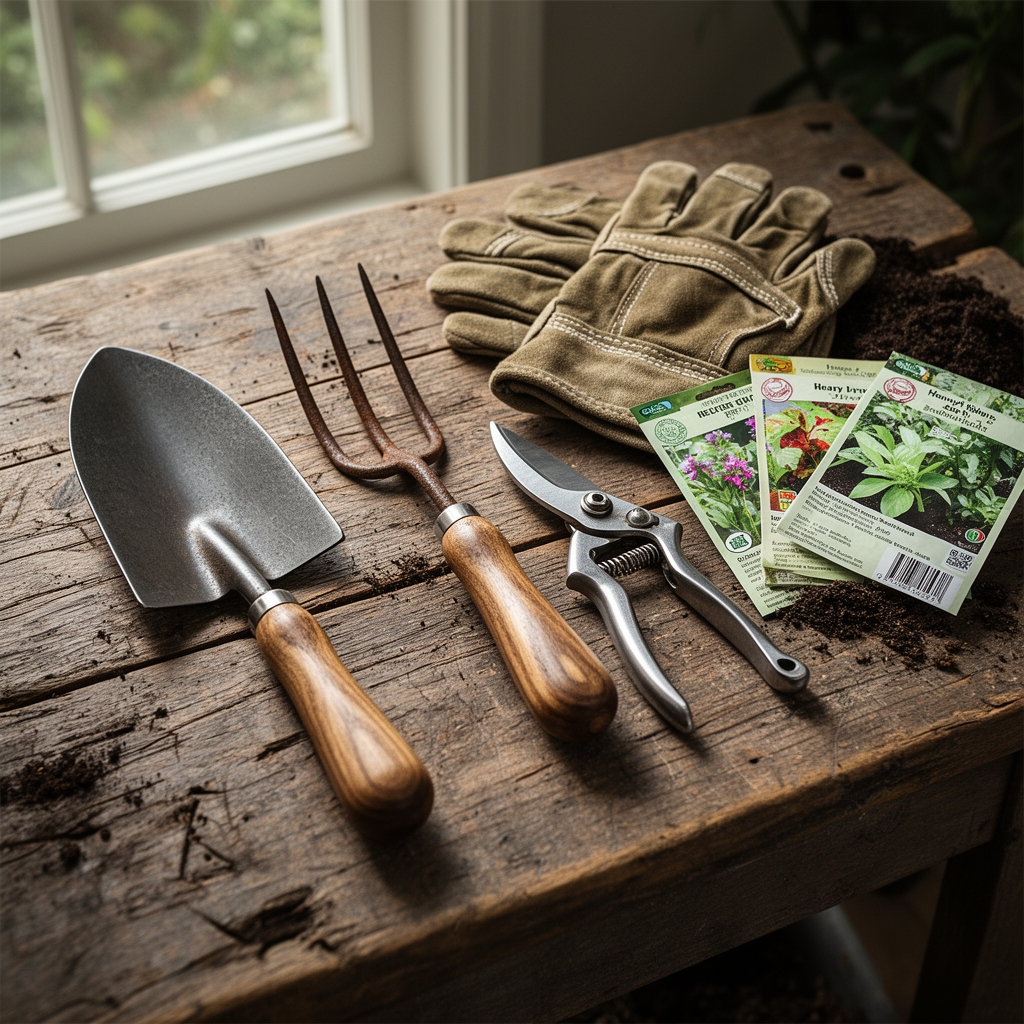
Gather sterilized pruning shears, hydrogen peroxide (3% solution), fresh potting medium with a cation exchange capacity above 10 meq/100g, and a clean container with drainage holes at least 0.5 inches in diameter. Select a substrate blend containing perlite or pumice at 30-40% volume to ensure macropore space for oxygen diffusion. Incorporate a 4-4-4 organic fertilizer or a balanced 10-10-10 synthetic formulation at half strength to avoid nitrogen burn on compromised roots. A pH meter calibrated to 6.0-6.5 ensures optimal nutrient availability for most tropical houseplants. Mycorrhizal inoculant containing Glomus species supports root regeneration by extending phosphorus uptake beyond damaged zones. Rubbing alcohol (70% isopropyl) sterilizes cutting tools between cuts to prevent cross-contamination. A spray bottle filled with diluted hydrogen peroxide (1 part peroxide to 4 parts water) serves as both a root wash and soil drench.
Timing
Root rot treatment proceeds independently of hardiness zones because houseplants occupy controlled environments. However, ambient temperature influences recovery rates. Initiate treatment when daytime temperatures stabilize between 65-75°F, as root cell division slows below 60°F and stress compounds above 80°F. Spring months (March through May in USDA Zones 5-9) align with natural growth cycles, providing auxin distribution patterns that favor rapid root regeneration. Avoid treatment during winter dormancy when metabolic rates drop by 40-60%. If rot appears in December or January, maintain survival mode with minimal watering until February, then proceed with full intervention as photoperiod extends past 11 hours.
Phases
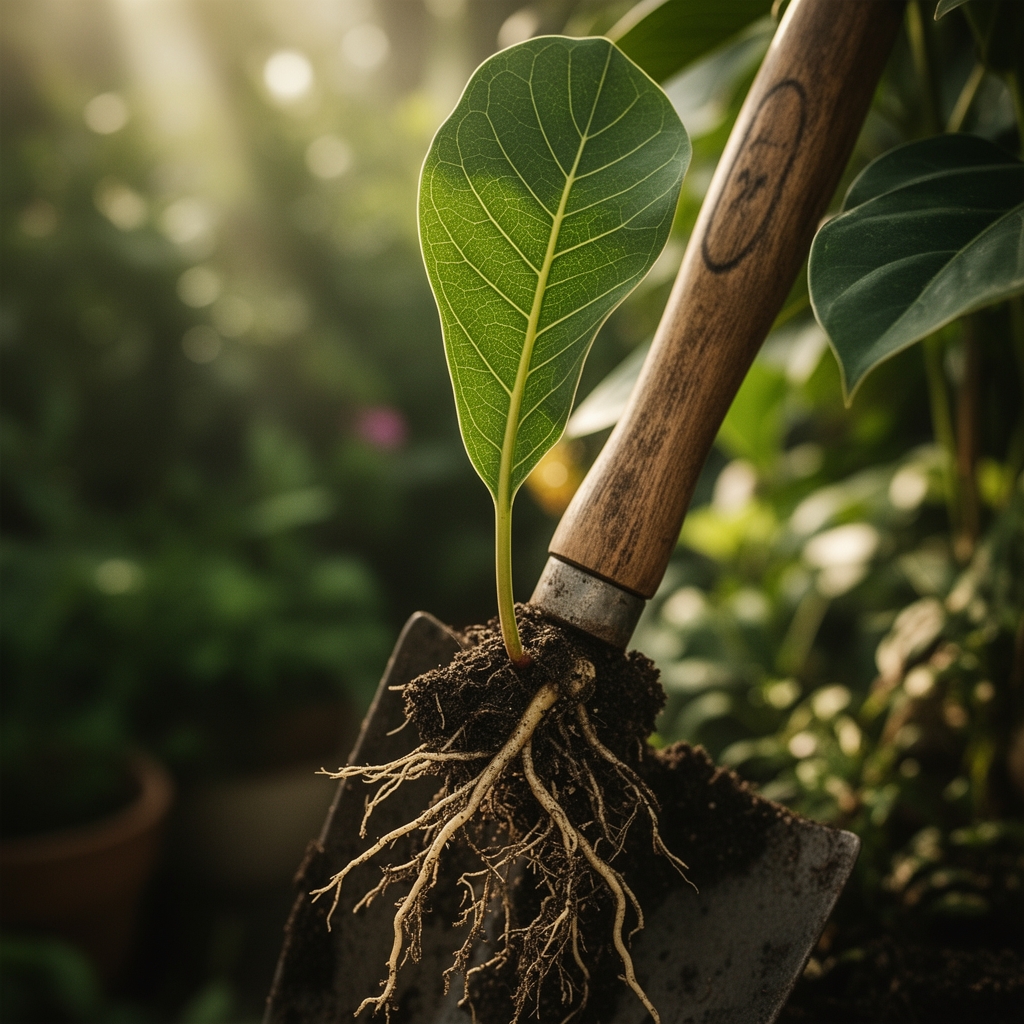
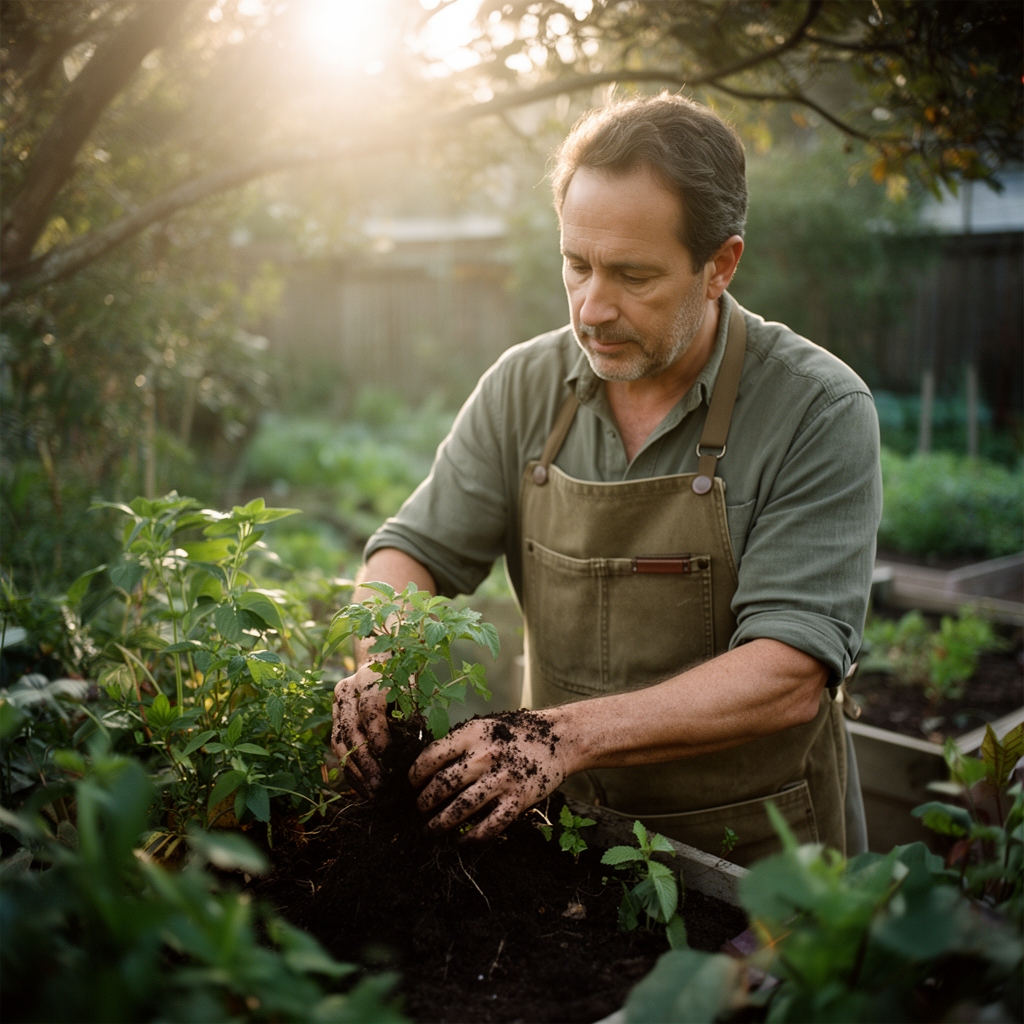
Step 1: Removal and Assessment
Extract the plant from its container and shake away loose substrate. Inspect root architecture under bright light, identifying black, brown, or translucent roots versus firm white or tan healthy tissue. Note the percentage of compromised roots. If damage exceeds 70%, consider propagation from stem cuttings as primary rescue strategy.
Pro-Tip: Rinse roots under lukewarm running water (68-72°F) to expose hidden decay pockets where Pythium oospores persist.
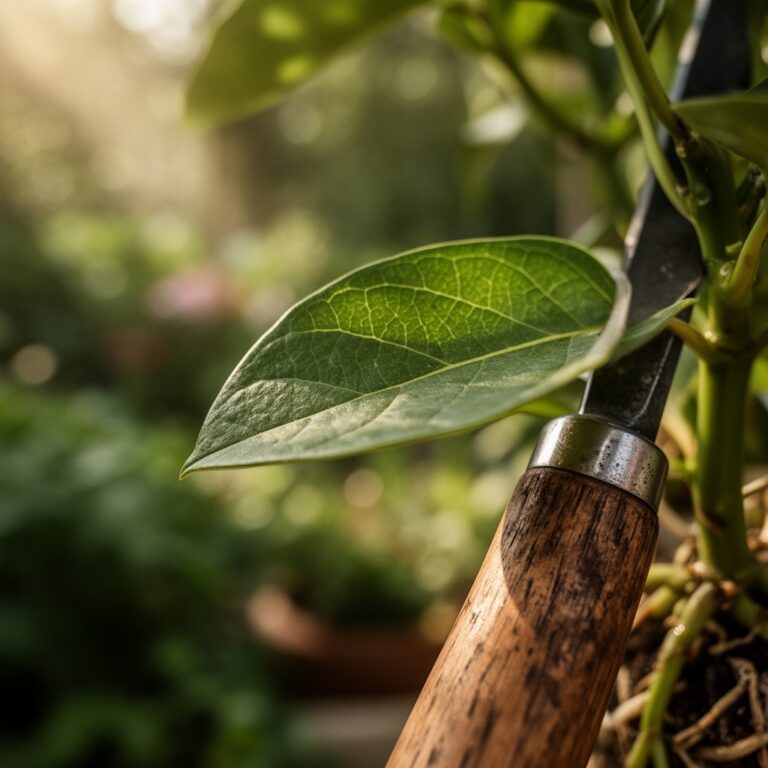
Step 2: Surgical Excision
Sterilize shears with alcohol, then cut away all discolored roots at 45-degree angles to maximize surface area for callus formation. Remove roots back to healthy white tissue, even if this means eliminating 80% of the root ball. Each cut should be clean, not crushed, to prevent additional cell damage.
Pro-Tip: Dust cut surfaces with cinnamon powder (containing cinnamaldehyde) as a natural antifungal before potting.
Step 3: Hydrogen Peroxide Soak
Submerge the trimmed root ball in a 1:4 hydrogen peroxide solution for 10 minutes. The solution releases oxygen radicals that oxidize anaerobic pathogens and decompose organic debris. Bubbling indicates active oxidation of decaying matter.
Step 4: Container Sterilization
Discard old potting mix entirely. Scrub the previous container with a 10% bleach solution (1 part bleach to 9 parts water) and rinse thoroughly. Allow to air-dry for 30 minutes. Alternatively, use a new terracotta or plastic pot with multiple drainage holes.
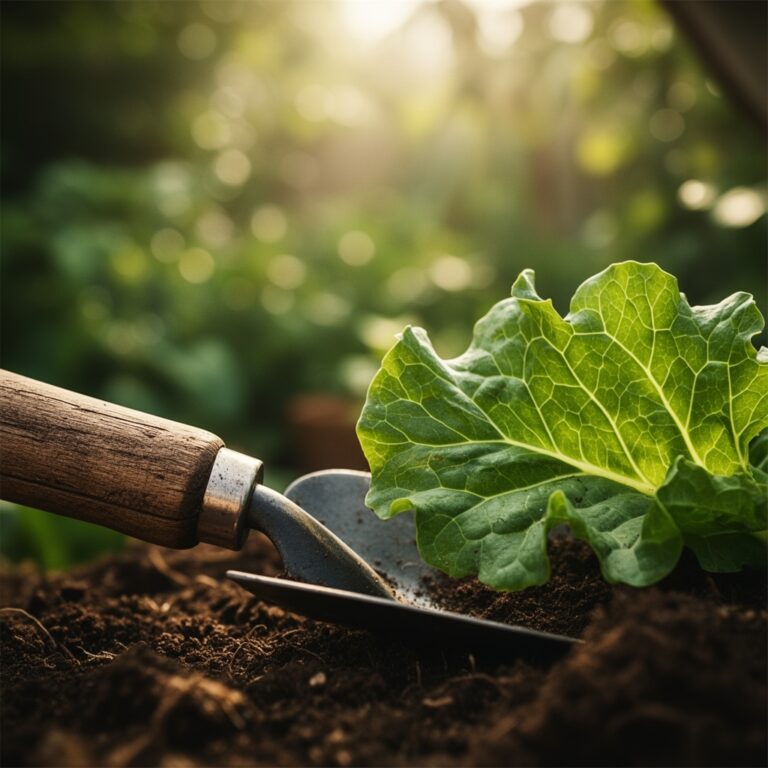
Step 5: Replanting Protocol
Fill the container one-third with fresh, slightly moist substrate. Position the plant so the root crown sits 0.5 inches below the rim. Backfill around roots without compressing the medium; gentle settling preserves air channels. Apply mycorrhizal inoculant directly onto trimmed root surfaces before covering.
Pro-Tip: Water with a dilute seaweed extract solution (1 tablespoon per gallon) to provide cytokinins that stimulate lateral root initiation.
Step 6: Environmental Adjustment
Place the recovering plant in bright, indirect light (200-400 foot-candles) at 68-74°F. Avoid direct sun, which increases transpiration demand beyond the reduced root system's capacity. Maintain humidity between 50-60% using a pebble tray or room humidifier.
Step 7: Modified Irrigation
Water only when the top 2 inches of substrate feel dry to touch. Provide 1/4 cup of water per 6-inch pot, increasing gradually as new roots emerge. Overwatering at this stage reinitiates anaerobic conditions.
Step 8: Monitoring and Supplementation
Inspect weekly for new white root tips visible at drainage holes (typically 14-21 days post-treatment). Resume quarter-strength fertilization (2.5-2.5-2.5 NPK equivalent) after 4 weeks. Full-strength feeding begins at 8-10 weeks.
Troubleshooting
Symptom: Continued wilting despite moist soil.
Solution: Reduce water volume by 50%. Remaining roots cannot support full canopy; prune back 30% of foliage to balance transpiration load.
Symptom: White fungal threads on soil surface.
Solution: Saprophytic fungi on organic matter. Scrape away top 1 inch of substrate and replace with inorganic perlite layer.
Symptom: Yellowing progresses upward from base.
Solution: Indicates secondary bacterial soft rot. Isolate plant, remove affected stems, and apply copper-based bactericide at labeled rates.
Symptom: No new growth after 6 weeks.
Solution: Insufficient light or temperature below 65°F. Relocate to warmer area with 400+ foot-candles or supplement with grow lights.
Maintenance
Water established plants when the substrate dries to a depth of 2-3 inches, typically every 7-10 days depending on ambient humidity. Apply 1/4 inch of water per application, allowing full drainage. Feed monthly during active growth (April-September) with a balanced 10-10-10 fertilizer at 1/2 teaspoon per gallon. Repot annually in spring, increasing container size by 2 inches in diameter to prevent substrate compaction. Flush soil quarterly with distilled water (2x pot volume) to leach accumulated salts that interfere with nutrient uptake.
FAQ
How long does root rot recovery take?
Visible new growth appears in 3-4 weeks; full root system regeneration requires 8-12 weeks under optimal conditions.
Can I reuse potting soil after treating root rot?
No. Pathogen spores persist in used substrate. Compost old mix at temperatures above 140°F to destroy pathogens.
Should I fertilize immediately after repotting?
No. Wait 4 weeks. Damaged roots cannot process nutrients efficiently, and excess salts may desiccate healing tissue.
What causes root rot in the first place?
Overwatering creates anaerobic conditions that favor pathogenic fungi. Poor drainage, compacted soil, and oversized containers exacerbate the problem.
Is root rot contagious between plants?
Yes. Waterborne zoospores spread through shared drainage trays, contaminated tools, and splash from overhead watering.