8 Crucial Steps for Hardening Off Indoor Seedlings Before Planting Outside
The first time you slide your palm across a tray of seedlings grown under lights, you feel how soft those leaves are, like silk that has never known wind. That tenderness is exactly what will kill them in the open garden. The steps for hardening off indoor vegetable starts represent the critical bridge between the coddled environment of your seed-starting station and the brutal reality of full sun, drying winds, and temperature swings that can shock transplants into permanent stunting or death.
I have watched gardeners lose entire crops of heirloom tomatoes in a single afternoon because they skipped this process. The cellular structure of indoor-grown plants lacks the thickened cuticle and reinforced cell walls that outdoor-grown seedlings develop naturally. Without gradual acclimatization, you are essentially throwing hothouse orchids into a desert and hoping for the best.
Materials & Supplies
Seedling Transportation:
- Cold frames (minimum 2×4 feet for 72-cell tray)
- Garden carts with low sides (prevents tip-over)
- Shade cloth at 30% and 50% density
- Row covers in 0.5 oz and 1.5 oz weights
Environmental Monitoring:
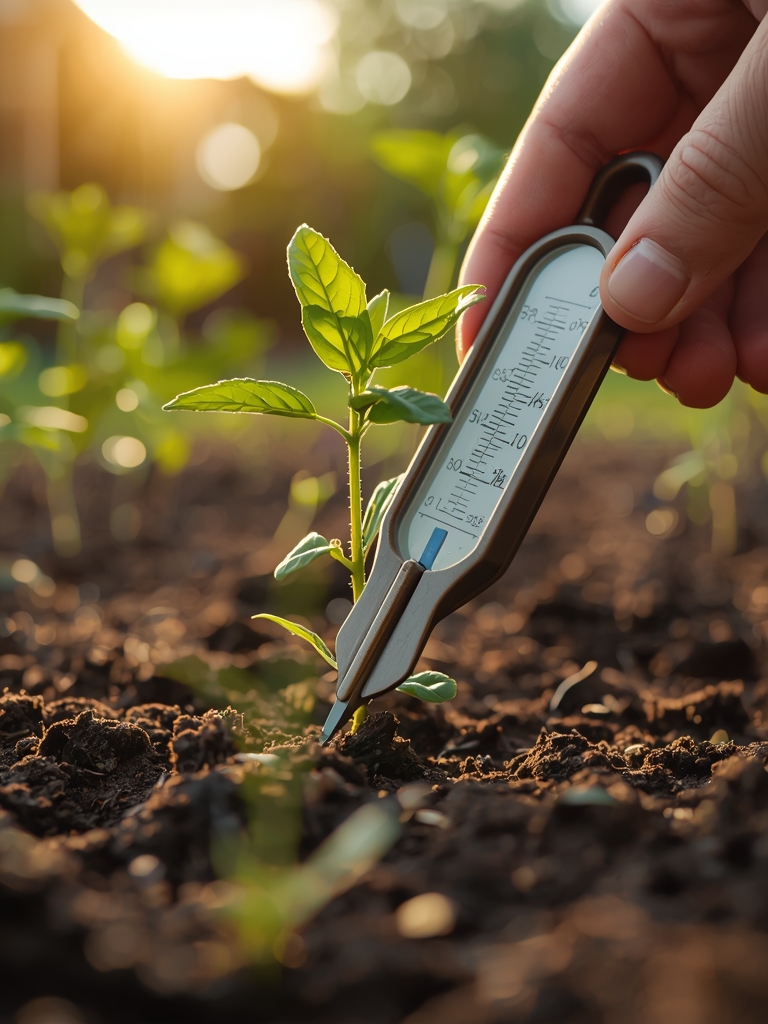
- Soil thermometer reading to 8 inches depth
- Wind speed gauge (anemometer)
- Min/max thermometer for tracking overnight lows
Soil Amendment (Pre-Transplant Bed Prep):
- Compost at 2-3 inches depth, worked into top 6 inches
- Balanced organic fertilizer at 5-5-5 NPK ratio
- Mycorrhizal fungi inoculant (1 tsp per transplant hole)
- Soil pH testing kit (target 6.0-6.8 for most vegetables)
Watering Equipment:
- Watering wand with breaker head (prevents soil splash)
- Soaker hoses for post-transplant establishment
Timing & Growing Schedule
Your hardening off window depends entirely on last frost date and plant cold tolerance. Cool-season crops (lettuce, broccoli, kale) can begin the process when nighttime temperatures stabilize above 40°F. Warm-season crops (tomatoes, peppers, cucumbers) require consistent nighttime temperatures above 50°F, with soil temperatures at planting depth reaching 60°F minimum.
Hardiness Zone Considerations:
- Zones 3-4: Start hardening off mid-May
- Zones 5-6: Start hardening off late April
- Zones 7-8: Start hardening off early April
- Zones 9-10: Start hardening off mid-March
Count backwards 10-14 days from your target transplant date to begin the hardening off process. This is non-negotiable time. Rushing it by even three days can result in 30-40% transplant loss.
Days to Maturity listed on seed packets begin counting from transplant date, not from when you started seeds indoors. A tomato variety listed at "70 days to maturity" needs 70 days after you harden off and transplant, plus the 6-8 weeks you already invested in indoor growth.
Step-by-Step Instructions
Step 1: Initial Exposure (Days 1-2)
Move seedlings to a sheltered outdoor location with full shade and complete wind protection. A north-facing wall works perfectly. Leave them outside for 2 hours on day one, 3 hours on day two. Bring them back indoors or into a garage each evening.
Pro-Tip: Water seedlings thoroughly before the first exposure. Dehydrated plants cannot regulate their stomata properly, leading to irreversible wilting even in shade.
Step 2: Filtered Light Introduction (Days 3-4)
Increase outdoor time to 4-5 hours. Position seedlings where they receive dappled sunlight through tree branches or under 50% shade cloth. Monitor leaf temperature by touch. If leaves feel hot to your palm, they are getting too much sun too quickly.
Pro-Tip: Watch the newest growth at the terminal buds. This tissue shows stress first, often appearing translucent or water-soaked before the rest of the plant reacts.
Step 3: Direct Morning Sun (Days 5-6)
Give plants 2 hours of direct morning sun (before 10 AM), then move to shade for the remainder of the 6-hour outdoor period. Morning sun is 40-50% less intense than afternoon sun and carries no heat load from the day.
Pro-Tip: Feel the soil surface every hour. Indoor-grown plants have limited root systems and can dry out in 90 minutes of direct sun and wind, where the same plants indoors stayed moist for 24 hours.
Step 4: Extended Sun Exposure (Days 7-8)
Increase direct sun to 4-5 hours, still avoiding the intense 12 PM to 3 PM window. Plants should remain outdoors for 8-10 hours total. Check for leaf curl, purple discoloration on stems (phosphorus uptake shutdown), or bleached spots (sunscald).
Pro-Tip: Gently stroke the stems daily. They should feel increasingly rigid. Soft, fleshy stems indicate the plant is not building structural tissue fast enough. Slow down the process.
Step 5: Full Sun Graduation (Days 9-10)
Expose plants to 6-8 hours of full sun, including midday intensity. Leave outdoors until sunset. You can bring them in overnight or leave them out if nighttime temperatures stay above minimum thresholds for your crop type.
Pro-Tip: Apply diluted liquid fertilizer at 1/4 strength (quarter the label rate) on day 9. The hardening process slows growth dramatically. A gentle nutrient boost prevents nitrogen deficiency that looks like premature yellowing.
Step 6: Overnight Acclimation (Days 11-12)
Leave plants outdoors through the night if temperatures permit. This is when plants truly toughen their cellular structure in response to temperature fluctuation and dew formation. Use row covers if unexpected cold threatens.
Pro-Tip: Check plants at dawn. Slight leaf drooping that self-corrects within 2 hours of sunrise is normal. Leaves still drooping at 10 AM indicate you pushed too hard.
Step 7: Wind Hardening (Days 13-14)
Move plants to a location with natural air movement. Gentle wind stimulates thigmomorphogenesis, the process where mechanical stress triggers shorter, stockier growth and stronger stems. Stake any plants that lean excessively.
Pro-Tip: Run your hand back and forth over seedling tops for 30 seconds twice daily if you lack natural wind. This physical touch produces the same hormonal response.
Step 8: Pre-Transplant Hardening (Day 14)
Water plants deeply the evening before transplanting. Transplant during overcast conditions or in early evening. Never transplant into dry soil. Irrigate beds 24 hours before planting so moisture permeates the entire root zone.
Pro-Tip: Add 1 tablespoon of worm castings directly into each transplant hole. The humic acids buffer transplant shock and the biology kickstarts beneficial soil microbe colonization of new roots.
Nutritional & Environmental Benefits
Properly hardened transplants establish root systems 40% faster than shocked plants. Faster establishment means earlier flowering and fruiting. For determinate tomato varieties, this can mean harvesting 10-14 days sooner, potentially ahead of late blight pressure in humid climates.
Home-grown vegetables from well-established transplants contain higher levels of anthocyanins (purple pigments with antioxidant properties), vitamin C, and lycopene compared to grocery store produce harvested underripe. A single homegrown tomato can contain 30% more vitamin C than commercial equivalents.
Your vegetable garden supports native pollinators including mason bees, which are 120 times more effective at pollinating tomatoes than honeybees. Squash and cucumber flowers require buzz pollination from native bumblebees. Healthy transplants flower prolifically, extending forage time for these beneficial insects.
Cover crops planted after harvest add organic matter and support nitrogen fixation through legume root nodules hosting Rhizobium bacteria. This biological nitrogen production reduces or eliminates synthetic fertilizer needs in following seasons.
Advanced Methods
Small Space Adaptation:
Use a tiered cart system to harden off seedlings in vertical space. Move the cart to different microclimates throughout your yard or balcony. Vertical growing bags attached to south-facing walls benefit from radiated heat, allowing 3-5 days faster hardening.
Employ succession planting by hardening off transplants in 2-week intervals. This spreads the workload and extends harvest periods. Your first batch mentors the process for subsequent plantings.
Organic & Permaculture Techniques:
Transplant into living mulch of white clover or low-growing thyme. The living mulch regulates soil temperature and moisture while fixing atmospheric nitrogen. Seedlings establish with less watering and suffer fewer pest problems.
Create polyculture guilds by interplanting hardened tomato starts with basil (pest deterrent) and marigolds (nematode suppression). The diverse planting confuses pests and maximizes space usage.
Season Extension:
Harden off seedlings directly into low tunnels or hoop houses. The structure provides wind protection while exposing plants to real temperature fluctuation. You gain 2-3 additional weeks of growing season on both ends.
Use water-filled cloches (Wall O' Water style) around individual transplants. The water absorbs heat during day and releases it at night, creating a 10-15°F temperature buffer. This allows hardening off cool-season crops 3 weeks earlier than bare-ground timelines permit.
Troubleshooting
Symptom: White or tan bleached patches on leaves, dry and papery texture.
Solution: Sunscald from too-rapid sun exposure. Move plants back to shade for 2 days, then resume at an earlier step. Affected leaves will not recover but new growth will be healthy.
Symptom: Purple or reddish discoloration on leaf undersides and stems.
Solution: Cold stress shutting down phosphorus uptake. Bring plants indoors overnight for 3 nights. Resume hardening when nighttime temperatures rise. Apply liquid kelp fertilizer (0-0-1 plus micronutrients) at half strength.
Symptom: Leaves curl downward, feel thick and leathery, growth stops completely.
Solution: Severe transplant shock from inadequate hardening. Set plants in full shade for one week with consistent moisture. They may resume growth but will be 2-3 weeks behind properly hardened plants. Consider this crop a learning experience and start fresh seedlings.
Symptom: Stems elongate and thin during hardening process, plants flop over.
Solution: Too much shade or nitrogen. Increase sun exposure by 1 hour daily and withhold fertilizer. The plant is stretching for light. Stems will not thicken retroactively. Bury stems deeper at transplant time (works for tomatoes, not for peppers).
Symptom: Lower leaves yellow and drop during days 7-10 of hardening.
Solution: Normal response to growth slowdown and root-to-shoot ratio adjustment. Apply diluted fish emulsion (5-1-1 NPK) at 1/4 strength. If upper leaves yellow, increase to 1/2 strength. Plants are cannibalizing old leaves for mobile nutrients.
Storage & Maintenance
After transplanting hardened seedlings, apply water at 1 inch per week minimum. Measure this precisely using rain gauges. Water deeply twice per week rather than shallow daily watering. This encourages roots to grow downward 12-18 inches where moisture is consistent.
Install soaker hoses at transplanting time. Run them for 45-60 minutes twice weekly. Drip irrigation delivers water at the rate soil can absorb it, preventing runoff and foliar disease from overhead watering.
Feeding Schedule:
- Week 1-2 post-transplant: No fertilizer (relies on transplant hole amendments)
- Week 3-4: Side-dress with compost at 1/2 inch layer, 3 inches from stems
- Week 5 onward: Apply balanced organic fertilizer (5-5-5) at 1 cup per 10 square feet monthly, or switch to compost tea biweekly
Mulch transplants with 2-3 inches of straw, shredded leaves, or wood chips after soil warms to target temperature. Mulch applied too early traps cold and slows growth. Wait until you see active new leaf development (7-10 days post-transplant).
Prune the suckers on tomato plants when they reach 2-4 inches long. Remove the lowest leaves once plants are 12 inches tall to prevent soil-splash disease. Determinate varieties need less pruning than indeterminate types.
For root crops grown from transplanted starts (onions, leeks, celery), harvest occurs 90-120 days after hardening off. Store in mesh bags in a root cellar at 32-40°F with 90-95% humidity. Check monthly for sprouting or rot.
Leafy greens grown from hardened transplants can be harvested as cut-and-come-again crops. Remove outer leaves when plants reach 6 inches tall, leaving the growing crown intact. Each plant produces for 6-8 weeks under this method.
Conclusion
The steps for hardening off indoor vegetable starts transform fragile seedlings into resilient plants capable of thriving in your garden's specific microclimate. This 14-day investment prevents transplant loss, accelerates establishment, and directly impacts your total harvest weight and quality. Master this process and you eliminate the single biggest cause of early-season gardening failure.
Join your local garden club or extension service master gardener program to share your hardening off timeline and compare results across different microclimates. Community knowledge fills the gaps that books and articles cannot address about your specific growing conditions.
Expert FAQs
How long do I need to harden off tomato seedlings specifically?
Tomato seedlings require the full 14-day hardening process because they are particularly sensitive to UV radiation and wind. Their leaves contain high water content and thin cuticles when grown indoors. Rushing tomato hardening results in white leaf bleaching that permanently reduces photosynthetic capacity by 20-30%. Follow the complete day-by-day protocol without shortcuts. Stockier, purple-tinged varieties like 'Cherokee Purple' handle stress slightly better than thin-stemmed types like 'Sungold', but all need two full weeks.
Can I harden off seedlings in a cold frame instead of moving them daily?
Cold frames work excellently for hardening off if you can regulate ventilation precisely. Crack the lid 2 inches on day 1, add 2 more inches each subsequent day. By day 7, the lid should be fully open during daylight hours. The danger with cold frames is temperature spikes. An 85°F sunny day can push cold frame interior temperatures to 110°F in 20 minutes, cooking your seedlings. Install an automatic vent opener (available for $40-60) that responds to temperature changes, or commit to manually adjusting the lid three times daily. Cold frames excel at wind protection while still providing real temperature fluctuation.
What is the minimum temperature for hardening off pepper plants?
Pepper plants stop growing when temperatures drop below 55°F and suffer cellular damage below 50°F. Do not begin hardening off peppers until nighttime temperatures consistently stay above 55°F for the 14-day hardening period. Check 10-day forecasts before starting the process. If an unexpected cold snap threatens, bring peppers indoors overnight and restart the count the next day. Unlike tomatoes, peppers do not recover well from cold stress. A single night at 48°F can stunt pepper plants for 3-4 weeks, essentially ending the season in short-summer climates. Soil temperature at 4-inch depth must reach 65°F minimum before transplanting hardened pepper starts.
Do seedlings grown under LED grow lights need different hardening than those under fluorescent tubes?
Yes, but the difference is subtle. LED-grown seedlings often have thicker leaves and shorter internodes due to better light spectrum, giving them a 1-2 day advantage in sun tolerance. However, no artificial light replicates UV radiation or wind stress, so both LED and fluorescent-grown plants need the full hardening protocol. LED-grown seedlings may show less dramatic improvement because they start from a stronger baseline, but skip hardening and they will still suffer transplant shock. The real advantage of LEDs appears after hardening, during establishment, when their superior root systems exploit the prepared transplant holes 15-20% faster than fluorescent-grown equivalents.
Should I fertilize during the hardening off process or wait until after transplanting?
Apply diluted fertilizer only once during hardening, on day 9 or 10, at 1/4 the label rate. The hardening process intentionally stresses plants to trigger defensive responses. Heavy fertilization during this period encourages soft, vegetative growth instead of the tough, compact tissue you are trying to develop. The exception is if you see severe yellowing of lower leaves before day 7, indicating your seedlings were nitrogen-deficient before hardening began. In that case, apply diluted fish emulsion (5-1-1) at 1/4 strength immediately. After transplanting, wait 10-14 days before resuming normal feeding schedules. The mycorrhizal fungi and compost in the transplant hole provide adequate nutrition during establishment.