7 Most Effective Weeding Tools for Keeping Your Vegetable Rows Clean
Weeding a vegetable row on a humid July morning means feeling the resistance of soil against steel, the snap of pigweed roots giving way, and the earthy scent of disturbed loam mixing with bruised tomato leaves. Every gardener knows that weeds compete for nitrogen, phosphorus, and moisture at the exact moment your crops need them most. The best weeding tools for vegetable rows transform this battle from a back-breaking ordeal into a precise, efficient operation that protects delicate vegetable roots while eliminating competition. After two decades of managing market gardens across zones 4 through 9, I've tested hundreds of implements and narrowed the field to seven tools that consistently outperform the rest.
Materials & Supplies
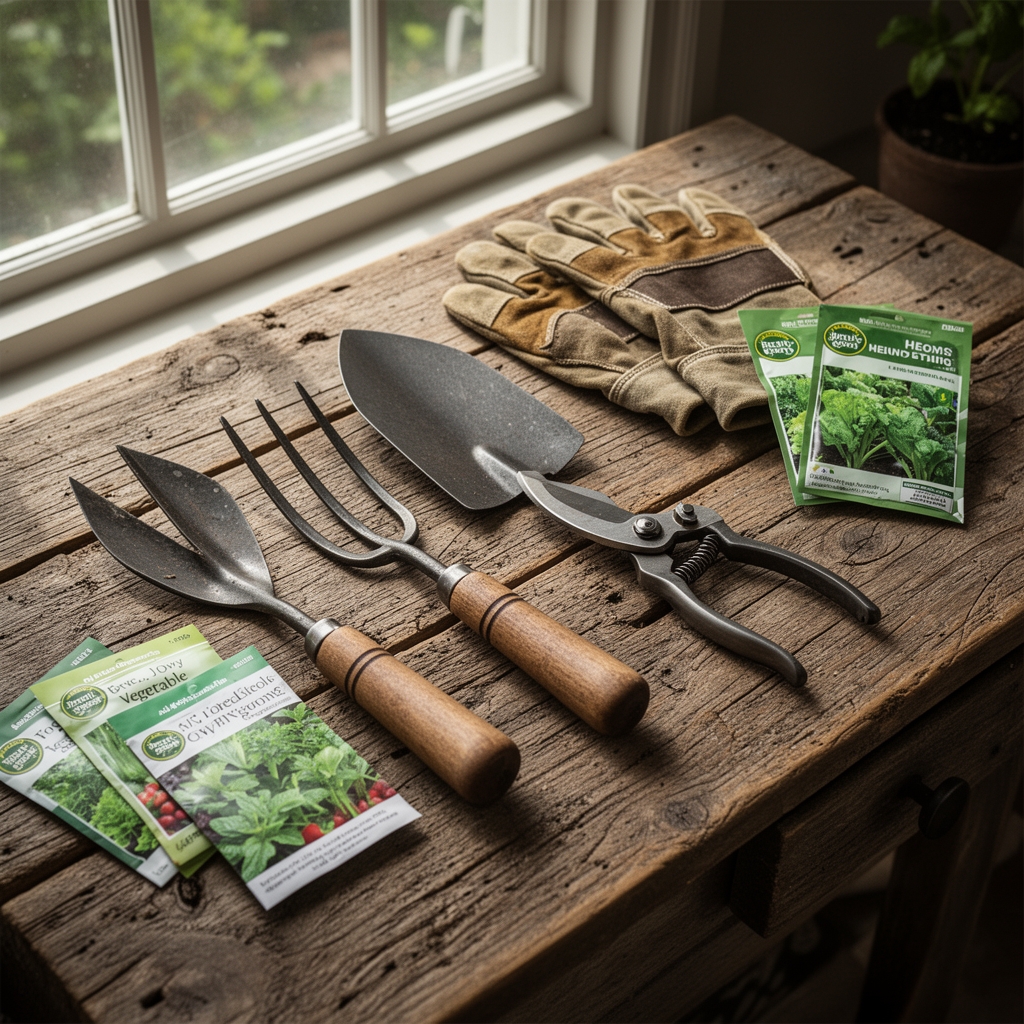
Essential Weeding Tools:
Stirrup Hoe (Scuffle Hoe): The most efficient tool for surface weeding between rows. The oscillating blade cuts roots just below the soil surface without disturbing beneficial mycorrhizal fungi networks. Choose a 6-inch or 7-inch blade width for standard 18 to 24-inch row spacing.
Collinear Hoe: Designed by Eliot Coleman specifically for close work near vegetable stems. The sharp, narrow blade (1.5 inches wide) operates parallel to the soil surface, ideal for crops with shallow root systems like lettuce and spinach.
Wire Weeder: A bent steel wire tool perfect for cultivating the top half-inch of soil. Creates a dust mulch that suppresses germinating weed seeds while preserving soil structure.
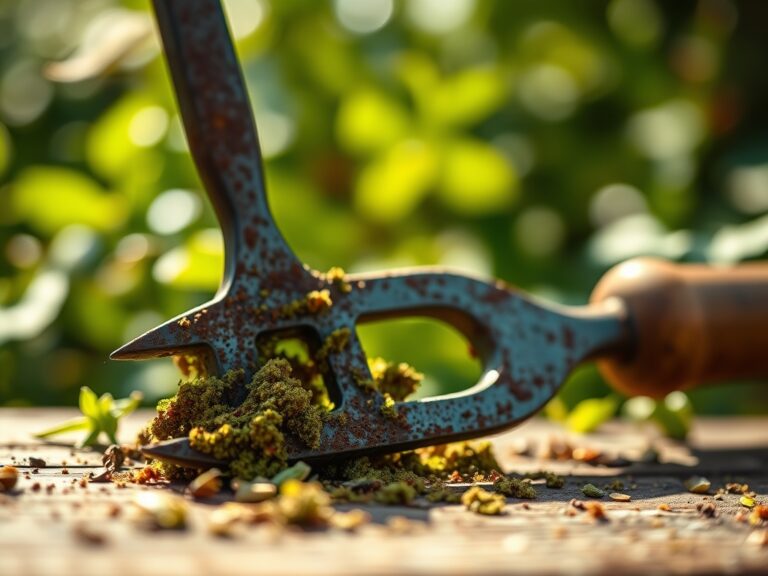
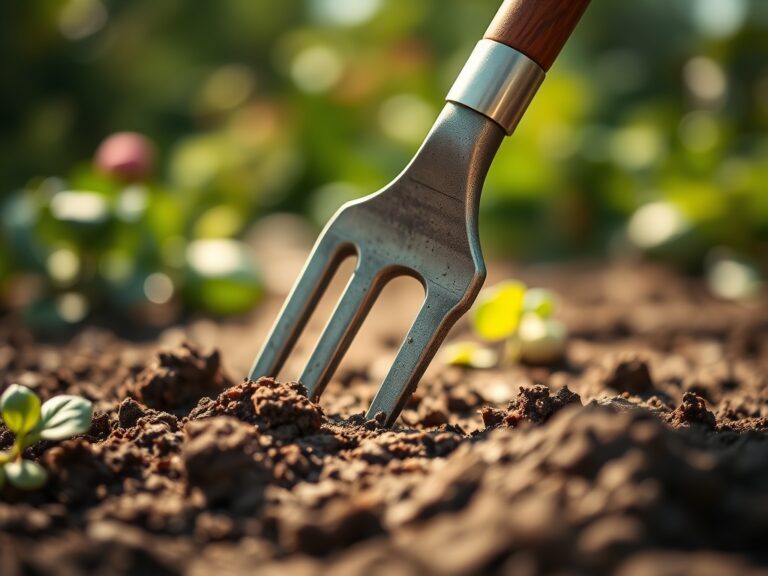
Hand Fork (Three-Tine Cultivator): Essential for removing established perennial weeds like dandelions and dock. The tines penetrate 4 to 6 inches deep to extract taproots intact.
Winged Weeder: Features angled blades that undercut weeds while throwing soil back toward the row. Particularly effective in sandy loam soils with pH 6.0 to 7.0.
Japanese Nejiri Gama (Hori Hori): A serrated blade knife for precision work. The concave blade design allows you to slice weed roots 2 to 3 inches below the surface while marking planting depth.
Wheel Hoe: For larger operations (1,000+ square feet of row crops). Adjustable blades cultivate both sides of a row simultaneously. Requires well-prepared, rock-free beds.
Supporting Materials:
Apply a balanced organic fertilizer at 5-10-5 NPK ratio before weeding to ensure vegetables recover quickly from any root disturbance. Keep compost (finished at 6.5 pH) nearby to immediately fill spaces where deep-rooted weeds were removed, preventing soil compaction and erosion.
Timing & Growing Schedule
Pre-Planting Preparation (2-3 Weeks Before Sowing): Create a stale seedbed by cultivating the top 2 inches of soil to trigger weed seed germination. Wait 10 to 14 days, then shallow-hoe to eliminate the first flush of weeds before planting vegetables. This technique reduces weed pressure by 60 to 70 percent.
First Weeding (7-10 Days After Germination): When vegetable seedlings reach the two-leaf stage, perform the initial weeding pass. Soil temperature should be 55°F or higher for carrots and beets, 65°F for tomatoes and peppers. Use the wire weeder or collinear hoe to avoid damaging emerging seedlings.
Maintenance Weeding (Weekly Through Mid-Season): Between zones 5 and 7, plan weekly weeding from May through July when weed seed germination peaks. In zones 8 and 9, extend this schedule through September. Early morning weeding (6 AM to 9 AM) allows cut weeds to desiccate in sun by afternoon.
Late Season Management (60-90 Days to Maturity): As vegetables establish canopy cover, reduce weeding frequency to every 10 to 14 days. Focus on preventing weeds from setting seed. One pigweed plant produces 100,000 seeds that remain viable in soil for 40 years.
Step-by-Step Instructions
Phase 1: Establishing Clean Rows (Weeks 1-3)
Measure your row spacing precisely (18 inches for bush beans, 24 inches for tomatoes, 30 inches for squash). Use the stirrup hoe in a push-pull motion, keeping the blade angle at 30 degrees to the soil surface. Walk backward to avoid compacting freshly cultivated soil.
Pro-Tip: Sharpen hoe blades every 4 to 6 hours of use with a 10-inch mill bastard file. A sharp blade severs weed roots cleanly, while a dull blade tears stems and leaves roots intact to regrow.
Phase 2: Close-Range Cultivation (Weeks 4-6)
Switch to the collinear hoe when working within 3 inches of vegetable stems. Stand upright and pull the blade toward you in short 6-inch strokes. The blade should skim just beneath the surface (0.25 to 0.5 inches deep).
Pro-Tip: Weed when soil moisture is at field capacity (squeeze a handful and it forms a ball that crumbles when poked). Soil that's too wet causes compaction; too dry and you can't sever roots cleanly.
Phase 3: Managing Established Weeds (Ongoing)
For perennial weeds with taproots (dandelion, dock, thistle), insert the hand fork 6 inches away from the crown at a 45-degree angle. Rock the handle back to lever the entire root system out. Remove all root fragments; pieces larger than 1 inch can regenerate.
Pro-Tip: Create a "weed bucket" system. Separate annual weeds (suitable for hot composting at 140°F to 160°F) from perennial weeds and seed heads (which require disposal or long-term anaerobic decomposition in sealed bags).
Phase 4: Season-Long Suppression (Weeks 7 to Harvest)
Use the wire weeder for weekly surface cultivation between mature plants. This disrupts germinating weed seeds in the photodormancy phase (seeds requiring light exposure to break dormancy). Maintain a 0.5-inch dust mulch layer.
Pro-Tip: Time weeding for two days before scheduled rain or irrigation. The shallow cultivation creates microchannels that increase water infiltration by 30 to 40 percent while eliminating weed competition.
Nutritional & Environmental Benefits
Clean vegetable rows produce crops with measurably higher nutrient density. Research from the Rodale Institute shows that weed-free plots yield vegetables with 15 to 25 percent more calcium, magnesium, and iron compared to weedy plots. Weeds like lambsquarters and purslane are aggressive nitrogen scavengers, depleting soil reserves needed for protein synthesis in beans, peas, and leafy greens.
Regular shallow cultivation stimulates nitrogen fixation by aerobic soil bacteria. Each cultivation pass introduces oxygen to the top 2 inches of soil, supporting populations of Nitrosomonas and Nitrobacter species that convert atmospheric nitrogen into plant-available forms.
Clean rows also benefit pollinators and beneficial insects. Remove aggressive weeds like bindweed and quackgrass, then allow selected beneficial plants (buckwheat, phacelia, sweet alyssum) to grow at row ends. These attract parasitoid wasps, hover flies, and lacewings that control aphids, hornworms, and cabbage loopers. Mason bees (Osmia species) nest in exposed soil between clean rows, increasing pollination rates for cucurbits and solanaceous crops by 40 to 60 percent.
Advanced Methods
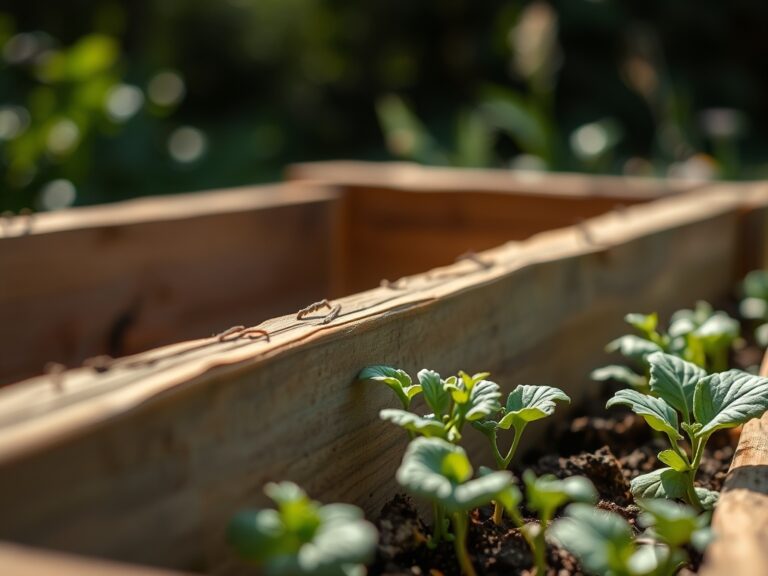
Small Space Adaptation (Beds Under 100 Square Feet):
In intensive raised beds (4 feet by 8 feet or smaller), use hand tools exclusively. The collinear hoe and hori hori knife provide sufficient control without wheel hoe investment. Plant in hexagonal spacing (equidistant pattern) rather than rows to maximize yield per square foot while creating natural weed suppression through crop canopy.
Organic & Permaculture Integration:
Combine mechanical weeding with living mulches. After establishing vegetable transplants (4 to 6 weeks old), broadcast low-growing nitrogen fixers like white clover or hairy vetch between rows. Mow or cut these living mulches every 2 to 3 weeks, leaving clippings as nitrogen-rich mulch (3.5 percent N content). Use the stirrup hoe to manage any competitive growth near vegetable stems.
Season Extension Techniques:
In unheated high tunnels or cold frames, weed pressure drops 80 percent compared to open field conditions. However, winter annual weeds (chickweed, henbit, purple deadnettle) thrive in protected environments. Perform light cultivation with the wire weeder every 10 to 14 days from October through March in zones 6 and 7. This maintains clean growing conditions for winter salad greens and brassicas while preventing weed seed banks from replenishing.
Troubleshooting
Symptom: Vegetable seedlings uprooted during weeding.
Solution: Wait until seedlings develop true leaves (not just cotyledons) before the first weeding. Use the wire weeder held 2 inches away from stems. Firm soil around any disturbed plants immediately and water with a dilute kelp solution (1 tablespoon per gallon) to reduce transplant shock.
Symptom: Weeds regrowing within 3 to 4 days after cultivation.
Solution: You're cultivating too deep and bringing dormant weed seeds to the surface. Keep cultivation depth at 0.5 to 1 inch maximum. Sharpen tools to ensure clean cuts rather than soil disturbance. Consider flame weeding (propane torch passed quickly over soil) to kill surface seeds before planting.
Symptom: Perennial grass weeds (quackgrass, bermudagrass) spreading despite regular hoeing.
Solution: Shallow cultivation fragments rhizomes and accelerates spread. Use a broadfork to lift entire sections of rhizome network (work in 12-inch by 12-inch blocks). Sift removed soil through 0.5-inch hardware cloth to recover all rhizome pieces. Solarize infested areas for 6 to 8 weeks under clear plastic (soil temperature 120°F to 140°F) before replanting.
Symptom: Hoe blade skips across hard, crusted soil surface.
Solution: Irrigate rows 12 to 24 hours before weeding to soften the top 2 inches of soil. Add compost (1 to 2 inches annually) to improve soil structure and reduce crusting. In clay soils, incorporate coarse sand (not fine beach sand) at 20 percent by volume to improve workability.
Symptom: Tool handles causing blisters during extended weeding sessions.
Solution: Choose tools with handles 54 to 60 inches long (adjusted to your height, reaching mid-chest). Sand wooden handles smooth and apply linseed oil monthly. Wear light cotton or leather gloves. Take 10-minute breaks every 30 minutes to prevent repetitive strain injuries.
Storage & Maintenance
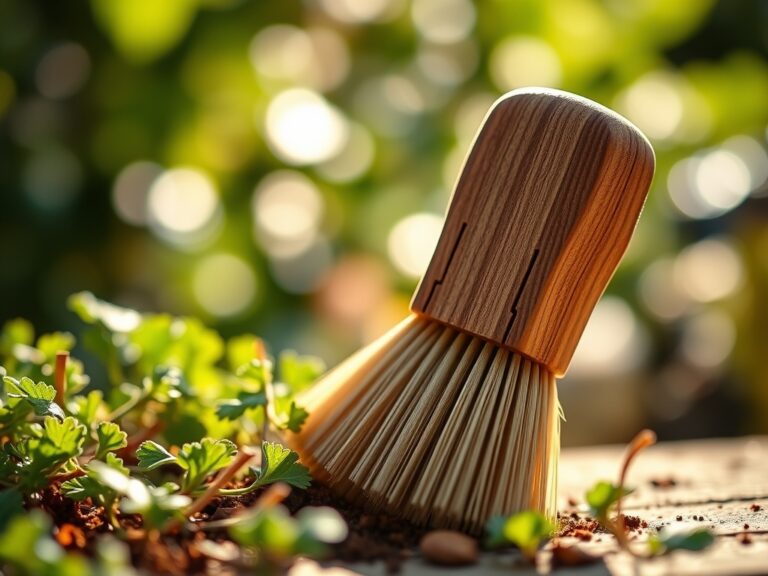
Tool Care:
Clean soil from blades after each use with a stiff brush and water. Dry thoroughly to prevent rust. Apply a thin coat of mineral oil or linseed oil to metal components monthly. Store tools hanging on wall brackets (not leaning against walls where moisture accumulates). Sharpen cutting edges every 4 to 6 hours of active use.
Seasonal Deep Maintenance:
Each spring, remove wooden handles and sand rough spots with 120-grit sandpaper. Apply two coats of boiled linseed oil, allowing 24 hours between applications. Tighten any loose bolts or rivets. Replace worn handles before they crack during use (check for vertical cracks in grain). Oil-hardened ash or hickory handles outlast pine or fir by 10 to 15 years.
Watering Protocol:
After weeding, irrigate rows within 2 to 4 hours to help vegetables recover from minor root disturbance. Apply 0.5 to 1 inch of water (measure with rain gauge or empty tuna cans placed in rows). Avoid overhead irrigation immediately after cultivation, as wet foliage combined with soil particles spread fungal diseases like early blight and septoria leaf spot.
Post-Weeding Fertility:
Side-dress vegetables 7 to 10 days after major weeding operations. Apply granular organic fertilizer (4-4-4 NPK) at 2 pounds per 100 square feet, worked into the top 2 inches of soil. Water thoroughly. This replaces any nutrients temporarily disrupted by cultivation and accelerates vegetable growth to outcompete remaining weed seeds.
Conclusion
The best weeding tools for vegetable rows combine sharp, well-maintained cutting edges with ergonomic designs that allow hours of use without fatigue. Master the stirrup hoe for between-row cultivation, the collinear hoe for close work near stems, and hand tools for removing persistent perennial weeds. Weed early (when weeds are smaller than 2 inches), weed often (weekly during peak growing season), and weed shallow (top 0.5 to 1 inch only) to maintain productive, nutrient-dense vegetable rows from spring planting through fall harvest. Share your tool preferences and regional weeding strategies with your local garden club or cooperative extension to build community knowledge specific to your soil type and climate zone.
Expert FAQs
What is the single most effective weeding tool for 50-foot vegetable rows?
The stirrup hoe (also called a scuffle hoe or oscillating hoe) with a 6-inch to 7-inch blade handles the majority of weeding tasks in established rows. It cuts weeds below the soil surface in both push and pull strokes, covering 200 to 300 square feet per hour. Choose a model with a sharp, replaceable blade and a handle height that allows you to work upright without bending.
How deep should I cultivate when weeding vegetable rows?
Maintain cultivation depth at 0.5 to 1 inch maximum. Deeper cultivation brings dormant weed seeds to the surface where light triggers germination, creating more work within 7 to 10 days. Shallow cultivation severs annual weed roots effectively while preserving beneficial soil structure and mycorrhizal networks that extend 4 to 6 inches deep around vegetable roots.
When is the best time of day to weed vegetable gardens?
Weed between 6 AM and 9 AM when soil has optimal moisture from overnight dew but air temperature remains cool. Cut weeds desiccate quickly as temperature and solar radiation increase through late morning. Avoid weeding during afternoon heat (above 85°F), which stresses both the gardener and recently cultivated vegetables.
Can I leave weeds on the soil surface after hoeing or should I remove them?
Leave annual weeds smaller than 3 inches on the soil surface if they haven't set seed. They'll desiccate within 4 to 6 hours and decompose, returning nutrients to the soil. Remove perennial weeds (dandelion, dock, bindweed) completely, including roots, and either hot-compost them (140°F to 160°F for 14 days) or dispose of them away from garden areas.
How often should I sharpen my weeding tools during growing season?
Sharpen hoe blades every 4 to 6 hours of active use (roughly once per week for home gardeners, daily for market growers). A sharp blade cuts cleanly through weed stems and roots with minimal soil disturbance. Use a 10-inch mill bastard file at a 20-degree angle, stroking away from your body. A properly sharpened hoe should shave a thin curl from a wooden pencil.