7 Expert Tips to Use a Knife Sharpening Stone
The scent of bruised chlorophyll and damp humic acid marks the beginning of a successful harvest. When a blade is dull, it crushes the vascular bundles of a plant rather than severing them; this leads to ragged wounds that invite fungal pathogens like Botrytis cinerea. Maintaining a razor edge ensures high turgor pressure remains within the remaining stem. Using a sharpening stone for garden knives is the only way to achieve the surgical precision required for clean cellular separation. A sharp blade minimizes the surface area of the wound, allowing the plant to seal the incision site rapidly through the deposition of callose. This mechanical efficiency reduces the energy the plant must divert from fruit production to wound repair. In a high-production environment, the difference between a ragged tear and a clean slice determines the overall health of the rhizosphere. Proper maintenance of cutting tools is as fundamental to horticulture as monitoring soil moisture or adjusting photoperiods.
Materials:

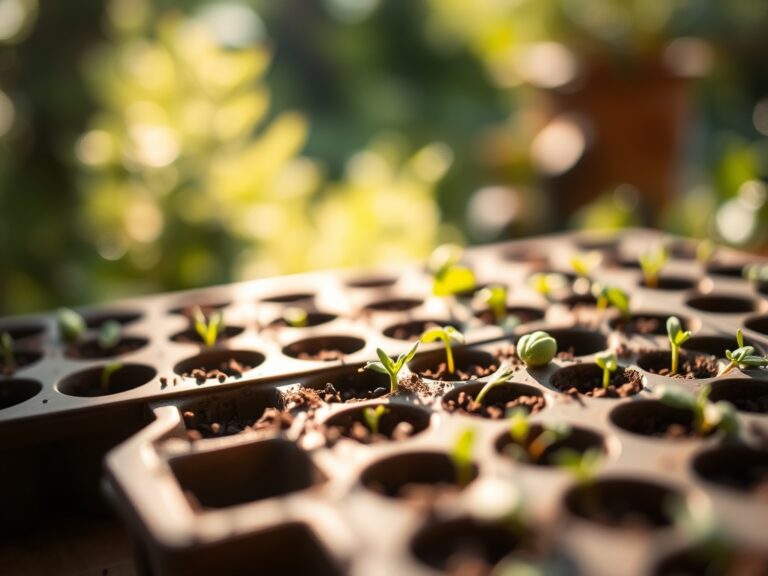
The workspace must be as controlled as a seedling tray. While your focus is the steel, the environment dictates the result. Ensure your sharpening area is clear of debris that could contaminate the stone surface. The ideal substrate for any garden knife is a **friable loam with a pH between 6.0 and 7.0**, which provides the best support for the plants you will eventually harvest. When preparing your garden beds, aim for an NPK ratio of **5-10-10 for root crops** or **10-10-10 for general maintenance**. High nitrogen levels (the first number) promote vegetative growth but can lead to soft tissue that is easily damaged by dull blades. You will need a dual-grit whetstone (400/1000 grit), honing oil or water, and a clean microfiber cloth.
Timing:
Sharpening should occur before the spring surge in Hardiness Zones 5 through 8, typically between February and March. This timing aligns with the "Biological Clock" of most perennial species, which transition from dormancy to active vegetative growth as soil temperatures reach 50 degrees Fahrenheit. Performing maintenance during this window ensures tools are ready for the first flush of growth. In the transition from vegetative to reproductive stages, plants prioritize phosphorus and potassium; clean cuts during this phase are critical to prevent the loss of nutrient-rich sap. Aim to sharpen your tools during the "dormant window" to avoid the frantic pace of the primary growing season.
Phases:
Sowing the Edge
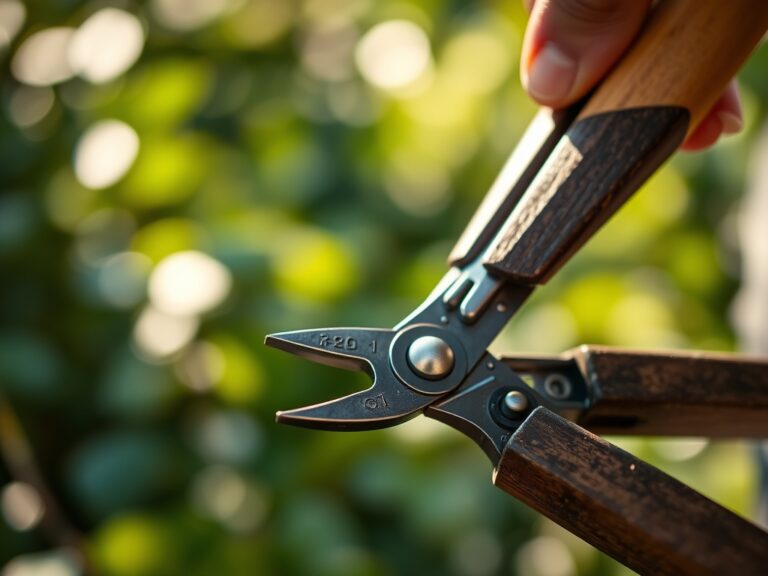
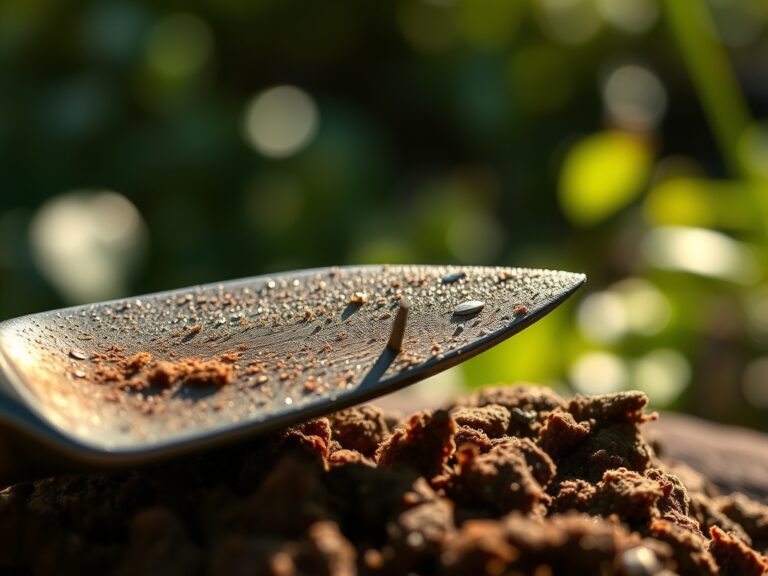
Submerge your water stone in a clean basin for 10 to 15 minutes until air bubbles cease to emerge from the pores. This saturation ensures the stone provides a consistent slurry of abrasive particles. Place the stone on a non-slip surface with the coarse side (lower grit number) facing up. Hold the knife at a consistent 20-degree angle.
Pro-Tip: Maintaining a consistent angle prevents the formation of a "rounded" edge. This is vital because a precise bevel allows for a cleaner cut through the epidermis, reducing the risk of auxin suppression that occurs when terminal buds are crushed rather than cleanly removed.
Transplanting the Motion
Sweep the blade across the stone in a rhythmic, diagonal motion. Apply moderate pressure on the "push" stroke and release pressure on the "pull" stroke. Repeat this process 15 to 20 times per side. You are looking for the development of a "burr," a microscopic wire of steel that curls away from the edge.
Pro-Tip: The burr indicates that you have successfully ground the steel down to a new, sharp apex. In botanical terms, this is akin to mycorrhizal symbiosis; the relationship between the tool and the stone must be harmonious to produce a result that benefits the plant's vascular health.
Establishing the Finish
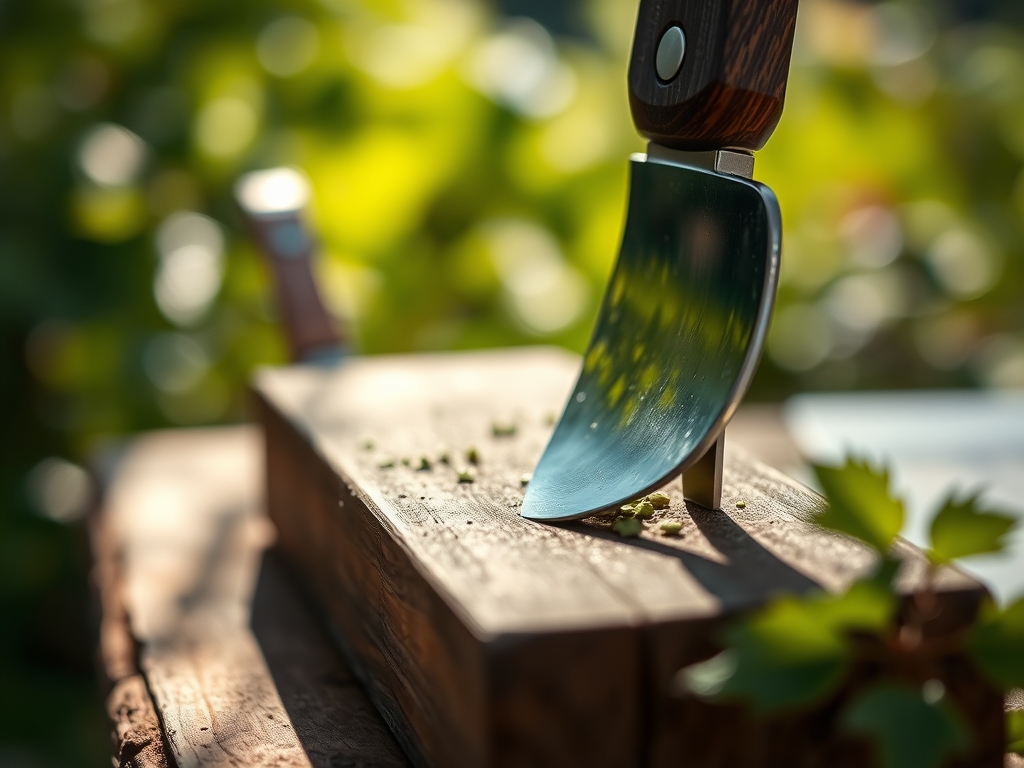
Flip the stone to the fine-grit side (1000 grit or higher). Repeat the sweeping motion with lighter pressure to polish the edge and remove the burr. This creates a mirror-like finish that glides through plant tissue with minimal resistance. Finish by stropping the blade on a piece of scrap leather or heavy denim.
Pro-Tip: A polished edge reduces friction, which prevents the buildup of heat during high-volume pruning. Excess heat can cause localized cellular senescence at the cut site, slowing the plant's recovery time and increasing vulnerability to pests.
The Clinic:
When tools are neglected, the plants suffer visible physiological disorders. Monitor your garden for these symptoms:
- Symptom: Ragged, white fibers protruding from a cut stem.
Solution: This indicates a dull blade that is tearing the xylem and phloem. Sharpen the knife immediately using the 400-grit stone to reset the bevel. - Symptom: Dieback starting from the tip of a pruned branch.
Solution: This is often caused by pathogenic entry through a crushed wound. Ensure cuts are made at a 45-degree angle with a freshly honed blade to allow moisture to shed away from the wound. - Symptom: Yellowing of lower leaves (Nitrogen Chlorosis).
Solution: While often a nutrient deficiency, it can be exacerbated by poor pruning that hinders nutrient transport. Apply a high-nitrogen fertilizer (20-10-10) and ensure all future cuts are surgically clean to maximize vascular efficiency. - Symptom: Gummosis or sap "bleeding" that does not stop.
Solution: The cut was likely made during a period of high sap flow with a dull tool. Use a soil moisture meter to ensure the plant is not over-hydrated before pruning, and use a razor-sharp edge to encourage faster sealing.
Maintenance:
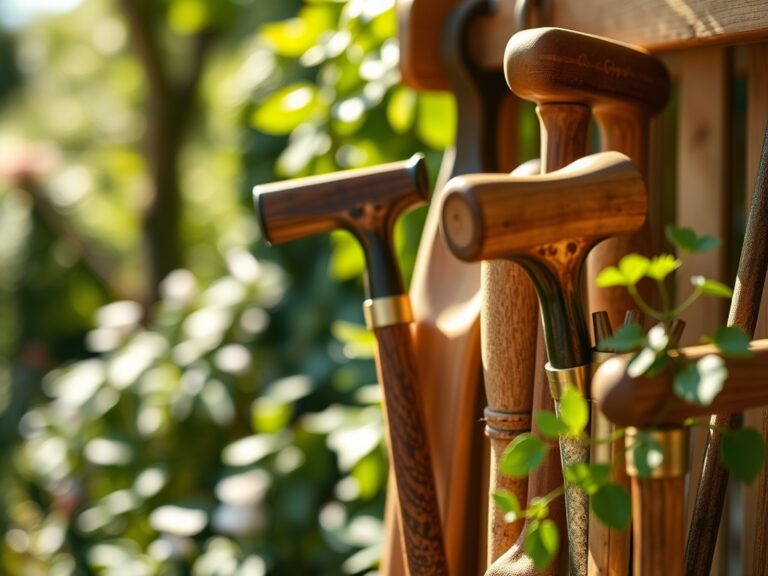
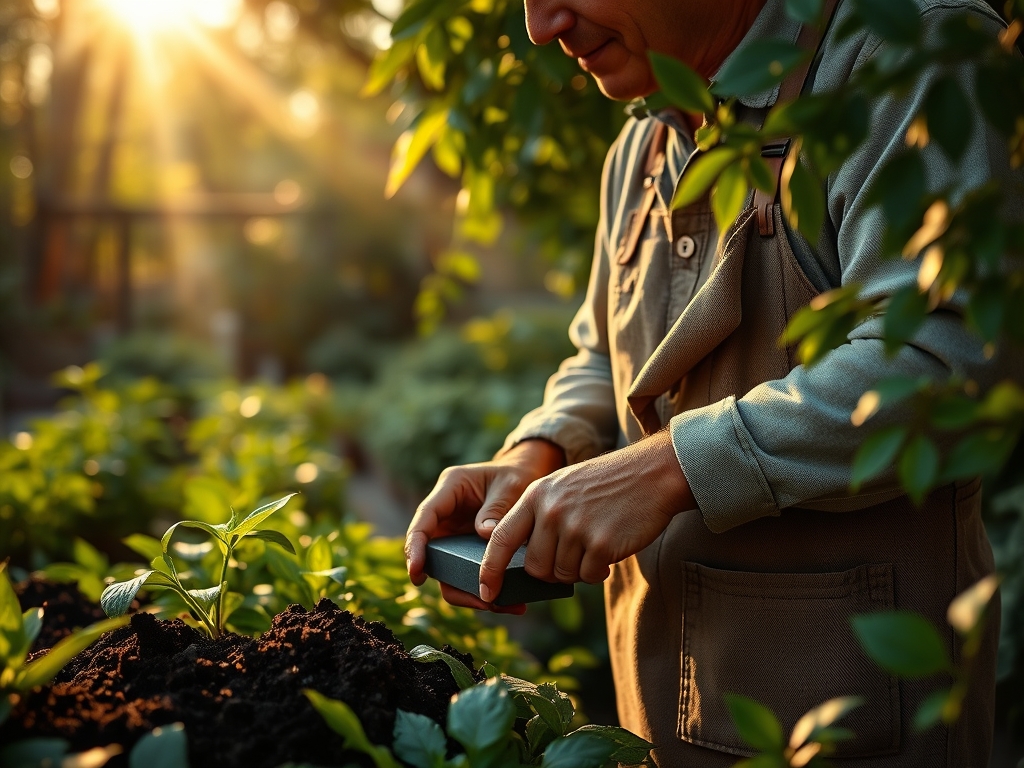
A sharp knife is only effective if the plant is healthy enough to heal. Provide 1.5 inches of water per week at the drip line to maintain cellular turgor. Use a hori-hori knife for weeding and light digging, but reserve your specialized grafting or harvest knives for clean tissue work. After each use, wipe the blade with isopropyl alcohol to prevent the cross-contamination of soil-borne pathogens. Store your sharpening stones in a dry, dust-free container to prevent the pores from clogging with ambient particulates. Check the "flatness" of your stone regularly; a dished stone will create an uneven edge that compromises the precision of your work.
The Yield:
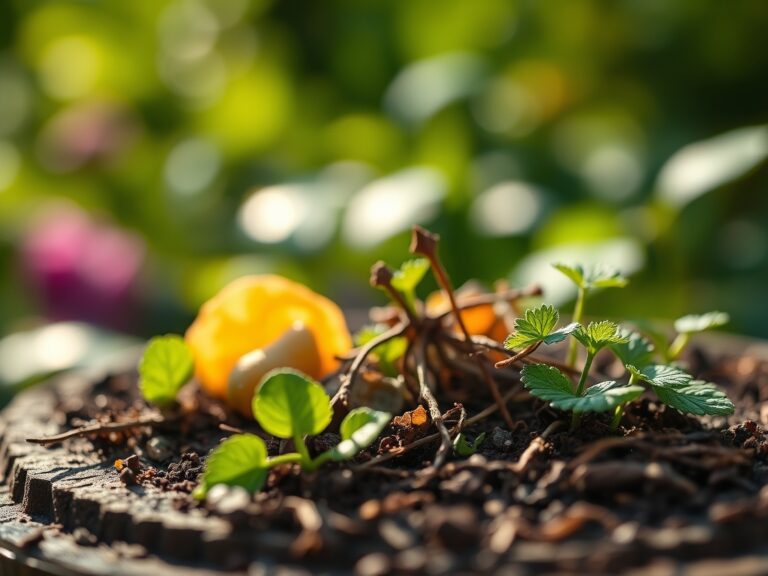
Harvesting is the culmination of the biological cycle. For leafy greens, harvest in the early morning when turgor pressure is at its peak and temperatures are lowest. Use your sharpened knife to sever the stem in a single, fluid motion. For fruiting crops like peppers or eggplants, cut the pedicel 0.5 inches above the fruit to avoid damaging the main stem. Post-harvest, immediately submerge the cut ends in cool water or place them in a high-humidity environment to maintain "day-one" freshness. This rapid cooling halts the rate of respiration and preserves the sugars and nutrients within the plant tissue.
FAQ:
How often should I sharpen my garden knife?
Sharpen every 10 to 15 hours of active use. High-silica plants like grasses dull blades faster. If you notice any resistance or "skinning" rather than a clean slice, return to the stone immediately to maintain edge geometry.
Can I use power grinders to sharpen my tools?
Avoid power grinders for fine garden knives. The high RPMs generate excessive heat that can ruin the temper of the steel. This leads to a brittle edge that chips easily when encountering woody stems or accidental soil contact.
Is honing oil better than water?
It depends on the stone type. Water stones are faster but wear down more quickly. Oil stones are more durable and provide a finer finish. Never switch between the two on a single stone; the oil will clog a water stone.
What is the best angle for a hori-hori knife?
Maintain a 25 to 30-degree angle for a hori-hori. These tools encounter soil and rocks frequently; a steeper angle provides more durability and prevents the edge from rolling or chipping during heavy-duty tasks like root pruning or weeding.