7 Custom Steps to Build a Patio Planter Box
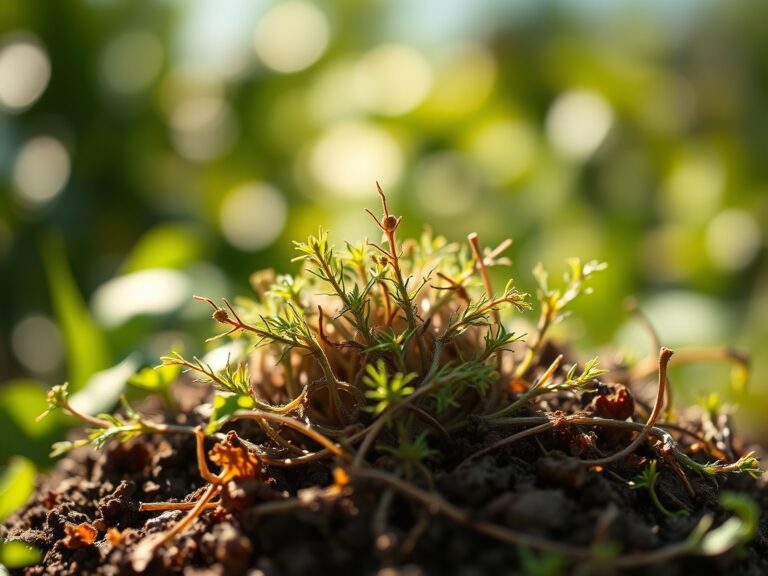
Damp earth releases geosmin as you break the surface; a scent that signals the presence of Actinomycetes bacteria and a healthy soil microbiome. High turgor pressure in a leaf indicates the xylem is efficiently transporting water to maintain cellular structure. Success in small scale agriculture depends on these physiological markers. Following the correct steps for building a vegetable garden planter box ensures your crops have the drainage and nutrient access required for maximum biomass production. You are not just building a container; you are engineering a controlled environment for the rhizosphere. Proper construction prevents soil compaction and root rot while optimizing the photoperiod exposure for your specific cultivar.
Materials:

The foundation of a high yield planter is the substrate. You require a **friable loam** texture that resists crusting and allows for rapid root elongation. For most vegetable crops, aim for a **soil pH between 6.2 and 6.8** to ensure maximum nutrient bioavailability.
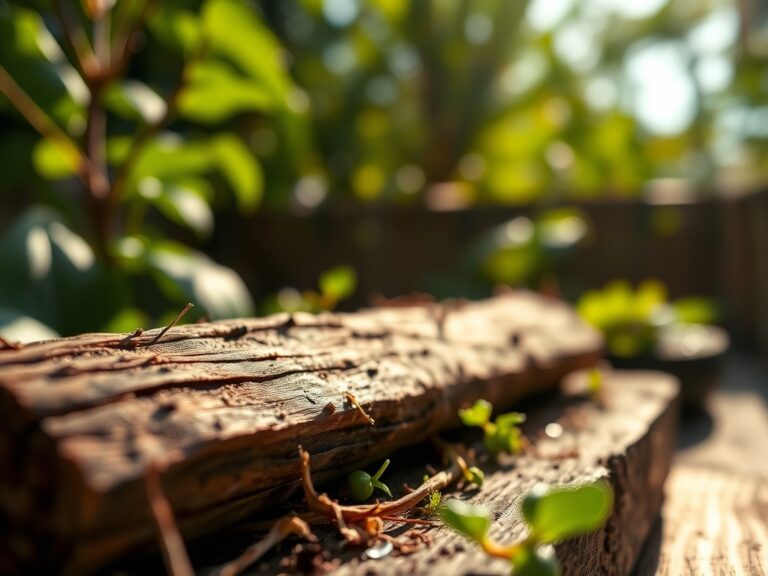
Select a base of 40 percent high quality compost, 40 percent peat moss or coconut coir, and 20 percent perlite for aeration. Incorporate a slow release organic fertilizer with an NPK ratio of 5-10-5 for root development or 10-10-10 for general vegetative growth. High Cation Exchange Capacity (CEC) materials like vermiculite should be added to retain positively charged ions such as Calcium (Ca2+) and Magnesium (Mg2+). Use rot resistant timber like cedar or redwood, ensuring the interior is lined with food grade pond liner or landscape fabric to prevent anaerobic conditions at the wood interface.
Timing:
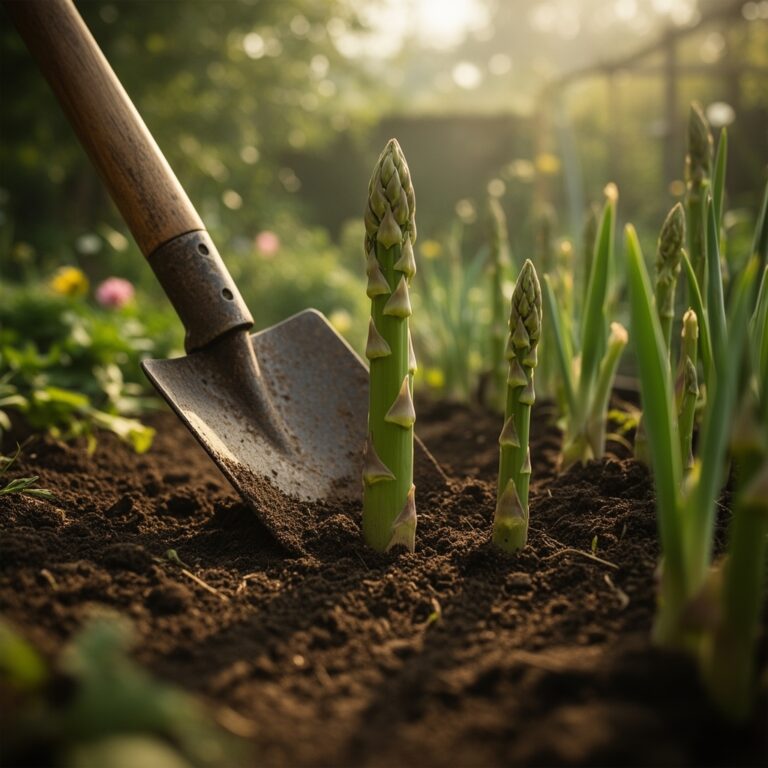
Timing is dictated by your USDA Hardiness Zone and the specific thermal requirements of your crops. In Zones 7 through 9, the window for cool season crops like Brassica oleracea begins when soil temperatures reach a consistent 50 degrees Fahrenheit. Warm season crops like Solanum lycopersicum require a minimum soil temperature of 60 degrees Fahrenheit to prevent stunted growth.
The biological clock of a plant moves from the vegetative stage (leaf and stem production) to the reproductive stage (flowering and fruiting) based on Heat Units or Growing Degree Days (GDD). Monitor the frost date windows in your region; a late spring frost can cause ice crystals to form within the plant cells, leading to immediate cell wall rupture and necrosis. Plan your build at least three weeks before the last frost to allow the soil microbiome to stabilize before introduction of seedlings.
Phases:
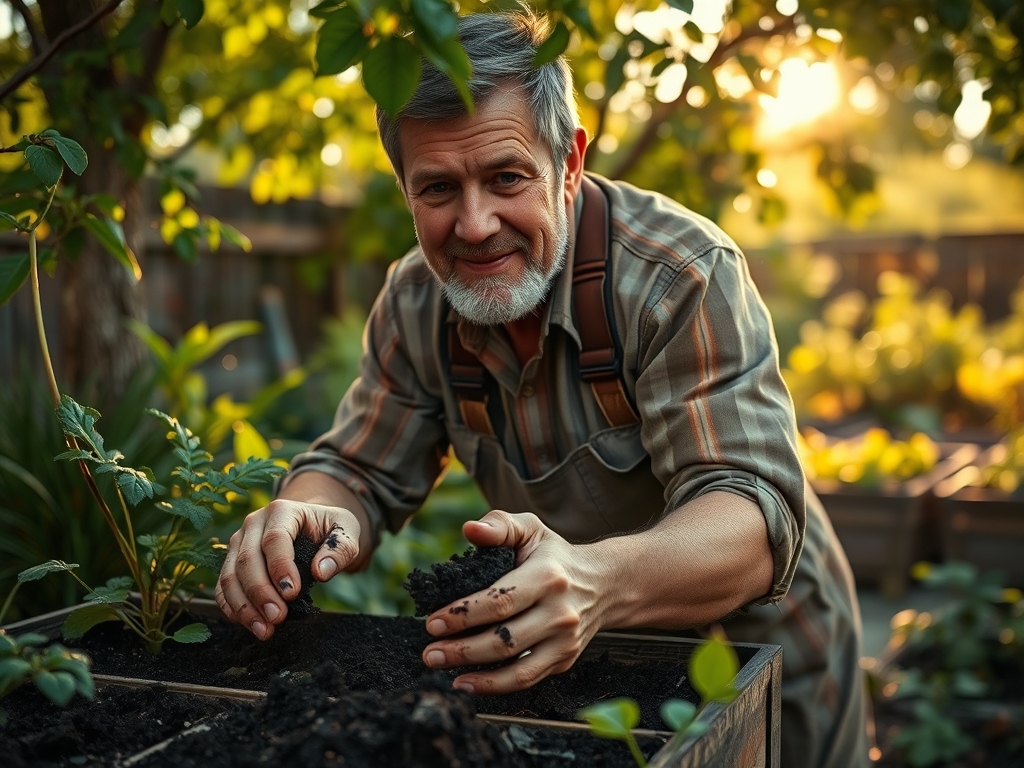
Sowing
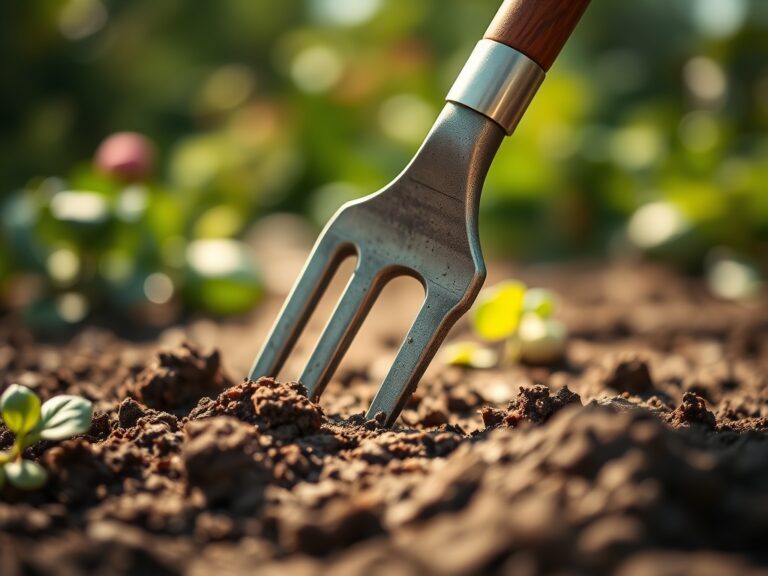
Direct sow seeds at a depth approximately three times the diameter of the seed. Maintain a consistent moisture level to ensure the seed coat softens and the radicle can emerge.
Pro-Tip: Monitor the imbibition phase. If the soil dries out during the first 24 hours of water uptake, the embryo may die before germination. This is due to the disruption of metabolic activation within the endosperm.
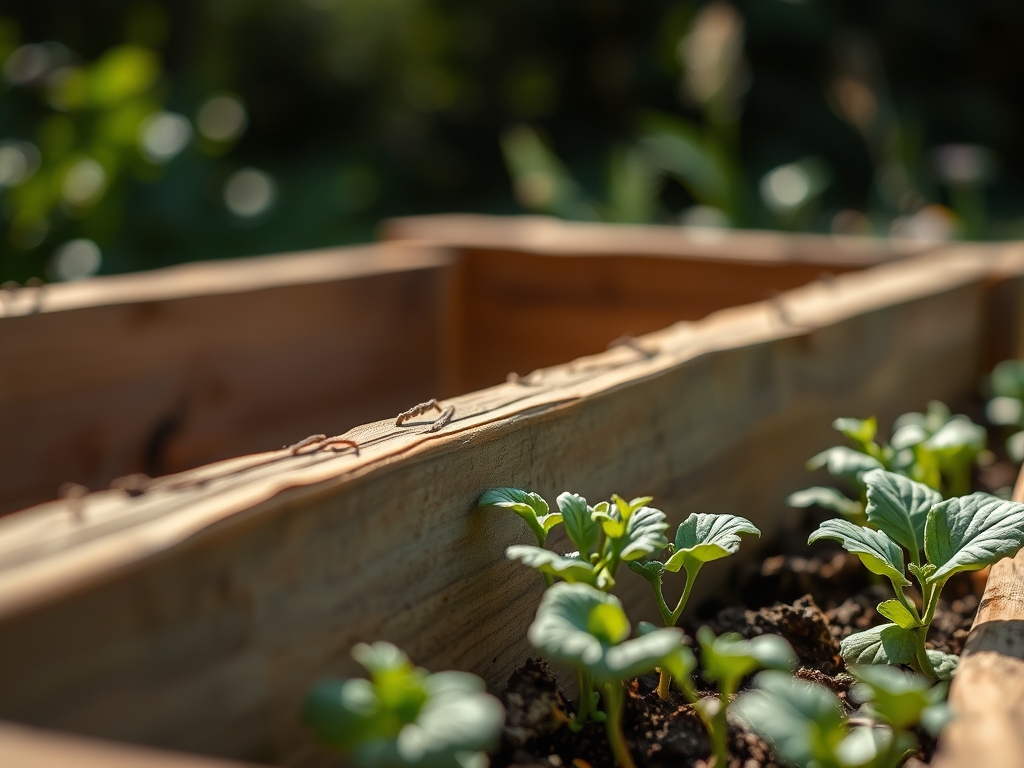
Transplanting
When moving seedlings from nursery pots to the planter box, minimize root disturbance to prevent transplant shock. Ensure the root ball is level with the surrounding soil surface to avoid stem rot.
Pro-Tip: Inoculate the root zone with mycorrhizal fungi. This symbiotic relationship extends the reach of the root system via hyphae; increasing the surface area for phosphorus uptake and improving drought resistance.
Establishing
During the first 14 days, focus on root establishment over top growth. Avoid high nitrogen fertilizers during this window to prevent the plant from prioritizing foliage before the root system can support the transpiration demand.
Pro-Tip: Practice auxin suppression by pinching off early flower buds on young plants. This redirects the plant's energy (carbohydrates) back into root and structural development rather than premature reproduction.
The Clinic:
Physiological disorders often mimic infectious diseases but are rooted in environmental or nutritional imbalances.
- Symptom: Interveinal chlorosis (yellowing between leaf veins) on older leaves.
Solution: This indicates a Magnesium deficiency. Magnesium is a central atom in the chlorophyll molecule. Apply Epsom salts (magnesium sulfate) at a rate of 1 tablespoon per gallon of water.
- Symptom: Blossom End Rot (dark, leathery spots on the bottom of fruit).
Solution: This is caused by a Calcium localized deficiency, often triggered by inconsistent watering. Ensure the soil remains evenly moist to allow for the passive transport of calcium through the xylem.
- Symptom: Leaf epinasty (downward curling or twisting of leaves).
Solution: Check for ethylene gas exposure or overwatering. Saturated soil leads to hypoxia in the roots; which triggers the production of ACC (1-aminocyclopropane-1-carboxylic acid) that moves upward and causes the curling.
- Symptom: Purpling of stems and lower leaves.
Solution: This signals Phosphorus deficiency, often occurring in cold soils where phosphorus becomes chemically locked and unavailable to the plant. Increase soil temperature or use a water soluble high phosphorus fertilizer.
Maintenance:
Precision maintenance prevents senescence and maximizes the harvest window. Use a soil moisture meter to ensure the substrate stays within the "available water" range. Most vegetable boxes require 1.5 inches of water per week delivered at the drip line to avoid wetting the foliage, which can encourage fungal pathogens.
Utilize a hori-hori knife for deep weeding to ensure you remove the entire taproot of invasive species. Use bypass pruners for clean cuts; anvil pruners can crush vascular tissue and create entry points for bacteria. Monitor the electrical conductivity (EC) of your soil if you use synthetic fertilizers to prevent salt buildup, which can cause osmotic stress and "burn" the root tips.
The Yield:
Harvesting is the final stage of the horticultural cycle. For leafy greens, harvest in the early morning when turgor pressure is at its peak and the plant is most hydrated. For fruiting crops like peppers or tomatoes, use shears to cut the pedicel rather than pulling the fruit, which can damage the main stem.
To maintain "day-one" freshness, field heat must be removed immediately. Submerge harvested greens in cold water (hydro-cooling) to slow down the respiration rate. This preservation of sugars and starches prevents the plant from utilizing its own stored energy, extending the shelf life and nutritional density of the produce.
FAQ:
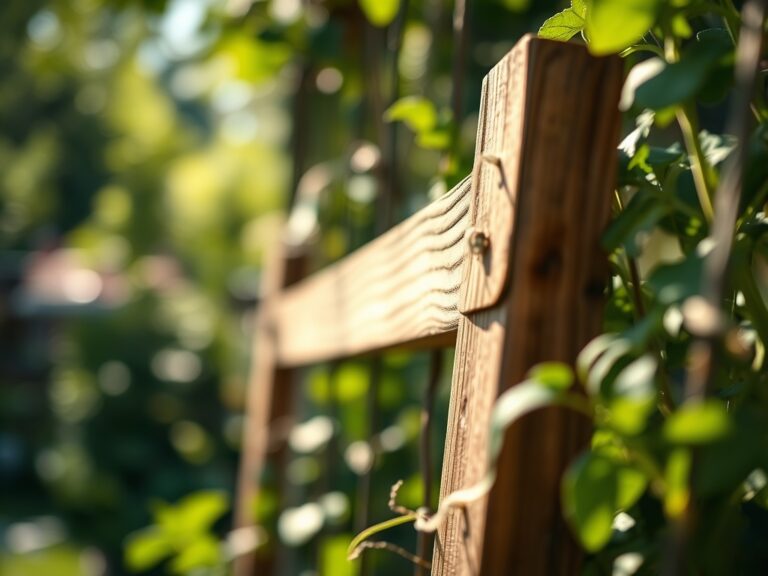
What is the best wood for a vegetable planter?
Cedar and redwood are the industry standards due to their natural resistance to rot and insects. They contain tannins that prevent fungal decay without the need for chemical pressure treatments that could leach into the soil.
How deep should a planter box be for vegetables?
A minimum depth of 12 to 18 inches is required for most crops. This volume provides sufficient space for root expansion and acts as a buffer against rapid fluctuations in soil temperature and moisture levels.
How do I improve drainage in a wooden planter?
Drill half inch diameter holes every six inches along the base. Line the bottom with an inch of coarse gravel or landscape fabric to prevent the drainage holes from becoming clogged with fine soil particles over time.
Why are my plants turning yellow despite watering?
This is often Nitrogen chlorosis caused by leaching or overwatering. Excess water flushes nitrate ions out of the root zone. Apply a high nitrogen fertilizer and reduce watering frequency to allow for soil aeration.