6 Sturdy Steps to Build a Tomato Trellis
The smell of damp earth and the sharp, resinous scent of crushed tomato foliage signal the peak of the growing season. A healthy tomato plant relies on high turgor pressure to maintain its upright structure; however, indeterminate varieties quickly exceed their internal mechanical strength. Providing structural support is not an aesthetic choice but a physiological necessity. Mastering the steps for building a vegetable garden trellis ensures that heavy fruit loads do not cause stem breakage or soil-borne pathogen transmission. By elevating the canopy, you optimize airflow and light penetration, directly influencing the rate of photosynthesis and fruit ripening.
Materials:
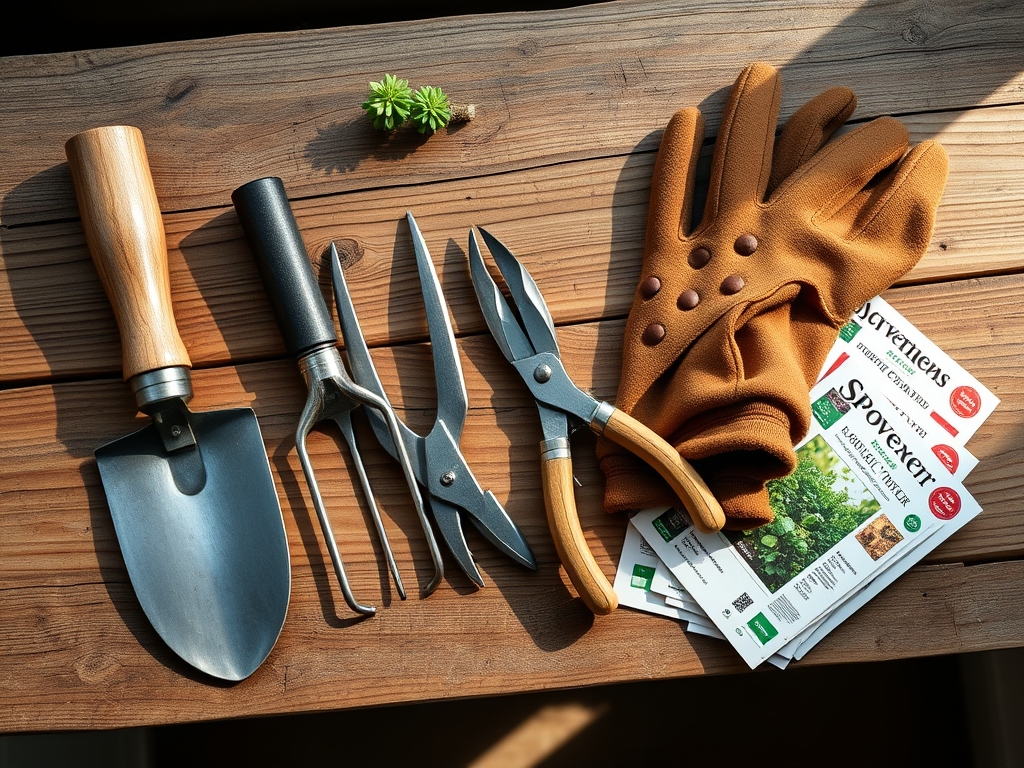
Before driving stakes, analyze the substrate. Tomatoes thrive in a **friable loam** with a **soil pH between 6.2 and 6.8**. This range ensures maximum bioavailability of micronutrients. High **Cation Exchange Capacity (CEC)** is vital for holding onto essential ions. For the vegetative stage, ensure your soil contains a balanced **NPK ratio of 10-10-10**. Once the plant transitions to the reproductive stage, shift to a **5-10-10** or **8-15-36** ratio to prioritize phosphorus and potassium for fruit development rather than excessive leaf production. You will need **eight-foot cedar posts**, **12-gauge galvanized wire**, and **heavy-duty cattle panels** or nylon netting.
Timing:
Timing is dictated by USDA Hardiness Zones and local frost-free dates. In Zones 5 through 7, the window for installation begins in late April to mid-May. The "Biological Clock" of the tomato plant moves from the vegetative stage to the reproductive stage approximately 45 to 60 days after germination. You must have your trellis system in place before the plant reaches 12 inches in height. Installing a trellis after this point risks damaging the delicate rhizosphere and disrupting the established root architecture. Monitoring soil temperature is critical; do not transplant until the soil consistently registers 60 degrees Fahrenheit at a four-inch depth.
Phases:

Sowing and Site Preparation
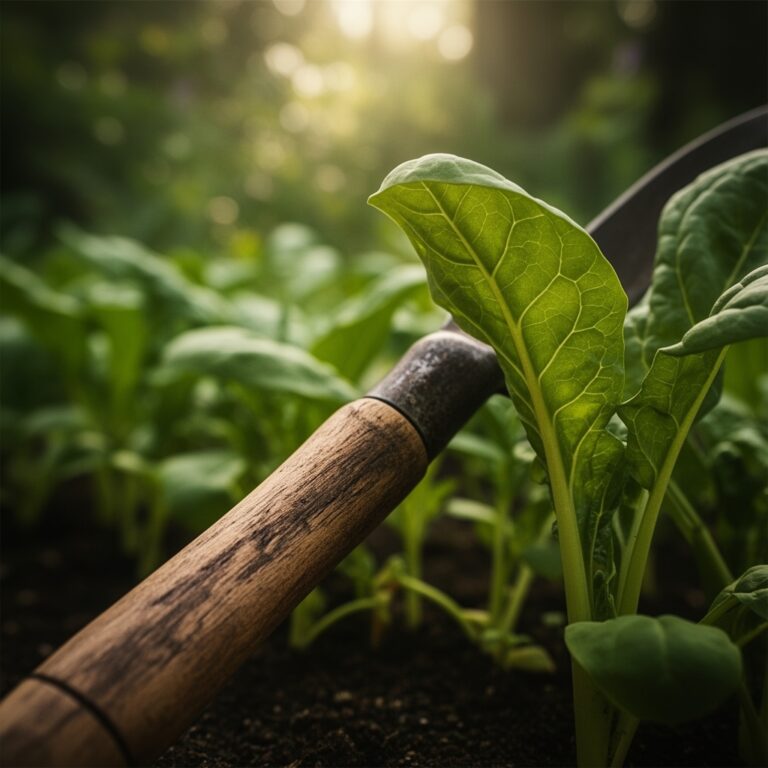
Begin by clearing all debris from the planting site to minimize overwintering pathogens. Dig a trench 12 inches deep and incorporate organic matter to improve the soil structure. Space your support posts 4 to 6 feet apart to allow for adequate gas exchange between plants.
Pro-Tip: Incorporating mycorrhizal fungi during site prep encourages mycorrhizal symbiosis. This fungal network extends the reach of the root system, increasing the surface area for phosphorus uptake by up to 10 times.
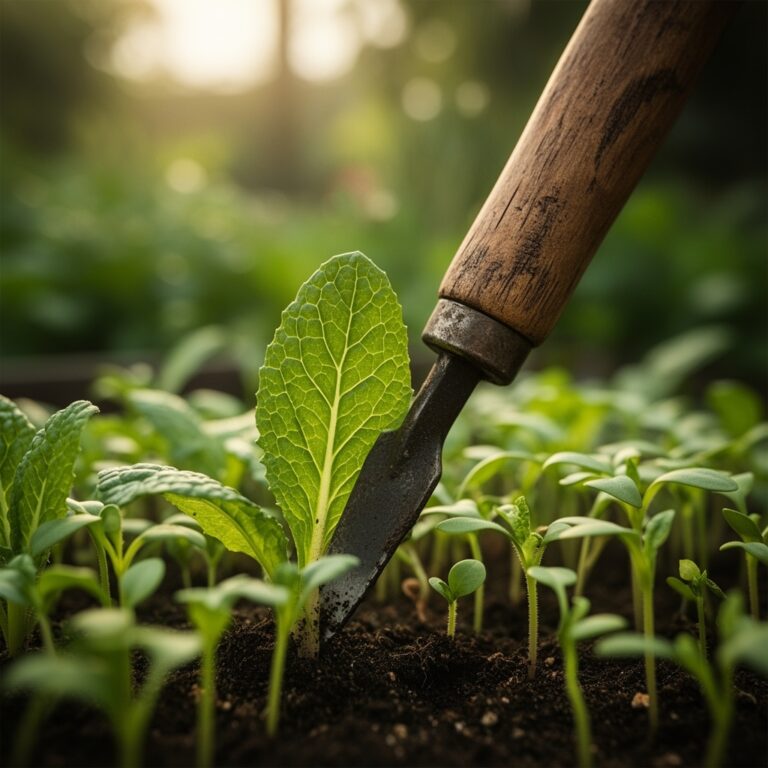
Transplanting and Initial Support
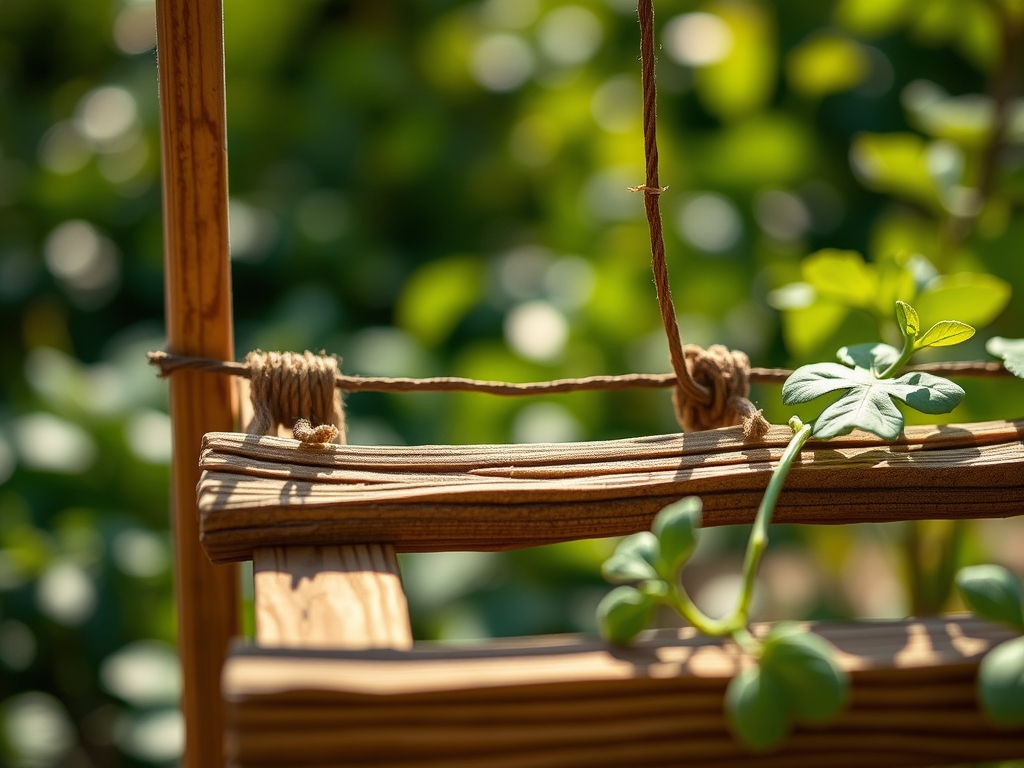
When transplanting, bury the stem up to the first set of true leaves. This triggers the growth of adventitious roots along the buried stem, creating a more robust anchor. Secure the main lead to the trellis using a loose figure-eight knot to allow for secondary thickening of the vascular cambium.
Pro-Tip: Use soft twine to avoid bruising the epidermis. Maintaining the integrity of the outer tissue prevents the entry of bacterial wilt pathogens that thrive in compromised plant vascular systems.
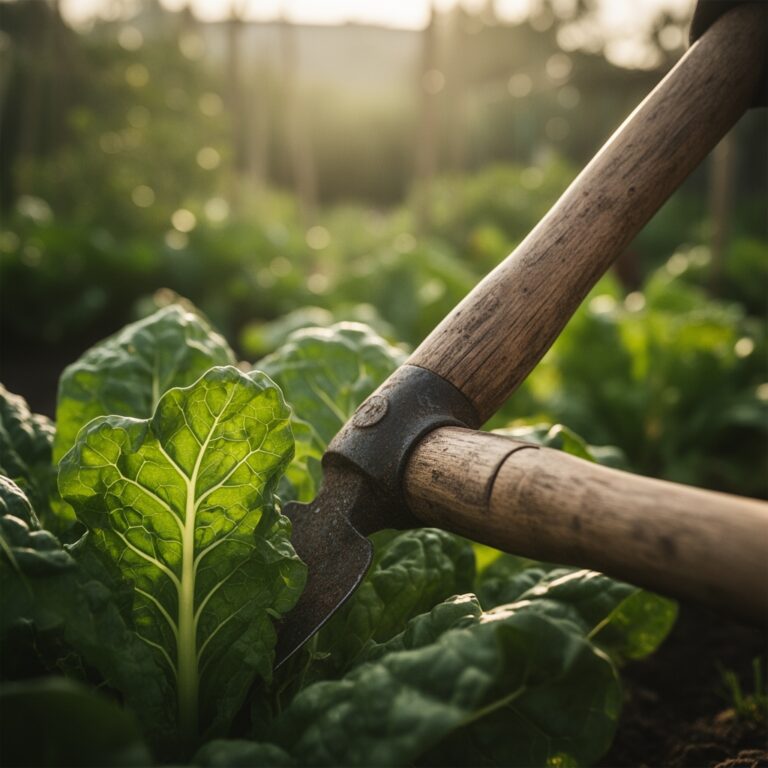
Establishing the Canopy
As the plant grows, continue weaving the leads through the cattle panel or securing them to the wire. Prune "suckers"—the auxiliary shoots that emerge from the leaf axils—to maintain a single or double leader system. This focuses the plant's energy on fruit production rather than vegetative biomass.
Pro-Tip: Pruning suckers manages auxin suppression. By removing the auxiliary buds, you maintain apical dominance, which directs the flow of growth hormones to the primary terminal bud and developing fruit clusters.
The Clinic:
Physiological disorders often mimic infectious diseases but are usually caused by environmental stress or nutrient imbalances.
- Symptom: Blossom End Rot. A dark, leathery spot appears on the bottom of the fruit.
- Solution: This is caused by a calcium deficiency often triggered by inconsistent moisture. Maintain steady soil moisture levels to ensure calcium ions can be transported through the xylem.
- Symptom: Sunscald. White, papery patches on the fruit surface.
- Solution: This occurs when fruit is suddenly exposed to high-intensity UV light. Maintain a sufficient leaf canopy to provide natural shading.
- Symptom: Leaf Roll. Upward curling of the lower leaves without yellowing.
- Solution: This is a physiological response to excessive moisture or high nitrogen. Ensure the soil has a percolation rate of 1 to 2 inches per hour.
Fix-It for Nitrogen Chlorosis: If older leaves turn a uniform pale yellow, the plant is likely suffering from nitrogen deficiency. Apply a water-soluble fertilizer with a high first NPK number (e.g., 20-10-10) to the root zone for immediate uptake.
Maintenance:
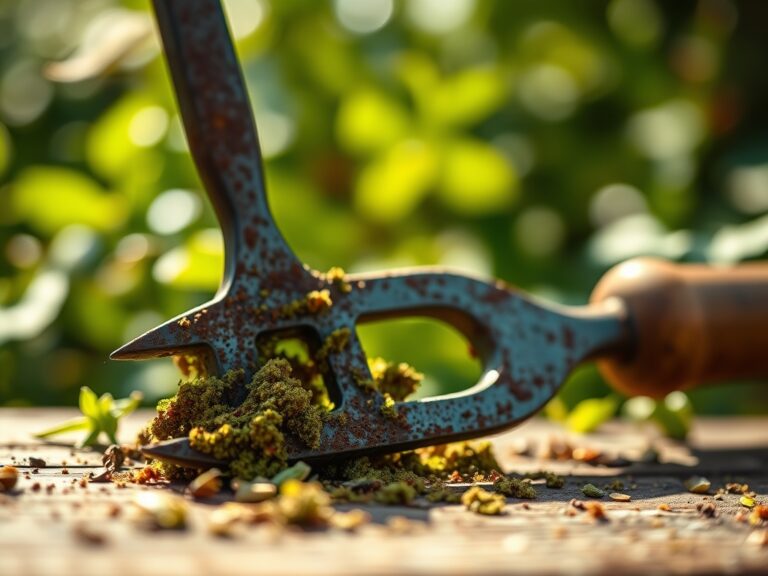
Precision is the difference between a surviving plant and a thriving one. Use a soil moisture meter to ensure the root zone receives 1.5 inches of water per week delivered at the drip line. Avoid overhead irrigation to prevent the spread of fungal spores. Every two weeks, use bypass pruners to remove any yellowing foliage near the base of the plant to improve vertical airflow. For precise weeding near the stem, a hori-hori knife allows you to extract taproots without disturbing the tomato's shallow lateral roots. Monitor the photoperiod; as days shorten, the plant will naturally begin senescence, shifting its remaining energy into ripening existing fruit.
The Yield:
Harvesting is a science of timing. For maximum flavor and shelf life, harvest tomatoes when they reach the **"breaker stage"**—the point where the fruit is about 30 to 50 percent turned from green to pink or red. At this stage, an abscission layer forms on the stem, and the fruit can finish ripening off the vine without losing nutritional value. Use sharp snips to cut the pedicel just above the calyx. To maintain "day-one" freshness, store harvested fruit at room temperature, approximately 60 to 70 degrees Fahrenheit. Never refrigerate fresh tomatoes, as temperatures below 50 degrees Fahrenheit break down the cell membranes and destroy the volatile compounds responsible for flavor.
FAQ:
What is the best spacing for a tomato trellis?
Space vertical supports 4 to 6 feet apart. This distance prevents canopy overcrowding and allows for a 360-degree airflow around each plant, which significantly reduces the risk of late blight and other fungal infections.
How deep should I drive trellis posts?
Drive heavy-duty stakes at least 18 to 24 inches into the ground. This depth is necessary to counteract the leverage created by a mature plant, which can weigh over 30 pounds when fully loaded with fruit and water.
Can I reuse trellis materials every year?
Yes, but you must disinfect them. Scrub all stakes and wires with a 10 percent bleach solution to kill overwintering spores and bacteria. This practice prevents the carryover of pathogens like Septoria leaf spot from one season to the next.
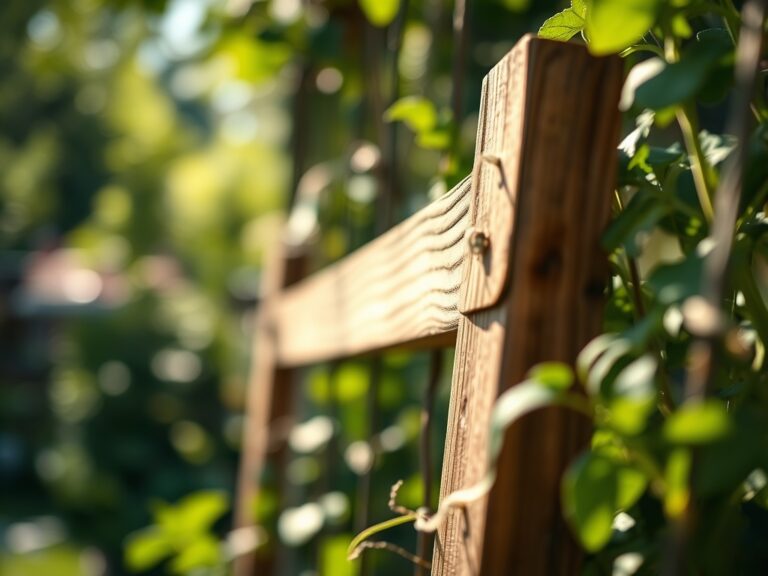
Which trellis type is best for indeterminate tomatoes?
Cattle panels or string trellises are superior for indeterminate varieties. These systems provide the vertical height (up to 8 feet) required for the plant's continuous growth and allow for easy management of the primary vascular leads.