6 Pro Ways to Use a Garden Auger for Bulbs
Using a garden auger for mass bulb planting transforms the labor-intensive ritual of preparing hundreds of individual holes into a mechanized sequence that takes minutes rather than hours. The drill-mounted spiral blade cuts through compacted clay, sandy loam, and root-matted turf with equal efficiency, depositing conical cores of soil at precise depths while your wrists remain unstrained. For commercial growers installing 500 tulip bulbs across a half-acre display or homeowners naturalizing drifts of daffodils beneath deciduous trees, the auger becomes the difference between backbreaking spadework and systematic installation. This method preserves soil structure at the planting interface, minimizes root disturbance in established beds, and maintains consistent depth calibration across every hole.
Materials
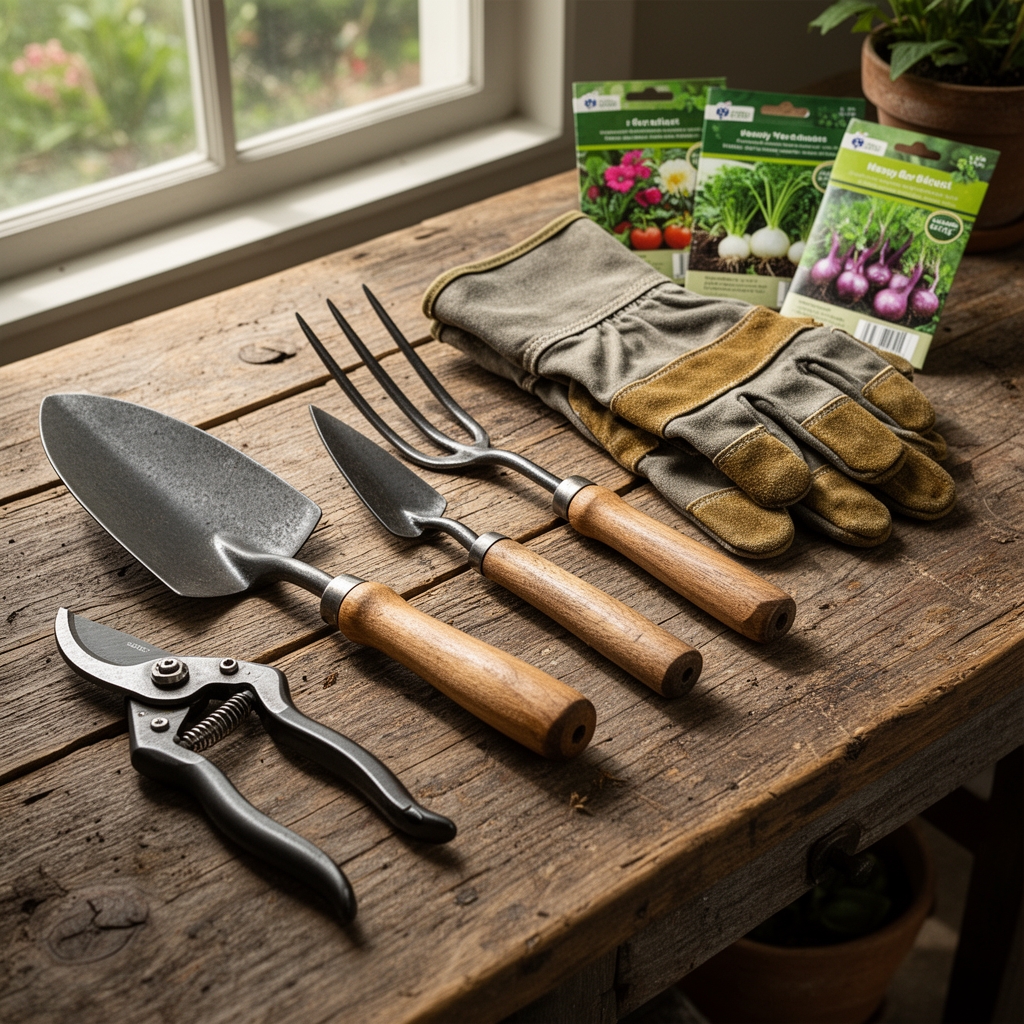
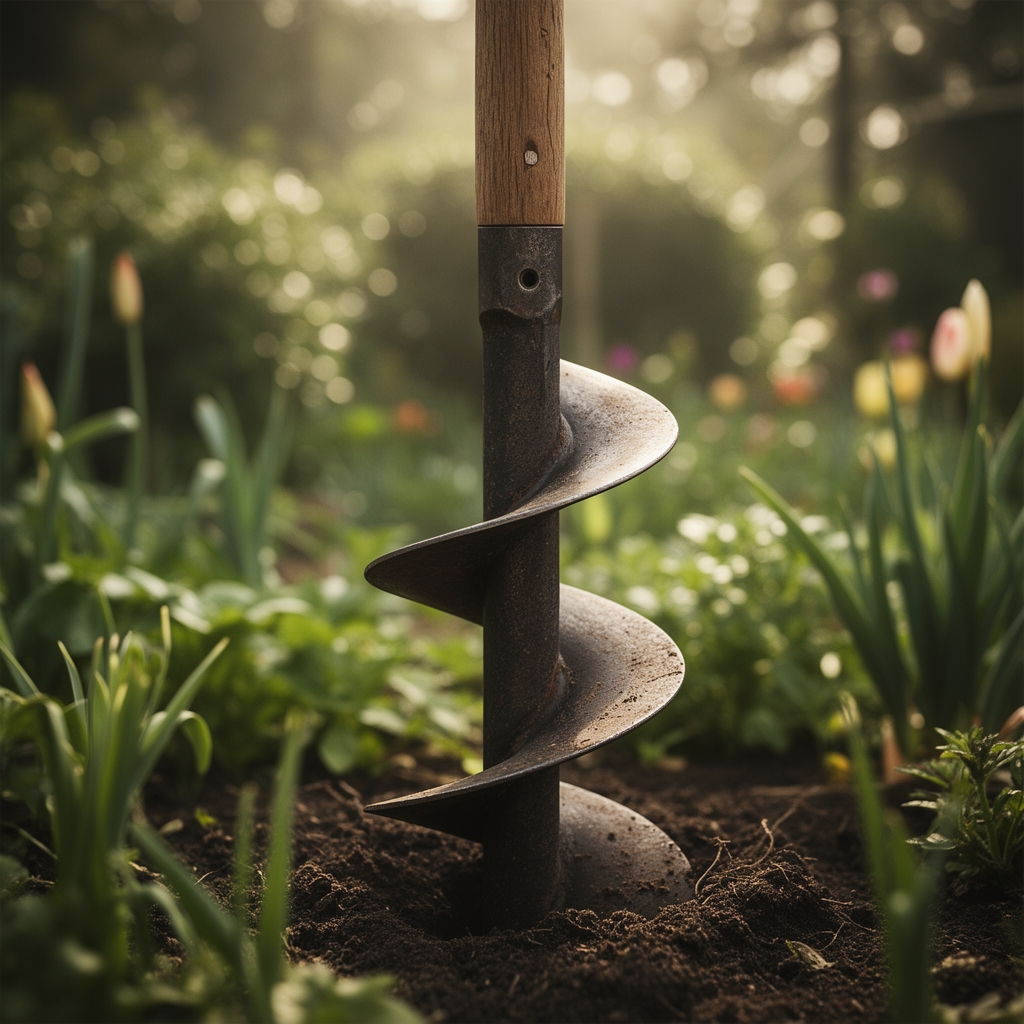
Select a 2-inch or 3-inch diameter auger bit with a minimum 9-inch spiral depth. Match the bit diameter to bulb size: 2-inch for crocus and grape hyacinth, 3-inch for tulips and daffodils. Cordless drills require 20-volt minimum torque ratings; corded models need 8-amp motors to penetrate clay without stalling.
Prepare a base amendment blend at 5-3-4 NPK ratio using composted pine bark (pH 5.8-6.2), bone meal (3-15-0), and greensand (0-0-3). This formulation supports mycorrhizal colonization while providing slow-release phosphorus for root initiation. For alkaline soils above pH 7.2, incorporate sulfur at 1 pound per 100 square feet two weeks before planting to shift cation exchange capacity toward bulb-favorable acidity.
Stock bulbs by hardiness classification: spring-blooming tulips and daffodils (Zones 3-8), summer alliums (Zones 4-9), and fall crocus (Zones 5-9). Reject any bulbs showing basal plate rot or visible fungal threads.
Timing
Install spring-flowering bulbs between September 15 and November 30 in Zones 5-7, timing installation for 6-8 weeks before ground freeze. Northern zones (3-4) require September completion; southern zones (8-9) delay until December when soil temperatures drop below 55°F. This cold stratification period triggers embryonic differentiation and auxin distribution that determines stem emergence timing.
Summer bulbs demand post-frost planting: after May 15 in Zone 5, after April 1 in Zone 7. Soil temperatures must reach 60°F at 4-inch depth to prevent tuber rot. Fall-blooming crocus and colchicum install in July and August, breaking conventional spring/fall planting windows.
Phases
Sowing Phase
Mark planting zones using landscape flags at 6-inch intervals for tulips, 4-inch for minor bulbs. Engage the auger vertically, maintaining 90-degree angle to soil surface. Extract the auger every 3 seconds to clear debris from flights. Drill to exactly 3 times bulb height: 8 inches for large tulips, 4 inches for crocus. Drop 1 tablespoon of 5-3-4 amendment into each hole bottom.
Pro-Tip: Apply mycorrhizal inoculant powder (Glomus intraradices) directly to bulb basal plates at 1/4 teaspoon per bulb. This fungal symbiont increases phosphorus uptake efficiency by 40% during root establishment.
Transplanting Phase
Orient bulbs with pointed apex upward, flat basal plate downward. For tulips lacking clear orientation, plant sideways; apical dominance will correct emergence angle. Press bulbs firmly against hole bottom to eliminate air pockets that cause suspended roots. Backfill with native soil only; heavy amendments create moisture discontinuities that encourage rot.
Space bulbs in naturalized drifts using prime-number intervals (5, 7, 11 inches) to avoid artificial grid patterns. Layer bulbs at staggered depths: plant large daffodils at 8 inches, then install crocus at 4 inches directly above for sequential bloom.
Pro-Tip: For clay soils with drainage concerns, add 2 inches of pea gravel below each bulb before placement. This capillary break prevents waterlogging during dormancy.
Establishing Phase
Water immediately after installation at 1 inch per square foot to settle soil and initiate root growth. Apply 2 inches of shredded hardwood mulch, keeping material 1 inch away from planting spots to prevent basal plate smothering. In Zones 3-5, increase mulch to 4 inches after ground freeze.
Mark planted areas with permanent landscape stakes. Bulb foliage emerges 14-21 days after soil temperatures stabilize above 50°F in spring.
Pro-Tip: Install bulbs in wire mesh baskets (1/2-inch hardware cloth) in rodent-prone areas. The auger creates perfect cylindrical holes for basket insertion.
Troubleshooting
Symptom: Auger binds in clay at 4-inch depth, motor strains.
Solution: Drill pilot hole with 1-inch bit first. Water clay soil 24 hours before augering to soften structure without creating mud.
Symptom: Bulbs emerge in spring but produce foliage only, no flowers.
Solution: Insufficient chilling hours or planted too shallow. Verify bulbs received 12-16 weeks below 45°F. Increase depth by 2 inches next season.
Symptom: Basal rot with white mycelial growth (Fusarium oxysporum).
Solution: Remove infected bulbs immediately. Drench holes with thiophanate-methyl fungicide at labeled rates. Avoid replanting tulips in same location for 3 years.
Symptom: Squirrels excavate fresh plantings within 48 hours.
Solution: Cover beds with 1-inch chicken wire secured with landscape staples. Remove after ground freeze.
Symptom: Auger creates glazed, compacted hole walls in wet clay.
Solution: Wait until soil moisture content drops below field capacity. Roughen hole walls with hand fork before bulb insertion.
Maintenance
Apply 1 inch of water weekly during active growth if rainfall is insufficient. Discontinue watering when foliage begins yellowing (6-8 weeks post-bloom). This natural senescence redirects nutrients to bulb storage tissues for next year's display.
Leave foliage intact until 75% has turned brown and collapsed. Premature removal reduces bulb size by 30% and eliminates next season's bloom. Band foliage with rubber bands if appearance concerns arise; never braid or knot leaves.
Fertilize emerging foliage with 10-10-10 water-soluble formula at half-strength every 2 weeks during active growth. Avoid high-nitrogen feeds (above 20-10-10) that promote foliage at flower expense.
Divide clumps every 4-5 years when bloom density decreases. Lift bulbs after foliage dies, separate offsets, and replant immediately using the auger method at original depth.
FAQ
How deep should I drill for different bulb types?
Plant large tulips and daffodils at 8 inches, hyacinths at 6 inches, crocus and grape hyacinth at 4 inches, measured from soil surface to bulb base. The auger creates consistent depth when you mark the bit with electrical tape at target measurement.
Can I use a garden auger in rocky soil?
Augers work in soils with gravel under 1-inch diameter. Larger rocks require removal with a digging bar before drilling. Carbide-tipped auger bits handle occasional stone contact better than standard steel.
What drill speed prevents bulb hole glazing?
Run cordless drills at 200-300 RPM maximum. High speeds (above 400 RPM) create friction heat that glazes clay particles into impermeable walls. Use drill's low-torque setting.
Should I amend every bulb hole individually?
Individual hole amendment works best for long-lived bulbs like daffodils and alliums. For annual tulips, broadcast 2 inches of compost over the entire bed and till to 8-inch depth before augering.
How many bulbs can I plant per hour with an auger?
Expect 100-150 large bulbs per hour in loam soil, 60-80 in clay. This represents a 4x speed increase compared to manual trowel planting while reducing wrist strain by 80%.