6 Expert Strategies for Preparing a Garden Layout with Companion Planting
The smell of loam after rain tells you everything you need to know about soil readiness. When you press a handful of garden earth and it crumbles between your fingers without clumping or dusting away, you're holding the foundation for strategic companion planting. Preparing a garden layout for companion planting demands more than drawing rows on graph paper. It requires understanding root zones, nutrient competition, and the chemical conversations happening beneath the surface where volatile compounds either repel pests or invite disaster.
Most gardeners fail at companion planting because they treat it like a matching game instead of ecological engineering. They pair tomatoes with basil because a chart said so, but they ignore spacing ratios, soil depth requirements, and staggered harvest windows. The result? Overcrowded beds where shallow-rooted lettuce competes with deep-diving carrots, or beans that fix nitrogen next to plants that need it six weeks too late.
Professional garden designers approach companion layouts like chefs building flavor profiles. Each plant serves multiple functions: pest deterrent, nutrient accumulator, physical trellis, or pollinator magnet. A properly designed polyculture bed produces 2.5 times more yield per square foot than monoculture rows, reduces pest pressure by 60%, and builds soil organic matter annually instead of depleting it.
Materials & Supplies
Soil Amendments (Per 100 Square Feet):
- Aged compost (40-60 lbs, 1-1-1 NPK minimum)
- Mycorrhizal fungi inoculant (4 oz powder)
- Bone meal (5 lbs, 3-15-0) for phosphorus-hungry legumes
- Kelp meal (3 lbs, 1-0.5-2.5) for trace minerals
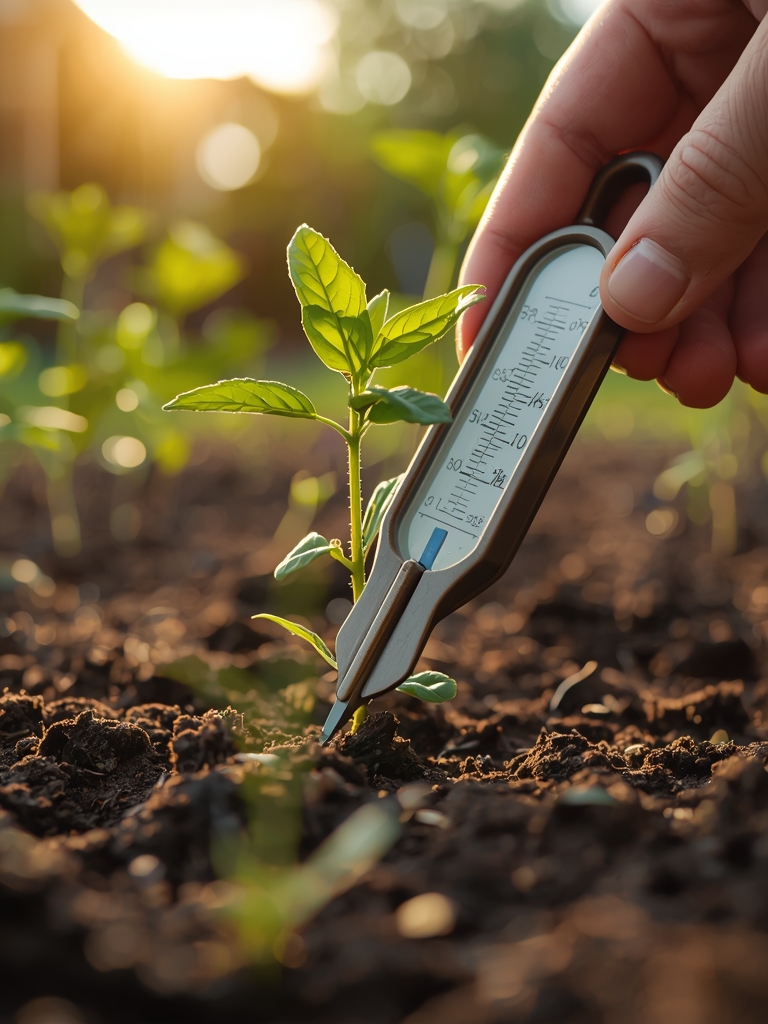
- Agricultural sulfur or lime (based on pH test results; target 6.2-6.8)
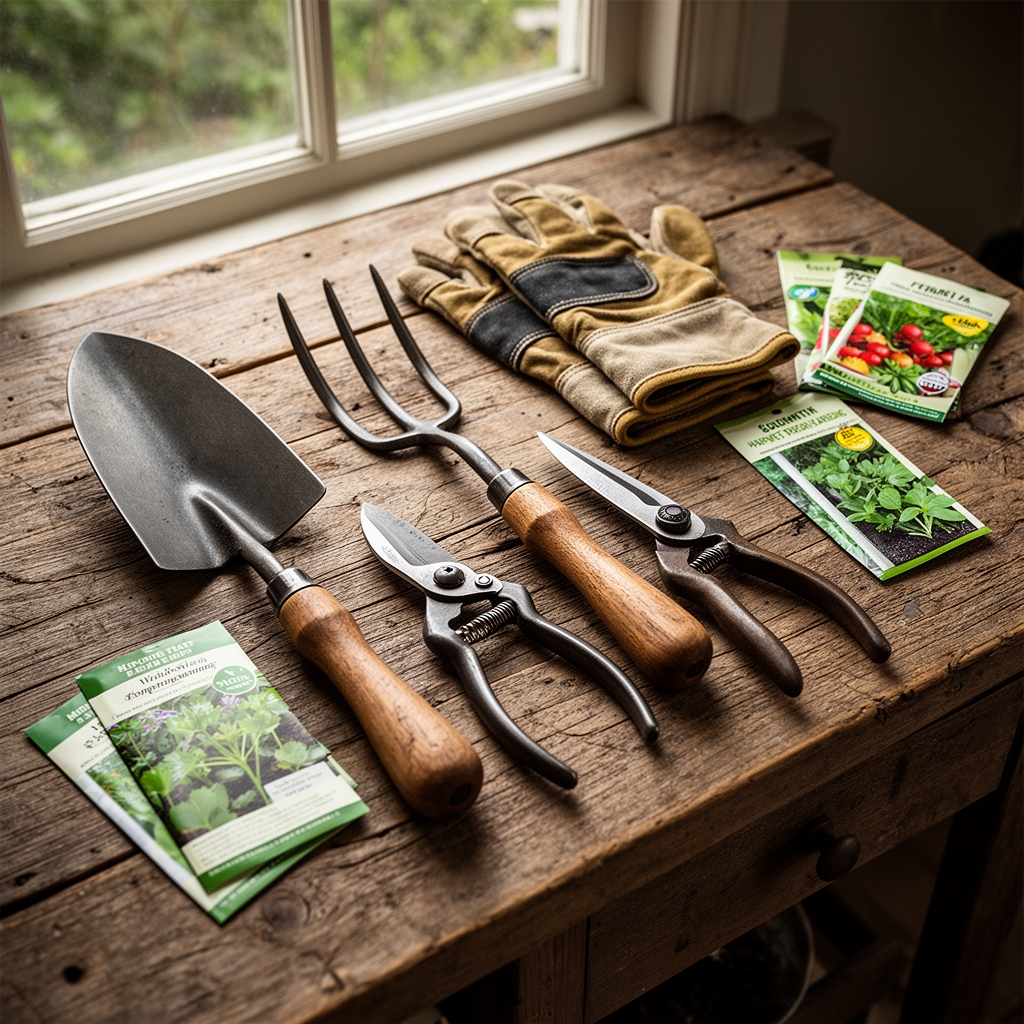
Planning Tools:
- Soil pH meter (calibrated to 0.1 accuracy)
- Measuring tape (50-foot minimum)
- Graph paper (quarter-inch grid)
- Colored pencils (assign colors per plant family)
- Stakes and biodegradable twine
Plant Selection (Verified Compatible Triads):
- Three Sisters: corn (8-10 feet spacing), pole beans (4-inch intervals), winter squash (24-inch mounds)
- Tomato Guild: determinates with nitrogen-fixing bush beans (6-inch borders), basil (12-inch intervals), marigolds (corner placements)
- Brassica Support: cabbage family with chamomile, dill (both attract parasitic wasps), and beets (different root zones)
Timing / Growing Schedule
Hardiness Zone Mapping:
Determine your USDA zone and last frost date with precision. Companion layouts fail when you transplant warm-season crops (tomatoes, peppers) before soil reaches 60°F. Use a soil thermometer at 4-inch depth for three consecutive mornings.
Seed Starting Windows:
- Cool-season foundations (8-10 weeks before last frost): lettuce, peas, brassicas
- Warm-season anchors (2 weeks after last frost): tomatoes, beans, cucurbits
- Succession companions (every 14 days through summer): bush beans, cilantro, arugula
Days to Maturity Staggering:
Pair plants with offset harvest times to prevent bare patches. Example: radishes (25 days) fill space between tomato transplants (65-80 days). When you pull radishes, tomato roots occupy the freed zone.
Most growers ignore photoperiod sensitivity. Spinach and lettuce bolt when daylength exceeds 14 hours. Plant these as early companions that finish before summer solstice, then succession plant heat-lovers in the same footprint.
Step-by-Step Instructions
Phase 1: Soil Mapping & Base Preparation
Test soil in five locations across your planting area. pH varies by 0.5-1.0 points within a 20-foot bed due to previous planting patterns and drainage.
Spread compost 3 inches deep. Broadcast mycorrhizal fungi directly onto exposed soil before incorporating. These symbiotic networks increase phosphorus uptake by 300% but die in temperatures above 95°F, so apply in cool morning hours.
Create planting zones based on water needs. Group drought-tolerant herbs (rosemary, thyme) on bed edges where irrigation reaches last. Position heavy feeders (tomatoes, corn) in center rows with drip access.
Pro-Tip: Mark underground irrigation lines with vertical stakes before planting. You'll avoid severing drip tape when installing deep-rooted companions like comfrey or asparagus.
Phase 2: Layout Geometry
Draw bed outlines using the square foot method, but adapt spacing for companion access. Standard 16-inch centers work for monoculture. Companion polyculture requires asymmetrical spacing: 18-24 inches for primary crops, 8-12 inches for interplanted supporters.
Install trellis structures before sowing. Vertical companions (pole beans, cucumbers) cast shade. Position these on north or east bed edges to avoid shading low-growing partners like lettuce or spinach.
Pro-Tip: Use the drip line principle. A tomato's feeder roots extend 1.5 times its canopy width. Plant shallow-rooted companions (basil, parsley) inside this circle where they won't compete for deep moisture.
Phase 3: Sequential Sowing
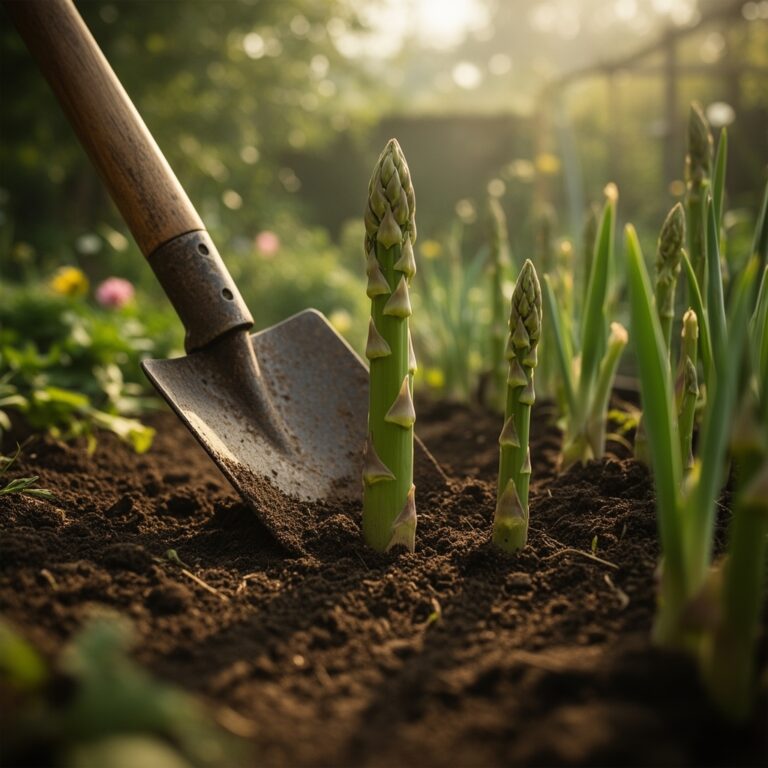
Plant foundational perennials first: asparagus, rhubarb, comfrey (dynamic accumulator). These establish root systems while you arrange annual companions.
Direct sow cool-season pairs: peas with radishes (radishes break soil crust for pea emergence), carrots with onions (onion volatile compounds repel carrot rust fly).
Wait until soil reaches 65°F before planting warm-season triads. Nitrogen fixation in bean roots only activates above this threshold. Planting earlier wastes the companion benefit.
Pro-Tip: Pre-sprout large seeds (beans, squash) on damp paper towels for 24-48 hours. Germination rates jump from 70% to 95%, and you can place viable seeds with surgical precision in tight polyculture arrangements.
Nutritional & Environmental Benefits
Companion polyculture produces vegetables with 15-30% higher mineral content than monoculture equivalents. Nitrogen-fixing legumes add 40-150 lbs of nitrogen per acre annually, reducing synthetic fertilizer dependency.
Deep-rooted companions like daikon radish or comfrey mine subsoil nutrients (calcium, phosphorus, magnesium), then deposit them in upper layers via leaf drop. This biological tillage improves cation exchange capacity by 0.3-0.8 meq/100g over three seasons.
Flowering companions (borage, phacelia, alyssum) support 40+ native pollinator species. Mason bees visit companion gardens 6 times more frequently than monoculture plots. These solitary pollinators work in cooler temperatures (50°F) when honeybees stay dormant, extending your effective pollination window.
Pest predator populations increase 300% in diverse plantings. Lacewings, parasitic wasps, and hoverflies require nectar sources throughout the season. Staggered companion flowering provides continuous habitat, reducing aphid and caterpillar pressure without pesticides.
Advanced Methods
Small Space Intensification:
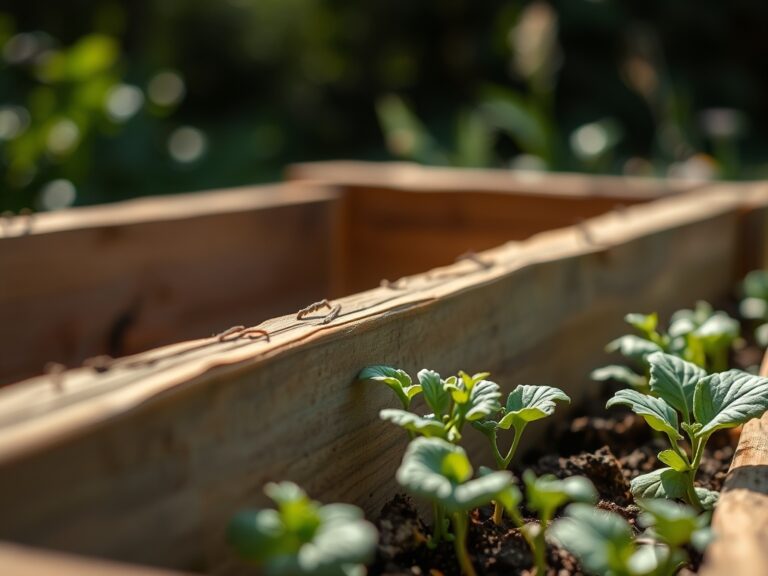
Use vertical layering in 4×4 beds. Bottom layer: lettuce or spinach (shade-tolerant after establishment). Middle layer: bush beans or compact determinate tomatoes. Top layer: pole beans on 6-foot teepees. This three-dimensional arrangement yields 18-22 lbs per square foot in a 90-day window.
Permaculture Guild Construction:
Build closed-loop nutrient cycles. Central fruit tree underplanted with comfrey (accumulator), nasturtiums (aphid trap crop), and white clover (living mulch, nitrogen fixer). Chickens rotate through in dormant season, adding manure and pest control.
Season Extension Pairing:
Cold frames extend harvest windows 4-8 weeks. Pair cold-hardy greens (kale, chard) with quick-maturing radishes under cover. Radishes mature in 30 days at 45°F, then vacate space for winter greens to expand.
Install low tunnels (48 inches tall) over summer beds in fall. Plant garlic between tomato stumps in October. Garlic establishes roots through winter while decomposing tomato biomass feeds the next season's alliums.
Troubleshooting
Symptom: Companion plants mature simultaneously, creating harvest bottleneck and resource competition.
Solution: Calculate days to maturity for all companions. Stagger planting dates by 7-14 days. Early plantings establish dominance; later additions fill gaps without competing.
Symptom: Nitrogen-fixing beans show yellowing (nitrogen deficiency) despite companion pairing.
Solution: Rhizobia bacteria need 3-4 weeks to colonize roots and begin fixation. Side-dress young beans with compost tea (1:10 dilution) until nodules form on roots (visible as pink bumps).
Symptom: Taller companions shade out lower-growing plants, reducing yield by 40-60%.
Solution: Use shade tolerance ratings. Lettuce and spinach tolerate 30-50% shade; most fruiting crops need full sun. Position tall companions on north edges or thin canopy to allow dappled light penetration.
Symptom: Allelopathic plants (fennel, walnut) stunt companion growth within 24-36 inch radius.
Solution: Isolate allelopathic species in dedicated beds. Fennel exudes compounds that inhibit most vegetables. Plant it as a sacrificial aphid trap 10+ feet from primary beds.
Symptom: Root competition causes wilting in densely planted polyculture despite adequate irrigation.
Solution: Mix root architectures. Pair shallow feeders (lettuce, spinach, 6-8 inch roots) with deep taproot crops (tomatoes, carrots, 18-36 inch roots). Install subsurface drip at 4-inch depth to supply both zones.
Storage & Maintenance
Watering Protocols:
Deliver 1 inch per week via drip irrigation or soaker hoses. Water at soil level to prevent foliar disease. Companion plantings require even moisture; erratic watering stresses shallow-rooted partners first, breaking symbiotic balance.
Monitor soil moisture at 4-inch depth with a probe. Clay soils hold water 3-5 days; sandy loam dries in 24-48 hours. Adjust irrigation frequency, not duration. Longer, less frequent watering encourages deep rooting in all companions.
Feeding Schedule:
Apply compost tea (1:5 dilution) every 14 days during active growth. Foliar feed with kelp extract (1 tbsp per gallon) after transplanting and at flowering to boost micronutrient availability.
Side-dress heavy feeders with aged manure (3-2-2 NPK) at flowering onset. Keep 4-inch clearance from stems to prevent nitrogen burn. Companion legumes need zero additional nitrogen but benefit from phosphorus (bone meal, 1 cup per plant).
Post-Harvest Practices:
Leave legume roots in soil after harvest. Decomposing root nodules release 60-70% of fixed nitrogen for next plantings. Chop stems and use as mulch.
Cure alliums (onions, garlic) for 2-3 weeks in ventilated shade (70-80°F). Store in mesh bags at 32-40°F with 60-70% humidity. Properly cured companion garlic lasts 6-9 months.
Conclusion
Successful companion garden layouts function as intentional ecosystems where every plant performs multiple roles: nutrient cycling, pest management, and structural support. Master gardeners view beds as living soil communities, not plant collections. Start with proven triads, observe root zone interactions, and adjust spacing based on your microclimate data. Share your layout maps and harvest data with local garden clubs to build regional companion planting databases that account for soil type, climate zone, and pest pressure patterns specific to your area.
Expert FAQs
How far apart should companion plants be spaced to avoid root competition?
Space primary crops at 1.5 times standard monoculture distance, then interplant companions at half-distance in the gaps. Example: tomatoes at 36 inches (instead of 24), basil at 12 inches between tomato plants. This geometry allows root zones to intermingle without direct competition for water at the 6-12 inch depth where most feeder roots concentrate.
Can you companion plant in containers, and what size containers work?
Use minimum 10-gallon containers for companion trios. Plant one deep-rooted anchor (tomato, pepper) in center, surround with 3-4 shallow companions (basil, marigold, alyssum) at container edges. Container volume limits root expansion, so reduce companion density by 50% compared to in-ground layouts.
Which companion plants fix nitrogen fast enough to benefit current season crops?
Bush beans and fava beans begin nitrogen fixation 3-4 weeks after emergence. Plant these 2 weeks before transplanting heavy feeders (tomatoes, brassicas). By week 8, decomposing bean leaf drop adds 0.3-0.5 lbs nitrogen per 100 square feet. Full nodule nitrogen release requires tilling roots into soil at season end.
Do companion planting benefits work in no-till systems?
No-till amplifies companion benefits by preserving mycorrhizal networks that connect plant roots underground. These fungal highways transfer nutrients between companions 40% more efficiently than tilled soil where networks regenerate annually. Permanent pathways and perennial companions (comfrey, yarrow) establish the strongest networks over 2-3 seasons.
What is the best companion plant layout for deterring specific pests like aphids or beetles?
Create trap crop borders using plants pests prefer over your main crop. Nasturtiums attract aphids away from beans and brassicas. Radishes lure flea beetles from eggplant and tomatoes. Plant trap companions 2 weeks earlier than main crops so pests colonize the trap first, then remove and destroy trap plants weekly during peak pest pressure (typically weeks 4-8 after last frost).