6 Critical Steps to Prepare a Trench for Planting Asparagus: A Long-Term Guide
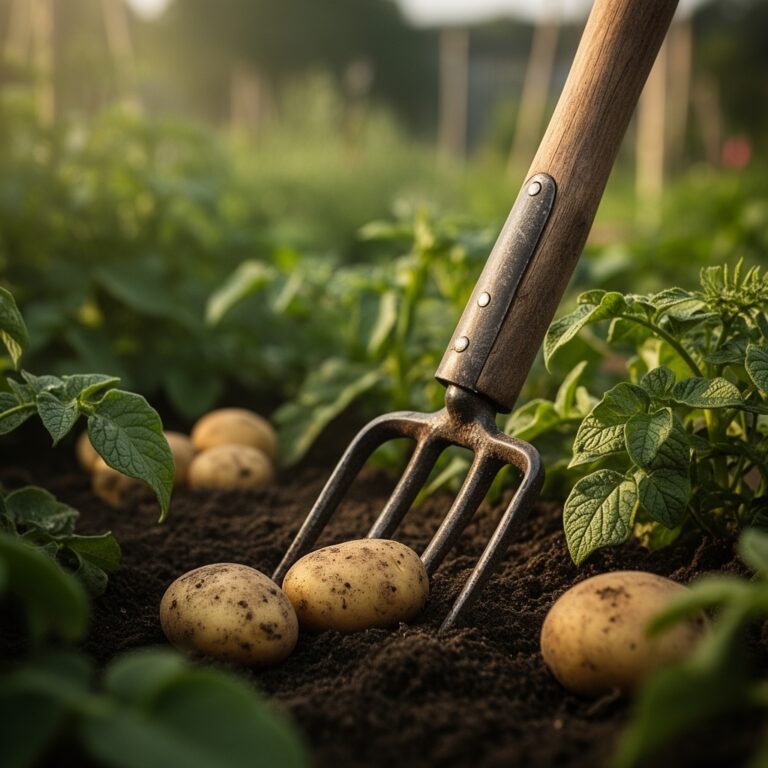
The smell of damp earth at dawn cuts through the chill. Your shovel bites into cold spring soil, and each scoop reveals dark, crumbly loam that falls away in chunks. Learning how to prepare a trench for planting asparagus means committing to a perennial bed that will feed your family for twenty years or more. This isn't a quick season crop. You're building a subterranean root empire that demands deep preparation, strategic fertility, and patience through two full years before your first real harvest.
Asparagus crowns sink their fleshy white roots eighteen inches down. They colonize the soil slowly, establishing mycorrhizal fungi partnerships that mine phosphorus from deep layers. If your trench preparation falls short, those crowns will sulk for years, producing thin, bitter spears that barely justify the garden real estate. Get it right once, and you'll harvest fat, sweet spears every April for decades.
Materials & Supplies
Soil Amendment & Fertility:
- Well-aged compost or composted manure (3-4 cubic feet per 10-foot row)
- Granular organic fertilizer with NPK ratio of 5-10-5 or 4-8-4 (1 cup per 10 feet)
- Rock phosphate (2 cups per 10-foot trench for long-term phosphorus)
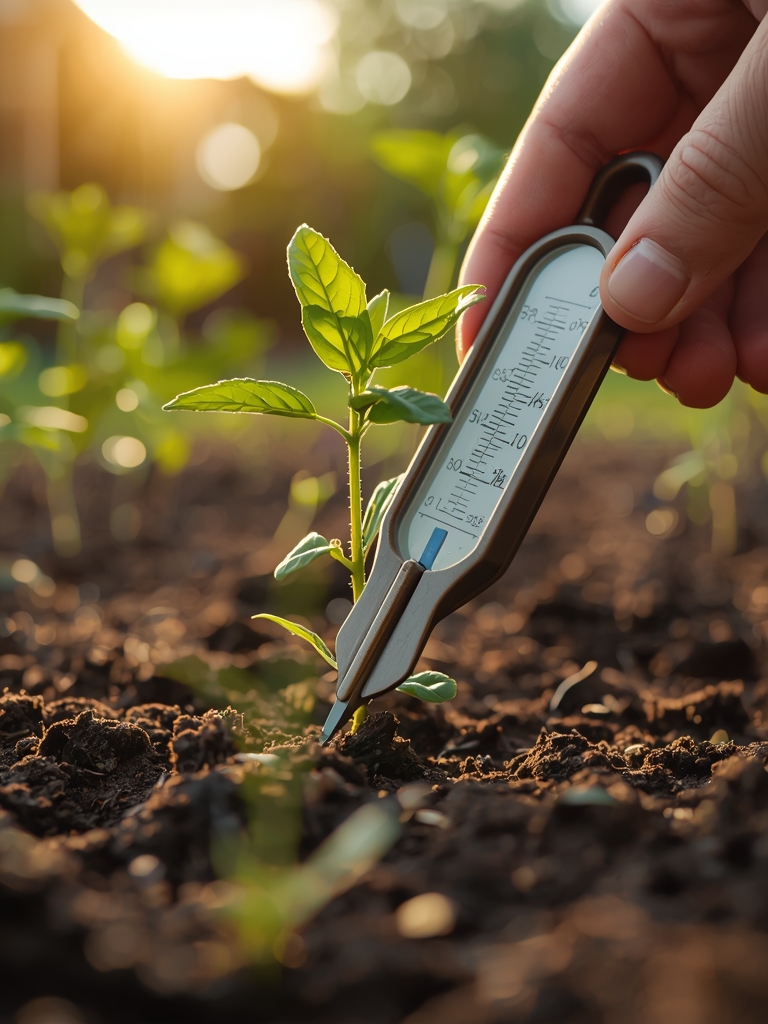
- Agricultural lime or sulfur (adjust based on soil test; target pH 6.5-7.0)
- Biochar or aged wood ash (1 quart per 10 feet for carbon sequestration and mineral retention)
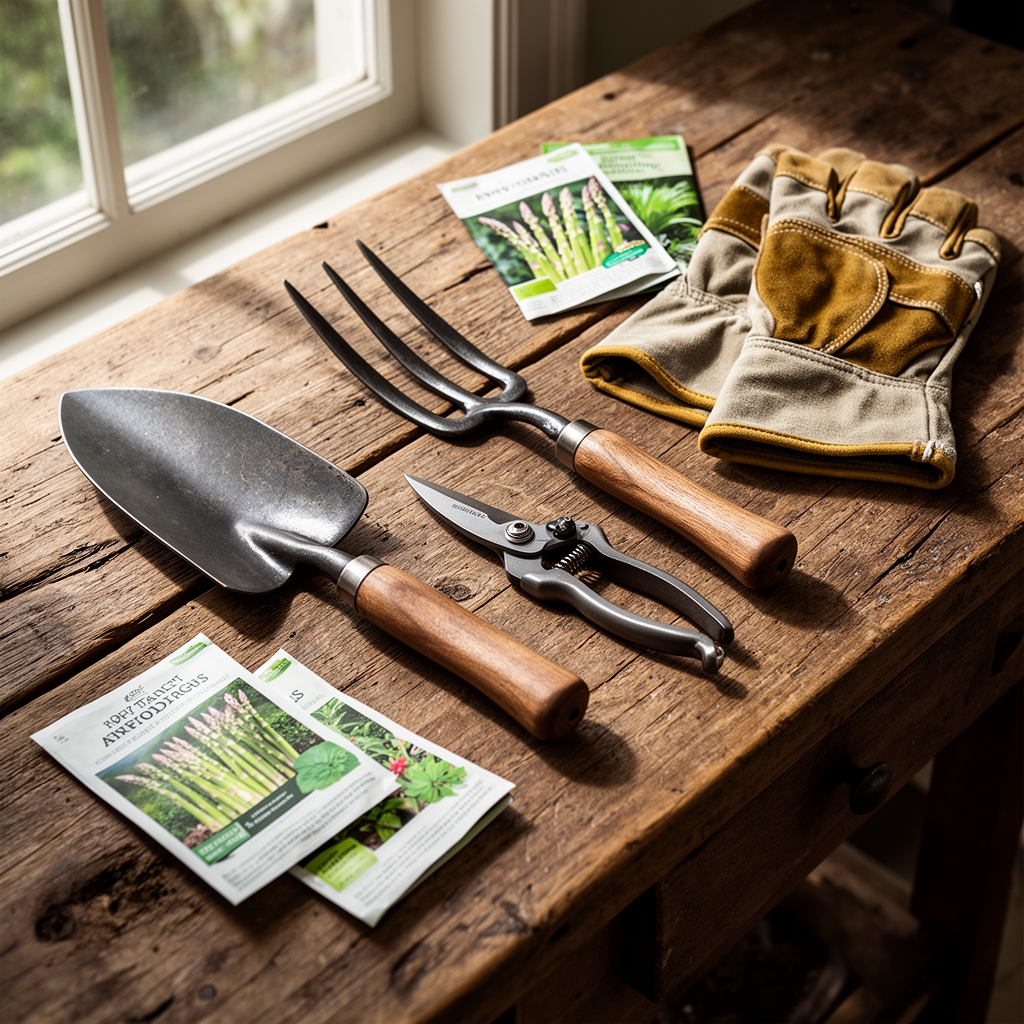
Physical Tools:
- Spade or trenching shovel
- Garden fork for breaking compacted layers
- Wheelbarrow for soil mixing
- Measuring tape
- pH meter or test kit
- Rake for leveling
Planting Stock:
- One-year-old asparagus crowns (Jersey Knight, Purple Passion, or Millennium varieties)
- 10-15 crowns per 10-foot row
Timing & Growing Schedule
Asparagus thrives in USDA Hardiness Zones 3 through 8. Warmer zones (9-10) struggle with insufficient winter dormancy, which the plant requires to regenerate energy reserves.
Planting Windows:
- Northern zones (3-5): Mid-April to early May when soil reaches 50°F
- Central zones (6-7): Late March through April
- Southern zones (8): February through March
Days to Maturity:
Year one is establishment only. Do not harvest. Year two allows light harvesting (two weeks maximum). Year three begins full production at 6-8 weeks of harvest per season. Crowns reach peak production in years 5-15.
Seed-Starting Alternative:
Starting from seed adds one full year to the timeline. Sow indoors 12-14 weeks before last frost at 70-75°F. Transplant seedlings to a nursery bed, then move one-year-old crowns to permanent trenches the following spring.
Step-by-Step Instructions

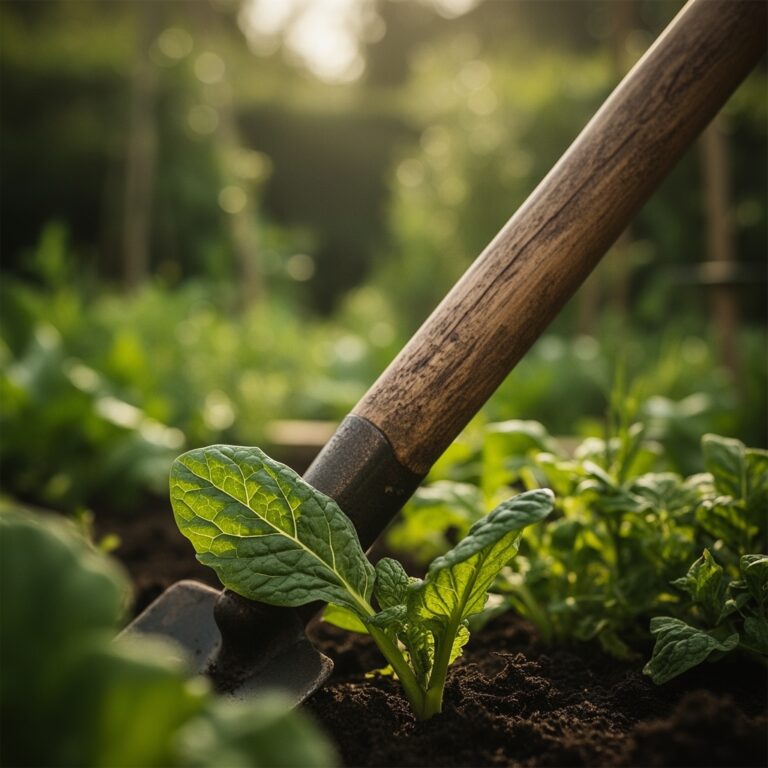
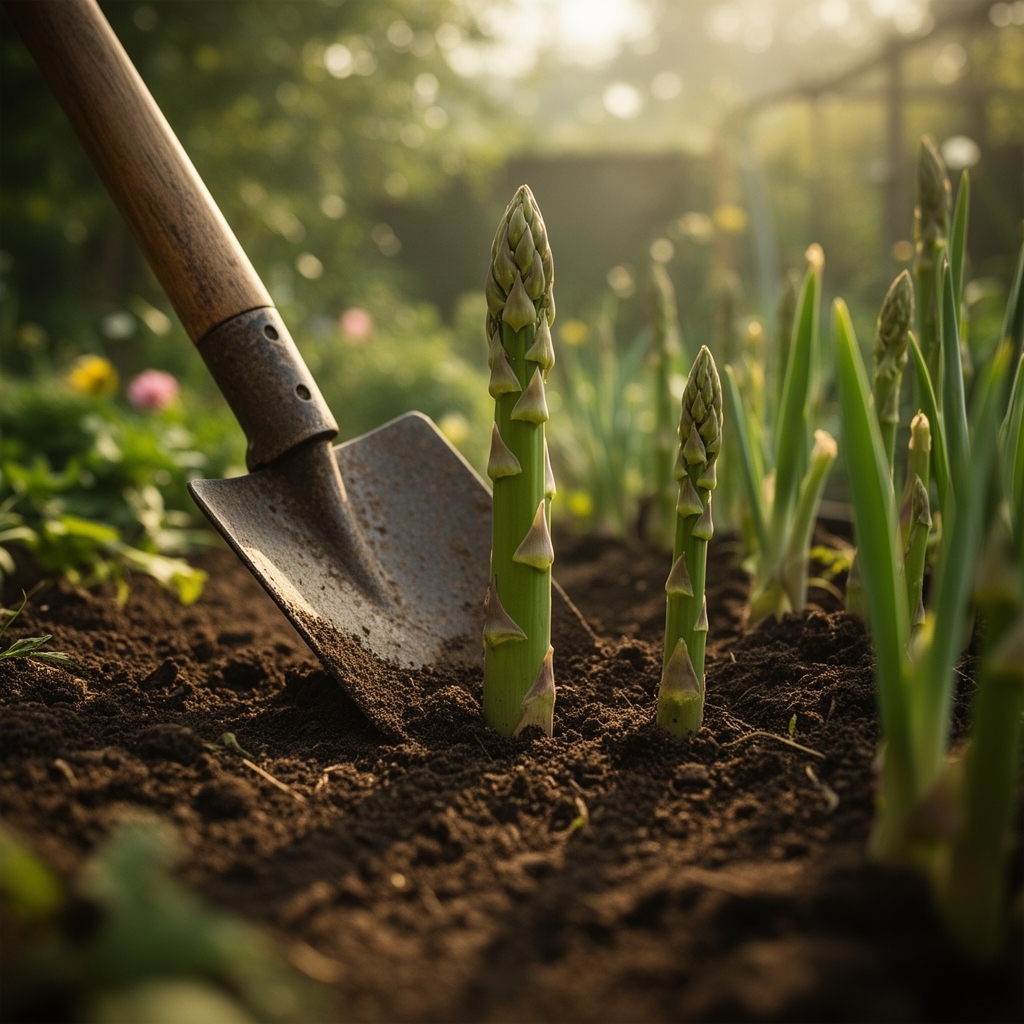
Phase 1: Site Assessment & Trench Excavation
Select a location with full sun (minimum 8 hours daily) and excellent drainage. Asparagus roots rot in waterlogged soil.
Dig a trench 12-18 inches deep and 12 inches wide. Set aside topsoil separately from subsoil. The trench should run north to south to maximize sun exposure on emerging spears.
Pro-Tip: Break through any hardpan layer at the trench bottom with a garden fork. Asparagus roots follow water and oxygen. Compacted clay at 18 inches will stunt the entire planting.
Phase 2: Fertility Layer Construction
Mix your set-aside topsoil with compost, rock phosphate, and organic fertilizer in the wheelbarrow. Aim for a 50/50 blend of native soil and amendments.
Shovel 4-6 inches of this enriched mixture back into the trench bottom. Mound it slightly along the trench center to create a ridgeline. This ridge supports crown placement while allowing roots to spread downward and laterally.
Pro-Tip: Add a thin layer (1/4 inch) of biochar directly onto the ridge before placing crowns. Biochar holds moisture and nutrients in the root zone while hosting beneficial bacteria for decades.
Phase 3: Crown Placement
Soak crowns in compost tea or plain water for 30-60 minutes before planting. This rehydrates dormant roots and jumpstarts growth.
Drape each crown over the soil ridge with roots spreading down both sides like an octopus. Space crowns 18 inches apart. The crown's central bud cluster should sit 6-8 inches below final soil grade.
Pro-Tip: Orient crowns so the thickest, healthiest roots face south. These roots will absorb maximum heat and drive early spring emergence.
Phase 4: Backfilling & Mulching
Cover crowns with 2-3 inches of the amended soil mixture initially. As spears emerge and grow through the season, gradually add more soil until the trench fills to ground level by fall.
Apply 3-4 inches of straw mulch after backfilling. Mulch suppresses weeds (critical in year one) and moderates soil temperature swings.
Pro-Tip: Never backfill the entire trench depth at planting. Gradual filling allows emerging spears to push through lighter soil while roots establish in deeper, richer layers.
Phase 5: Watering Protocol
Water immediately after planting to settle soil around roots. Provide 1 inch of water weekly through the first growing season.
Install drip irrigation or soaker hoses along the trench if possible. Overhead watering promotes fungal diseases on ferny foliage.
Pro-Tip: Mulch reduces water needs by 40%. Check soil moisture at 4-inch depth; asparagus tolerates brief dryness better than constant dampness.
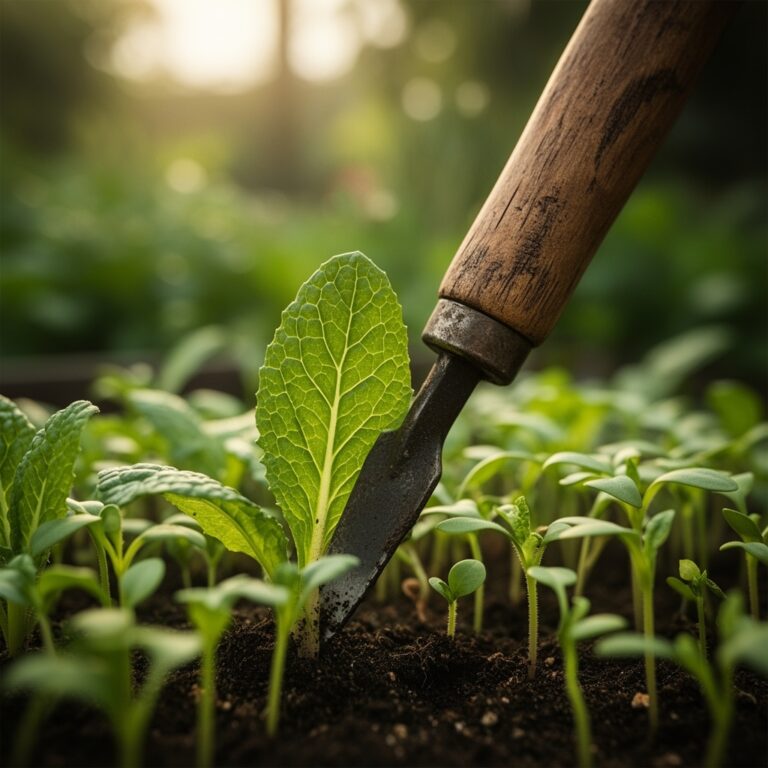
Phase 6: First-Year Maintenance
Allow all spears to grow into full ferns. These ferns photosynthesize sugars that migrate to roots for storage. Cutting spears in year one sacrifices future harvests.
Feed lightly with fish emulsion (5-1-1 NPK) monthly through July. Stop feeding in August to allow plants to harden off before frost.
Pro-Tip: Cut ferns to 2-inch stubs only after they've turned completely brown in late fall. Early cutting reduces root carbohydrate reserves by up to 30%.
Nutritional & Environmental Benefits
Asparagus delivers exceptional nutrient density per calorie. Four spears (60g) provide 60% of daily vitamin K, 20% of folate, and significant prebiotic fiber (inulin) that feeds beneficial gut bacteria.
The crop's environmental footprint is negligible once established. Perennial roots prevent erosion, sequester carbon annually, and require zero tillage. Spring asparagus flowers attract Mason bees and native pollinators emerging from dormancy. The ferny summer foliage hosts beneficial insects including lacewings and ladybugs, which control aphids on nearby crops.
Deep asparagus roots mine subsoil minerals (iron, magnesium, zinc) and concentrate them in spears, making this vegetable particularly valuable on depleted ground.
Advanced Methods
Small Space Adaptation:
Grow asparagus in raised beds at least 18 inches deep. Limit to a single row and space crowns 12 inches apart. Production decreases slightly, but quality remains high. Container growing fails due to insufficient root volume.
Organic & Permaculture Integration:
Interplant asparagus rows with early spring crops (lettuce, spinach) that harvest before asparagus ferns shade the bed. The fern canopy later suppresses weeds naturally. Apply composted leaves each fall as mulch, creating a self-renewing fertility system through nitrogen fixation by decomposer organisms.
Guild asparagus with tomatoes, parsley, and basil. Asparagus roots exude compounds that deter root-knot nematodes affecting tomatoes.
Season Extension:
Force early spears by covering trenches with low tunnels or cloches in late winter. This warms soil 10-15°F above ambient, triggering emergence 2-3 weeks early. Remove covers once daytime temperatures exceed 60°F to prevent spindly growth.
Troubleshooting
Symptom: Thin, pencil-sized spears after year three.
Solution: Underfed or overcrowded bed. Top-dress with 2 inches of compost and 5-10-5 fertilizer each spring. Divide crowns if spacing is tighter than 18 inches.
Symptom: Purple or brown spear tips.
Solution: Frost damage. Harvest damaged spears immediately; they won't recover. Delay future harvests until soil warms consistently above 50°F.
Symptom: Spears emerge crooked or twisted.
Solution: Soil crusting or compacted mulch layer. Asparagus spears are rigid and can't push through hard surfaces. Maintain loose mulch and avoid walking on beds.
Symptom: Ferns turn yellow in midsummer.
Solution: Asparagus rust (fungal disease) or root rot. Remove infected ferns and burn them. Improve drainage. Apply sulfur-based organic fungicide if rust persists.
Symptom: No emergence in year two.
Solution: Crowns planted too deep or died from waterlogging. Carefully excavate one crown to assess viability. Healthy crowns show white, firm roots with visible buds. Replant survivors at correct depth.
Storage & Maintenance
Annual Watering:
Provide 1 inch of water weekly from emergence through August. Reduce watering in September to encourage dormancy. Asparagus roots extend 4-6 feet laterally by year five, accessing deep moisture reserves.
Feeding Schedule:
Early spring (before emergence): Apply 5-10-5 fertilizer at 1 cup per 10 feet.
Post-harvest: Side-dress with compost after cutting ends.
Fall: Mulch with 2-3 inches of composted leaves or straw.
Harvest Protocol:
Cut or snap spears at soil level when they reach 7-10 inches tall and before tips begin opening. Harvest daily during peak production. Stop cutting when spear diameter drops below 1/2 inch; this signals declining root reserves.
Post-Harvest Storage:
Stand fresh spears upright in 1/2 inch of water in the refrigerator. Cover loosely with a plastic bag. Spears keep 5-7 days. For longer storage, blanch for 3 minutes, shock in ice water, and freeze.
Conclusion
Success with asparagus starts 18 inches underground. Your trench preparation determines whether crowns thrive for twenty years or struggle through five. Invest time in deep fertility, proper drainage, and patient establishment, and you'll harvest premium spears while neighbors are still buying rubbery grocery store stalks. Share your first harvest with a new gardener or contribute extra crowns to a community garden plot.
Expert FAQs
How deep should an asparagus trench be for optimal root development?
Dig trenches 12-18 inches deep. This depth accommodates the full root spread while allowing proper crown placement at 6-8 inches below final grade. Shallow trenches (less than 10 inches) restrict root growth and reduce harvest yields by 40%.
Can I plant asparagus crowns in fall instead of spring?
Fall planting succeeds only in zones 8-9 where soil stays workable and doesn't freeze solid. Northern zones (3-7) should plant exclusively in spring after frost danger passes. Fall-planted crowns in cold zones often rot before establishing.
What soil pH produces the sweetest asparagus spears?
Target pH 6.5-7.0. Acidic soil (below 6.0) locks up calcium and magnesium, producing bitter spears with tough fiber. Test soil annually and adjust with lime or sulfur as needed.
How many asparagus crowns does a family of four need?
Plant 40-50 crowns for a family of four. Mature beds yield approximately 1/2 pound per crown annually. This provides fresh eating plus enough surplus for freezing and sharing.
Should I cut asparagus spears or snap them by hand?
Snapping at the natural break point (where spear becomes woody) wastes less edible stem than cutting. Grasp the spear midway and bend; it will break exactly where tenderness ends. Cutting requires guessing the tender/tough transition.