6 Best Cleaning Brushes for Vegetable Tools
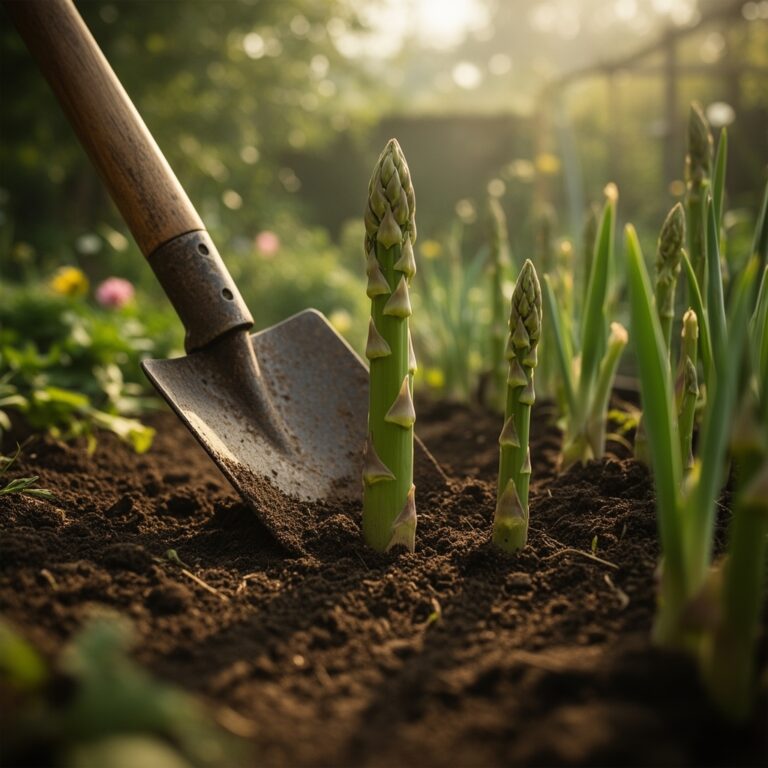
The smell of damp earth after a rain is more than a sensory experience; it is the scent of Geosmin, a metabolic byproduct of Actinobacteria. When a vegetable leaf maintains maximum turgor pressure, its cellular walls are rigid and the plant is actively photosynthesizing at peak efficiency. However, the integrity of your harvest begins long before the seed hits the soil. Pathogens such as Fusarium and Pythium linger on encrusted soil particles clinging to your equipment. Selecting the best vegetable garden tool cleaning brushes is the first line of defense in biosecurity for the home hectare. Residual sap and soil act as vectors for disease, requiring mechanical removal to maintain tool longevity and plant health. Clean steel ensures precise cuts, preventing jagged wounds that invite bacterial soft rot or fungal colonization.
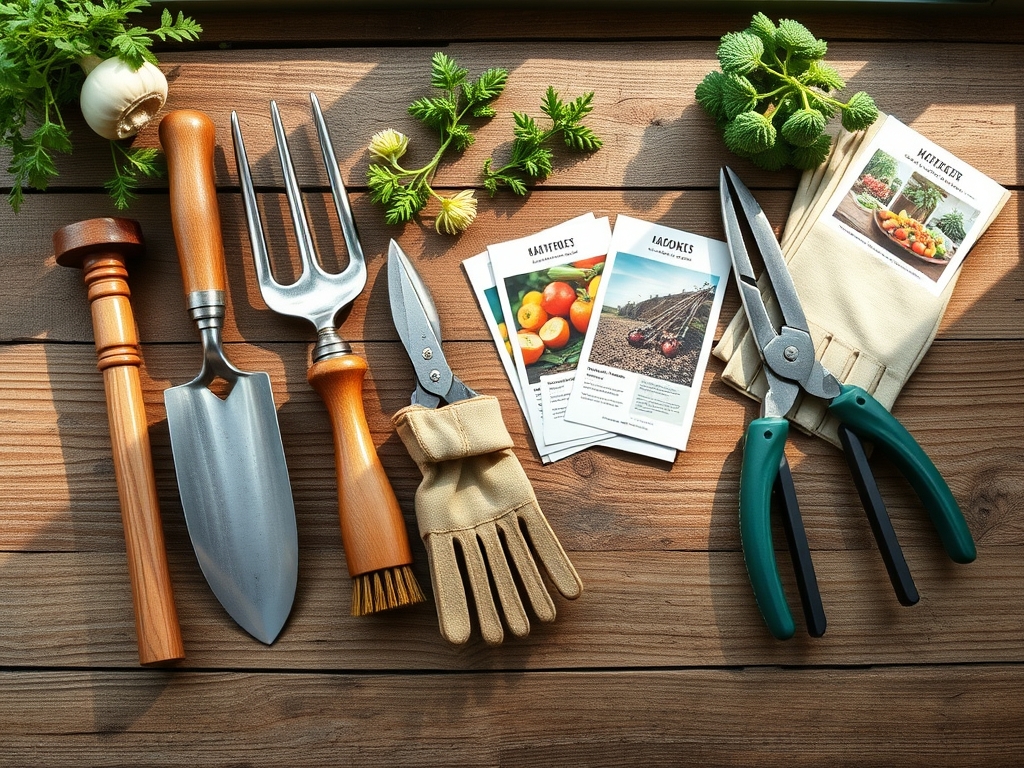
Materials:
A successful vegetable garden requires a substrate with a high Cation Exchange Capacity (CEC). This measurement dictates how well your soil holds onto positively charged nutrients like Potassium (K+) and Magnesium (Mg2+). Aim for a **friable loam** with a pH range of **6.2 to 6.8**. In this range, phosphorus remains bioavailable rather than binding with iron or aluminum.
Before using your tools, ensure your soil is amended based on specific NPK requirements. For heavy feeders like Solanum lycopersicum (tomatoes), a ratio of 5-10-10 is optimal during the flowering stage to prioritize fruit development over excessive foliage. Brassicas require higher nitrogen, often a 10-5-5 ratio, to support rapid vegetative expansion. The physical texture of the soil should be crumbly; if it forms a hard ball when squeezed, the clay content is too high, leading to anaerobic conditions in the rhizosphere.
Timing:
Hardiness Zones dictate the metabolic window for your crops. In Zones 5 through 7, the transition from the last frost date to the first heat wave is narrow. The biological clock of a plant is governed by the photoperiod and accumulated Growing Degree Days (GDD). As temperatures rise above 50 degrees Fahrenheit, soil microbes become active, increasing the mineralization of organic matter.
The transition from the vegetative stage to the reproductive stage is triggered by hormonal shifts. When a plant perceives a change in day length, auxin production may shift to favor lateral bud development or flowering. Understanding your specific frost-date window ensures that sensitive transplants are not subjected to chilling injury, which disrupts the phospholipid bilayer of cell membranes and leads to permanent wilting.
Phases:
Sowing
Direct sowing requires a seedbed depth of exactly two to three times the diameter of the seed. This ensures sufficient soil-to-seed contact for imbibition, the process where the seed absorbs water to activate metabolic enzymes.
Pro-Tip: Maintain consistent moisture to prevent the seed coat from hardening. This supports epigeal germination, where the hypocotyl lifts the cotyledons above the soil surface to begin immediate photosynthesis.
Transplanting
When moving seedlings from flats to the field, minimize root disturbance to prevent transplant shock. Dig a hole twice the width of the root ball.
Pro-Tip: Inoculate the planting hole with mycorrhizal fungi. This symbiotic relationship extends the root system's reach, increasing the surface area for water and phosphorus uptake through a network of hyphae.
Establishing
During the first 14 to 21 days, the plant focuses on root architecture. Avoid high-nitrogen fertilizers during this phase to prevent "leggy" growth.
Pro-Tip: Use a hori-hori knife to slice through any circling roots if the plant was pot-bound. This disrupts auxin suppression at the root tips, encouraging the growth of new, lateral feeder roots into the surrounding soil.
The Clinic:
Physiological disorders often mimic infectious diseases but result from environmental or nutritional stress.
- Blossom End Rot: This is not a fungal issue but a localized Calcium deficiency in the fruit. It often occurs when fluctuating soil moisture inhibits the transpiration stream. Fix-It: Maintain consistent soil moisture and ensure a soil pH above 6.0 to keep Calcium available.
- Nitrogen Chlorosis: Observe the older leaves. If they turn a uniform pale yellow while new growth remains green, the plant is scavenging Nitrogen from old tissues to support new expansion. Fix-It: Apply a quick-release organic fertilizer with a high "N" value, such as blood meal or fish emulsion.
- Interveinal Chlorosis: Yellowing between the veins on new leaves suggests Iron or Magnesium deficiency. This is common in alkaline soils where the pH exceeds 7.5. Fix-It: Lower the pH using elemental sulfur or apply chelated minerals directly to the foliage for rapid uptake.
Maintenance:
Precision maintenance prevents the decline of both plant and tool. Vegetables generally require 1.5 inches of water per week delivered at the drip line to avoid wetting the foliage, which encourages mildew. Use a soil moisture meter to verify that the water is penetrating at least 6 inches deep.
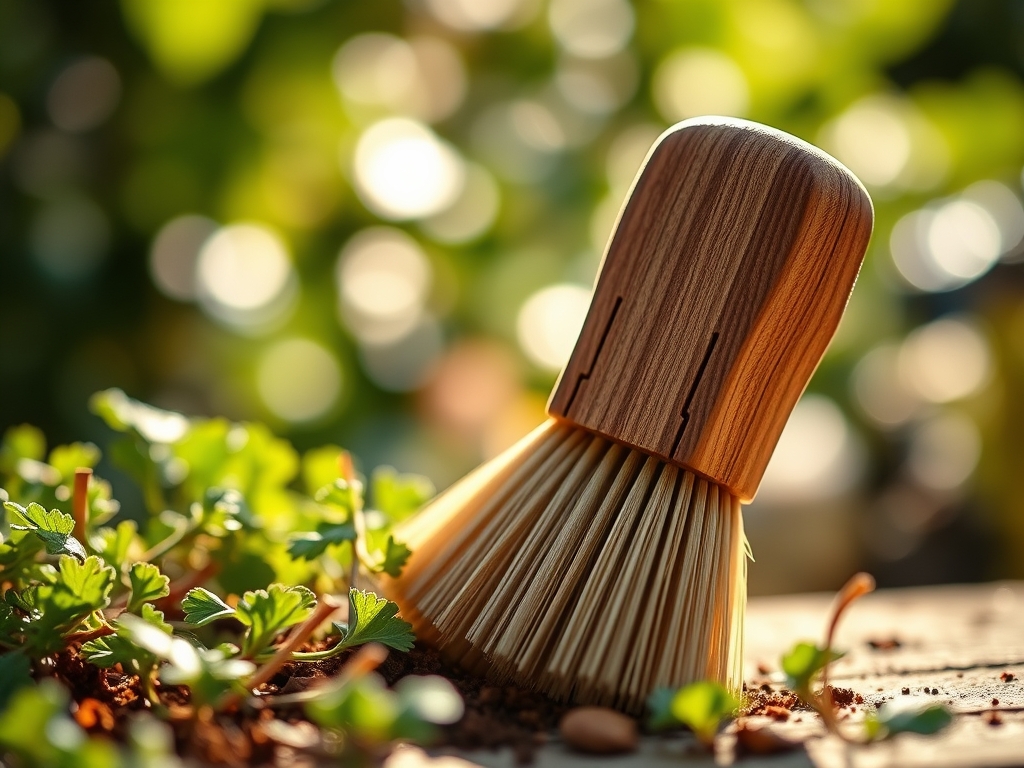
Keep your bypass pruners sharp. A dull blade crushes the vascular cambium, the thin layer of generative tissue between the bark and the wood. After every use, employ a stiff-bristled wire brush to remove sap. Follow this with a medium-grit nylon brush to clear fine particulates. For stainless steel tools, a natural fiber brush paired with a 70 percent isopropyl alcohol solution ensures total sterilization.
The Yield:
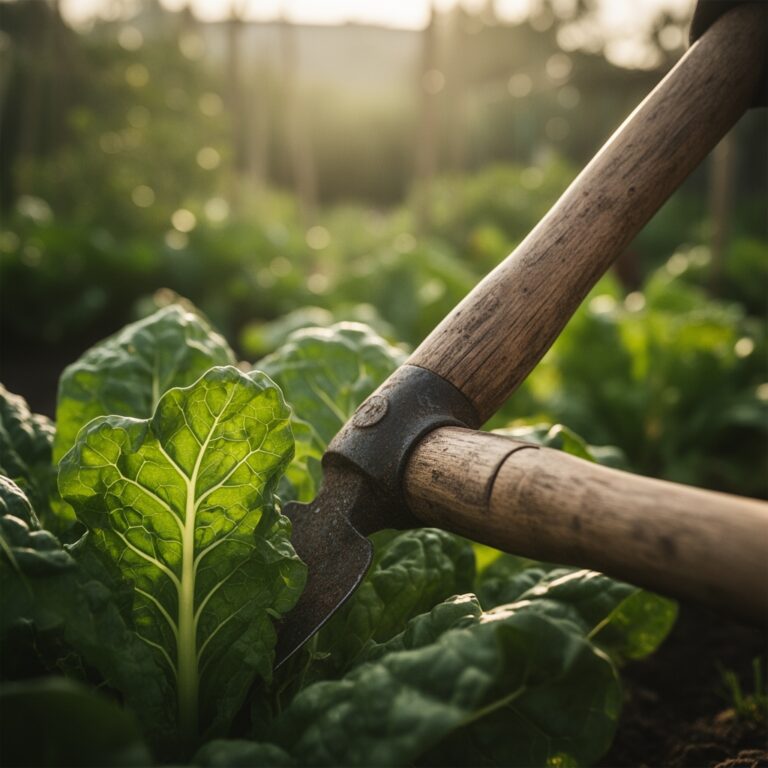
Harvesting is a matter of timing the peak sugar or starch content. For leafy greens, harvest in the early morning when turgor pressure is at its highest. This prevents rapid wilting. For fruiting crops like peppers, use your bypass pruners rather than pulling by hand to avoid damaging the main stem.
Post-harvest, "pre-cooling" is essential. Remove field heat by submerging produce in cool water or placing it in a shaded, ventilated area. This slows down the rate of senescence, the biological aging process, and preserves the nutritional density of the crop.
FAQ:
How do I clean heavily rusted vegetable tools?
Submerge the tool in a 50/50 vinegar and water solution for 24 hours. Use a stiff steel wire brush to scrub the oxidized layers. Rinse with water, dry thoroughly, and apply a light coat of mineral oil to prevent further oxidation.
Why is tool sterilization important for vegetables?
Pathogens like Tobacco Mosaic Virus and Verticillium wilt can survive on metal surfaces. Using a cleaning brush and disinfectant prevents the mechanical transfer of disease from an infected plant to a healthy one during pruning or harvesting.
What is the best brush for wooden tool handles?
Use a medium-stiff nylon brush to remove dirt. Avoid soaking wood, as it leads to swelling and eventual cracking. After cleaning, rub the handle with boiled linseed oil to maintain the integrity of the wood fibers and prevent splinters.
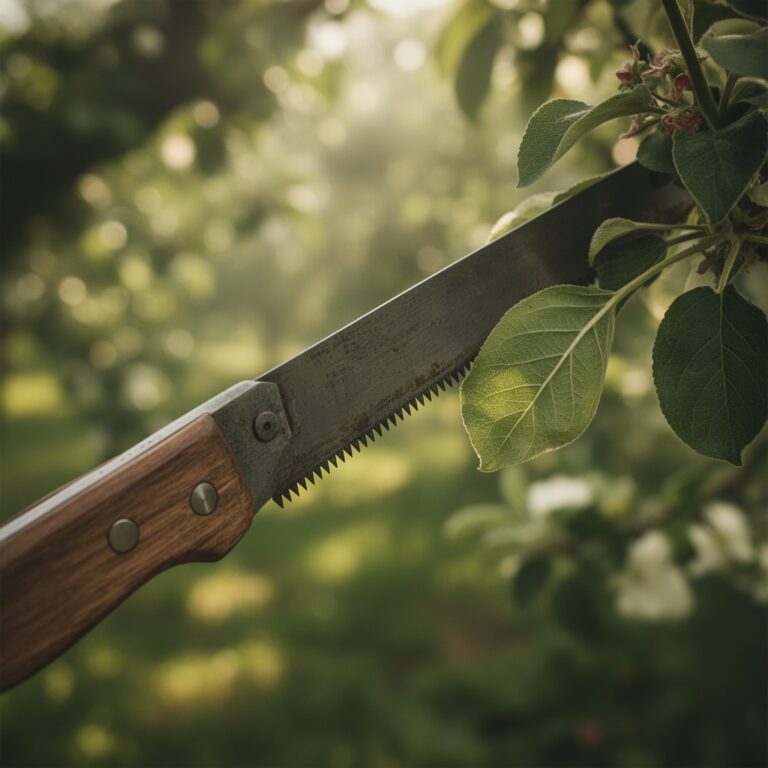
How often should I sharpen my vegetable garden tools?
Sharpen blades every 10 to 15 hours of active use or at the start of every season. A sharp edge requires less force, resulting in cleaner cuts that the plant can compartmentalize and heal more rapidly.